
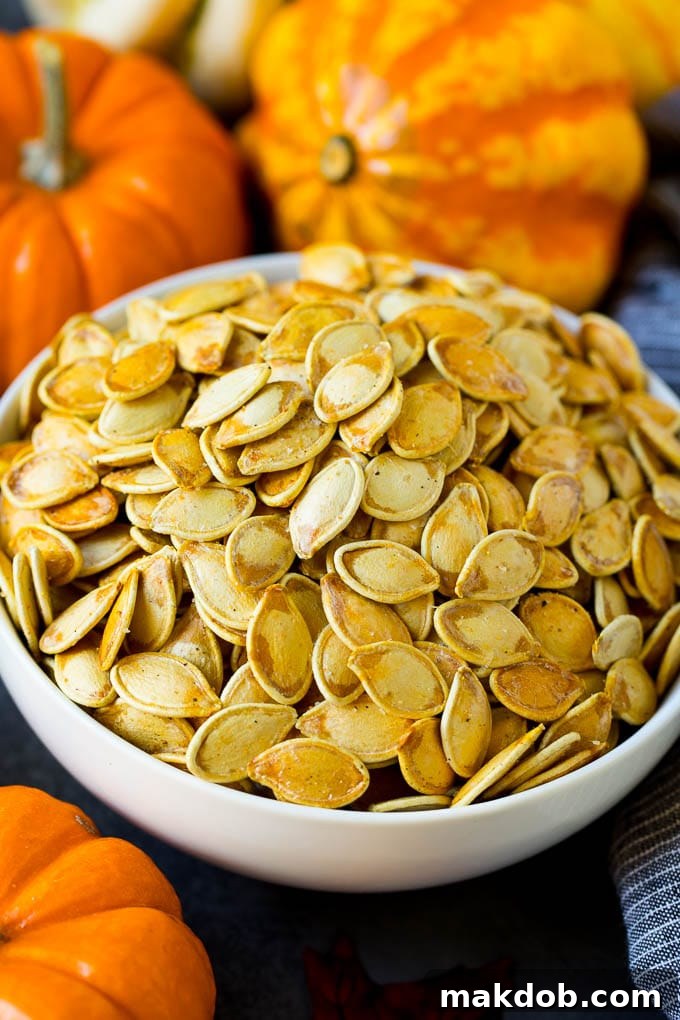
The Ultimate Guide to Perfectly Roasted Pumpkin Seeds: Your Go-To Fall Snack
Embrace the cozy spirit of autumn by transforming your pumpkins into a truly addictive and healthy treat! These homemade roasted pumpkin seeds are impeccably coated in butter and a blend of classic savory seasonings, then baked until they reach a delightful golden-brown crispness. They are not just a perfect, natural snack option but also a brilliant and sustainable way to utilize every bit of those festive Halloween jack-o-lanterns.
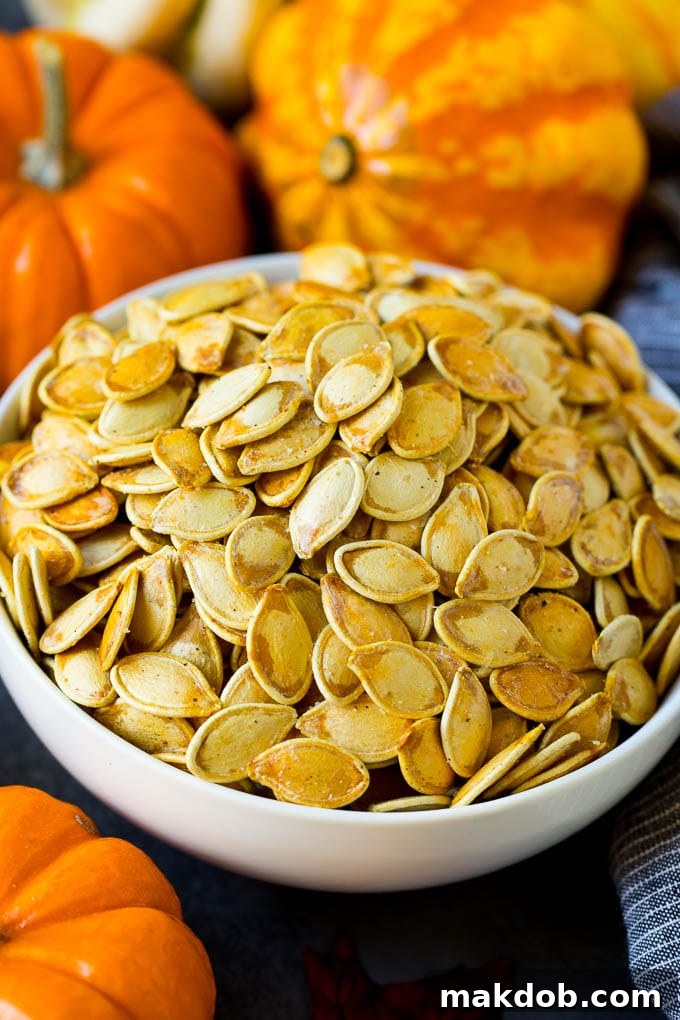
As the fall season gracefully rolls around, bringing with it cooler temperatures and vibrant foliage, my kitchen becomes a hub for all things pumpkin. While I adore creating a variety of pumpkin-centric dishes, from comforting pumpkin chocolate chip muffins to a luscious pumpkin cheesecake, there’s one tradition I never skip: saving the pumpkin seeds. They are an often-overlooked treasure that, with just a little effort, can be transformed into a big batch of incredibly flavorful roasted pumpkin seeds to savor throughout the season.
The best part about carving a pumpkin isn’t just the festive designs; it’s the hidden culinary gem inside! This particular roasted pumpkin seed recipe couldn’t be any easier to follow, promising a consistently crunchy and seasoned snack that delights both children and adults alike. It’s a wonderful way to minimize food waste and enjoy a wholesome, homemade treat that far surpasses anything you can buy in a store.
These seasoned pumpkin seeds effortlessly complement other popular fall snacks, making them a versatile addition to any autumnal spread. Imagine them alongside crispy apple fries, a creamy pumpkin dip, or sweet and crunchy apple nachos. They are an easy win for school lunches, after-school snacks, or a delightful accompaniment to your favorite fall beverages. Get ready to make these delicious seeds a cherished part of your seasonal routine!
Essential Ingredients for Your Homemade Roasted Pumpkin Seeds
Crafting a batch of truly delicious roasted pumpkin seeds doesn’t require an extensive shopping list. In fact, you likely have most of these items in your pantry right now! The key is using fresh, quality ingredients to enhance the natural nuttiness of the seeds. Here’s a detailed look at what you’ll need:
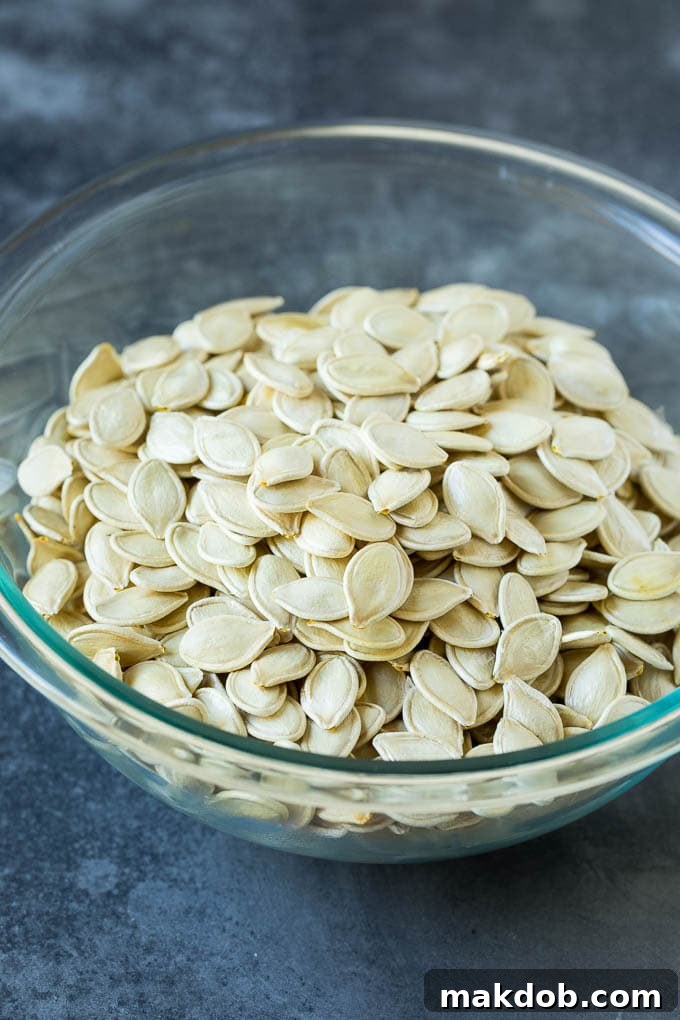
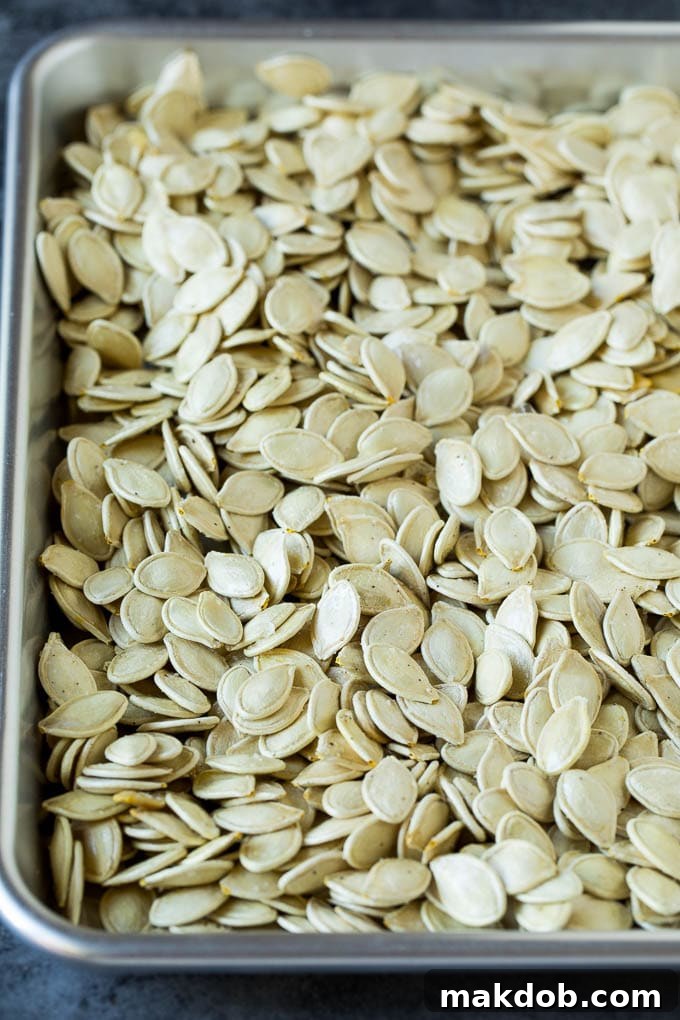
- Clean, Raw, Whole Pumpkin Seeds: This is, of course, the star ingredient. It’s crucial that your seeds are thoroughly cleaned of all pumpkin pulp and fibers, and completely dry. Using whole seeds with their shells intact adds a wonderful fibrous crunch and provides a surface for the seasonings to cling to. We’ll detail the cleaning and drying process below.
- Melted Butter: Unsalted butter is preferred, allowing you to control the overall saltiness of the snack. Melted butter provides a rich, satisfying base, helping the seasonings adhere to each seed while contributing to that beautiful golden-brown color and irresistible aroma during roasting. For a dairy-free or vegan option, a neutral oil like olive oil or avocado oil works just as well.
- Salt: A fundamental seasoning that elevates all the other flavors. Fine sea salt or kosher salt are excellent choices. Adjust the quantity to your personal preference; a good amount ensures every bite is perfectly seasoned.
- Black Pepper: Freshly ground black pepper adds a subtle, earthy warmth and a gentle kick that complements the savory profile. Its aromatic qualities are particularly noticeable when roasted.
- Garlic Powder: This provides a delicious, foundational savory note that pairs exquisitely with pumpkin seeds. It’s a key element in creating that classic, irresistible flavor profile. Onion powder can also be added for an extra layer of savory depth.
- Cooking Spray: A light coating of cooking spray on your baking sheet prevents the seeds from sticking and aids in even roasting, ensuring a uniform crispness across the entire batch.
These core ingredients form the foundation for a perfectly savory batch of roasted pumpkin seeds. However, feel free to think of this as a canvas, ready for your creative flavor additions!
How to Make Perfectly Roasted Pumpkin Seeds: A Step-by-Step Guide for Crisp Perfection
Transforming raw pumpkin seeds into a crunchy, golden, and incredibly flavorful snack is surprisingly straightforward. The secret to achieving truly great baked pumpkin seeds lies in careful cleaning, thorough drying, and attentive roasting. Follow these detailed steps for guaranteed success:
Step 1: Thoroughly Clean Your Pumpkin Seeds
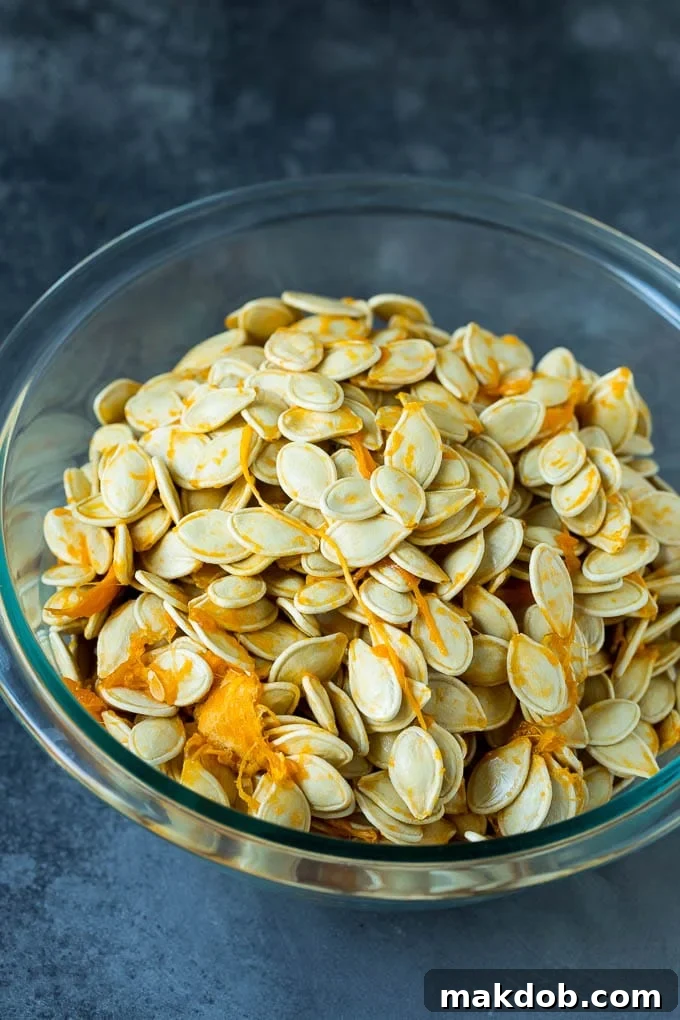
This initial step is critical for ensuring your seeds roast properly and don’t end up tasting burnt or stringy. If you’ve just scooped the seeds from a pumpkin, they’ll be encased in pulp and stringy fibers. Here’s how to clean them effectively:
- Submerge in Cold Water: Place the pumpkin pulp and seeds in a large bowl. Fill the bowl with cold water. The cold water helps to firm up the pulp and makes separation easier.
- Separate with Hands: Use your hands to vigorously separate the seeds from the stringy pumpkin flesh. The seeds will often sink to the bottom, while the pulp floats or can be easily pulled away.
- Rinse and Drain: Once separated, drain the water and seeds through a colander. Rinse the seeds thoroughly under cold running water, using your fingers to rub off any remaining stubborn fibers. Repeat rinsing until the seeds are completely clean and free of pulp.
- Optional Boil for Stubborn Pulp: For seeds with particularly tenacious fibers, you can briefly boil them. Place the cleaned seeds in a pot of water, bring to a boil, and simmer for about 10 minutes. This helps to loosen any remaining squash fibers, making them easier to rub off during a final rinse.
Step 2: Dry the Pumpkin Seeds Completely
Moisture is the enemy of crispiness! Ensuring your seeds are bone-dry before seasoning and roasting is paramount. If they’re still damp, they’ll steam rather than roast, resulting in a chewy rather than crunchy texture.
- Air Dry: Spread your thoroughly cleaned pumpkin seeds in a single layer on several sheets of paper towels or a clean, absorbent kitchen towel. Allow them to air dry for several hours, or ideally, overnight. You can gently pat them dry initially to remove excess surface water.
- Speed Drying (Optional): If time is of the essence, you can accelerate the drying process. Spread the seeds in a single layer on a baking rack placed over a sheet pan. Bake them in a preheated oven at a very low temperature (around 250°F or 120°C) for about 5-10 minutes, or until they feel completely dry to the touch. Keep a close watch to prevent them from toasting.
Step 3: Preheat Your Oven and Prepare the Baking Sheet
Preheat your oven to 300 degrees Fahrenheit (150 degrees Celsius). This slightly lower temperature is crucial for allowing the seeds to slowly roast and crisp up uniformly without burning. While the oven preheats, lightly coat a large baking sheet with cooking spray. Using a non-stick sheet or lining with parchment paper can also prevent sticking.
Step 4: Season the Pumpkin Seeds Evenly
In a medium-sized mixing bowl, combine your now dry and clean pumpkin seeds with the melted butter (or oil), salt, black pepper, and garlic powder. Toss everything together vigorously, using a spoon or your hands, until every single seed is thoroughly and evenly coated with the savory seasoning mixture. This ensures a burst of flavor in every bite.
Step 5: Roast to Golden Perfection
Spread the seasoned pumpkin seeds in a single layer on your prepared baking sheet. It’s important to avoid overcrowding the pan; if necessary, use two baking sheets to ensure the seeds have enough space to roast rather than steam. Place the sheet(s) in the preheated oven and roast for approximately 45 minutes. During this roasting time, make sure to stir the seeds occasionally – about 2 to 3 times – to promote even browning and consistent crispness on all sides.
Step 6: Cool and Savor Your Crunchy Creation!
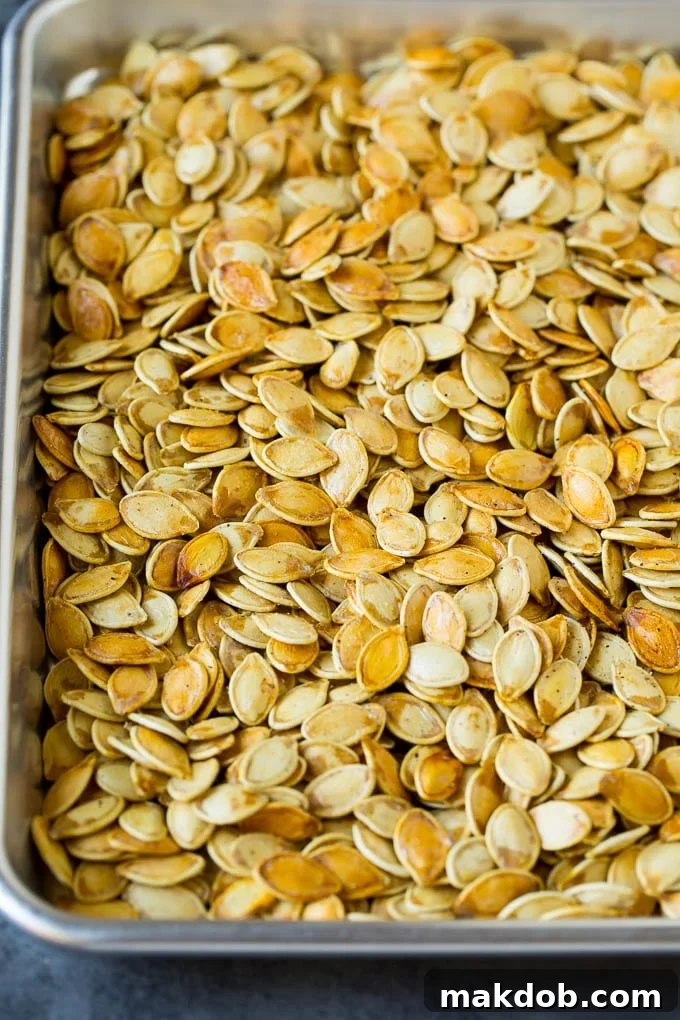
Once the roasted pumpkin seeds have turned a beautiful golden brown and feel firm and crunchy, remove them from the oven. Allow them to cool completely on the baking sheet. As they cool, they will continue to crisp up, becoming even more delicious. Once thoroughly cooled, your homemade crunchy snack is ready to be enjoyed! Store any uneaten seeds in an airtight container at room temperature for up to 5 days to maintain their freshness and crunch.
Pro Tips for Achieving the Best Roasted Pumpkin Seeds Every Time
While the basic recipe is simple, a few extra tips can elevate your roasted pumpkin seeds from good to absolutely perfect. Here’s how to ensure maximum flavor and ideal crispness:
- Consistent Stirring is Key: To guarantee uniform roasting and prevent certain seeds from burning while others remain soft, remember to stir the pumpkin seeds at least 2-3 times during the 45-minute baking time. If you notice any seeds beginning to get too dark too quickly, you can stir them more frequently or even reduce the oven temperature slightly to slow down the browning process.
- Butter Alternatives: If you’re looking for a dairy-free option, aiming for a lighter snack, or simply prefer a different flavor, feel free to use 2 tablespoons of olive oil or a neutral oil like avocado oil instead of butter. This variation still provides an excellent base for seasonings.
- Selecting the Perfect Pumpkin: Not all pumpkins are created equal when it comes to seed yield. For a generous bounty of seeds, choose a pumpkin that produces a hollow sound when you tap its exterior. Larger carving pumpkins generally offer more seeds than smaller, denser sugar pie pumpkins.
- Optimal Storage for Freshness: Once your pumpkin seeds are baked and completely cooled, transfer them to an airtight container. They will maintain their delicious crispness at room temperature for up to 5 days. For extended storage, you can refrigerate them, although they might lose a little crunch which can be restored with a quick re-bake.
- Creative Serving Suggestions: These versatile baked pumpkin seeds are fantastic beyond just snacking!
- Salad Topping: Sprinkle them generously over a fresh Thanksgiving salad or any green salad for an irresistible nutty crunch.
- Soup Garnish: Add them as a savory garnish to creamy pumpkin soup, butternut squash soup, or any hearty fall soup.
- Baked Goods Inclusion: Experiment by adding them to homemade breads, muffins, or granola bars for a unique texture and flavor.
- Party Mix Booster: Elevate your favorite homemade Chex mix by incorporating these savory seeds for an extra layer of snacking fun.
- Breakfast Enhancer: Sprinkle them over oatmeal, yogurt parfaits, or even avocado toast for added protein and crunch.
- Don’t Waste the Flesh: If you’re using a sugar pie pumpkin (which has sweeter, denser flesh), don’t discard the rest of the pumpkin! You can easily cut up, roast, and then blend the pumpkin flesh to create homemade pumpkin puree, perfect for countless other fall recipes.
- Master the Golden Hue: The visual cue for perfectly roasted seeds is their color. Always keep a watchful eye as they roast. You’re looking for them to turn a beautiful golden brown. This indicates they are crispy, thoroughly cooked, and packed with flavor. Over-roasting can lead to a burnt, bitter taste.
Frequently Asked Questions About Roasting Pumpkin Seeds
- Do you have to clean pumpkin seeds before roasting?
- Yes, it’s absolutely essential! When you scoop pumpkin seeds out of a pumpkin, they are typically covered in stringy pulp and fibers. These need to be thoroughly removed. The best method is to place the seeds and pulp in a large bowl of cold water. Use your hands to agitate and separate the seeds from the stringy bits. Cold water often helps the pulp detach more easily. Drain the mixture into a colander and rinse the seeds under running water until they are completely clean. For particularly stubborn fibers, a brief 10-minute boil can help loosen them before a final rinse.
- How long do you dry pumpkin seeds before roasting?
- Proper drying is a critical step for achieving truly crispy roasted pumpkin seeds. After cleaning, spread the seeds in a single layer on paper towels or a clean kitchen towel. Allow them to air dry for several hours, or ideally, overnight. This process ensures that any excess moisture evaporates. If you’re short on time, you can accelerate drying by spreading them on a baking rack over a sheet pan and baking them at a very low temperature (around 250°F / 120°C) for about 5-10 minutes, or until they feel completely dry to the touch. Be careful not to toast them during this quick dry.
- How do you eat roasted pumpkin seeds?
- You have a choice: you can eat your roasted pumpkin seeds with the shells on, or you can remove the shells. Most people, myself included, prefer to eat them with the shells on. The shells become wonderfully crunchy and absorb all the delicious seasonings during roasting, adding extra fiber, texture, and flavor. If you opt to remove the shells, you’ll need to crack each one open with your fingers or teeth to extract the inner green seed. Either way, they are a fantastic, nutritious snack!
- What are the health benefits of pumpkin seeds?
- Pumpkin seeds are a nutritional powerhouse! They are an excellent source of plant-based protein, healthy fats (including beneficial omega-3s), and dietary fiber. They are also packed with important vitamins and minerals such such as magnesium, zinc, iron, and antioxidants. These nutrients contribute to improved heart health, better sleep quality, and a stronger immune system. Incorporating roasted pumpkin seeds into your diet is a delicious and easy way to boost your overall nutrient intake.
- Can I use oil instead of butter for roasting pumpkin seeds?
- Absolutely! While butter provides a rich, classic flavor, you can certainly substitute it with other oils. Olive oil, avocado oil, or even melted coconut oil (if you enjoy its flavor profile) work wonderfully. Use about 2 tablespoons of your chosen oil for every 2 cups of pumpkin seeds. This is a great alternative for those seeking a dairy-free or vegan option, or simply to explore different subtle flavor undertones.
Delicious Roasted Pumpkin Seed Variations to Explore
While the classic buttery, salty, and garlicky recipe for baked pumpkin seeds is a timeless favorite, these seeds are incredibly adaptable to a myriad of flavor profiles. Don’t hesitate to unleash your culinary creativity by adding a variety of seasonings and spices to the mix! Here are some exciting variations to keep your snack game fresh and interesting:
- Spicy Taco Fiesta: For a vibrant, zesty, and subtly spicy kick reminiscent of Mexican cuisine, swap out the standard seasonings. Instead, use 1 tablespoon of your favorite savory taco seasoning blend. The combination of chili powder, cumin, paprika, and oregano will transform your seeds into an irresistible fiesta in your mouth.
- Cool & Creamy Ranch: Achieve that beloved creamy, herbaceous ranch flavor by tossing the seeds in 2 teaspoons of a dried ranch seasoning mix. Many store-bought ranch mixes contain salt, so if you’re using one, consider reducing the amount of added salt in the recipe to about 1/2 teaspoon to maintain balance.
- Tangy Chili Lime Zest: Infuse a bright and tangy kick by adding 1 1/2 teaspoons of a popular chili lime seasoning blend, such as Tajin. The combination of mild chili and citrusy lime creates a wonderfully refreshing and piquant snack. Alternatively, a pinch of chili powder and a fresh squeeze of lime juice can create a similar vibrant effect.
- Smoky Bacon Indulgence: For an utterly irresistible savory and smoky treat, finely dice about 1/3 cup of bacon. Scatter the diced bacon bits onto the sheet pan along with the seasoned pumpkin seeds before roasting. The bacon will crisp up beautifully and render its flavorful fat, infusing the seeds with a rich, smoky essence. Cook until both seeds and bacon are golden and crispy.
- Exotic Spice Blends: Expand your palate with international flavors! Experiment by mixing a teaspoon of various global spice blends into your melted butter before tossing with the seeds. Consider:
- Cajun Seasoning: For a bold, spicy, and aromatic kick with hints of garlic, paprika, and cayenne pepper.
- Jamaican Jerk Seasoning: Offers a complex and vibrant flavor profile, combining fiery Scotch bonnet peppers with allspice, thyme, and nutmeg.
- Italian Seasoning: For a classic herbaceous and aromatic touch, featuring basil, oregano, rosemary, and thyme, perfect for a Mediterranean twist.
- Smoked Paprika & Cumin: A simple yet effective blend for a warm, earthy, and distinctly smoky flavor.
- Sweet Autumn Treats: Don’t limit yourself to savory! Create a delightful dessert-like pumpkin seed snack by stirring in two teaspoons of maple syrup, brown sugar, or even cinnamon sugar into your melted butter. When experimenting with sweet variations, it’s crucial to monitor the seeds more closely during baking, as sugars can caramelize and burn more rapidly. If they begin to darken too quickly, reduce the oven temperature or remove them from the oven a few minutes earlier.
These homemade pumpkin seeds are a delicious testament to how simple and rewarding it is to create gourmet, healthy snacks from scratch. They are unequivocally superior to any store-bought alternative, requiring just minutes to prepare and offering boundless possibilities for customization. Whether you’re topping your favorite fall soups and salads or simply enjoying them by the handful, you’ll undoubtedly find yourself making these on repeat throughout the entire autumn season!
More Delicious Fall Favorites You’ll Love
Extend your enjoyment of autumn’s bounty with these other delightful recipes, perfect for capturing the cozy and comforting flavors of the season:
Pumpkin Churro French Toast Sticks
Total Time: 35 mins
Fluffy Pumpkin Pancakes
Total Time: 30 mins
Classic Pumpkin Bars with Cream Cheese Frosting
Total Time: 40 mins
Pumpkin Chocolate Chip Cookies
Total Time: 27 mins
Savory Pumpkin Enchiladas
Total Time: 45 mins
Roasted Pumpkin Seeds Recipe Card
Classic Roasted Pumpkin Seeds
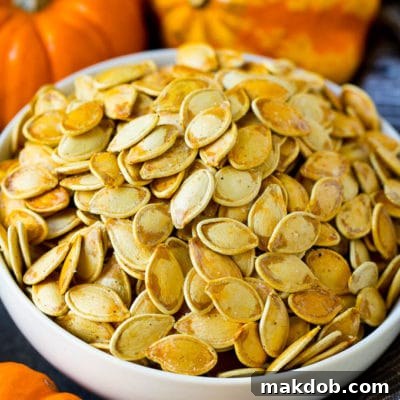
Simple, savory, and perfectly crunchy roasted pumpkin seeds coated in butter and seasonings. The ultimate healthy fall snack!
Author:
Sara Welch
Prep Time: 5 minutes
Cook Time: 45 minutes
Total Time: 50 minutes
Course: Snack
Cuisine: American
Servings: 6
Ingredients
- 2 cups raw, whole pumpkin seeds (cleaned and dried thoroughly)
- 2 tablespoons melted butter (or olive oil for dairy-free)
- 3/4 teaspoon salt
- 1/4 teaspoon black pepper
- 1/4 teaspoon garlic powder
- Cooking spray
Instructions
- Preheat your oven to 300°F (150°C). Lightly coat a large baking sheet with cooking spray to prevent sticking.
- In a medium-sized bowl, combine the thoroughly clean and dry pumpkin seeds with the melted butter, salt, pepper, and garlic powder. Toss vigorously until all seeds are evenly coated with the seasoning mixture.
- Spread the seasoned seeds in a single layer on the prepared baking sheet. Ensure they are not overcrowded; use two sheets if necessary for optimal crispness.
- Bake for 45 minutes. During the baking process, stir the seeds occasionally (about 2-3 times) to ensure even browning and consistent crispness on all sides.
- Once the seeds are beautifully golden brown and crunchy, remove them from the oven. Allow them to cool completely on the baking sheet. They will become even crispier as they cool.
- Serve immediately as a delicious snack, or store any leftovers in an airtight container at room temperature for up to 5 days.
Notes
- For the crispiest results, ensure your pumpkin seeds are completely dry before you begin seasoning and roasting. This is the most crucial step!
- Stirring the seeds every 15 minutes during baking prevents burning and promotes an even, golden-brown finish across the entire batch.
- Always monitor the color of your seeds. They should be golden brown. If they start to get too dark, they might become bitter, so adjust cooking time or temperature as needed.
- Feel free to experiment with the variations mentioned in the article to customize the flavor to your liking!
Nutrition Information (per serving)
- Calories: 115 kcal
- Carbohydrates: 2g
- Protein: 5g
- Fat: 11g
- Saturated Fat: 3g
- Cholesterol: 8mg
- Sodium: 317mg
- Potassium: 129mg
- Fiber: 1g
- Sugar: 1g
- Vitamin A: 87 IU
- Vitamin C: 1mg
- Calcium: 7mg
- Iron: 1mg