
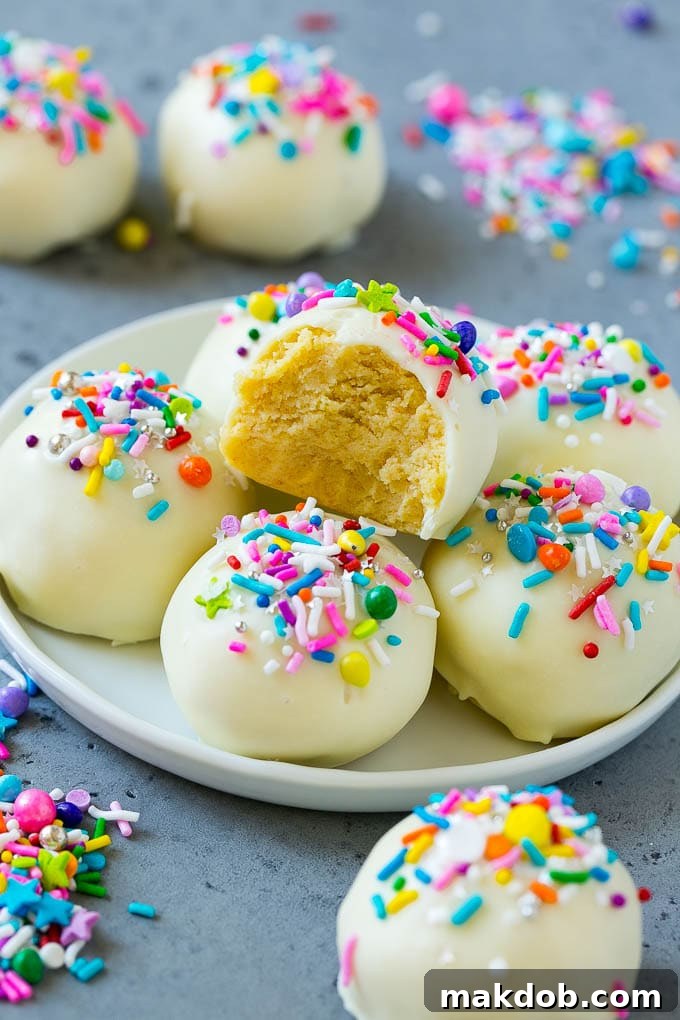
Welcome to the ultimate guide for creating delightful cake balls and cake pops! These bite-sized treats are perfect for any occasion, from casual gatherings to elegant celebrations. Easy to make and incredibly versatile, cake balls are a joy to share, perfect for gift-giving, and can be effortlessly transformed into festive cake pops. Get ready to impress your friends and family with these charming and delicious desserts.
Cake balls are a truly fantastic dessert that brings a smile to everyone’s face. Whether you’re looking for a quick and easy treat to whip up for an unexpected visitor or planning an elaborate dessert spread for a big party, these sweet delights fit the bill perfectly. They’re not just delicious; their compact size and endless decorating possibilities make them ideal as super cute party favors or thoughtful homemade gifts. While I often find myself making chocolate covered Oreos or chocolate covered pretzels for a quick fix, cake balls remain a perennial favorite due to their incredible adaptability. With a basic formula, you can explore a myriad of fun and exciting flavor combinations, ensuring there’s a cake ball out there for every palate and preference.
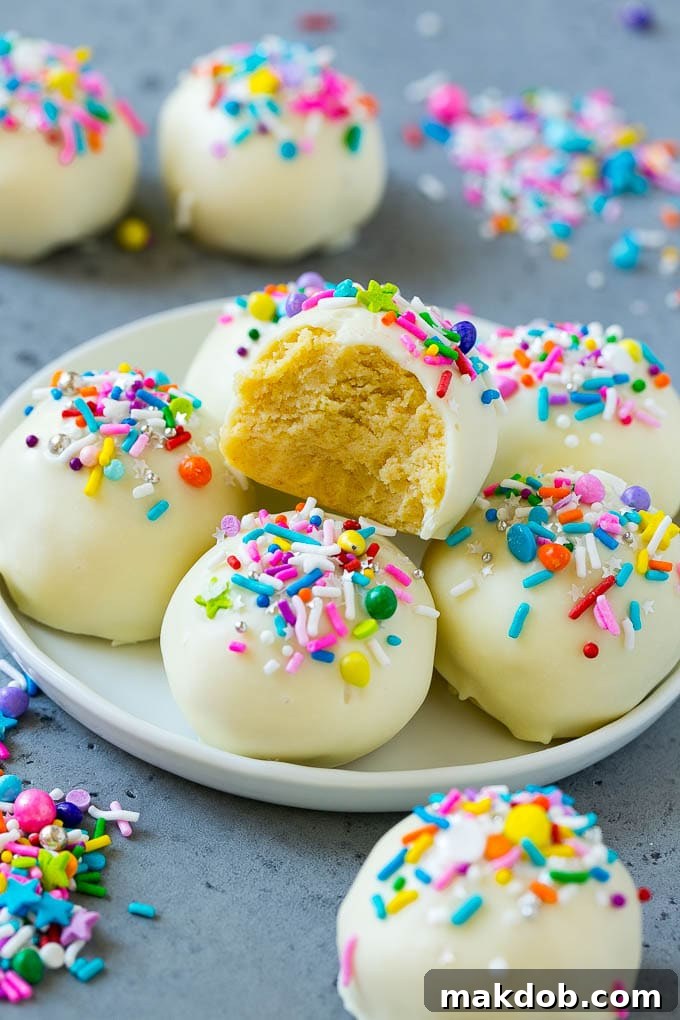
What Exactly Are Cake Balls and Cake Truffles?
At their heart, a cake ball is a delightful confection often referred to as a “cake truffle” or “cake bite.” It’s essentially a magical blend of baked cake crumbs and a generous amount of frosting, which are then rolled into bite-sized spheres. These spheres are subsequently dipped into a smooth, glossy coating of melted candy melts or chocolate, and often adorned with sprinkles, decorative drizzles, or even intricate designs to resemble flowers or whimsical characters. Think of them as a delightful fusion of cake and candy, offering all the rich flavor of a traditional cake in a convenient, portable, and incredibly appealing package. Their rich, moist interior contrasts beautifully with the crisp outer shell, creating an irresistible texture that makes them truly special.
Why Cake Balls Are the Ultimate Dessert Choice
There are countless reasons why cake balls have soared in popularity and become a beloved dessert for home bakers and professional confectioners alike. First and foremost, their inherent charm makes them almost too pretty to eat – but trust us, you’ll want to! I personally adore making cake balls because they are a guaranteed crowd-pleaser; both children and adults find themselves enchanted by these miniature marvels. Here are a few more compelling reasons to embrace the art of cake ball making:
- Effortless Elegance: They look sophisticated and impressive, yet the process is surprisingly simple, especially when using a cake mix.
- Customization King: The possibilities for flavor combinations and decorations are virtually endless, allowing for personalized creations for any theme or holiday.
- Portion Control: Their small size makes them perfect for portion control, offering a satisfying sweet treat without overindulging.
- Travel-Friendly: Unlike a traditional frosted cake, cake balls are sturdy and easy to transport, making them ideal for picnics, potlucks, and gifts.
- Make-Ahead Marvel: They can be prepared in advance, freeing up your time on the day of your event.
Crafting Your Perfect Cake Balls: A Step-by-Step Journey
The journey to creating these irresistible cake balls begins with a simple cake. My go-to method always involves a trusty box of cake mix. Why a cake mix? Because the convenience is unmatched, the flavor options are incredibly diverse, and they consistently produce a moist, delicious cake that forms the perfect base for your cake balls. Plus, it’s just so wonderfully easy!
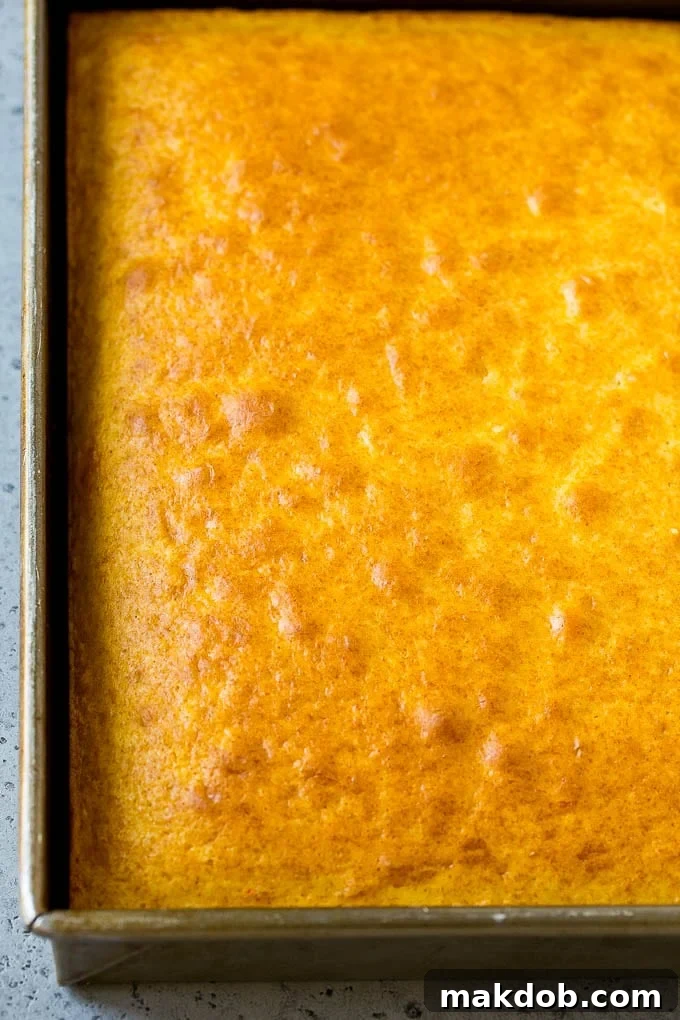
Step 1: Bake Your Cake
Start by preparing your favorite 9″x13″ cake according to the package directions. Any flavor works beautifully, providing a canvas for your culinary creativity. Ensure the cake cools completely before moving to the next step. This is crucial for achieving the right texture for your cake balls.
Step 2: Crumble and Mix
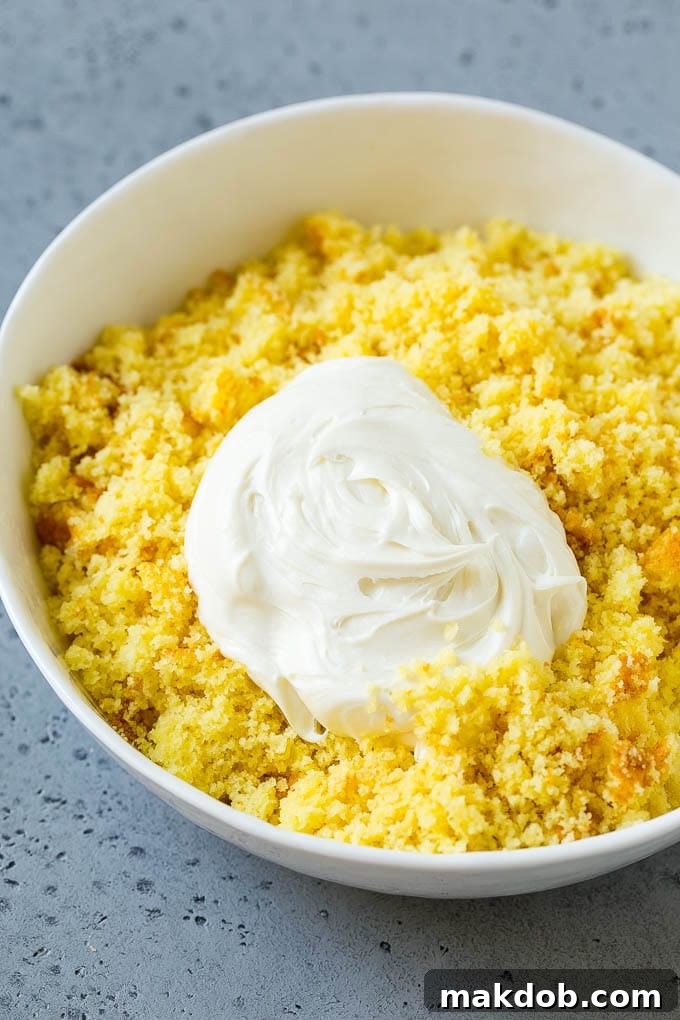
Once cooled, the cake is ready for its transformation. Crumble the entire cake into fine crumbs in a large mixing bowl. You can do this with your hands, a fork, or even a stand mixer with the paddle attachment. The finer the crumbs, the smoother your cake balls will be. Next, add your frosting. This is where the magic happens! The frosting binds the cake crumbs together, creating a pliable “dough.” You’re aiming for a consistency that is soft enough to roll but not overly sticky. If your mixture feels a bit dry, don’t hesitate to add a little more frosting, one tablespoon at a time, until you reach that perfect, moldable consistency. This delicate balance is key to perfectly formed cake balls.
Step 3: Shape and Chill
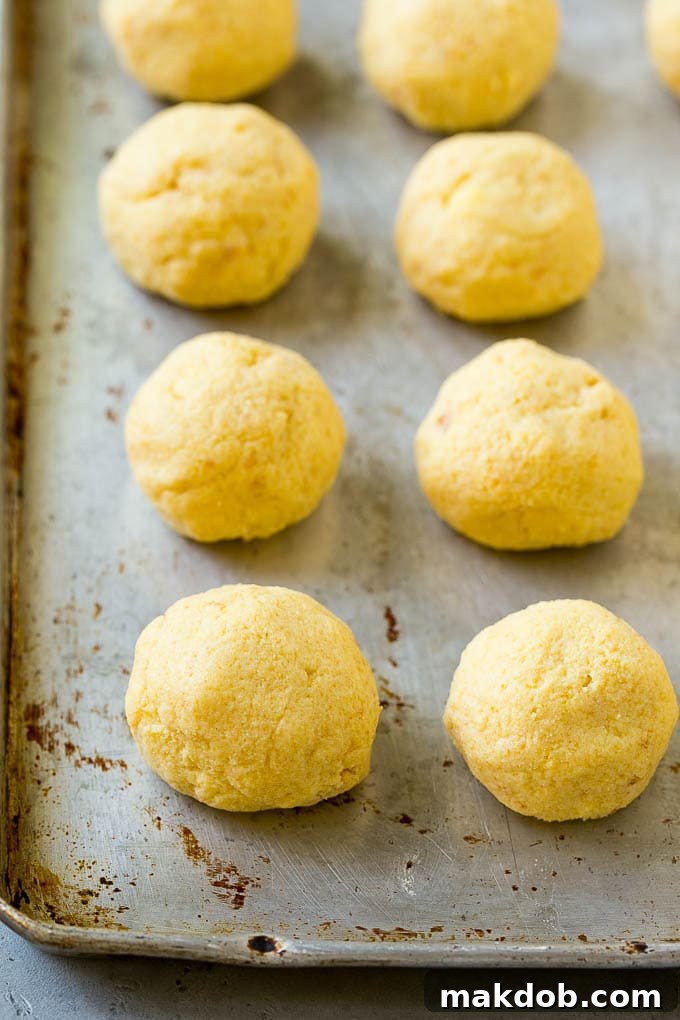
Now for the fun part: shaping! Roll the cake mixture into uniformly sized balls. I typically aim for about 1 1/2 inches in diameter, roughly the size of a golf ball or a tablespoon measure. This size is ideal for a satisfying bite. Place your formed cake balls onto a parchment-lined baking sheet. The chilling step is absolutely essential. Pop them into the refrigerator for at least one hour (or even longer) until they are firm. Cold cake balls are much easier to dip and maintain their shape, preventing them from falling apart in the warm candy melts.
Transforming Your Cake Balls into Delightful Cake Pops
Ever wondered how to turn your perfectly formed cake balls into charming cake pops? It’s incredibly simple! Once your cake balls are firm from chilling, gently insert a lollipop stick into each one. For extra security, you can dip the tip of the stick into a tiny bit of melted candy coating before inserting it into the cake ball. This acts as a “glue” to hold the cake ball securely on the stick. Then, proceed with dipping and decorating as you would with regular cake balls, as directed in the detailed recipe section below. Cake pops are fantastic for parties, as they offer a neat, individual serving that’s easy to hold and enjoy.
Mastering the Art of Dipping Cake Balls
Dipping cake balls can seem intimidating, but with the right technique, it’s a breeze. I’ve found that the easiest and cleanest way to dip cake balls is by using a fork. Here’s how to achieve that perfectly smooth coating:
- **Melt the Candy Melts:** Gently melt your candy melts in a microwave-safe bowl. Heat them in 30-second intervals, stirring thoroughly after each interval, until the melts are completely smooth and fluid. Be careful not to overheat, as this can cause them to seize or become lumpy.
- **The Fork Method:** Place one chilled cake ball onto the tines of a fork.
- **Spoon and Tap:** Using a spoon, generously pour the melted candy melts over the cake ball, ensuring it’s completely coated. Gently tap the handle of the fork against the side of the bowl. This helps to remove any excess chocolate and ensures a thin, even coating. You want just enough coating to encapsulate the cake ball; too much will lead to pooling at the bottom as it hardens.
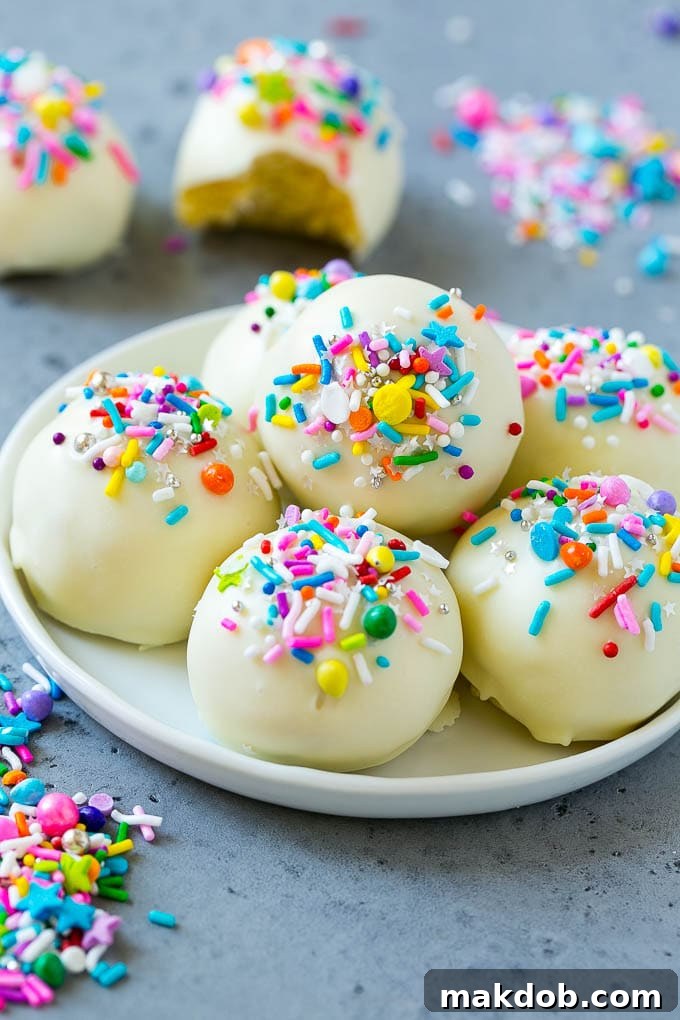
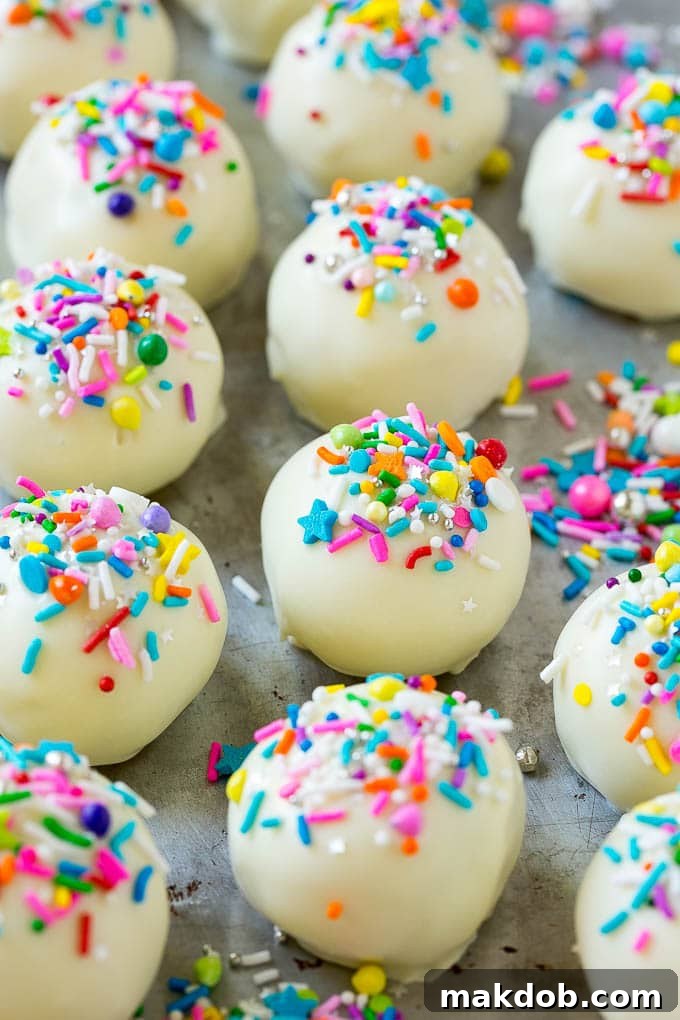
- **Transfer and Decorate:** Carefully slide the dipped cake ball off the fork onto a sheet of parchment paper. While the coating is still wet, quickly add your desired sprinkles or decorations. This is crucial for them to adhere properly.
- **Harden:** Allow the coated cake balls to harden completely at room temperature or by placing them back into the refrigerator for a quicker set.
Essential Tips and Tricks for Cake Ball Perfection
Achieving consistently beautiful and delicious cake balls is easy with a few insider tips:
- **Choose Your Melts Wisely:** While any candy melts work, I highly recommend using Ghirardelli Melting Wafers. They are widely available in most grocery stores and come in white, dark, and milk chocolate varieties. They melt incredibly smoothly and thinly, providing a beautiful, professional finish and a delicious taste that mimics real chocolate.
- **Thinning Other Candy Melts:** If you opt for another brand of candy melts, you might find them thicker. To achieve a smoother, more manageable consistency, add a teaspoon or two of shortening (like Crisco) to the melts before or during the melting process. Stir it in thoroughly until smooth. Coconut oil can also work as a thinning agent.
- **Optimal Dough Consistency:** When mixing your cake crumbs with frosting, the goal is a soft, pliable dough that isn’t sticky. If it’s too crumbly, add a touch more frosting. If it’s too sticky, you can try adding a tablespoon of powdered sugar, or simply chill the mixture for a bit to firm it up.
- **Creative Shaping:** Don’t limit yourself to just spheres! You can flatten your cake mixture into a slab and use small cookie cutters to create festive shapes like stars, hearts, or holiday-themed figures. Just ensure they are thick enough to handle dipping.
- **The Importance of Chill Time:** This cannot be overstated. Fully chilling your cake balls until they are firm is the single most important step before dipping. Soft, warm cake balls will crumble, melt, or fall apart in the warm candy melts, turning a fun process into a frustrating mess.
- **Working in Batches:** If you’re making a large quantity, consider dipping your cake balls in smaller batches. This keeps the remaining balls cold and firm while you work, and prevents the melted coating from cooling too much.
- **Using Gloves:** Disposable food-safe gloves can make shaping the cake balls a cleaner and less sticky process.
Unleashing Your Creativity: Endless Cake Ball Flavor Combinations
While a classic yellow cake with vanilla frosting is always a winner, the beauty of cake balls lies in their adaptability. The possibilities for flavor pairings are truly limitless, allowing you to tailor your treats to any occasion or personal preference. Here are some fantastic flavor combinations to inspire your next batch:
- **Bright & Zesty:** Lemon cake with a tangy lemon frosting creates a refreshing and vibrant bite.
- **Warm & Spicy:** Spice cake paired with rich cream cheese frosting offers a comforting, autumnal flavor.
- **Celebratory Fun:** Funfetti cake with classic vanilla frosting and extra sprinkles is perfect for birthdays and joyful events.
- **Chocolate Lover’s Dream:** Indulgent chocolate cake mix combined with smooth chocolate frosting for a decadent treat.
- **Sweet Strawberry:** Strawberry cake with a sweet strawberry frosting for a fruity and delightful experience.
- **Classic Red Velvet:** Rich red velvet cake with creamy cream cheese frosting is always a sophisticated choice.
- **Carrot Cake Inspired:** Carrot cake mix with cream cheese frosting, perhaps with a touch of cinnamon.
- **Mint Chocolate Chip:** Chocolate cake mix with mint-flavored frosting and crushed mint candies in the coating.
- **Pumpkin Spice:** Pumpkin spice cake mix with cream cheese frosting, coated in white chocolate and a dusting of cinnamon.
- **Coconut Dream:** Coconut cake mix with coconut-flavored frosting, rolled in shredded coconut after dipping.
Storage and Shelf Life: Keeping Your Cake Balls Fresh
One of the many advantages of cake balls is their excellent shelf life. When stored properly, they remain fresh and delicious for an extended period:
- **Room Temperature:** Cake balls will last for 5-7 days when stored in an airtight container at room temperature. Ensure they are kept away from direct sunlight or heat sources.
- **Refrigeration:** If you need to store them for longer, transfer them to an airtight container in the refrigerator, where they will keep for up to 10 days. Bring them to room temperature for about 15-20 minutes before serving for the best texture and flavor.
- **Freezing (Optional):** For even longer storage, undecorated cake balls can be frozen for up to 1-2 months. Arrange them in a single layer on a baking sheet to freeze solid, then transfer to a freezer-safe airtight container or bag. Thaw in the refrigerator overnight before dipping and decorating.
I absolutely adore how versatile these cake balls are. They’re not just for everyday treats; they’re even fantastic for holiday celebrations! I frequently make cake balls for my girls’ birthday parties, and they are always a colossal hit. The ability to customize colors and flavors makes them perfect for themed events, adding a personal and charming touch that guests always remember.
More Sweet Treats to Explore
If you’ve enjoyed making these delightful cake balls, you might love exploring these other fantastic sweet recipes:
- Chocolate Peanut Butter Fudge
- Crock Pot Candy
- Funfetti Cookies
- Haystack Cookies
- Rocky Road Fudge
Easy & Delicious Cake Balls Recipe
This simple recipe uses cake mix, frosting, and candy melts to create fun and festive cake bites. Perfect for any occasion and easily transformed into cake pops!
Recipe Details
Author: Sara Welch
Prep Time: 30 minutes
Cook Time: 30 minutes
Chill Time: 1 hour
Total Time: 1 hour 30 minutes
Course: Dessert
Cuisine: American
Servings: 36 cake balls
Ingredients
- 1 box cake mix (flavor of your choice)
- Eggs, oil, and water (as called for on cake mix box)
- 1 cup + 2 tablespoons canned frosting (flavor of your choice)
- 1 pound candy melts (Ghirardelli Melting Wafers recommended)
- 1/2 cup sprinkles (for decoration)
Instructions
- Prepare the cake mix according to the package directions, using the specified amounts of oil, water, and eggs. Bake in a 9″x13″ pan.
- Allow the cake to cool completely. Once cooled, break it apart and crumble it into very fine crumbs.
- Add the frosting to the cake crumbs. Stir until a soft, pliable dough forms. If the mixture seems dry, add additional frosting, 1 tablespoon at a time, until the desired consistency is reached (it should not be sticky).
- Roll the cake mixture into tablespoon-sized balls. Place these balls on a parchment-lined baking sheet and chill in the refrigerator for at least one hour to firm up.
- While the cake balls are chilling, melt the candy melts in a microwave-safe bowl. Heat in 30-second increments, stirring after each, until completely smooth and fluid. Be careful not to overheat.
- One at a time, place each chilled cake ball on a fork. Use a spoon to pour the melted candy melts over the cake ball, ensuring full coverage. Gently tap the fork against the side of the bowl to remove any excess coating.
- Transfer each dipped cake ball to a clean sheet of parchment paper. Immediately top with sprinkles while the coating is still wet so they adhere.
- Repeat the dipping and decorating process with the remaining cake balls and candy melts. Store the finished cake balls in an airtight container in the refrigerator until ready to serve. These can be made up to 3 days in advance.
Nutrition Information (per serving, approximate)
Calories: 116 kcal | Carbohydrates: 21g | Fat: 7g | Saturated Fat: 1g | Sodium: 116mg | Potassium: 11mg | Sugar: 15g | Calcium: 31mg | Iron: 0.3mg
(Nutrition values are estimates and may vary based on specific ingredients and brands used.)
Did you make this recipe? We’d love to see your creations! Tag @dinneratthezoo on Instagram and use the hashtag #dinneratthezoo.