
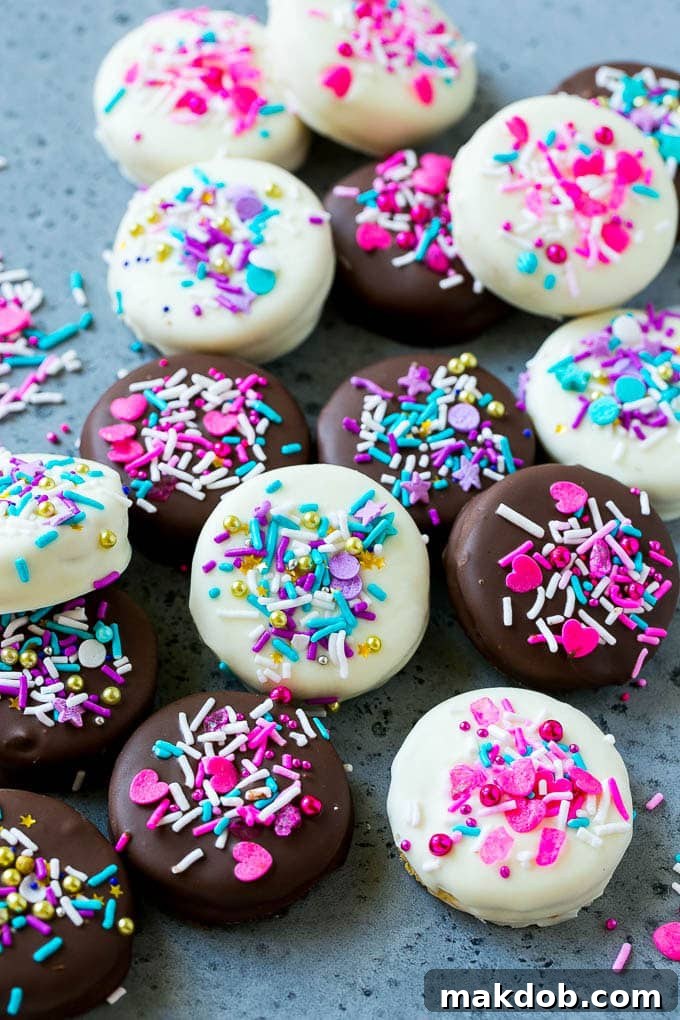
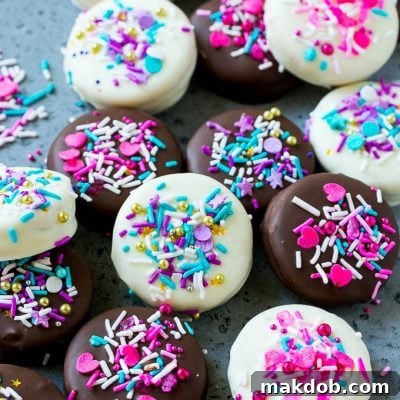
Prepare to elevate your snacking experience with these exquisite chocolate covered Oreos! Imagine classic Oreo sandwich cookies, generously enrobed in a luscious layer of either rich dark or creamy white chocolate, then adorned with a playful scattering of vibrant, colorful sprinkles. These delightful creations aren’t just a dessert; they’re a versatile treat perfect for any occasion, whether it’s a casual snack, an elegant party favor, or a heartfelt homemade gift.
Chocolate dipped Oreos possess an undeniable allure, looking incredibly fancy and sophisticated, yet they are remarkably simple to create in your own kitchen. There’s a special joy in sharing these homemade confections, especially around the holidays. They pair wonderfully with other festive delights like homemade peppermint patties and delightful crock pot candy, making for an unforgettable holiday treat box.
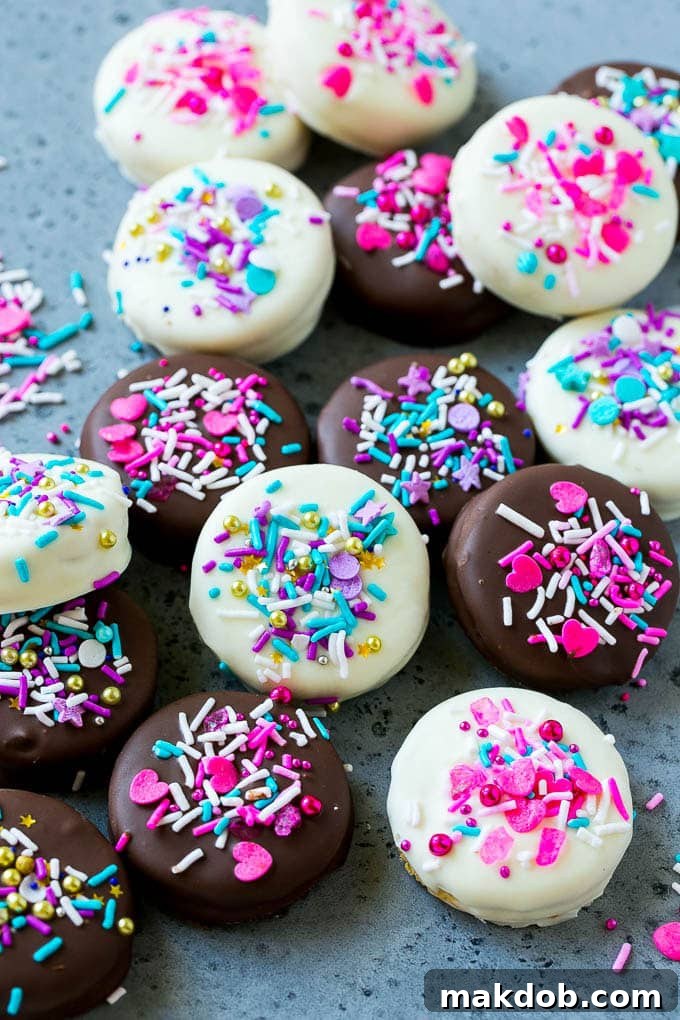
While Oreos are undeniably delicious on their own, their deliciousness multiplies exponentially when they’re encased in a smooth, sweet chocolate shell. You’ve likely spotted these decadent chocolate dipped Oreos at specialty candy stores, often at a premium price. The wonderful news is that crafting your own batch of chocolate covered Oreos requires minimal effort, and the results are so impressive, your friends and family will be utterly amazed by your confectionery skills!
Beyond everyday indulgence, these treats shine as fantastic holiday confections. For those seeking more festive ideas, explore a collection of irresistible Christmas candy recipes, including classics like crunchy peanut brittle, refreshing peppermint bark, and rich rocky road fudge. But for a truly simple yet show-stopping holiday creation, these chocolate covered Oreos are a top contender.
Table of Contents
- The Irresistible Appeal of Chocolate Covered Oreos
- Essential Ingredients for Your Chocolate Creations
- Step-by-Step Guide: Crafting Your Perfect Chocolate Covered Oreos
- The Great Debate: Candy Melts vs. Chocolate Chips
- Expert Tips for Flawless Chocolate Dipped Oreos
- Frequently Asked Questions About Chocolate Covered Oreos
- Creative Flavor and Decoration Variations
- Gifting and Serving: Sharing Your Homemade Delights
- More Fun Dessert Ideas to Explore
- Chocolate Covered Oreos Recipe
The Irresistible Appeal of Chocolate Covered Oreos
There’s something inherently delightful about a classic Oreo cookie. The crisp chocolatey wafers and the sweet, creamy filling have made it a beloved treat for generations. But when you introduce a smooth, rich coating of chocolate, the Oreo transforms into something truly magical. The added layer of texture and flavor elevates it from a simple cookie to a gourmet confection. This simple process turns an everyday favorite into an extraordinary experience, perfect for impressing guests or simply treating yourself.
These homemade delights are more than just snacks; they are expressions of creativity and indulgence. Imagine the joy of presenting a tray of these colorful, custom-made treats at a birthday party, baby shower, or even a casual get-together. They are consistently a crowd-pleaser, appealing to both children and adults alike with their familiar yet elevated taste. Plus, the ease of customization means you can tailor them to any theme or personal preference, making them truly unique.
Essential Ingredients for Your Chocolate Creations
Crafting these delectable chocolate covered Oreos requires just a few simple ingredients, making it an accessible project for any home baker or sweet enthusiast. Here’s what you’ll need to gather to get started on your delicious journey:
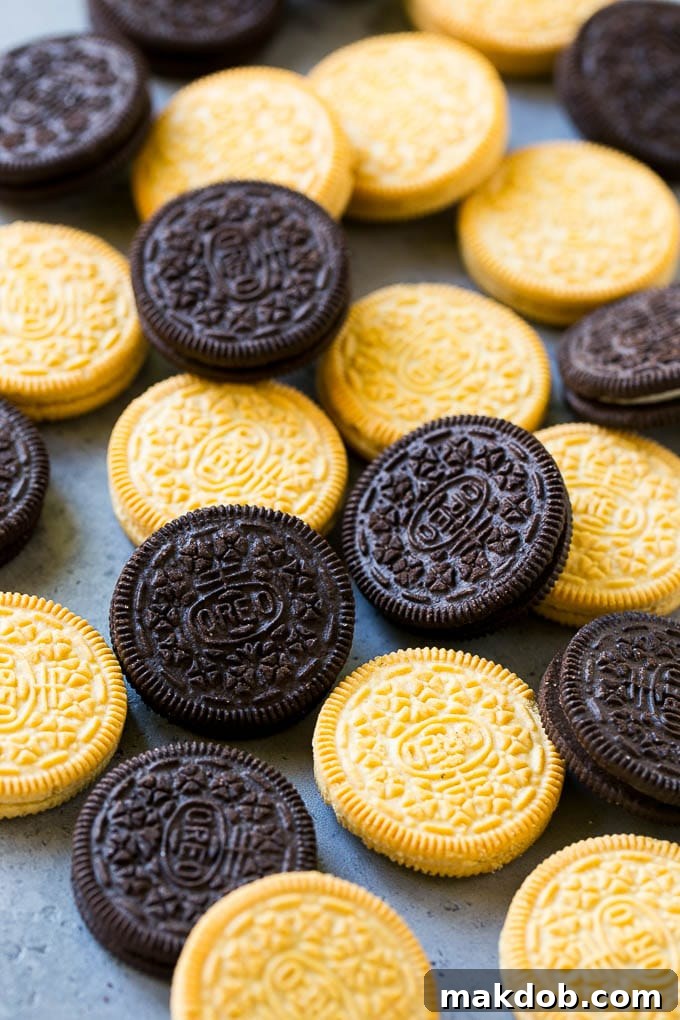
- Oreo Cookies: The star of our show! A standard package of Oreo cookies will yield plenty of chocolate-covered treats. You can use any flavor variety you prefer—classic chocolate, Golden Oreos, peanut butter Oreos, or even seasonal flavors all work wonderfully as a base. Consider using Double Stuf Oreos for an extra creamy bite!
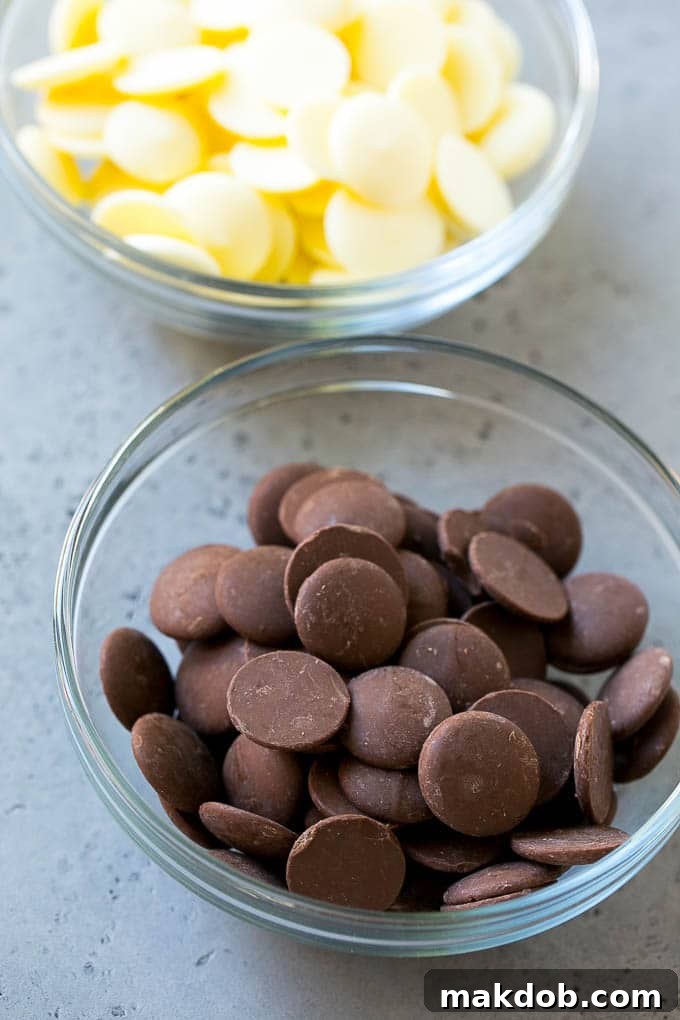
- Candy Melts: These are crucial for achieving that smooth, professional finish. You’ll need about 16 ounces, which is typically one standard bag. Candy melts come in a vast array of colors and flavors (dark, white, milk chocolate flavored, or even vibrant hues for special occasions). We’ll dive deeper into why candy melts are preferred over regular chocolate chips in a moment.
- Sprinkles: Your decorative touch! About 1 cup of sprinkles will give you plenty to work with. Choose colorful sprinkles for a festive look, or select specific colors to match a party theme or holiday. Nonpareils, jimmies, sparkling sugars, or even edible glitter can add that perfect finishing touch.
Step-by-Step Guide: Crafting Your Perfect Chocolate Covered Oreos
Creating beautiful, homemade chocolate dipped Oreos is incredibly straightforward. Follow these simple steps for a perfect batch every time:
- Prepare Your Workspace: Start by lining a baking sheet or a large cutting board with parchment paper. This will prevent your chocolate-covered cookies from sticking and make cleanup a breeze. Have your sprinkles ready in a small bowl, easily accessible.
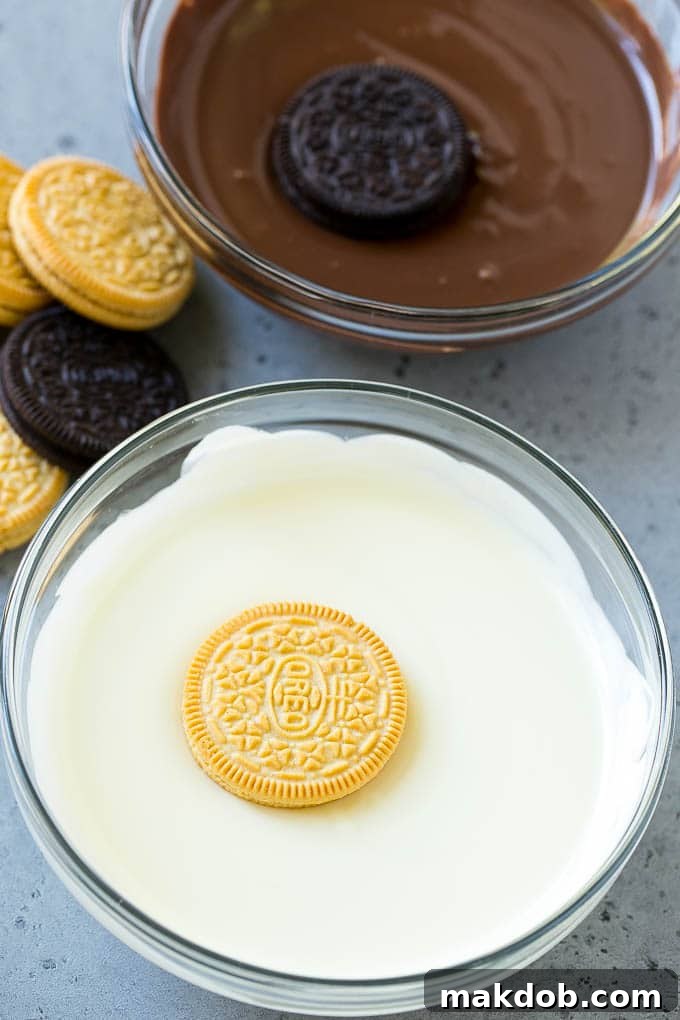
- Melt the Candy Melts: Place your chosen candy melts (dark, white, or a combination) into a microwave-safe bowl. Heat the melts in short increments, typically 30 seconds at a time. After each interval, remove the bowl and stir the melts thoroughly. Continue this process until the candy melts are completely smooth and free of any lumps. Stirring frequently is key to preventing scorching and ensuring an even melt.
- Dip the Oreos: Using a fork, carefully submerge one Oreo cookie into the melted chocolate. Ensure the entire cookie is fully enrobed in chocolate. Lift the cookie with the fork, gently tapping the handle against the side of the bowl. This crucial step allows any excess chocolate to drip off, preventing a thick, uneven coating and the formation of a “foot” at the base of the cookie.
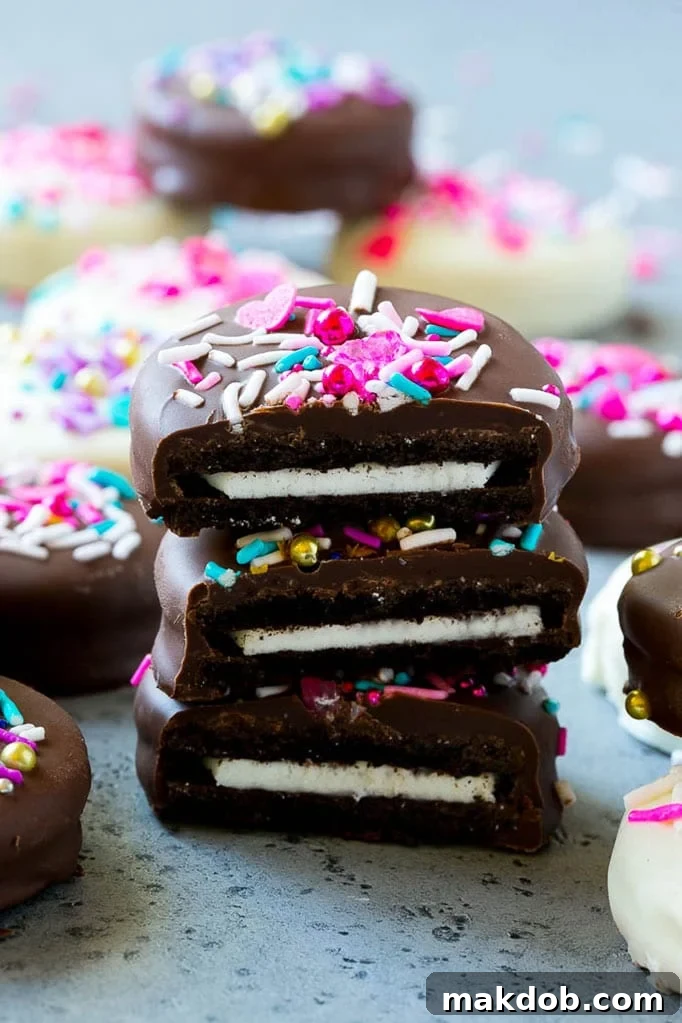
- Add Sprinkles: Immediately after dipping and shaking off excess chocolate, carefully transfer the chocolate-covered Oreo to the prepared parchment paper. While the chocolate is still warm and wet, generously apply your sprinkles. Don’t wait too long, as the chocolate sets quickly, and the sprinkles won’t adhere properly if it dries.
- Cool and Set: Allow the dipped cookies to cool completely at room temperature. Depending on your room’s temperature and humidity, this could take anywhere from 30 minutes to an hour. For quicker setting, you can place the baking sheet in the refrigerator for about 10-15 minutes. Once the chocolate is fully set and firm to the touch, your gorgeous chocolate covered Oreos are ready to serve and enjoy!
The Great Debate: Candy Melts vs. Chocolate Chips
When embarking on your chocolate dipping adventure, you might wonder whether to reach for candy melts or traditional chocolate chips. For this recipe, candy melts are the unequivocal champion, and here’s why:
Candy melts are specifically formulated for melting and dipping. They contain ingredients that allow them to melt smoothly and achieve a thin, even coating that sets quickly and beautifully. This results in a professional-looking finish, reminiscent of what you’d find in a high-end chocolate shop. Regular chocolate chips, on the other hand, often create a much thicker shell that can be prone to cracking and may not have the same appealing sheen.
Another significant advantage of candy melts is that they eliminate the need for tempering. Tempering is a precise process required for real chocolate to ensure it sets with a glossy finish and a satisfying snap, without developing unattractive gray streaks or a powdery “bloom” (a dull, whitish film) over time. If you use untempered real chocolate, it will likely dry with these gray streaks, detracting from the visual appeal. Candy melts, being a confectionery coating rather than true chocolate, do not contain the same cocoa butter structure that causes blooming. This means your chocolate covered Oreos will retain their beautiful, shiny finish for weeks when properly stored, without any extra effort.
In essence, candy melts offer an incredibly user-friendly experience, guaranteeing a smooth, fast-setting, and visually appealing coating without the complexities of chocolate tempering. This makes them the ideal choice for beginners and experienced bakers alike who seek perfect results with minimal fuss.
Expert Tips for Flawless Chocolate Dipped Oreos
Achieving perfectly coated, picture-worthy chocolate covered Oreos is easier than you think with a few simple tricks up your sleeve. These tips will help you avoid common pitfalls and ensure your treats are not only delicious but also visually stunning:
- Scrape Excess Chocolate: After dipping each Oreo, be sure to scrape off all excess chocolate from the bottom and sides. This is crucial to prevent the chocolate from pooling around the base of the cookie, creating an unsightly “foot” when it dries. A gentle tap of the fork against the bowl usually does the trick.
- Tap for Smoothness: As you lift the dipped cookie with a fork, gently tap the fork against the side of the bowl several times. This action helps smooth out the chocolate coating and allows any remaining excess to drip away, leaving a perfectly even and thin layer.
- Sprinkle While Warm: The timing for sprinkles is key! Make sure to put sprinkles on the cookies while the chocolate is still warm and wet. If you wait until the chocolate begins to set, the sprinkles won’t adhere properly and will just roll off.
- Reheat as Needed: If your candy melts start to thicken up during the dipping process, don’t worry! Simply return them to the microwave and heat for another 10-15 seconds, stirring thoroughly until they are smooth and fluid again. Repeat as necessary.
- Use a Dipping Tool: While a fork works well, specialized chocolate dipping tools can make the process even easier, offering better grip and control.
- Avoid Water: Ensure all your equipment is completely dry. Even a tiny drop of water can cause candy melts to seize and become thick and unusable.
- Work in Batches: If you’re making a large quantity, consider working in smaller batches of melted chocolate to prevent it from cooling and thickening too quickly.
Quick Tip for Quality
For the absolute best results in terms of taste and ease of use, I HIGHLY recommend using Ghirardelli Melting Wafers. They melt beautifully, provide a smooth, consistent coating, and their flavor is superior, tasting more like real chocolate than many other candy melt brands.
Frequently Asked Questions About Chocolate Covered Oreos
The easiest and most common way to melt candy melts is in the microwave. Place them in a microwave-safe bowl and heat in 30-second increments, stirring well after each interval, until the melts are smooth and fully liquefied. Be careful not to overheat. If your candy melts appear too thick for dipping, you can add a small amount of vegetable shortening (about 1 teaspoon at a time) and stir until you achieve your desired thinner consistency. Do not add water.
When stored properly in an airtight container at room temperature, homemade chocolate covered Oreos can last for up to 2 weeks. For best freshness and texture, consume them within 1 week. Avoid refrigerating them unless your kitchen is excessively warm, as condensation can affect the chocolate’s texture and appearance. If refrigerated, allow them to come to room temperature before serving.
Absolutely! This recipe is incredibly versatile. Feel free to experiment with various Oreo flavors. Classic chocolate Oreos are always a hit, but Golden Oreos, Mint Oreos, Peanut Butter Oreos, or even seasonal varieties like Pumpkin Spice or Peppermint Bark Oreos can add an exciting twist to your chocolate-covered creations. Double Stuf Oreos also work wonderfully for those who love extra cream!
It’s common for candy melts to thicken as they cool. Simply return the bowl to the microwave for another 10-15 seconds, then stir vigorously until it regains its smooth, dippable consistency. If it’s still too thick, you can stir in a tiny amount of vegetable shortening or paramount crystals (specifically designed for thinning confectionery coatings), a quarter teaspoon at a time, until the desired fluidity is reached. Avoid adding water, as it will cause the chocolate to seize.
Follow Me for More Delicious Ideas
Gifting and Serving: Sharing Your Homemade Delights
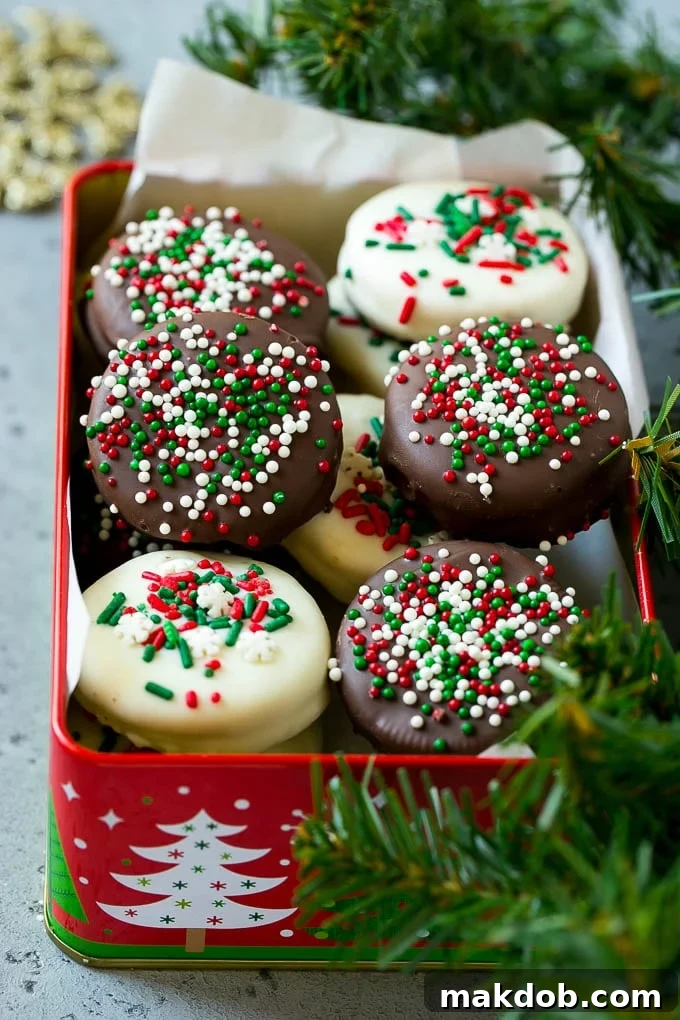
Beyond being a personal treat, chocolate covered Oreos truly shine as thoughtful, homemade gifts. Around the holidays, they are a staple in our home. We love to package them meticulously in cellophane bags tied with festive ribbons or arrange them neatly in elegant gift tins. My children take immense pride and joy in delivering these personalized sweet tokens to friends, neighbors, and teachers around town. The delighted expressions of recipients, always impressed that these gourmet-looking treats were made from scratch, make the effort entirely worthwhile!
These versatile chocolate dipped Oreos are perfectly suited for an astonishing array of occasions. Consider them as unique wedding favors, customizable birthday party treats, engaging classroom event snacks, or delightful additions to any dessert bar. Their universal appeal ensures they’re always a welcome sight at any gathering, big or small. You can even personalize them further by selecting sprinkles that match the event’s color scheme or theme, adding an extra touch of thoughtful detail.
Creative Flavor and Decoration Variations
While the classic chocolate covered Oreos are undeniably fantastic, the true fun lies in their endless customization possibilities. You can easily adapt this recipe to suit any taste preference, holiday theme, or special occasion. Here are some inspiring ideas to get your creativity flowing:
- Oreo Varieties: Don’t limit yourself to just the original! I often use a mix of both classic chocolate and Golden Oreos for variety. But you can truly use any flavor Oreo available:
- Peanut Butter Oreos: For a delightful nutty twist.
- Mint Oreos: Perfect with dark chocolate for a refreshing combination.
- Lemon or Birthday Cake Oreos: Pair well with white chocolate for bright, festive flavors.
- Double Stuf Oreos: For those who love an extra creamy center.
- Holiday Themes: Transform your cookies for any time of year simply by changing the sprinkles and chocolate colors.
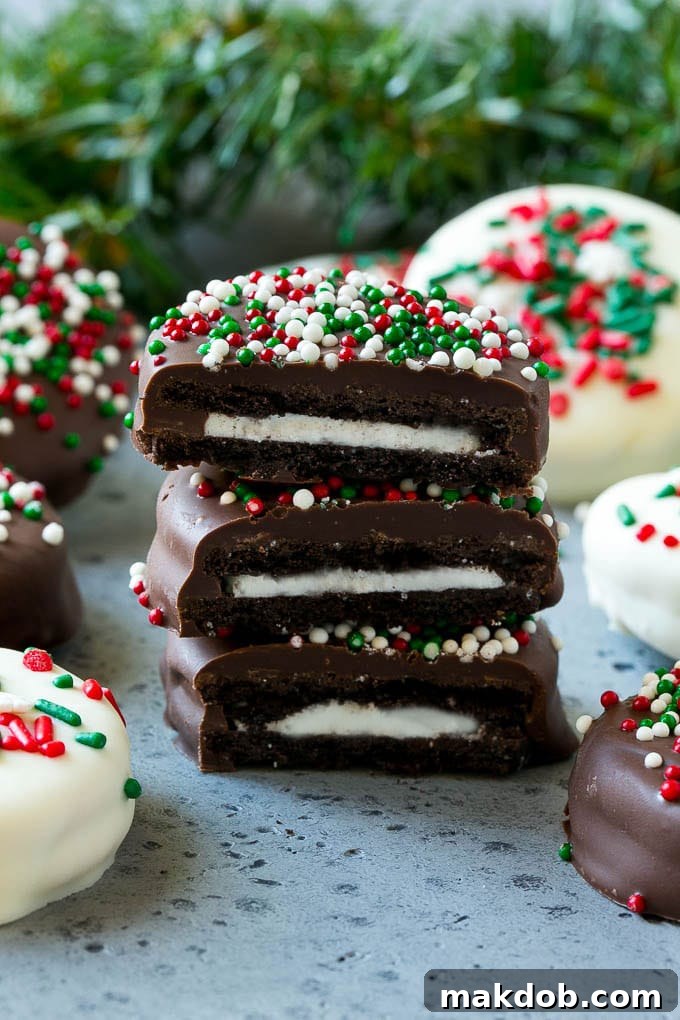
- Christmas: Red, green, and white sprinkles, crushed candy canes, or a drizzle of contrasting chocolate.
- Easter: Pastel-colored sprinkles, edible Easter egg shapes, or white chocolate dyed soft yellow or blue.
- Valentine’s Day: Red and pink heart sprinkles, a dusting of freeze-dried raspberry powder, or white chocolate with a pink drizzle.
- Halloween: Orange, purple, and black sprinkles, edible googly eyes, or dark chocolate with white chocolate “spiderwebs.”
- Fourth of July: Red, white, and blue sprinkles or a combination of white chocolate with blue and red candy melts drizzled over.
- Topping Extravaganza: Sprinkles are just the beginning! Broaden your topping horizons with these delicious additions:
- Nuts: Finely chopped almonds, walnuts, pecans, or pistachios for added crunch and flavor.
- Crushed Candies: Crushed candy canes for Christmas, crushed toffee bits, mini M&M’s, or even crushed potato chips for a salty-sweet sensation.
- Dried Fruits: Finely chopped dried cranberries, cherries, or apricots for a chewy, fruity element.
- Spices: A light dusting of cinnamon, chili powder (for a Mexican hot chocolate vibe), or sea salt flakes for an elegant touch.
- Drizzles & Designs: After the main chocolate coating sets, drizzle a contrasting color of melted chocolate over the top for an artistic flair. Create patterns, zigzags, or swirls.
- Coconut: Toasted coconut flakes add a tropical flavor and texture.
- Different Chocolates: While candy melts are recommended for ease, you can also experiment with different flavored candy melts like peanut butter, butterscotch, or even caramel for a truly unique taste profile.
With these variations, chocolate dipped Oreos can be tailored for virtually any celebration – from elegant wedding favors and festive birthday party treats to casual classroom events and sophisticated dessert platters. It’s a delightful treat that consistently brings smiles and is always a welcome addition to any gathering.
More Fun Dessert Ideas to Explore
Microwave Caramels with Sea Salt
Total Time: 9 mins
Chocolate Peanut Butter Fudge
Total Time: 10 mins
Buckeye Balls (Peanut Butter Balls)
Total Time: 1 hr 2 mins
Haystack Cookies
Total Time: 10 mins
Candy Cane Hearts
Total Time: 16 mins
Love This Recipe?
We’d love to hear from you! Please consider leaving a 5-star 🌟🌟🌟🌟🌟 rating in the recipe card below and a review in the comments section further down the page. Your feedback helps us share more delicious recipes!
Chocolate Covered Oreos
Pin
Time
20
2
22
Ingredients
- 1 package Oreo cookies any flavor variety
- 16 ounces candy melts white, dark or a combination
- 1 cup sprinkles
Instructions
-
Place the candy melts in microwave safe bowl. Microwave in 30 second increments until melted, stirring occasionally until smooth.
-
Use a fork to dip each Oreo in the melted chocolate, ensuring it’s fully coated. Gently tap the fork against the side of the bowl to remove any excess chocolate from the Oreos.
-
Place the chocolate-covered Oreos on a sheet of parchment paper. Add sprinkles to the top of each Oreo immediately while the chocolate is still wet, then let the cookies sit until completely dry and set.
-
Serve your delightful chocolate covered Oreos, or store them in an airtight container for up to 2 weeks.
Notes
- For the best taste and easiest melting, I HIGHLY recommend using Ghirardelli Melting Wafers.
- Always scrape off excess chocolate from the bottom of your Oreos to prevent a “foot” (a pool of chocolate) from forming when they dry.
- Tapping the dipped cookie gently against the side of the bowl helps ensure a smooth, even coating and allows excess chocolate to drip off.
Nutrition
Carbohydrates: 16g |
Fat: 4g |
Saturated Fat: 2g |
Sodium: 63mg |
Potassium: 27mg |
Sugar: 12g |
Calcium: 3mg |
Iron: 1.1mg
Did you make this recipe?
Tag @dinneratthezoo on Instagram and hashtag it #dinneratthezoo
Tweet
Pin