
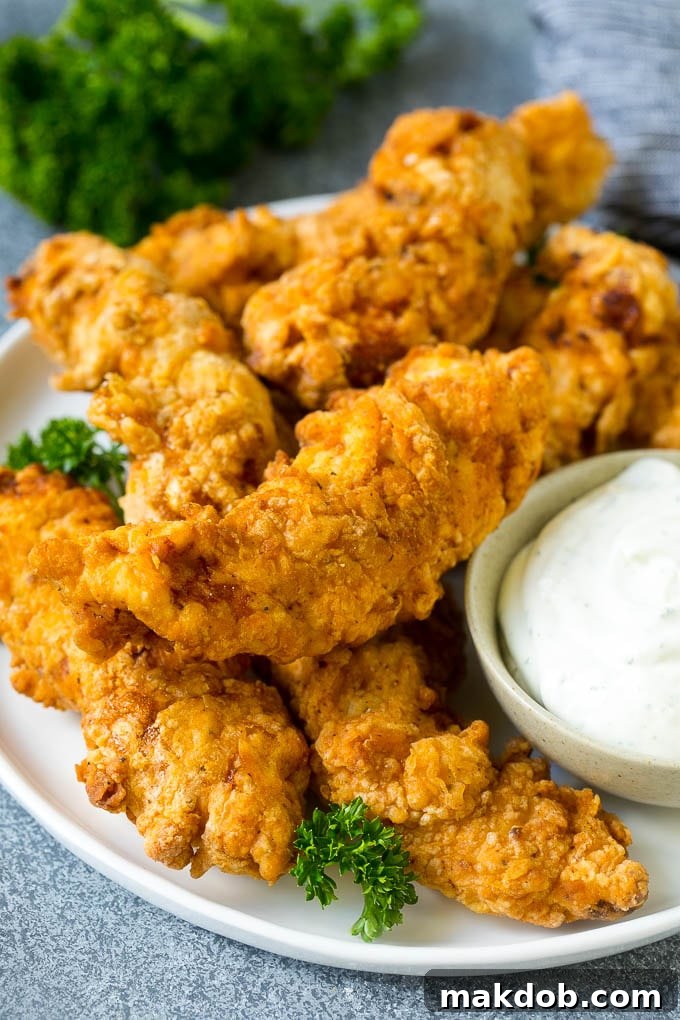
Welcome to the definitive guide for crafting the most delectable homemade chicken fingers you’ve ever tasted! Marinated in rich buttermilk and fried to an unparalleled golden crisp, these aren’t just chicken tenders; they are a culinary experience that genuinely surpasses any restaurant offering. Prepare to elevate your dinner game with a recipe that promises tender, juicy chicken encased in an irresistibly crunchy coating.
There are those evenings when dinner inspiration seems to vanish, leaving you scratching your head for a crowd-pleasing meal. For me, the answer is always these spectacular crispy chicken tenders. They are an absolute hit every single time, guaranteed to bring smiles to the table. I love creating a complete and satisfying meal by serving my chicken fingers alongside vibrant Parmesan roasted broccoli and luxuriously creamy Instant Pot mashed potatoes. This combination is not just delicious but also surprisingly easy to pull together for a weeknight feast or a special weekend treat.
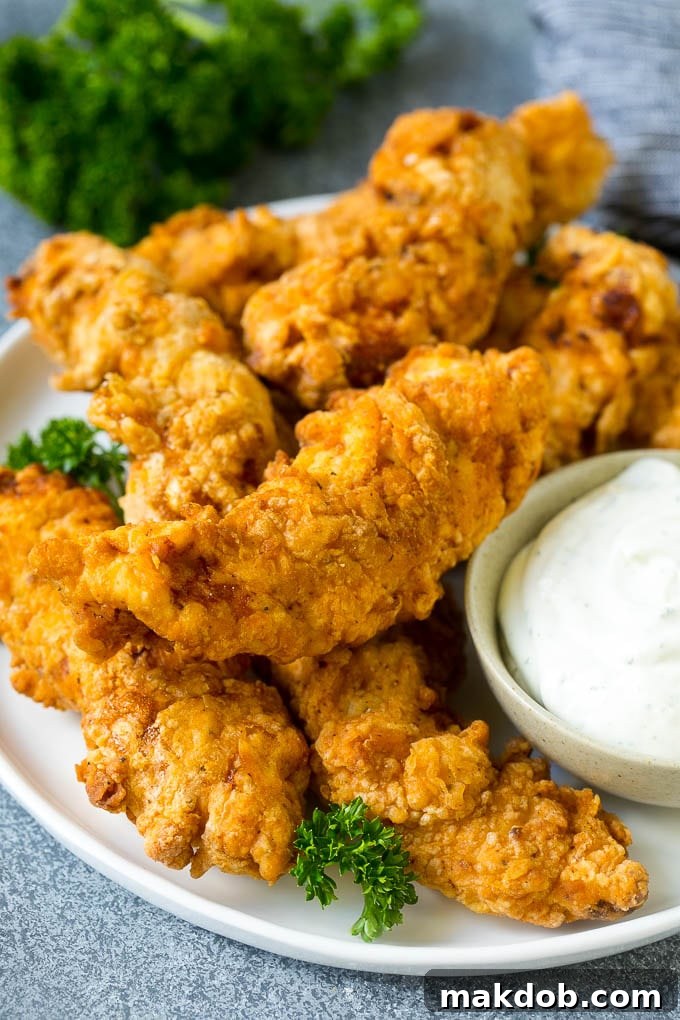
The allure of perfectly fried chicken is undeniable – that harmonious blend of an ultra-crispy, perfectly seasoned exterior giving way to tender, succulent meat. It’s a classic comfort food for a reason, evoking warmth and satisfaction with every bite. I’ve spent time perfecting the art of crafting restaurant-quality chicken fingers right in my own kitchen, and I’m thrilled to share that they are far simpler to prepare than you might imagine. Forget soggy, bland imitations; these are the real deal. If you’re eager to explore more fantastic ways to enjoy fried chicken, be sure to check out my comprehensive list of 10 sensational fried chicken recipes!
Mastering the Art of Homemade Chicken Fingers
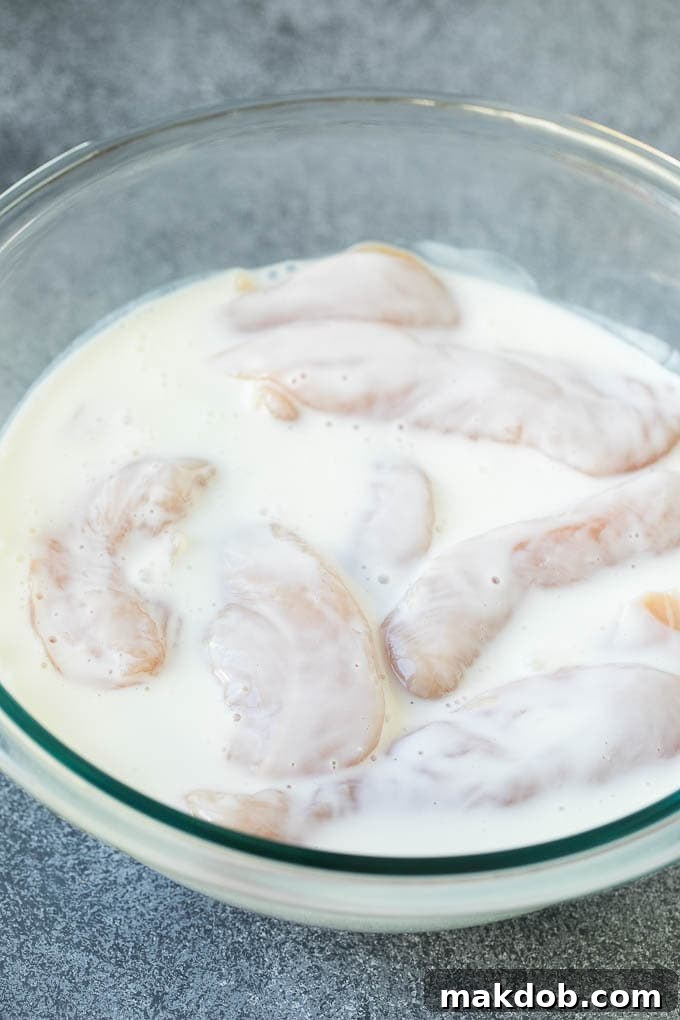
Creating these sensational chicken fingers involves a few key steps that ensure maximum flavor and an irresistible texture. It all begins with a vital pre-treatment: the buttermilk marinade. This isn’t just a simple soak; it’s a tenderizing superpower. The natural lactic acid in buttermilk works wonders, gently breaking down the chicken’s muscle fibers, resulting in incredibly tender and juicy meat. Beyond tenderizing, buttermilk also creates a slightly tacky surface on the chicken, which is absolutely crucial for the seasoned flour coating to adhere beautifully, forming a thick, crunchy crust that locks in moisture.
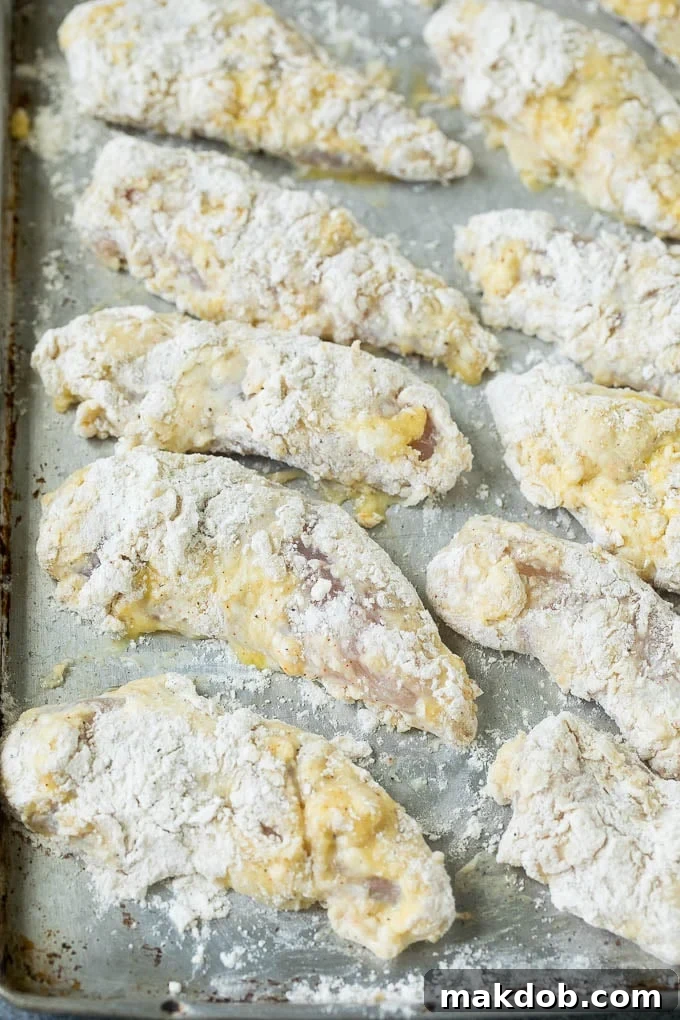
After its buttermilk bath, the chicken embarks on its journey to ultimate crispiness through a classic double-dredging technique. First, each tender is generously coated in a well-seasoned flour mixture. This initial layer provides a robust base for the subsequent coatings. Next, the chicken is dipped into beaten egg, which acts as a binding agent. Finally, it returns to the seasoned flour for a second, crucial coating. This double layer is the secret to achieving that extra-thick, wonderfully craggy, and unbelievably crispy exterior that defines truly exceptional chicken fingers.
The grand finale is the frying process itself. Each breaded chicken tender is carefully lowered into hot oil, where it transforms into a beautiful golden brown masterpiece. The goal is a perfect balance: a deeply browned, audibly crispy crust and a thoroughly cooked, moist interior. Once removed from the oil, a brief rest allows any excess oil to drain and the coating to set, intensifying its crispness. Serve these golden delights with your favorite dipping sauce on the side – be it tangy ranch, sweet honey mustard, or classic ketchup – and prepare for an unforgettable meal!
Understanding Chicken Breast Tenders: The Ideal Cut
This recipe specifically calls for chicken breast tenders, often referred to as chicken breast tenderloins. These are not merely strips cut from a full chicken breast, but rather a distinct, naturally occurring muscle. The tenderloin is a small, elongated flap of meat that is loosely attached to the underside of the main chicken breast. As their name suggests, these pieces are inherently more tender and finely textured than the larger, more fibrous chicken breast. Their natural shape and tenderness make them perfect for quick cooking and for achieving that desirable “finger” shape.
While chicken tenderloins are the preferred choice for their superior texture and convenience, don’t fret if you can’t find them at your local grocery store. This recipe is incredibly versatile and will yield fantastic results even with boneless, skinless chicken breasts. Simply slice a standard chicken breast lengthwise into strips approximately 1-inch thick. Ensure the strips are uniform in size to promote even cooking. Before marinating, always pat your chicken dry with paper towels; this helps the buttermilk adhere better and ultimately contributes to a crispier coating.
Essential Tips for Flawless Chicken Fingers
Achieving consistently perfect chicken fingers, whether fried or baked, comes down to a few critical techniques and considerations. These tips will help you avoid common pitfalls and ensure every batch is as delicious as the last:
- **Temperature Control is King:** When deep frying, a reliable deep-frying thermometer is your best friend. Maintaining the oil temperature between 350-375 degrees F (175-190 degrees C) is absolutely crucial. If the oil is too hot, the breading will burn quickly before the chicken has a chance to cook through, leaving you with raw interiors. Conversely, if the oil is too cool, the chicken will absorb excessive oil, resulting in a greasy, heavy, and less crispy product. Consistency is key for uniform cooking and golden perfection.
- **Batch Frying for Best Results:** Resist the urge to overcrowd your pot. Frying too many pieces of chicken at once will drastically drop the oil temperature, leading to greasy, poorly cooked tenders. Work in batches of 4-5 pieces, allowing the oil to recover its temperature between additions. This ensures each piece fries beautifully and evenly.
- **Serving and Reheating:** Chicken fingers are unequivocally best enjoyed immediately after frying, when their crispiness is at its peak. However, if you find yourself with leftovers (a rare occurrence!), they can be successfully reheated. For optimal crispness, arrange them on a wire rack set over a baking sheet and bake at 425 degrees F (220 degrees C) for about 10-15 minutes, or until they regain their delightful crunch. An air fryer also works wonders for reheating, yielding similar crispy results.
- **Dipping Sauce Extravaganza:** While a classic side of ranch dressing is always a winner (and my personal favorite!), don’t limit yourself! Ketchup and honey mustard are timeless choices, but consider expanding your dipping repertoire. Creamy buffalo sauce, smoky BBQ sauce, sweet and sour, or even a homemade garlic aioli can transform the experience and cater to diverse palates.
- **The Importance of Resting:** Once fried, transfer your chicken fingers to a wire rack set over a baking sheet. This allows air to circulate around them, preventing the bottoms from becoming soggy. A brief rest also allows the internal juices to redistribute, ensuring every bite is moist and flavorful.
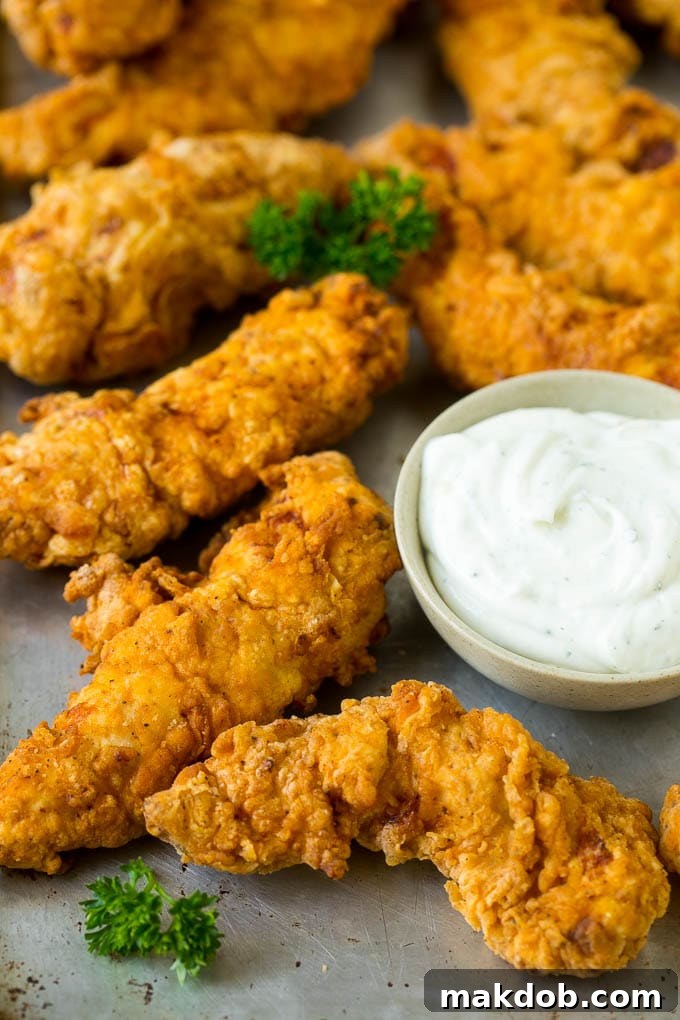
Baked Chicken Fingers: A Lighter, Crispier Alternative
For those seeking a healthier take on this beloved classic without sacrificing an ounce of crunch, baked chicken fingers are an excellent option. While the deep-fried version offers an undeniable indulgence, baking can produce wonderfully crispy results with significantly less oil. The secret lies in the right coating and baking technique.
Instead of traditional flour, we’ll swap in Panko breadcrumbs for a superior baked crisp. Panko breadcrumbs, hailing from Japan, are distinguished by their larger, flaky, and airy texture compared to regular breadcrumbs. This unique structure allows them to absorb less oil and become exceptionally crispy when baked. To prepare your baked tenders, simply combine 2 cups of Panko breadcrumbs with the same delightful array of spices listed in our original recipe – salt, pepper, smoked paprika, garlic powder, onion powder, and a touch of baking powder for an extra lift. After the buttermilk marinade, coat each piece of chicken in beaten egg, then roll it generously in your seasoned Panko mixture, pressing gently to ensure thorough adhesion. Arrange the coated chicken pieces in a single layer on a greased sheet pan, ideally on a wire rack to promote air circulation around all sides for maximum crispiness. A light spritz of cooking spray over the breaded chicken will also aid in achieving that beautiful golden-brown color and extra crunch. Bake at a high temperature, 425 degrees F (220 degrees C), for approximately 15-20 minutes, or until the tenders are golden brown and cooked through. The internal temperature should reach 165°F (74°C) for food safety.
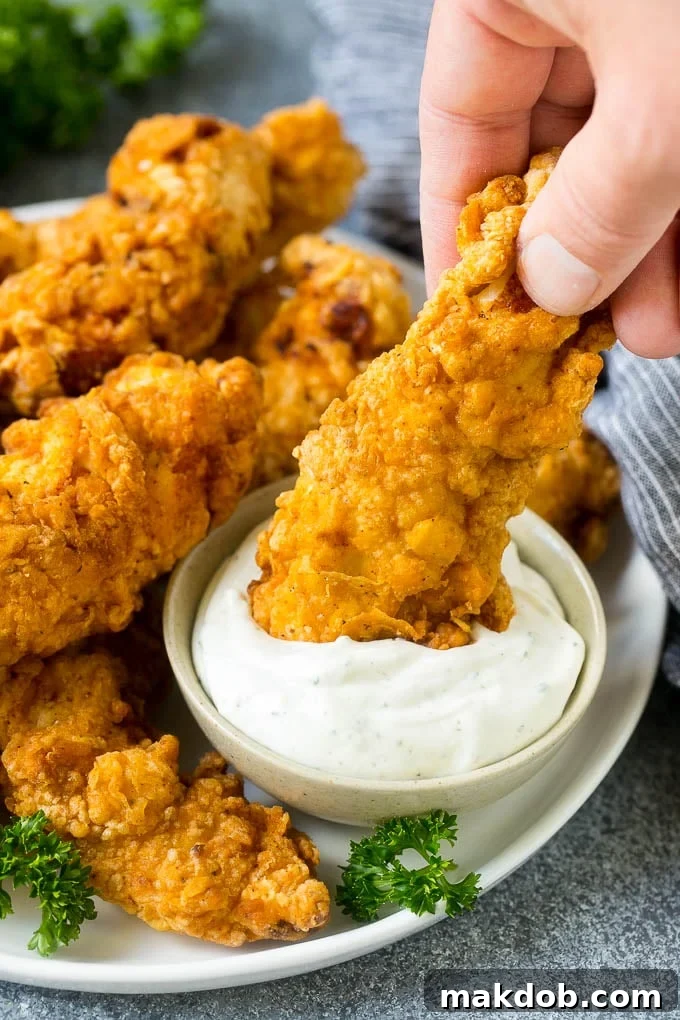
These homemade chicken tenders truly stand out as some of the finest I’ve ever encountered. Their versatility makes them a fantastic choice for any occasion – a universally loved, kid-friendly dinner that even the pickiest eaters will devour, or a hearty, satisfying appetizer perfect for game day gatherings. Once you experience the superior flavor and texture of these tenders made right in your own kitchen, you’ll likely find yourself leaving restaurant chicken finger orders firmly in the past!
More Delicious Chicken Recipes You’ll Adore
- Bacon Ranch Chicken Foil Packets
- Quick and Easy Chicken Taco Soup
- Bruschetta Chicken
- Grilled Chicken Tenders
- Monterey Chicken
Chicken Fingers
Pin
Save
Time
Ingredients
- 2 pounds chicken breast tenders
- 1 1/2 cups buttermilk
- 3 eggs beaten
- 1 3/4 cups all-purpose flour
- 2 1/4 teaspoons kosher salt
- 1/2 teaspoon black pepper
- 1/4 teaspoon smoked paprika
- 1/4 teaspoon garlic powder
- 1/4 teaspoon onion powder
- 1/8 teaspoon baking powder
- vegetable oil for frying
Instructions
-
Place the chicken breast tenders and buttermilk in a large bowl. Stir to combine, ensuring all chicken pieces are submerged.
-
Cover the bowl and refrigerate for at least 30 minutes. For maximum tenderness and flavor, you can marinate the chicken for up to 8 hours.
-
In a medium-sized bowl, lightly beat the 3 eggs. In a separate, shallow bowl, combine the flour, kosher salt, black pepper, smoked paprika, garlic powder, onion powder, and baking powder.
-
Stir the dry flour and spices together thoroughly until well combined and evenly distributed.
-
Remove each piece of chicken from the buttermilk marinade, allowing excess liquid to drip off. One at a time, first coat the chicken generously in the seasoned flour mixture, shaking off any excess. Then, dip it into the beaten egg, ensuring full coverage. Finally, coat it again in the seasoned flour, pressing gently to create a thick, crispy breading. Repeat this process until all chicken pieces are fully coated.
-
In a large, deep pot or Dutch oven, heat about 3 inches of vegetable oil to 350 degrees F (175 degrees C). Use a deep-frying thermometer to accurately monitor the temperature.
-
Carefully place 4-5 pieces of chicken into the hot oil, ensuring not to overcrowd the pot. Fry for 6-8 minutes, flipping occasionally, or until the chicken is golden brown and cooked through (internal temperature should reach 165 degrees F or 74 degrees C).
-
Remove the fried chicken from the oil and drain on a wire rack set over paper towels to remove excess oil. Serve immediately with your favorite dipping sauces.
Nutrition
This post was originally published on April 26, 2015 and was updated on November 19, 2019 with new content.