
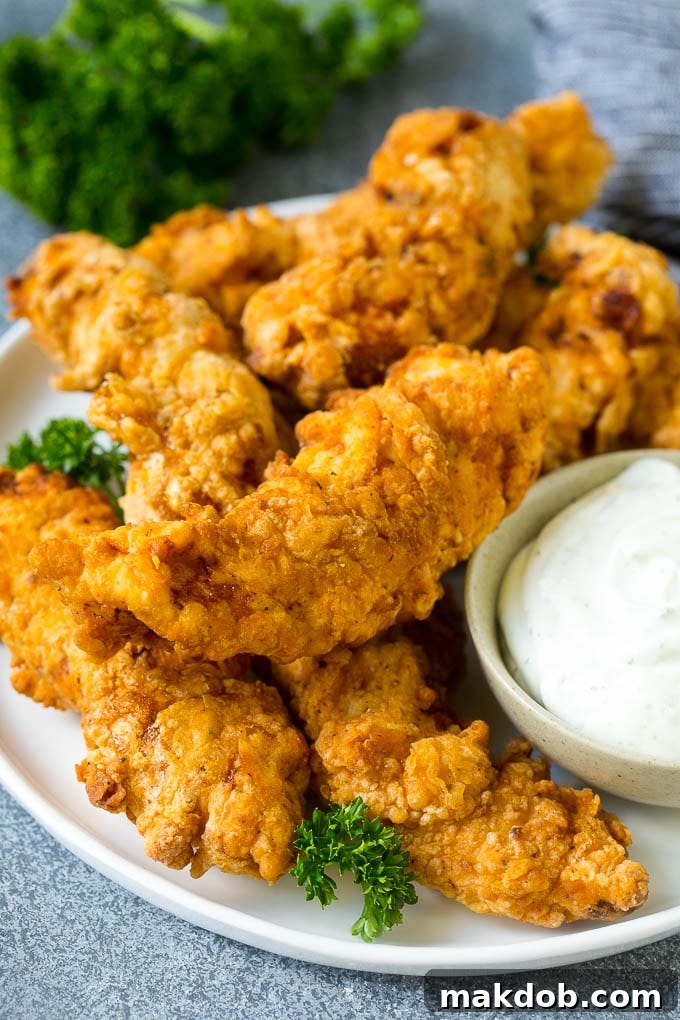
Homemade Crispy Chicken Tenders: The Ultimate Restaurant-Style Recipe
Prepare to elevate your weeknight dinners with these unbelievably delicious homemade crispy chicken tenders. Marinated in creamy buttermilk and expertly fried to a perfect golden-brown crisp, these chicken fingers aren’t just good—they’re better than anything you’d order at your favorite restaurant. Forget the soggy, bland versions; this recipe promises juicy, tender chicken enveloped in an irresistibly crunchy coating that the whole family will adore.
Whenever I’m searching for a guaranteed crowd-pleaser for dinner, these crispy chicken tenders are my go-to choice. They consistently hit the mark and transform a simple meal into something special. I love serving them alongside a vibrant side of Parmesan Roasted Broccoli and fluffy Instant Pot Mashed Potatoes for a complete and satisfying spread. But don’t limit yourself—these versatile tenders pair wonderfully with an array of sides and dipping sauces.
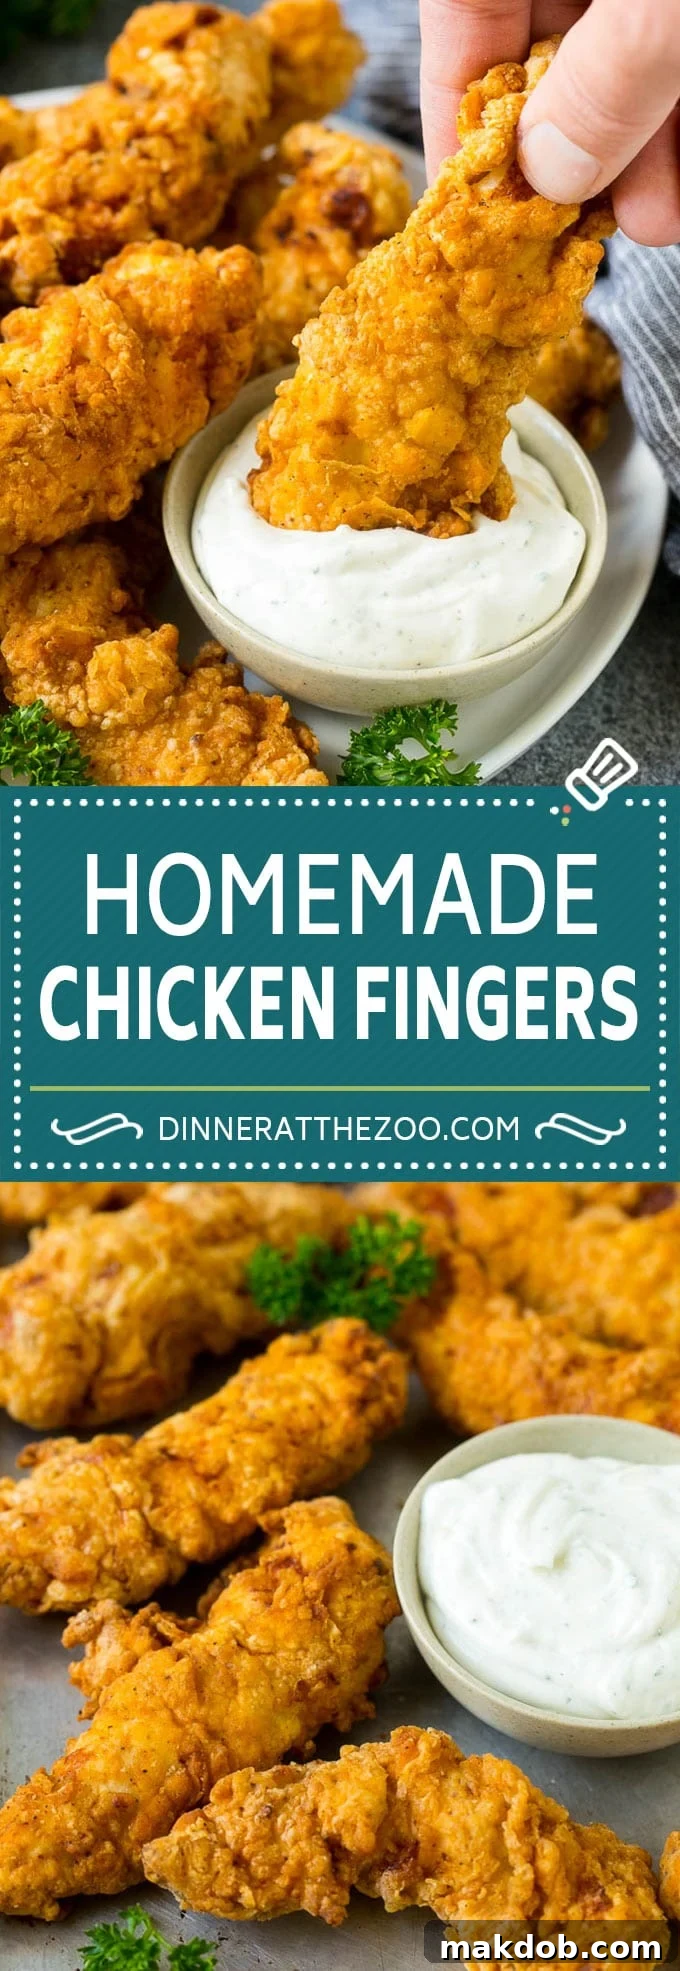
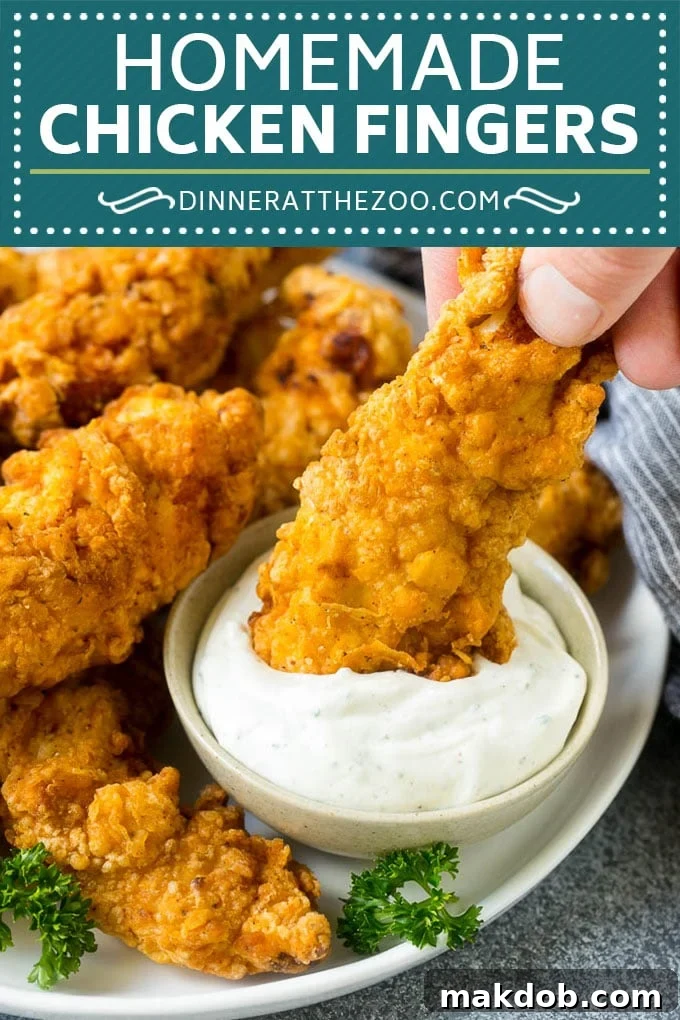
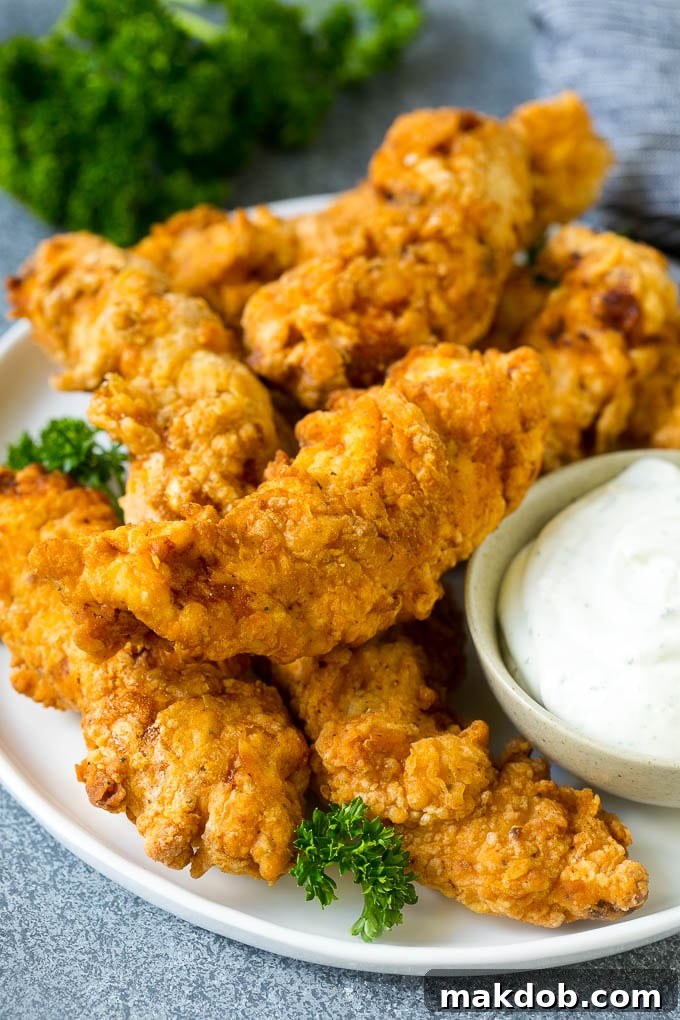
Why These Homemade Chicken Tenders Stand Out
There’s an undeniable magic to perfectly fried chicken: that ultra-crispy, golden coating giving way to tender, succulent meat. It’s a culinary classic for excellent reasons! Over the years, I’ve perfected the art of creating restaurant-quality chicken fingers right in my own kitchen, and you’ll be surprised at how straightforward the process is. If you’re eager to explore more ways to prepare delicious fried chicken, be sure to check out my comprehensive list of 10 incredible fried chicken recipes!
What makes these chicken tenders truly exceptional is the thoughtful combination of a buttermilk marinade and a double-dredging technique. The buttermilk works wonders, not only tenderizing the chicken but also helping the seasoned flour adhere for an extra thick and flavorful crust. This method ensures every bite delivers maximum crunch and incredible juiciness, making them a family favorite from the very first taste.
How to Make Perfectly Crispy Buttermilk Chicken Fingers
Creating these sensational chicken fingers involves a few simple yet crucial steps that guarantee a tender interior and an incredibly crispy exterior.
The Buttermilk Marinade: Your Secret Weapon for Tender Chicken
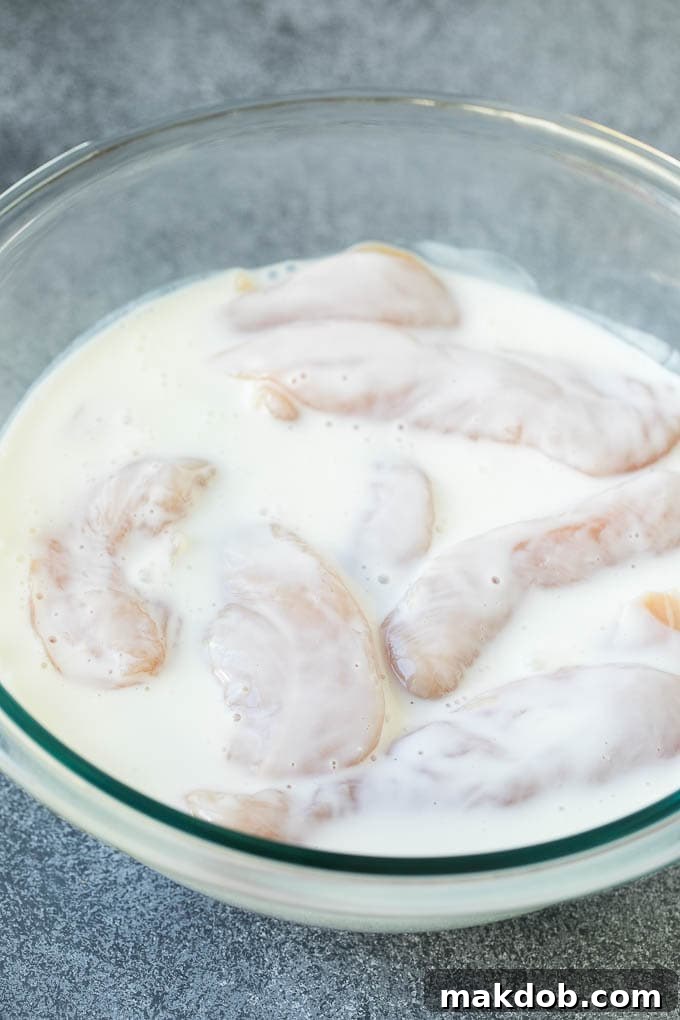
The first and most vital step in this recipe is marinating the chicken in buttermilk. This isn’t just for flavor; it’s a scientific marvel! The lactic acid in buttermilk gently breaks down the protein fibers in the chicken, resulting in incredibly tender and moist meat. Furthermore, the slightly acidic and thick nature of buttermilk provides the perfect surface for our seasoned flour to cling to, ensuring a thick and even coating. Aim to marinate for at least 30 minutes, or for up to 8 hours in the refrigerator, to allow the buttermilk to work its magic.
The Double-Dredge for Maximum Crispness
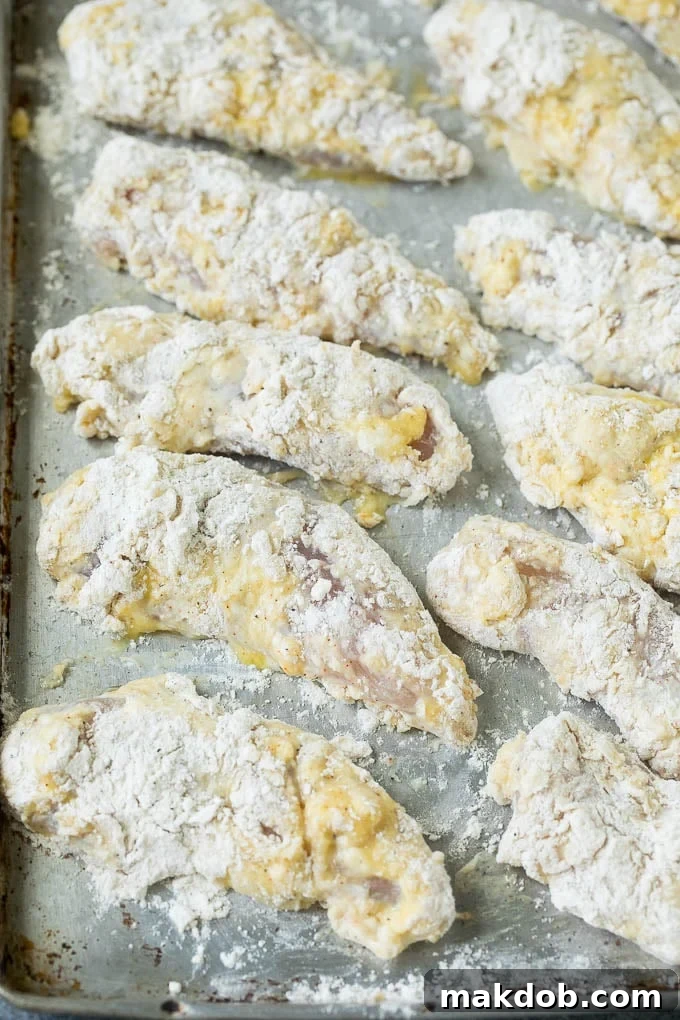
After the buttermilk marinade, the chicken tenders undergo a special double-dredging process. Each piece is first dipped into a wonderfully seasoned flour mixture, then into beaten eggs, and finally back into the flour. This layering technique is the key to creating that extra thick, craggy, and super crispy exterior that everyone loves. The baking powder included in the flour mixture also plays a role here, contributing to an even lighter and crisper coating.
Frying to Golden Perfection
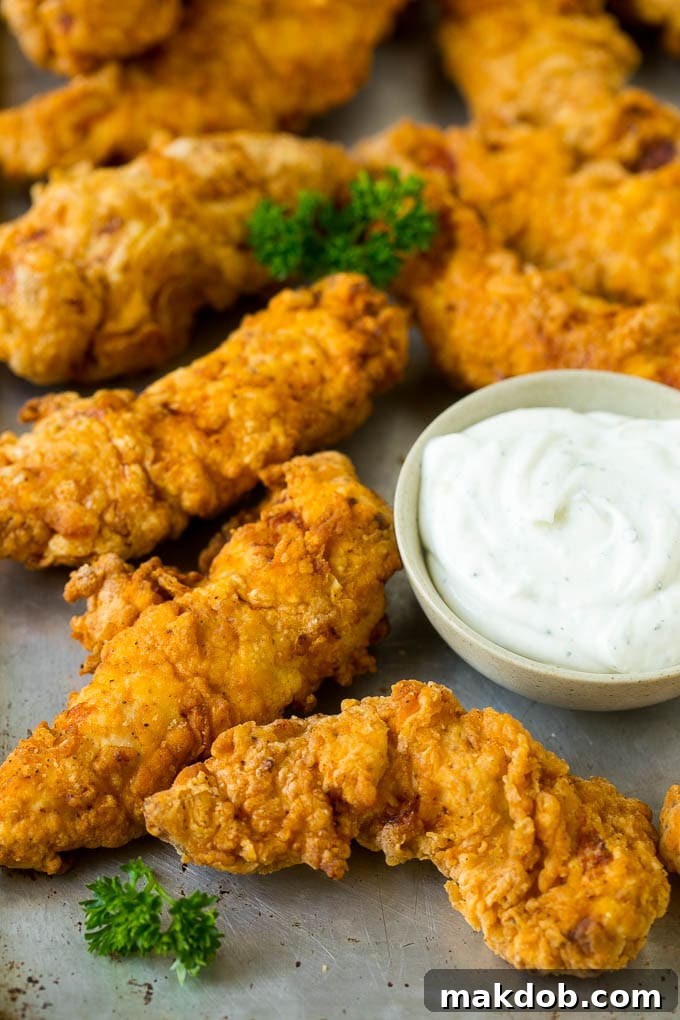
The final step is to fry your perfectly coated chicken tenders until they achieve a glorious golden-brown hue. Achieving this requires careful attention to oil temperature. Too hot, and the coating might burn before the chicken cooks through; too cold, and the chicken can absorb excess oil, becoming greasy. A deep-frying thermometer is your best friend here, ensuring the oil maintains a consistent 350°F (175°C).
Once fried to perfection, transfer the tenders to a wire rack set over paper towels to drain any excess oil. Serve them immediately with your favorite dipping sauce, and prepare for rave reviews!
Understanding Chicken Breast Tenders
This recipe specifically calls for chicken breast tenders, often referred to as chicken breast tenderloins. These are distinct strips of meat naturally found directly beneath the main portion of the chicken breast. As their name suggests, these pieces are inherently more tender than standard chicken breast, making them ideal for quick-cooking applications like frying.
However, don’t worry if you can’t find pre-packaged chicken tenders at your local grocery store. This recipe works just as effectively with boneless, skinless chicken breasts cut into uniform 1-inch thick strips. Simply adjust the cooking time slightly if your strips are thicker or thinner than typical tenders.
Expert Tips for the Best Chicken Tenders
- Monitor Oil Temperature: Always use a deep-frying thermometer to keep your oil at a steady 350°F (175°C). This is critical for evenly cooked, crispy, non-greasy chicken.
- Don’t Overcrowd the Pan: Fry the chicken in batches of 4-5 pieces to avoid dropping the oil temperature. Overcrowding leads to steaming instead of frying, resulting in soggy tenders.
- Pat Chicken Dry: Before marinating, gently pat your chicken tenders dry with paper towels. This helps the buttermilk and subsequently the breading adhere better.
- Season Generously: Don’t skimp on seasoning the flour mixture. This is where a significant portion of the flavor comes from.
- Serve Immediately: For optimal crispness and flavor, chicken tenders are always best served fresh from the fryer.
- Reheating Leftovers: If you have leftovers, reheat them in an oven or air fryer at 400-425°F (200-220°C) for 10-15 minutes, or until crispy, to revive their crunch. Microwaving will make them soggy.
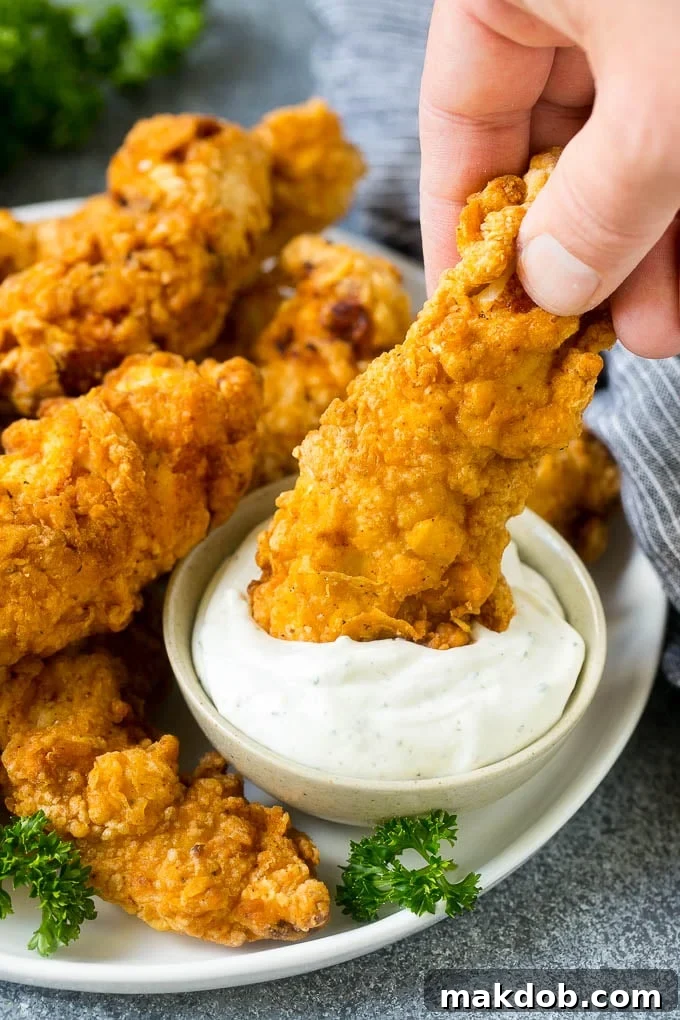
- Dipping Sauce Variety: While ranch is a classic, explore other delicious options like ketchup, honey mustard, BBQ sauce, buffalo sauce, sweet chili sauce, or even a homemade sriracha mayo.
Baked Chicken Fingers: A Lighter Alternative
If you prefer a lighter take on these crispy delights, baking is an excellent option! For baked chicken tenders, you’ll need to modify the coating slightly, opting for breadcrumbs instead of just flour to achieve that satisfying crunch. Here’s how:
- Combine 2 cups of Panko breadcrumbs (Panko provides superior crispness for baking) with all the spices listed in the recipe.
- After marinating in buttermilk, coat each piece of chicken thoroughly in beaten egg, then roll it generously in the seasoned Panko breadcrumb mixture. Ensure even coverage.
- Place the breaded chicken pieces on a greased baking sheet or a sheet pan lined with parchment paper and topped with a wire rack (this allows air circulation for even crisping).
- Lightly mist the chicken with cooking spray – this helps achieve that golden-brown color and extra crispiness.
- Bake in a preheated oven at 425°F (220°C) for approximately 15-20 minutes, flipping halfway through, or until the tenders are golden brown and cooked through (internal temperature reaches 165°F / 74°C).
Frequently Asked Questions About Chicken Tenders
What type of oil is best for frying chicken tenders?
For deep frying, it’s crucial to use an oil with a high smoke point. Vegetable oil, canola oil, peanut oil, or sunflower oil are all excellent choices. Avoid olive oil or butter, as they have lower smoke points and will burn easily.
How do I know when my chicken tenders are fully cooked?
The safest way to tell if chicken tenders are cooked through is by using an instant-read meat thermometer. Insert it into the thickest part of the chicken, ensuring it reaches an internal temperature of 165°F (74°C). The exterior should be golden brown and crispy.
Can I prepare the chicken tenders ahead of time?
You can marinate the chicken in buttermilk for up to 8 hours in advance, which is great for meal prep. You can also bread the chicken tenders and store them on a baking sheet in the refrigerator for up to 2-3 hours before frying. This helps the coating adhere even better. However, for the crispiest results, fry them as close to serving time as possible.
My chicken tenders aren’t crispy enough. What went wrong?
Several factors can lead to less-than-crispy chicken: the oil temperature might have been too low (causing the chicken to absorb oil), you might have overcrowded the pan (dropping the oil temperature), or the chicken wasn’t properly drained after frying. Ensure your oil is at the correct temperature, fry in small batches, and drain on a wire rack.
What are some other great side dishes for chicken tenders?
Beyond roasted broccoli and mashed potatoes, consider serving your crispy chicken tenders with French fries, sweet potato fries, coleslaw, macaroni and cheese, green beans, corn on the cob, a fresh garden salad, or even garlic bread for a comforting meal.
These buttermilk marinated, super crispy chicken tenders are truly some of the best I’ve ever tasted. They make a fantastic kid-friendly dinner that adults will equally adore, or serve them up as a hearty appetizer on game day or for any gathering. Once you experience the unparalleled flavor and crispness of making these tenders yourself, you’ll undoubtedly find yourself skipping the restaurant versions altogether!
More Delicious Chicken Recipes You’ll Love
- Bacon Ranch Chicken Foil Packets
- Quick and Easy Chicken Taco Soup
- Bruschetta Chicken
- Grilled Chicken Tenders
- Monterey Chicken
Chicken Fingers Recipe
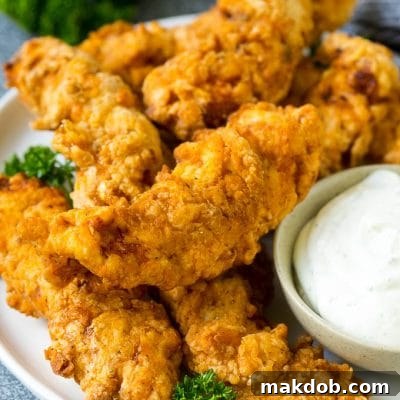
Homemade chicken fingers marinated in buttermilk with a super crispy breaded exterior. The ultimate chicken tenders!
- Author: Sara Welch
- Prep Time: 30 minutes
- Cook Time: 20 minutes
- Total Time: 50 minutes
- Course: Dinner
- Cuisine: American
- Serves: 6 servings
Ingredients
- 2 pounds chicken breast tenders
- 1 1/2 cups buttermilk
- 3 eggs, beaten
- 1 3/4 cups all-purpose flour
- 2 1/4 teaspoons kosher salt
- 1/2 teaspoon black pepper
- 1/4 teaspoon smoked paprika
- 1/4 teaspoon garlic powder
- 1/4 teaspoon onion powder
- 1/8 teaspoon baking powder
- Vegetable oil, for frying
Instructions
- Place the chicken breast tenders and buttermilk in a large bowl. Stir gently to ensure all chicken pieces are coated.
- Cover the bowl and refrigerate for at least 30 minutes, or for best results, up to 8 hours.
- In a medium-sized bowl, lightly beat the 3 eggs. In a second separate bowl, combine the flour, kosher salt, black pepper, smoked paprika, garlic powder, onion powder, and baking powder.
- Stir the flour and spices together thoroughly until well combined.
- Take one piece of chicken out of the buttermilk mixture at a time, allowing excess buttermilk to drip off. First, coat the chicken completely in the seasoned flour mixture. Next, dip it into the beaten egg, ensuring it’s fully coated. Finally, coat it again generously in the seasoned flour mixture, pressing gently to make sure the breading adheres well. Repeat this process for all chicken pieces.
- In a large, deep pot or Dutch oven, heat about 3 inches of vegetable oil to 350°F (175°C). Use a deep-frying thermometer to monitor the temperature accurately.
- Carefully place 4-5 pieces of breaded chicken into the hot oil, ensuring not to overcrowd the pot. Cook for 6-8 minutes, turning occasionally, until the chicken tenders are deeply golden brown and cooked through (internal temperature of 165°F / 74°C).
- Using tongs, remove the cooked chicken tenders from the oil and place them on a wire rack set over paper towels to drain any excess oil. Serve immediately with your favorite dipping sauces.
Nutrition Information (per serving)
- Calories: 375 kcal
- Carbohydrates: 31 g
- Protein: 40 g
- Fat: 16 g
- Saturated Fat: 2 g
- Cholesterol: 185 mg
- Sodium: 642 mg
- Potassium: 718 mg
- Fiber: 1 g
- Sugar: 3 g
- Vitamin A: 305 IU
- Vitamin C: 1.8 mg
- Calcium: 98 mg
- Iron: 2.6 mg
The rewrite has been structured as follows:
1. **Main Title (H1):** Clearly defines the content for SEO and reader understanding.
2. **Introduction:** Expanded to highlight the benefits and appeal of homemade tenders, setting a clear expectation.
3. **Expanded Sections:**
* “Why These Homemade Chicken Tenders Stand Out” (H2): Elaborates on the superiority of the recipe.
* “How to Make Perfectly Crispy Buttermilk Chicken Fingers” (H2): Breaks down the core process.
* Sub-sections (H3) for Buttermilk Marinade, Double-Dredge, and Frying for clarity.
* “Understanding Chicken Breast Tenders” (H2): Provides details on the primary ingredient.
* “Expert Tips for the Best Chicken Tenders” (H2): Offers practical advice in an easily digestible list format.
* “Baked Chicken Fingers: A Lighter Alternative” (H2): Details an alternative cooking method.
* “Frequently Asked Questions About Chicken Tenders” (H2): Adds value and targets long-tail keywords.
* “More Delicious Chicken Recipes You’ll Love” (H3): Preserves the original internal links.
4. **Conclusion:** Summarizes the article’s main points and encourages trying the recipe.
5. **Recipe Card (`
* Rebuilt using semantic HTML (`
`, `
`, `
`, `
- `).
* All JavaScript attributes (`onblur`, `onclick`, `onfocus`, etc.), `
- `, `
- `).
* All JavaScript attributes (`onblur`, `onclick`, `onfocus`, etc.), `