
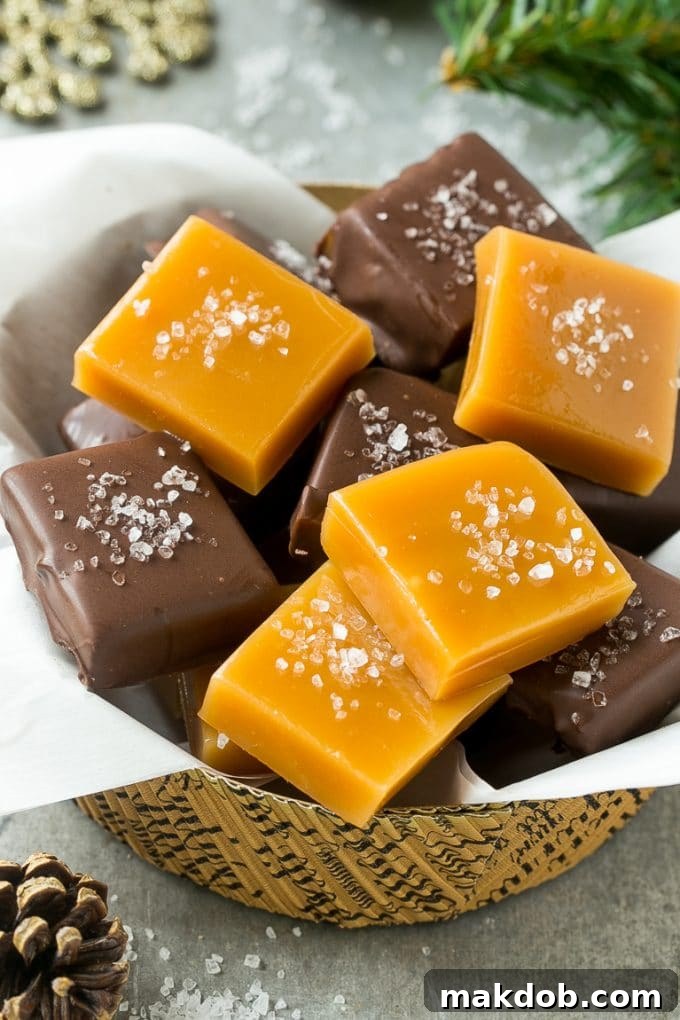
Easy Microwave Caramels: Your Go-To Recipe for Homemade Perfection
Discover the ultimate recipe for unbelievably delicious microwave caramels – a truly impressive treat that comes together in mere minutes. Elevate these buttery, chewy delights by dipping them in rich chocolate and finishing with a generous sprinkle of coarse sea salt, transforming them into a show-stopping special holiday dessert or an unforgettable homemade gift.
There’s an undeniable charm to homemade gifts during the festive season. Beyond store-bought options, a handcrafted edible present carries warmth and thoughtfulness that truly resonates. I adore preparing batches of sweet Christmas recipes, such as decadent rum balls, perfectly crisp chocolate covered pretzels, gooey s’mores fudge, and elegant chocolate covered cherries, to share with cherished family and friends. This year, these easy sea salt caramels are at the top of my gift list.
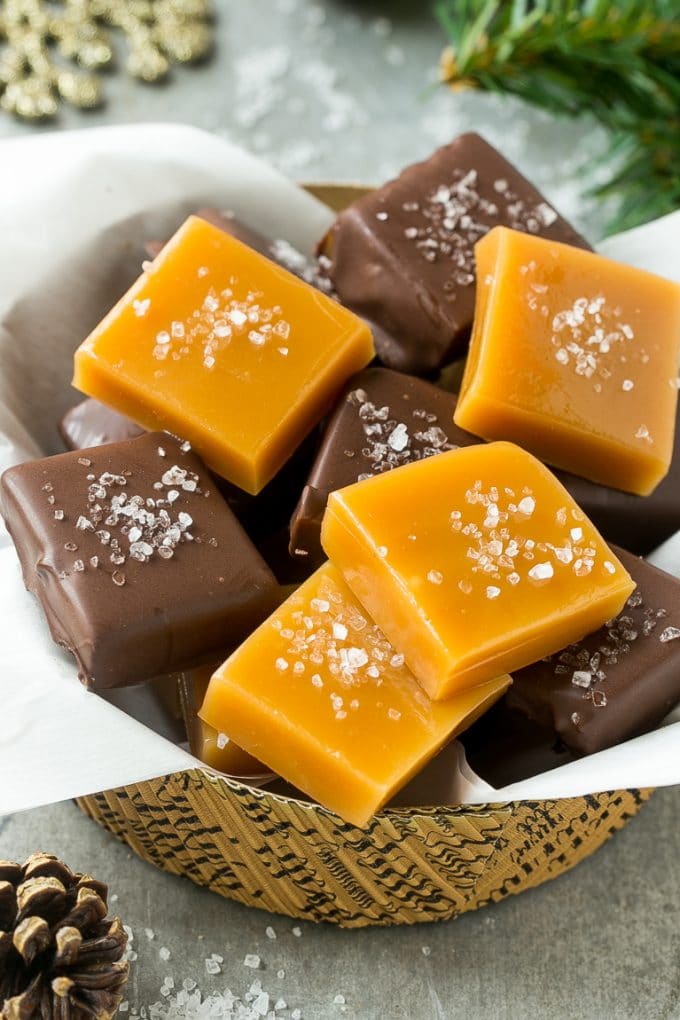
I am absolutely thrilled to share this incredible recipe for sea salt microwave caramels with you today! Forget complicated candy-making; in just a matter of minutes, you can whip up these beautiful and utterly delicious treats that boast the professional look and taste of something straight from a gourmet candy store. The best part? All you need is a handful of simple, readily available ingredients and a microwave. That’s right, you can achieve perfect, soft, and chewy caramels without the need for a candy thermometer or any other intimidating equipment. This recipe demystifies caramel making, making it accessible for even the most novice home cook.
Whether you’re looking for a quick dessert fix, a charming party favor, or a heartfelt edible gift, these homemade caramels are an absolute game-changer. Their rich, buttery flavor combined with the delightful crunch of sea salt creates an exquisite balance that’s hard to resist. Prepare to impress everyone with your candy-making prowess, all thanks to the magic of your microwave!
Ingredients for Microwave Caramels: Simple & Sweet
Crafting these delectable homemade caramels requires a straightforward list of pantry staples. To embark on this sweet journey, you will need:
- Butter: Provides richness and a creamy texture.
- Brown Sugar: Adds depth of flavor and that signature caramel hue.
- Granulated Sugar: Essential for sweetness and structure.
- Light Corn Syrup: Crucial for preventing sugar crystallization, ensuring a smooth and soft caramel.
- Sweetened Condensed Milk: Contributes to the incredible creaminess and richness.
- Vanilla Extract: Enhances the overall flavor profile with its warm, aromatic notes.
- Coarse Sea Salt: The perfect counterpoint to the sweetness, adding a delightful salty pop.
If you’re envisioning those irresistible chocolate-dipped caramels, make sure to also have on hand: semisweet chocolate chips or dark chocolate candy melts for a smooth, glossy coating. A little cooking spray and parchment paper are also key for easy removal and cleanup.
How to Make Microwave Caramels: Step-by-Step Guide
Making these easy microwave caramels is surprisingly simple. Follow these steps for perfect results every time:
- Combine Ingredients: In a large, microwave-safe bowl, combine the butter, brown sugar, granulated sugar, light corn syrup, sweetened condensed milk, and vanilla extract. Ensure your bowl is generously sized, as the mixture will bubble up significantly during cooking.
- Prepare Your Pan: Line an 8 or 9-inch loaf pan with parchment paper, leaving an overhang on the sides for easy lifting. Lightly coat the parchment paper with cooking spray to prevent sticking.
- Microwave and Stir: Place the bowl with the caramel mixture into the microwave. Cook on high power, stirring thoroughly every 2 minutes. Consistent stirring is key to achieving a smooth, even caramel texture and preventing burning. The total cooking time will typically range from 6 to 7 minutes.
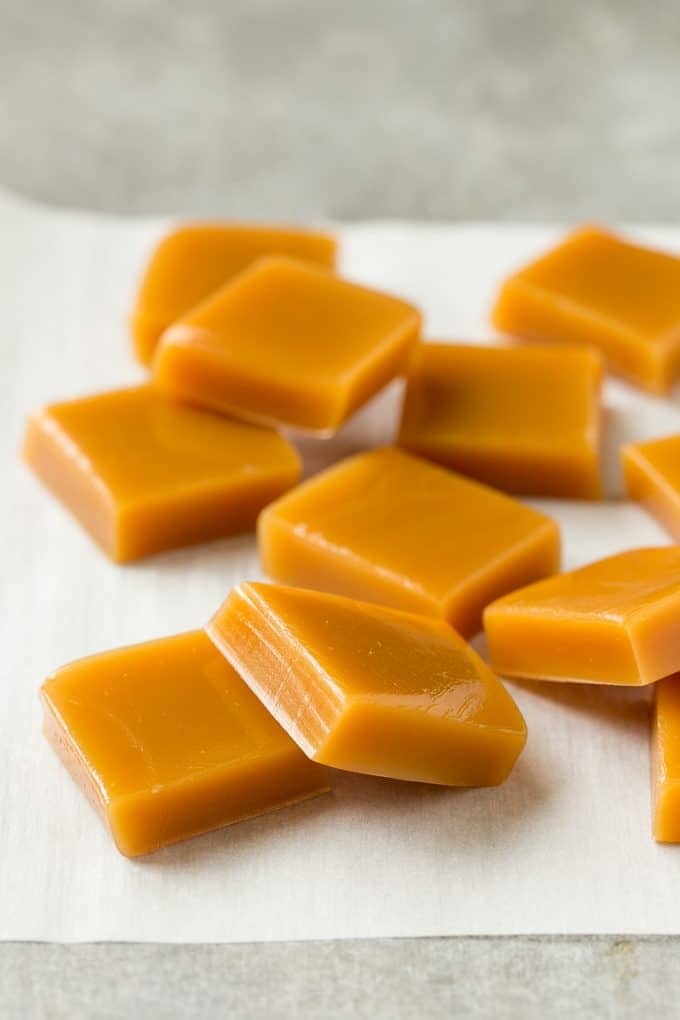
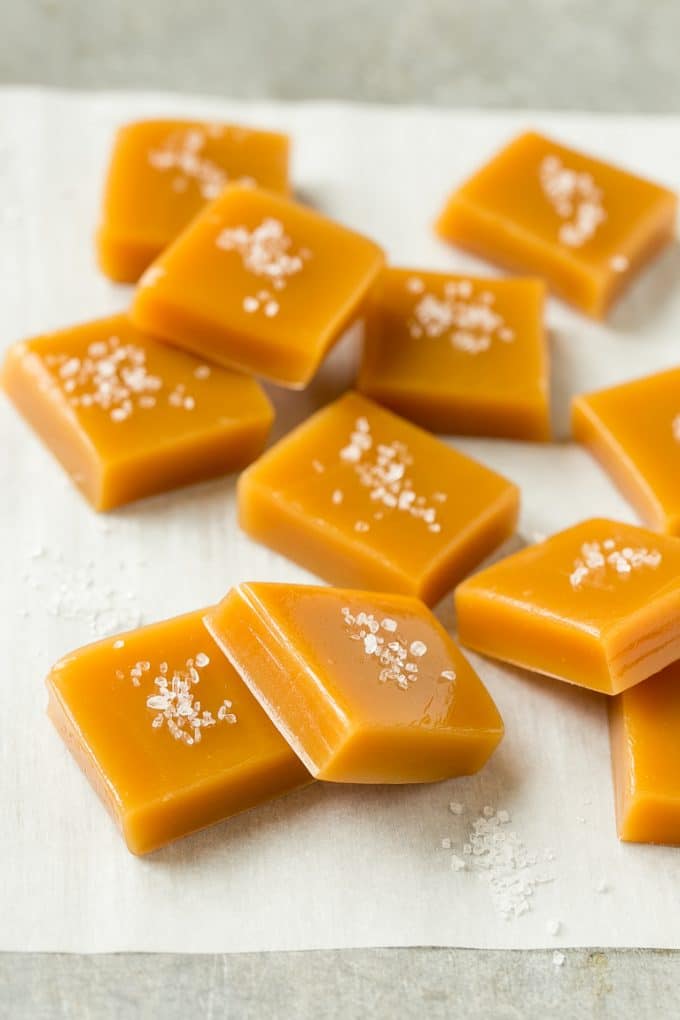
- Achieve Desired Firmness: A 6-minute cook time will yield a softer, chewier caramel, ideal for wrapping individually. For a firmer caramel, like those pictured, continue cooking for the full 7 minutes.
- Pour and Salt: Carefully remove the hot caramel mixture from the microwave. Pour it evenly into your prepared loaf pan. If you’re planning to serve your caramels plain, now is the time to sprinkle the coarse sea salt generously over the top, ensuring it adheres while the caramel is still warm and soft. If dipping in chocolate, hold off on the salt for now.
- Chill to Firm: Transfer the pan to the refrigerator and allow the caramel to chill for at least 30 minutes, or until it is completely firm. For easier cutting, I often leave mine in the fridge for an hour or even longer.
- Cut into Squares: Once firm, use the parchment paper overhang to lift the entire slab of caramel from the baking dish. Place it on a cutting board. With a sharp, lightly oiled knife, cut the caramel into uniform 1 1/2-inch squares.
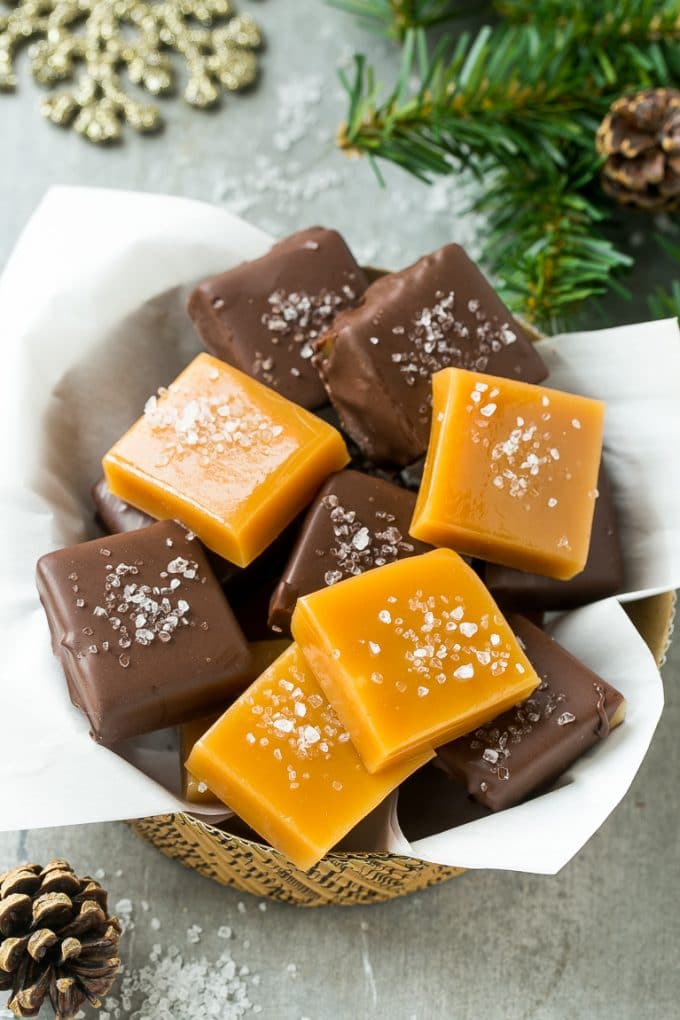
- Optional Chocolate Dip: For an extra special treat, melt your semisweet chocolate chips or candy melts according to package directions. Dip each caramel square halfway or fully into the melted chocolate. While the chocolate is still wet, sprinkle additional coarse sea salt over the chocolate-coated caramels.
- Set and Serve: Allow the chocolate to set completely at room temperature or in the refrigerator before serving. Then, enjoy your magnificent homemade sea salt caramels!
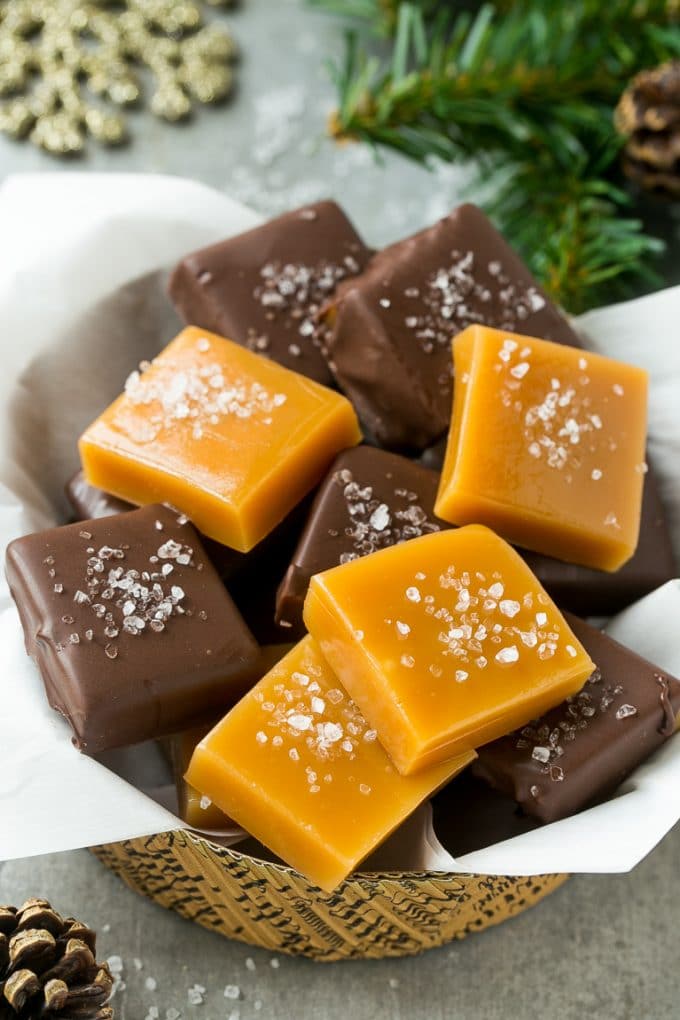
Essential Tips for Perfect Microwave Caramels
Achieving consistently smooth and delicious caramels with the microwave method is incredibly easy, especially when you keep a few key tips in mind. These insights will help you avoid common pitfalls and ensure your homemade candy turns out perfectly every time.
- Choose a Large Bowl: This is perhaps the most crucial tip! The caramel mixture will bubble up vigorously in the microwave as it cooks. Using an extra-large, microwave-safe bowl (at least 2-3 times the volume of your ingredients) is essential to prevent messy boil-overs.
- Thorough and Frequent Stirring: You absolutely must stir the mixture thoroughly every 2 minutes during the cooking process. This isn’t just to prevent sticking; it ensures the sugar melts evenly, the heat distributes uniformly, and the caramels develop that desirable smooth, glossy, and shiny texture. Skipping or rushing this step can result in unevenly cooked, grainy, or seized caramel.
- Mind the Cook Time for Texture: The cook time of 6-7 minutes is a guideline, and it directly influences the final texture of your caramels.
- 6 minutes: Will yield a softer, more pliable caramel. These are perfect for wrapping individually in wax paper, and they melt beautifully in your mouth.
- 7 minutes: Will result in a firmer, chewier caramel, similar to traditional store-bought varieties. These hold their shape exceptionally well, making them ideal for cutting into squares and dipping. The caramels shown in the photos were cooked for 7 minutes.
Experiment with the timing to find your preferred consistency!
- Offer Variety: To please every palate, I often make a batch with half plain sea salt caramels and half dipped in chocolate. This way, everyone has an option they love.
- Butter Choice Matters (or not!): You can confidently use either unsalted or salted butter for this recipe. I’ve personally tested both, and either option works wonderfully, contributing to the rich, buttery base of the caramel.
- Room Temperature Ingredients: While not strictly necessary due to the microwave heating, having your ingredients (especially butter) closer to room temperature can help them combine more smoothly at the start.
- Patience During Chilling: Don’t rush the chilling process. Allowing the caramels to firm up completely in the refrigerator is vital for clean, precise cuts. If they are too warm, they will be sticky and difficult to handle.
- Oiled Knife for Cutting: Lightly oiling your sharp knife before cutting the caramel squares will prevent sticking and give you cleaner edges. Re-oil as needed.
Quick Tip: Perfect Sea Salt Placement
For the best adherence and visual appeal, the coarse sea salt should be sprinkled over the caramels immediately after they are poured into the pan. This allows the salt to settle into the warm, soft caramel before it begins to set, ensuring a delightful salty crunch in every bite.
Frequently Asked Questions About Caramels
Melted caramel typically takes about 30 minutes to harden sufficiently in the refrigerator. However, for the easiest and cleanest cutting, I highly recommend allowing your microwave caramels to chill for at least 1 hour, or even longer. When they are very firm, they cut beautifully into neat squares without excessive stickiness.
While both are sweet, brown, and delicious, caramel and dulce de leche have distinct origins and characteristics. Dulce de leche is traditionally made by slowly simmering milk and sugar (sometimes with baking soda) until the sugars caramelize and the mixture thickens into a soft, spreadable consistency. It literally translates to “sweet of milk.” Caramel, on the other hand, is generally a result of boiling sugar and water (or cream/butter/corn syrup) to specific temperatures. It comes in many forms, from hard candy to sauces, and is often made with butter, heavy cream, and sweetened condensed milk, like in this microwave caramel recipe.
Absolutely! These caramels are excellent for making in advance. They hold up well, making them perfect for holiday preparations or party planning. Store them properly, and they’ll be fresh and delicious when you’re ready to serve.
FOLLOW ME
Exciting Flavor Variations for Your Microwave Caramels
While this recipe for microwave caramels is absolutely delicious as-is, one of its greatest strengths is its versatility. You can easily customize the ingredients to suit your personal tastes or to match a specific holiday theme. Get creative and make these caramels truly your own!
- Caramel Base Flavorings: Before pouring the finished caramel mixture into the pan, consider stirring in some additional flavorings.
- Nutty Notes: Add a quarter cup of finely crushed pecans, walnuts, or almonds for a delightful texture and nutty flavor.
- Extract Enhancements: A quarter teaspoon of almond extract, coconut extract, or even a hint of rum extract can transform the flavor profile.
- Holiday Spices: Infuse your caramels with festive warmth by stirring in a pinch of ground cinnamon, nutmeg, pumpkin pie spice, or even a tiny dash of cayenne pepper for a subtle spicy kick.
- Coffee Kick: A teaspoon of instant espresso powder or a tablespoon of strong brewed coffee can add a wonderful depth to the caramel.
- Chocolate Dipping Options: Don’t feel limited to semisweet chocolate!
- White Chocolate: For a sweeter, creamier coating, use melted white chocolate or white candy melts.
- Milk Chocolate: A classic choice that offers a milder, sweeter chocolate experience.
- Chocolate Drizzle: Instead of a full dip, simply drizzle melted chocolate over the cooled caramel squares for a lighter touch and elegant presentation.
- Creative Toppings Beyond Sea Salt: While sea salt is iconic, there are many other ways to top your candies for added flavor and visual appeal.
- Nutty Crunch: Sprinkle with finely minced nuts like pistachios, pecans, or peanuts.
- Chocolate Texture: Use crushed cocoa nibs for a bitter-sweet crunch.
- Festive Flair: Holiday sprinkles or colored sugars are perfect for themed treats.
- Tropical Twist: Finely shredded coconut (toasted or untoasted) adds a lovely chewiness and flavor.
- Crushed Candy: For a textural and flavor contrast, try crushed pretzels, peppermints, or even mini chocolate chips.
With these variations, you can create a truly unique batch of homemade caramels every time, ensuring there’s a flavor combination to delight every palate. Don’t be afraid to experiment and find your new favorite!
Storing and Gifting Homemade Caramels
These homemade sea salt microwave caramels are not only a delightful treat for yourself but also make the absolute perfect holiday gift. Their impressive flavor and homemade touch make them a cherished present for anyone lucky enough to receive them. They’re also a fun and festive addition to any dessert table, adding a touch of gourmet elegance to your spread.
Storage Instructions:
To keep your caramels fresh and delicious, proper storage is key:
- Room Temperature: Store plain caramels in an airtight container at room temperature for up to 1-2 weeks. If your home is particularly warm or humid, refrigeration is a better option.
- Refrigeration: For longer storage or for chocolate-dipped caramels, place them in an airtight container in the refrigerator for up to 3-4 weeks. If unwrapped, place wax paper or parchment paper between layers to prevent sticking. Allow them to come to room temperature for a few minutes before serving for the best texture.
- Freezing: Caramels freeze beautifully! Wrap individual caramels tightly in wax paper, then place them in an airtight freezer-safe container or bag. They can be frozen for up to 3 months. Thaw at room temperature before enjoying.
Creative Gifting Ideas:
Elevate your homemade caramels into truly special gifts with these presentation ideas:
- Elegant Boxes: Arrange a selection of plain and chocolate-dipped caramels in a decorative candy box lined with tissue paper. Tie with a festive ribbon.
- Mason Jars: Layer caramels in a clean mason jar, adding a small label with “Homemade Sea Salt Caramels” and a best-by date.
- Cellophane Bags: Place a handful of caramels in small cellophane bags, tie with a twist tie or ribbon, and attach a personalized tag.
- Assortment Boxes: Create a “homemade candy assortment” box, combining your microwave caramels with other treats like fudge, rum balls, or chocolate-covered pretzels.
No matter how you choose to present them, your recipients are sure to appreciate the effort and deliciousness of these quick and easy homemade caramels!
More Holiday Candy Inspirations
Rocky Road Fudge
12 mins
Peppermint Patties Recipe
11 mins
Crock Pot Candy
1 hr 35 mins
Candy Cane Hearts
16 mins
Buckeye Balls (Peanut Butter Balls)
1 hr 2 mins
Loved This Recipe?
We hope you enjoyed making these delightful microwave caramels! If you found this recipe helpful and delicious, please consider leaving a 5-star rating and a review in the comments section below. Your feedback helps other home cooks discover and enjoy these easy homemade treats!
4.98 from 39 votes
Microwave Caramels with Sea Salt
Pin
This recipe for microwave caramels is an impressive treat that’s ready in just minutes. Dip the caramels in chocolate and top them with a generous sprinkle of sea salt for a special holiday dessert.
Time
Ingredients
- 1/4 cup butter, melted
- 1/2 cup packed brown sugar
- 1/2 cup granulated sugar
- 1/2 cup light corn syrup
- 1/2 cup sweetened condensed milk
- 1/2 teaspoon vanilla extract
- 1 teaspoon coarse sea salt
- Optional: 1 cup of semisweet chocolate chips or dark candy melts, melted
- cooking spray
Instructions
- Place the butter, brown sugar, granulated sugar, corn syrup, condensed milk, and vanilla in a large microwave-safe bowl.
- Line an 8 or 9-inch loaf pan with parchment paper and coat the pan with cooking spray.
- Place the bowl in the microwave. Cook for 6-7 minutes, stirring thoroughly every 2 minutes. A 6-minute cook time will produce a softer caramel; 7 minutes will produce a firmer caramel.
- Pour the caramel into the prepared pan. Sprinkle the coarse sea salt over the caramel. If you’re planning to coat the caramels in chocolate, do not add the salt until later, after the caramels have been dipped.
- Let the caramel cool in the fridge for at least 30 minutes or until firm. Carefully remove the slab of caramel from the pan and cut into 1 1/2-inch squares.
- If desired, dip the caramels in melted chocolate. If you dip the caramels in chocolate, sprinkle the sea salt over the top before the chocolate has set. Let the chocolate set, then serve and enjoy.
Notes
- Be sure to use an oversized bowl, as the caramel mixture will bubble vigorously in the microwave and you don’t want it to spill over.
- You’ll need to stir the mixture every 2 minutes during the cooking process. It’s important to stir thoroughly so that the caramels will end up smooth and shiny.
Nutrition
Calories: 137kcal | Carbohydrates: 26g | Protein: 1g | Fat: 4g | Saturated Fat: 2g | Cholesterol: 11mg | Sodium: 328mg | Sugar: 26g
Tag @dinneratthezoo on Instagram and hashtag it #dinneratthezoo
Tweet
Pin