
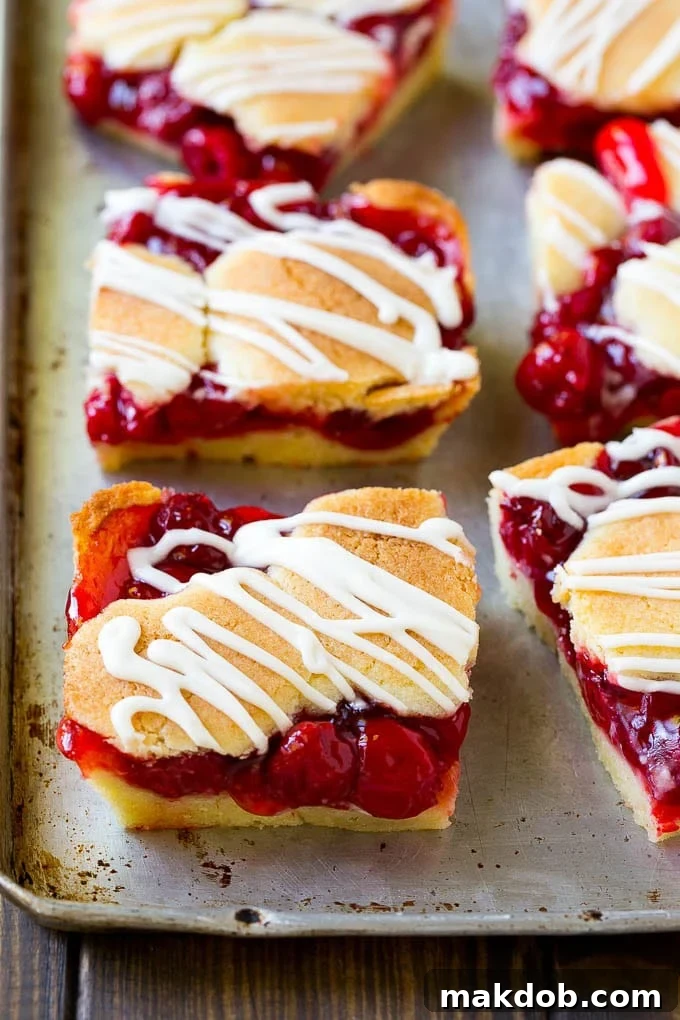
Indulge in the irresistible charm of these delightful Cherry Bars, a universally loved dessert that combines the comforting texture of a soft cookie crust with the vibrant sweetness of cherry pie filling. Each bar is crowned with a tender layer of cookie dough and finished with a delicate drizzle of creamy vanilla glaze, creating an easy-to-make yet impressively elegant treat. Perfect for any occasion, from casual family dinners to festive holiday gatherings, these bars are designed to satisfy a crowd with minimal effort and maximum flavor.
There’s something uniquely satisfying about a dessert that feels both homemade and effortlessly chic. These cherry bars offer the beloved taste experience of a classic cherry pie, but in a convenient, handheld format that’s much simpler to prepare. Imagine the ease of serving a beautiful platter of these during the holidays, alongside other seasonal favorites like molasses cookies, intricate thumbprint cookies, or snowy snowball cookies. They blend seamlessly into any dessert spread, promising a burst of cherry sweetness in every bite.
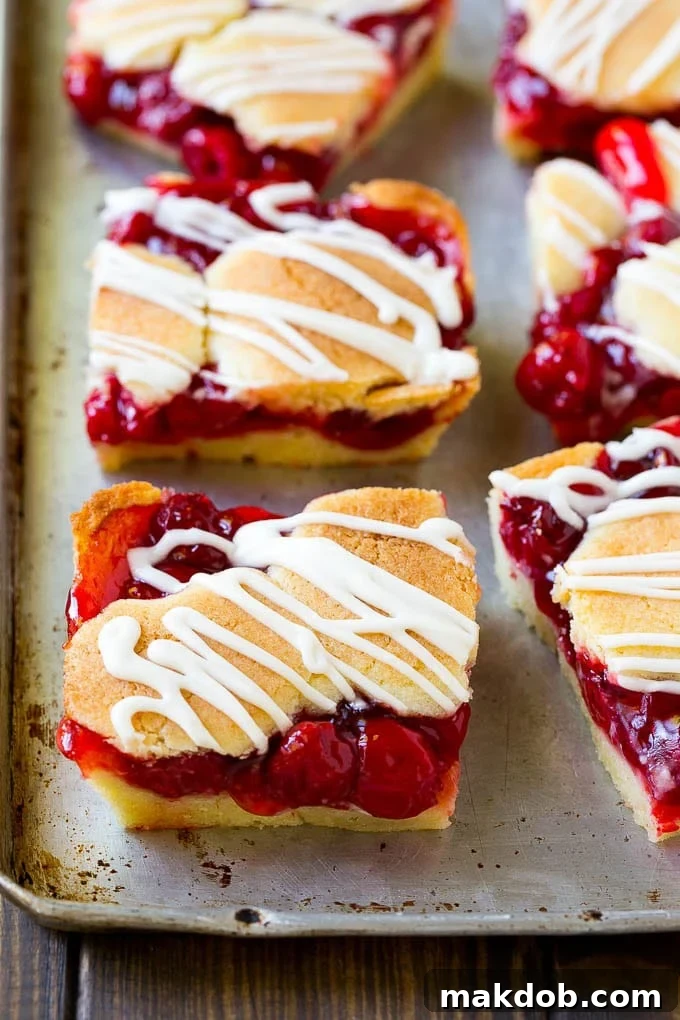
Sometimes the best culinary discoveries are born out of necessity. That’s precisely how these exceptional cherry bars came to be a staple in my baking repertoire. What started as an effort to use up some pantry-staple cherry pie filling quickly transformed into an unexpected revelation. My initial expectations were far exceeded, as these bars proved to be not just good, but truly incredible. They have firmly cemented their place on my regular dessert rotation, and honestly, a leftover bar or two for breakfast has become a cherished indulgence!
Beyond their everyday appeal, these dessert recipes are particularly fantastic for the holiday season. If you’re searching for more festive treats, be sure to explore my decadent eggnog cake, refreshing peppermint bark, elegant cake truffles, classic rum balls, and my curated collection of favorite Christmas cookie recipes. Each offers a unique way to celebrate and share deliciousness during this special time of year.
Table of Contents
- Cherry Bars Ingredients
- How Do You Make Cherry Bars?
- Tips For The Perfect Cherry Bars
- Quick Tip: Spreading Dough with Ease
- Recipe FAQs
- Flavor Variations
- More Fabulous Dessert Recipes
- Love This Recipe?
- Cherry Bars Recipe Card
Essential Cherry Bars Ingredients
Creating these outstanding cherry bars with their signature vanilla glaze requires a straightforward list of common baking ingredients. For the rich, tender bar base, you will need unsalted butter (softened to perfection), granulated sugar, a touch of salt to balance the sweetness, large eggs, all-purpose flour, fragrant vanilla extract, and a crucial secret ingredient: almond extract. The heart of these bars, of course, is the sweet and tart cherry pie filling. For the gleaming, drizzled glaze, prepare powdered sugar, more vanilla extract, a hint of almond extract, and a splash of milk. Having these ingredients at hand ensures a smooth and enjoyable baking process.
How Do You Make Cherry Bars? A Step-by-Step Guide
Crafting these delectable cherry bars is a rewarding and surprisingly simple process. You’ll begin by preheating your oven to 350 degrees F and preparing a 10″ x 15″ jelly roll pan by coating it generously with cooking spray. This ensures your bars release easily after baking. Next, create the foundational cookie dough: in the bowl of a stand mixer fitted with the paddle attachment (or using an electric hand mixer), beat together the softened butter, granulated sugar, and salt until the mixture is light and fluffy, a process that usually takes about 2-3 minutes. This aeration step is key to a tender cookie base.
Once the butter and sugar are perfectly creamed, incorporate the eggs one at a time, beating well after each addition to fully combine. With the mixer on low speed, gradually add the all-purpose flour, mixing until just combined and no streaks of dry flour remain. Finally, stir in the vanilla extract and, most importantly, the almond extract – this ingredient truly elevates the flavor profile of these bars. Divide the rich cookie dough, spreading two-thirds of it evenly across the bottom of your prepared pan. A thin, even layer is ideal for a sturdy base.
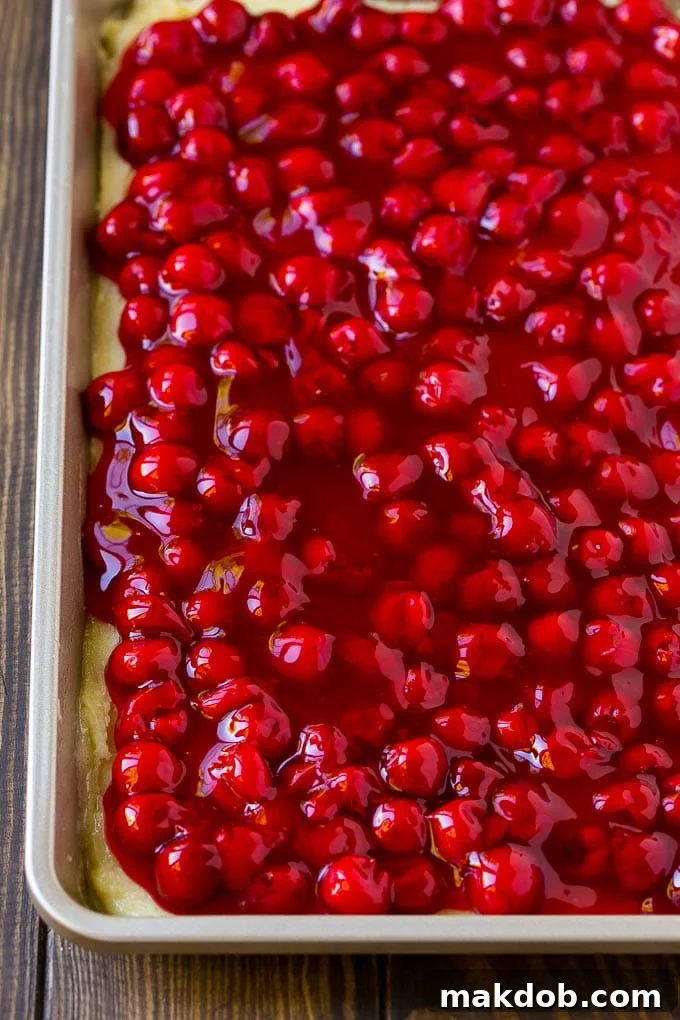
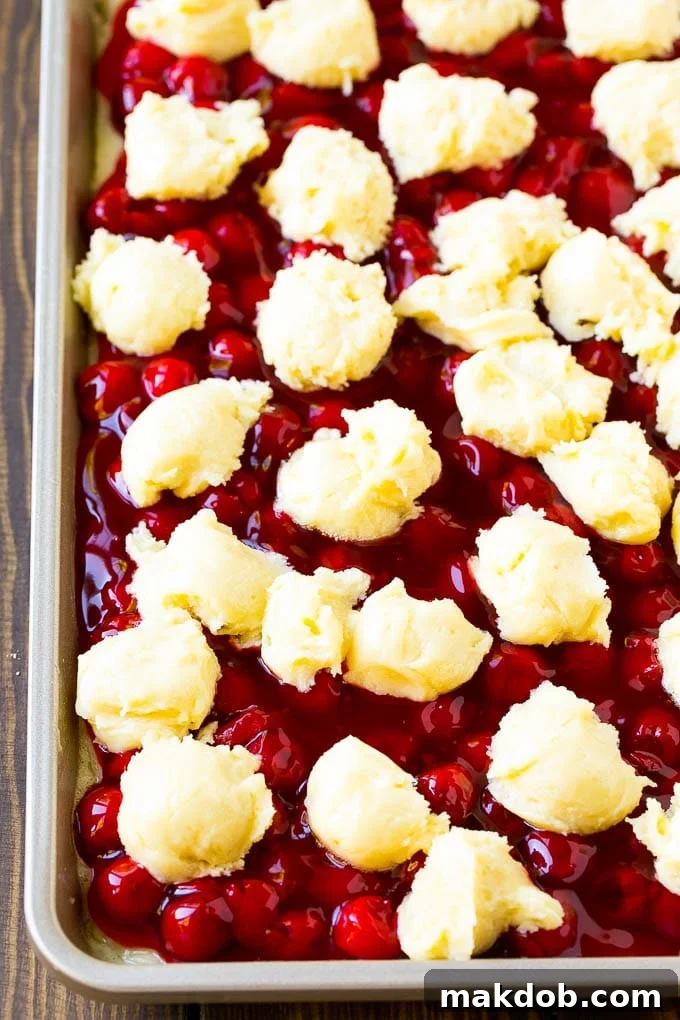
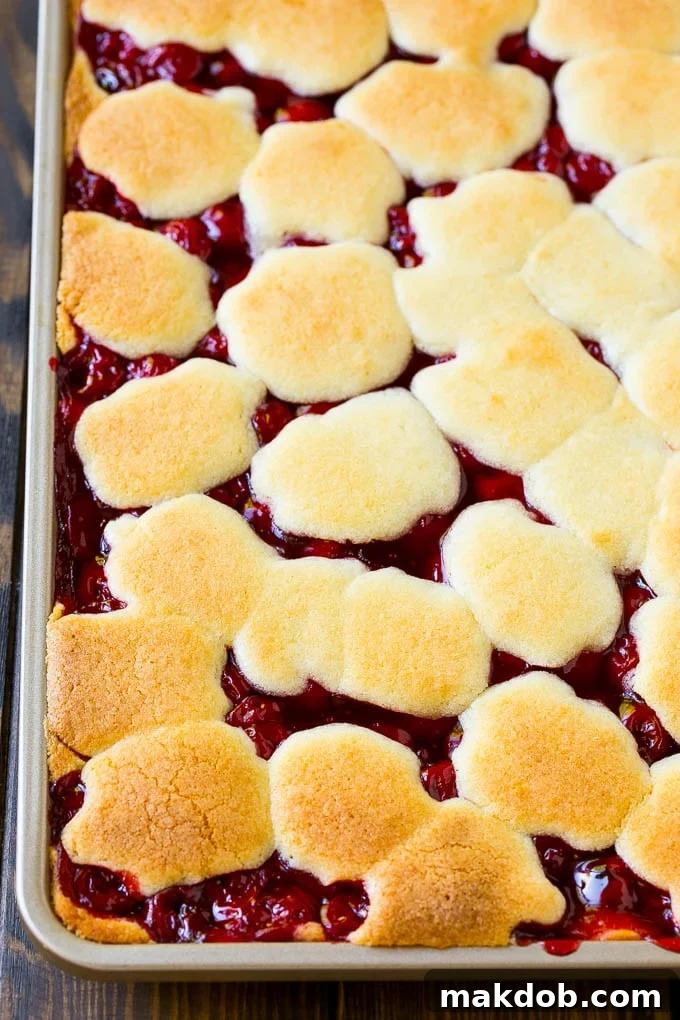
Next, carefully spoon and spread two cans of your favorite cherry pie filling over the cookie dough base, ensuring an even layer of fruity goodness. Then, take the remaining one-third of the cookie dough and drop teaspoon-sized dollops all over the surface of the cherry filling. These dollops will bake into delicious, buttery islands that create a beautiful, rustic top crust. Transfer the pan to your preheated oven and bake for 35-40 minutes, or until the cookie dough is beautifully golden brown. Once baked, it’s crucial to let your cherry bars cool completely in the pan before proceeding. This allows the filling to set properly and the bars to firm up, making them easier to cut.
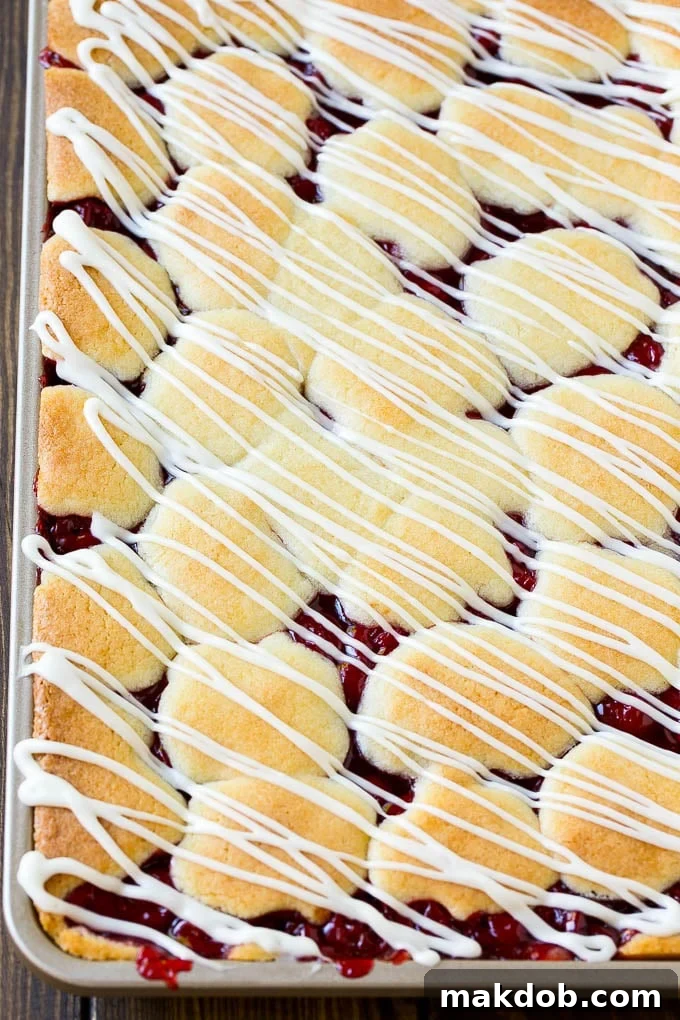
While the bars are cooling, prepare the luscious vanilla glaze. In a medium bowl, whisk together the powdered sugar, vanilla extract, almond extract, and milk until smooth and pourable. If you prefer a thinner glaze, add a tiny bit more milk, one teaspoon at a time, until it reaches your desired consistency. Once the cherry bars are fully cooled, generously drizzle the prepared glaze over the top. Allow the glaze to set and harden slightly before cutting the entire pan of cookies into neat squares. Now, your homemade cherry bars are ready to be served and enjoyed!
Expert Tips for the Perfect Cherry Bars
- **Pan Size Matters:** This recipe specifically calls for a 15″ x 10″ jelly roll pan, which is a standard size for many bar cookies. However, if you don’t have one, a common 9″ x 13″ baking pan can be used as an alternative. Keep in mind that using a smaller pan will result in thicker bars, which will naturally require a longer baking time to ensure they are cooked through and golden brown. Always adjust your baking time accordingly and check for doneness.
- **Homemade vs. Store-Bought Filling:** While canned cherry pie filling offers incredible convenience and consistent results, you can elevate these bars to an extra special treat by preparing your own homemade cherry pie filling. Freshly made filling can add a brighter, more robust cherry flavor and a texture tailored to your preference. Both options yield delicious results, so choose what best suits your time and culinary ambition.
- **The Magic of Almond Extract:** Most of the ingredients for these cherry bars are pantry staples, but one stands out as truly transformative: almond extract. Its subtle, nutty aroma and flavor beautifully complement the sweet cherries and vanilla, adding a depth that takes these bars from good to exceptional. If you don’t usually keep it on hand, I highly recommend making a special trip to the store to procure some for this recipe. You will undoubtedly appreciate the rich, complex notes it brings to the overall profile of the dessert.
- **Ensuring Even Baking:** For uniformly baked bars, ensure your cookie dough is spread as evenly as possible in the pan. This prevents some parts from being overcooked while others remain undercooked. Similarly, distribute the cherry pie filling uniformly.
- **Cooling is Key:** Patience is a virtue when making bar cookies. Allowing the cherry bars to cool completely in the pan is critical. This step ensures the cherry filling sets properly and the cookie layers firm up, making them much easier to cut into clean, attractive squares without crumbling. Attempting to cut them while warm can lead to a messy, sticky outcome.
Quick Tip: Spreading Dough with Ease
For effortless spreading of both the sticky cookie dough and the smooth pie filling, an offset spatula is your best friend in the kitchen. Its angled blade provides leverage and precision, making these tasks much simpler and neater.
Recipe FAQs
For optimal freshness and flavor, cherry bars will last up to 5 days when stored in an airtight container in the refrigerator. The cool temperature helps maintain their texture and prevents spoilage.
Absolutely! Cherry bars are excellent for freezing, making them a fantastic make-ahead dessert. Simply cut them into individual bars after they’ve completely cooled, then place them in an airtight freezer-safe container. They can be frozen for up to 2 months. To enjoy, thaw individual bars in the microwave, heating in 20-second increments until warmed through, or simply let them come to room temperature for a softer texture.
Yes, you can prepare the cookie dough up to 2-3 days in advance. Store it tightly covered in the refrigerator. When you’re ready to bake, let the dough sit at room temperature for about 20-30 minutes to soften slightly, making it easier to spread.
If your glaze is too thick, add milk 1 teaspoon at a time until you reach the desired drizzling consistency. If it’s too thin, whisk in a tablespoon of extra powdered sugar until it thickens up. Adjust slowly to avoid overcorrecting.
Follow Me
Delicious Flavor Variations for Your Cherry Bars
While this recipe yields absolutely fantastic cherry bars just as written, it also serves as a wonderful canvas for culinary creativity. Feel free to modify the recipe to explore new flavor combinations and suit your personal tastes, turning this beloved treat into something uniquely yours.
- **Explore Different Fruit Fillings:** The versatility of these bars truly shines with various fruit fillings. Instead of cherry, consider using homemade apple pie filling for a comforting classic, or opt for blueberry, peach, or even mixed berry pie filling for a fresh, seasonal twist. Each fruit will bring its own unique character to the bars.
- **Serve with Ice Cream:** While cherry pie bars are perfectly satisfying on their own, a scoop of creamy vanilla ice cream nestled alongside a warm (or room temperature) bar takes the indulgence to another level. The cold, melting ice cream complements the sweet fruit and tender crust beautifully.
- **Add a Chocolate Twist:** For those who adore the classic combination of chocolate and cherry, simply mix 1 cup of chocolate chips (semi-sweet or dark work wonderfully) into the cookie dough before spreading. The melted chocolate creates pockets of rich flavor throughout the bar.
- **Crunchy Crumble Topping:** For added texture and a more rustic appeal, swap out the dolloped cookie dough topping for a buttery crumble. In a small bowl, combine 1/3 cup granulated sugar, 1/4 cup all-purpose flour, 1/4 teaspoon cinnamon, and 1/4 cup cold butter cut into small pieces. Use two forks or your fingertips to mix until crumbly, then sprinkle this mixture evenly over the cherry filling before baking.
- **Zesty Orange Glaze:** Infuse your bars with a bright, citrusy note by preparing an orange glaze. For this variation, omit the almond extract and milk from the glaze recipe. Instead, whisk in 1 1/2 tablespoons of fresh orange juice with the powdered sugar and vanilla extract until smooth. The vibrant orange zest perfectly complements the cherries.
- **Nutty Additions:** For an extra layer of flavor and crunch, finely chop about 1/2 cup of pecans or walnuts and fold them into the cookie dough. This adds a delightful textural contrast and a rich, nutty undertone that pairs wonderfully with both the almond extract and the cherries.
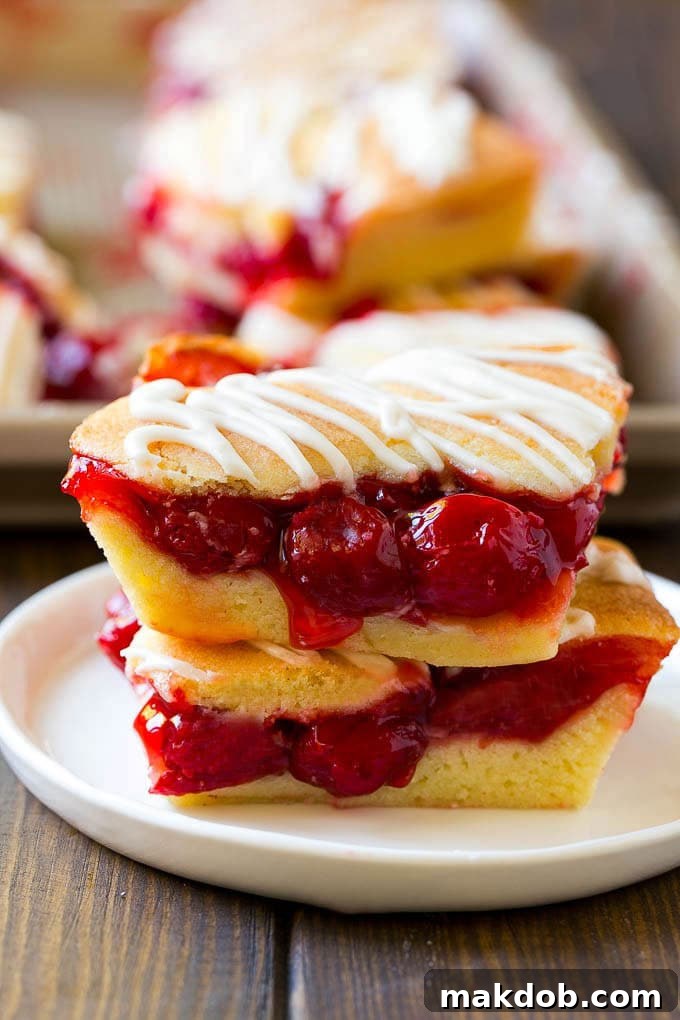
Cherry bars are a truly versatile and crowd-pleasing dessert. They shine as a portable potluck offering, easily transportable and always a hit. Picture them elegantly arranged on a holiday cookie tray, or as the perfect sweet solution when you need to serve a large group without fuss. Every single person who has tasted these bars has eagerly asked for the recipe – they are genuinely that good! Think of them as the perfect marriage between a classic cherry pie and a tender, almond-kissed sugar cookie. These cherry bars consistently garner rave reviews and bring a super festive touch to any holiday gathering or special event.
More Fabulous Dessert Recipes
Fried Apple Pies
30 mins
Peach Crumble Bars
45 mins
Earthquake Cake
50 mins
Pecan Pie Bars
1 hr
Cherry Cheesecake Dip
6 mins
Love This Recipe?
Please leave a 5-star 🌟🌟🌟🌟🌟 rating in the recipe card below & a review in the comments section further down the page.
Cherry Bars
Pin
Ingredients
For the bars
- 1 cup butter softened
- 2 cups sugar
- 1 teaspoon salt
- 4 eggs
- 3 cups all purpose flour
- 3/4 teaspoon vanilla extract
- 3/4 teaspoon almond extract
- 2 cans cherry pie filling
- cooking spray
For the glaze
- 1 cup powdered sugar
- 1/4 teaspoon vanilla extract
- 1/4 teaspoon almond extract
- 2 tablespoons milk
Instructions
-
Preheat the oven to 350 degrees F. Coat a 10″ x 15″ jelly roll pan with cooking spray.
-
Place the butter, sugar and salt in the bowl of a mixer. Beat until fluffy, 2-3 minutes.
-
Add the eggs, one at a time, beating after each addition.
-
With the mixer on low speed, slowly add the flour. Stir in the vanilla and almond extracts.
-
Spread 2/3 of the dough evenly over the bottom of the pan.
-
Spread the pie filling over the dough.
-
Place teaspoon sized dollops of dough all over the surface of the pie filling.
-
Bake for 35-40 minutes or until golden brown. Cool completely in the pan.
-
To make the glaze, whisk together the powdered sugar, extracts and milk. Add more milk, 1 teaspoon at a time, if you prefer a thinner glaze.
-
Drizzle the glaze over the bars. Let the glaze harden, then cut into squares and serve.
Notes
- Using an offset spatula makes spreading the dough and pie filling easy tasks.
- This recipe calls for a 15″ x 10″ pan which is a somewhat unusual size. You can make the bars in a 9″ x 13″ pan instead, but the bars will be thicker and therefore take longer to cook.