
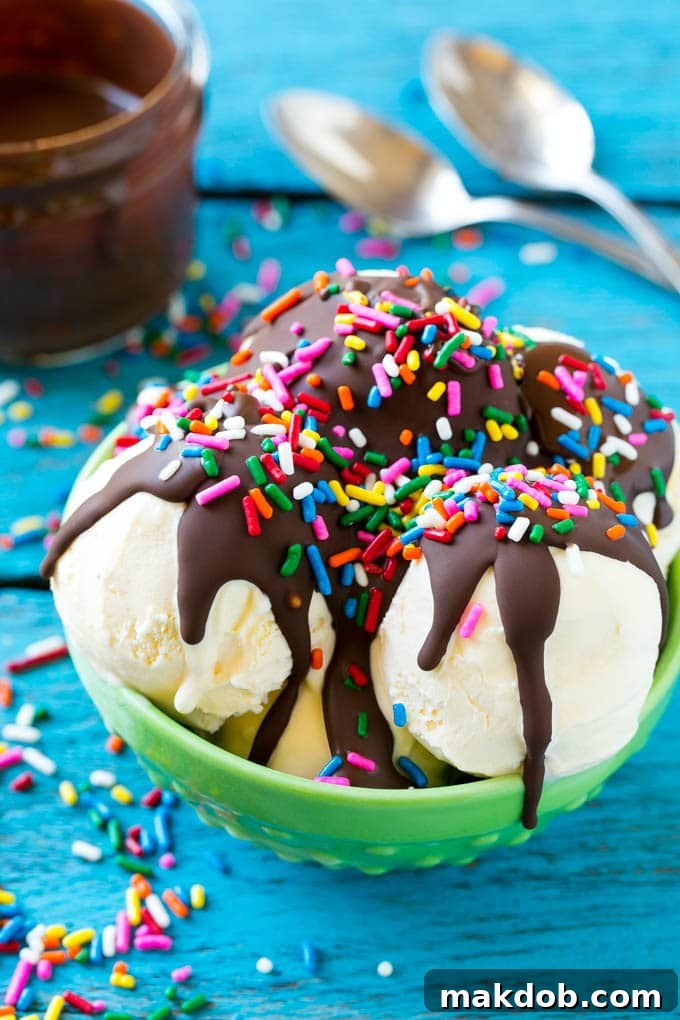
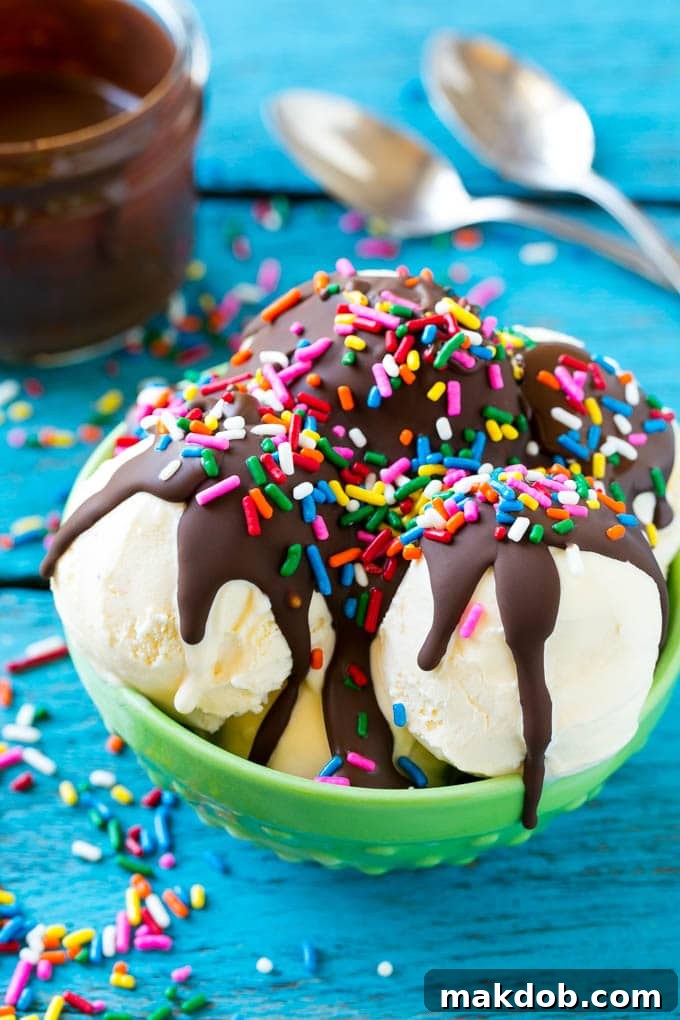
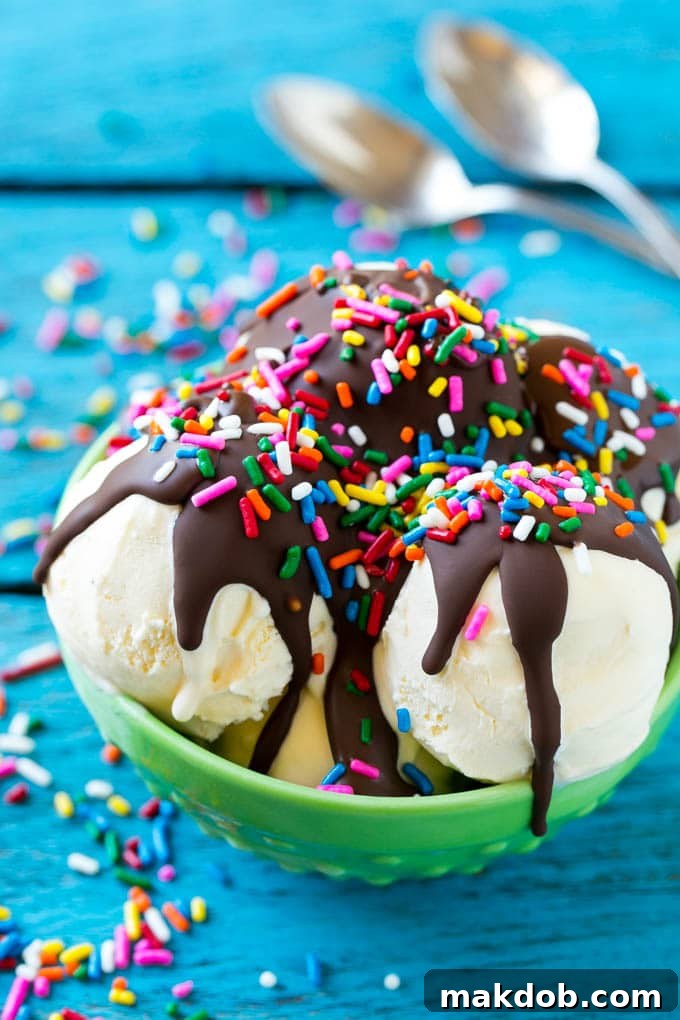
Unlock the secret to the ultimate dessert experience with a simple, sensational treat that promises to revolutionize your ice cream nights: Homemade Magic Shell. Forget the cloying, ingredient-laden store-bought versions; this DIY delight offers a superior taste and texture that’s incredibly easy to achieve. In mere minutes, with just two core ingredients, you can whip up a glossy, rich chocolate topping that hardens into a satisfyingly crisp shell the moment it hits your cold ice cream. It’s a nostalgic treat that brings joy to kids and adults alike, transforming an ordinary bowl of ice cream into an extraordinary indulgence.
The beauty of homemade magic shell lies in its simplicity and purity. Unlike commercial products often packed with artificial flavors, preservatives, and questionable oils, your homemade version uses natural ingredients you can trust. This not only makes for a healthier option but also allows the pure, rich flavor of chocolate to shine through. Whether you’re craving a classic vanilla scoop elevated to new heights, or you want to add a delightful crunch to your favorite frozen dessert, this recipe is your golden ticket to a quick, impressive, and utterly delicious topping.
Why Homemade Magic Shell is a Must-Try
There’s nothing quite like the satisfying crack of a chocolate shell giving way to creamy ice cream underneath. While the concept of magic shell has been around for decades, crafting it yourself brings several distinct advantages:
- Unbeatable Flavor: By controlling the quality of your chocolate, you ensure a far richer and more authentic taste compared to mass-produced alternatives.
- Pure Ingredients: Say goodbye to high-fructose corn syrup, artificial colors, and obscure stabilizers. Your homemade version contains only chocolate and coconut oil, making it a cleaner treat.
- Cost-Effective: Buying quality chocolate chips and a jar of coconut oil is often more economical in the long run than repeatedly purchasing small bottles of magic shell.
- Customizable: The world of flavor variations opens up when you make it from scratch. You’re not limited to a single chocolate type or flavor profile.
- Instant Gratification: This recipe is incredibly quick, taking less than 10 minutes from start to finish, perfect for an impromptu dessert craving.
- Fun for Everyone: It’s a delightful activity to involve children in, watching the chocolate transform from liquid to solid right before their eyes!
Beyond ice cream, this versatile chocolate sauce can elevate a variety of desserts. Imagine dipping s’mores cookies, M&M cookies, or even fresh berry fruit salad into its decadent embrace. The possibilities are truly endless, making this recipe a valuable addition to any home cook’s repertoire.
Table of Contents
- Homemade Magic Shell Ingredients
- How Do You Make Homemade Magic Shell?
- The Science Behind The Magic
- Tips For The Perfect Magic Shell
- Quick Tip: Finding Coconut Oil
- Flavor Variations & Creative Uses
- Recipe FAQs
- More Delicious Desserts
- Love This Recipe?
- Homemade Magic Shell Recipe Card
Homemade Magic Shell Ingredients
The beauty of this recipe truly lies in its simplicity. You need just two primary ingredients, which are readily available in most grocery stores:
- Semisweet Chocolate Chips: These form the base of your magic shell. Semisweet offers a balanced chocolate flavor that’s not overly bitter or sweet, making it a popular choice. The quality of your chocolate chips will directly impact the final flavor of your magic shell, so choose a brand you enjoy.
- Coconut Oil: This is the “magic” ingredient responsible for the rapid hardening effect. Coconut oil has a unique fatty acid profile that causes it to solidify quickly when chilled. For a neutral flavor, opt for refined coconut oil. If you enjoy a subtle coconut essence, unrefined (virgin) coconut oil works wonderfully too.
While the recipe card below provides specific amounts, remember that the ratio of chocolate chips to coconut oil can be slightly adjusted to achieve your preferred thickness and hardness. More coconut oil will result in a thinner, slightly softer shell, while less will yield a thicker, harder coating.
How Do You Make Homemade Magic Shell?
Creating this irresistible chocolate ice cream topping is so straightforward, you’ll wonder why you haven’t been making it for years. Here’s a detailed breakdown of the simple steps:
- Prepare Your Ingredients: Begin by measuring out your semisweet chocolate chips and coconut oil. Place both ingredients into a microwave-safe bowl. Choose a bowl that’s large enough to comfortably stir the mixture once melted.
- Gentle Melting in the Microwave: The microwave is your best friend for this quick recipe. Heat the chocolate chips and coconut oil in 30-second intervals. After each interval, remove the bowl and stir the mixture thoroughly, even if it doesn’t look fully melted. This helps to distribute the heat evenly and prevents the chocolate from scorching. Continue this process until the chocolate chips are completely melted and the mixture is smooth and glossy. For most microwaves, this will take about 1.5 to 2 minutes total.
- Alternative Melting Method (Double Boiler): If you prefer not to use a microwave or don’t have one, a double boiler is an excellent alternative. Place your chocolate chips and coconut oil in a heat-safe bowl set over a saucepan of simmering water (ensure the bottom of the bowl does not touch the water). Stir continuously until the chocolate is melted and smooth. This method provides more controlled, gentle heat, reducing the risk of overheating.
- Achieve Silky Smoothness: Once melted, continue stirring for another minute or so. This ensures that the coconut oil is fully incorporated into the chocolate, creating a uniform, silky sauce. There should be no lumps or streaks of oil.
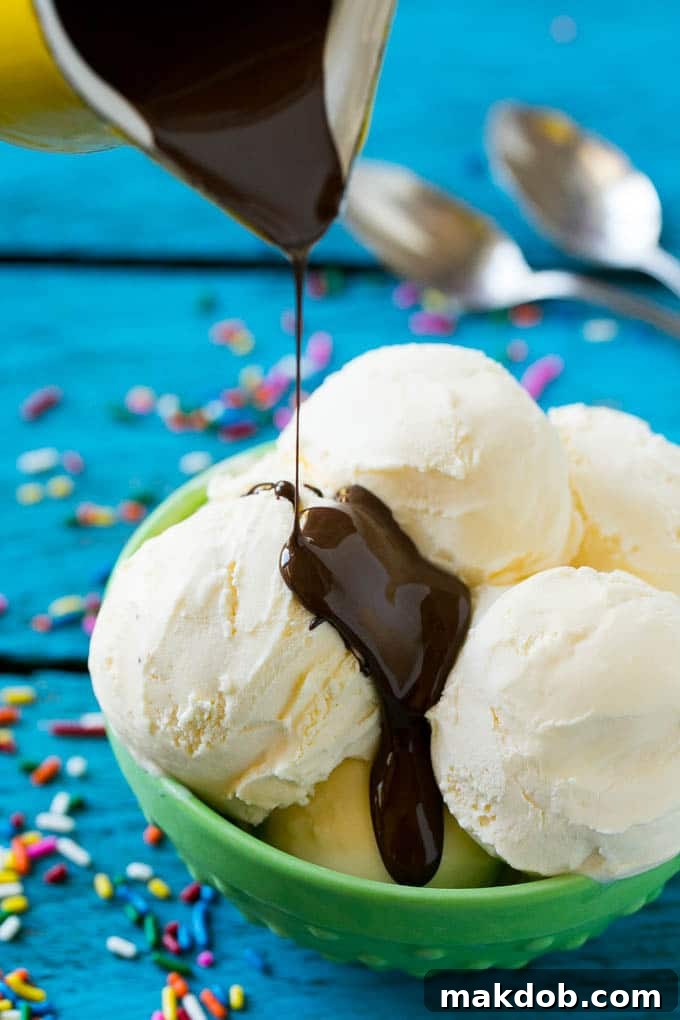
- Pour and Watch the Magic Happen: Now for the fun part! Immediately pour the warm chocolate sauce over your favorite cold ice cream. As the warm chocolate meets the cold surface of the ice cream, the coconut oil rapidly solidifies, creating that signature crisp, crunchy shell. Don’t hesitate to add sprinkles or other toppings right after pouring, as the shell sets quickly!
The Science Behind The Magic
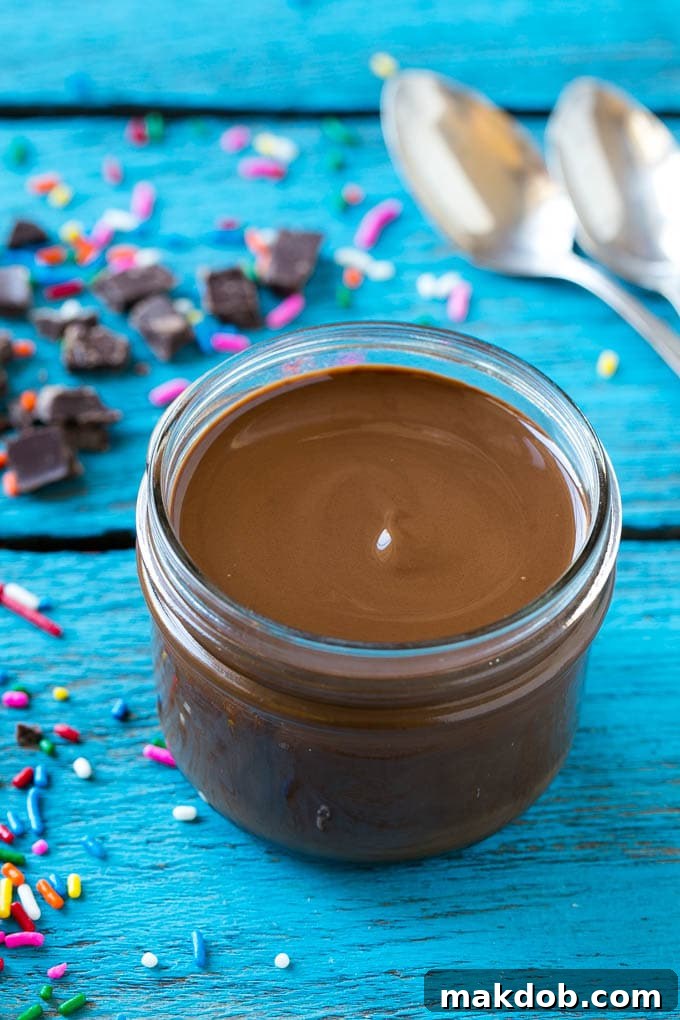
Ever wondered exactly how magic shell works? It’s all thanks to the incredible properties of coconut oil. Unlike other common cooking oils that remain liquid at room temperature, coconut oil is solid below approximately 76 degrees Fahrenheit (24 degrees Celsius). When you melt the chocolate chips and coconut oil together, they form a smooth, liquid sauce. However, the moment this warm liquid comes into contact with something very cold, like a scoop of ice cream, the coconut oil rapidly cools down and solidifies, taking the chocolate along with it to create that delicious, hard shell. This rapid phase change is what gives magic shell its distinctive “magic” quality and satisfying snap.
Tips For The Perfect Magic Shell
Achieving the perfect magic shell every time is simple with a few helpful tips:
- Optimal Temperature: Ensure your ice cream is well-chilled and firm. The colder the ice cream, the faster and harder your magic shell will set. The magic shell itself should be warm enough to be pourable, but not sizzling hot, which could melt your ice cream too quickly.
- Customize with Sprinkles: For an extra festive touch, feel free to add sprinkles to your ice cream immediately after pouring the homemade magic shell, as it begins to harden almost instantly.
- Pouring Precision: For easy application, use a small pitcher or a gravy boat to drizzle the liquid chocolate over your ice cream. This allows for more control and less mess. Alternatively, you can simply spoon your chocolate shell over the ice cream for a rustic look.
- Storage Solutions: You can store leftover magic shell in an airtight container at room temperature for up to three hours. For longer storage, refrigerate it for up to five days. Note that it will solidify in the refrigerator.
- Reheating for Reuse: If stored and solidified, you’ll need to re-heat magic shell for a few seconds in the microwave (or over a double boiler) to liquefy it again before pouring it over ice cream. Stir well after reheating to ensure it’s smooth.
- Avoid Water: When melting chocolate, whether in the microwave or double boiler, ensure no water gets into the mixture. Even a tiny drop can cause the chocolate to seize and become grainy.
- Adjusting Consistency: If your magic shell is too thick, add a tiny bit more coconut oil (1/2 teaspoon at a time) and re-melt. If it’s too thin or not hardening enough, you might need a bit more chocolate (melted in separately and then combined).
Quick Tip: Finding Coconut Oil
Look for jars of coconut oil in your grocery store in the baking aisle, often near other cooking oils or solid shortenings. Health food sections are also a good place to find it.
Flavor Variations & Creative Uses
While the classic chocolate magic shell is undeniably delicious, this recipe serves as an excellent base for experimentation. Don’t hesitate to get creative and tailor it to your personal taste!
- Chocolate Chips: The original recipe calls for semisweet, but you can easily swap them out. Try milk chocolate chips for a sweeter, creamier shell, or dark chocolate chips for a more intense, sophisticated flavor. White chocolate chips can also be used, perhaps with a drop of food coloring for a fun, vibrant topping. Consider specialty chips like mint chocolate or peanut butter chips for unique twists.
- Add Extracts for Depth: A tiny splash of extract can dramatically change the flavor profile. A quarter teaspoon of vanilla extract (added after melting) enhances the chocolate. Other fantastic options include peppermint extract for a festive feel, almond extract, or even a hint of orange zest for a bright, citrusy note.
- Butterscotch Bliss: For a completely different but equally delightful flavor, try adding butterscotch chips to this recipe instead of chocolate. The combination of butterscotch and coconut oil creates an amazing, golden shell that pairs wonderfully with vanilla or caramel ice cream.
- Spiced Shells: For an adventurous palate, a pinch of cayenne pepper can transform your chocolate shell into a spicy Mexican hot chocolate experience. A dash of cinnamon or cardamom can also add warmth and complexity.
- Beyond Ice Cream Dippers: Expand your dipping horizons! In addition to cookies and fruit, consider dipping graham crackers, pretzels (for a sweet and salty combo), banana slices, marshmallows, or even crispy rice treats in a bowl of warm magic shell.
- Other Dessert Applications: Don’t limit magic shell to just dipping and drizzling over ice cream. Use it to create a hard chocolate coating for homemade popsicles, fruit skewers, or chocolate-dipped strawberries. Drizzle it over pancakes or waffles, or use it as a decorative element on cakes and cupcakes for an instant touch of gourmet flair.
- Pair with Other Sauces: Create a sundae bar masterpiece by offering your homemade chocolate magic shell alongside other delicious toppings like raspberry sauce, marshmallow fluff, classic caramel sauce, or a mountain of freshly whipped cream.
This homemade magic shell recipe is truly WAY more delicious than anything you can buy at the store, and it’s simple enough for even beginner cooks to master. My kids adore helping to make this ice cream topping, especially when there are sprinkles involved at the end to make their creations extra special. It’s an easy way to add a touch of magic to any dessert!
Recipe FAQs
Absolutely! You can easily make magic shell at home with only two essential ingredients: chocolate chips (semisweet, milk, or dark) and coconut oil. It’s a quick and rewarding process.
To make homemade magic shell, simply combine chocolate chips and coconut oil in a microwave-safe bowl. Heat in short, 30-second intervals, stirring well after each, until the mixture is completely melted and smooth. Then, pour the warm sauce over your favorite cold ice cream and watch it magically harden into a crunchy chocolate shell.
While you can make a delicious chocolate topping without coconut oil, it will not achieve the characteristic “magic shell” hardening effect. If you prefer not to use coconut oil, I recommend making a rich chocolate ganache by melting together a cup of semisweet chocolate chips with 4 tablespoons of butter or heavy cream. This will create a decadent, pourable chocolate sauce that will thicken when chilled but won’t harden into a crisp shell like true magic shell.
The hardening property of magic shell comes specifically from coconut oil. Coconut oil is unique because it contains a high percentage of saturated fats, which cause it to be solid at cooler room temperatures (below about 76°F or 24°C). When melted and then poured over cold ice cream, the coconut oil rapidly chills and solidifies, taking the melted chocolate with it to form a crisp, firm shell.
Homemade magic shell can be stored at room temperature for up to 3 hours, provided your kitchen isn’t excessively warm. For longer storage, keep it in an airtight container in the refrigerator for up to 5 days. It will solidify in the fridge, so simply reheat it gently in the microwave or a double boiler to liquefy it again before use.
Follow Us for More Delicious Recipes!
More Delicious Desserts to Try
If you loved this easy and delicious magic shell, you’re in for a treat! Explore these other delightful dessert recipes perfect for satisfying your sweet tooth:
Banana Split Cake
Total Time: 21 mins
Blueberry Shortcake
Total Time: 50 mins
Ice Cream Sandwich Cake
Total Time: 21 mins
Cheesecake Stuffed Strawberries
Total Time: 16 mins
Chocolate Fruit Dip
Total Time: 6 mins
Love This Recipe?
Please leave a 5-star 🌟🌟🌟🌟🌟 rating in the recipe card below & a review in the comments section further down the page. Your feedback helps other dessert lovers!
Homemade Magic Shell Recipe
This recipe for homemade magic shell is an easy ice cream topping that’s SO much better than store-bought! It sets in seconds for a delightful crunch.
Prep Time: 5 minutes
Cook Time: 5 minutes
Total Time: 10 minutes
Course: Dessert
Cuisine: American
Servings: 8
Ingredients
- 1 cup semisweet chocolate chips
- 2 tablespoons coconut oil (refined for neutral taste, unrefined for subtle coconut flavor)
Instructions
- Place the chocolate chips and coconut oil in a microwave-safe bowl.
- Heat at 30-second intervals in the microwave, stirring thoroughly after each interval, until completely melted and smooth. (Alternatively, use a double boiler for gentle melting.)
- Stir until smooth and glossy.
- Pour the warm chocolate mixture over your favorite cold ice cream and watch it harden into a delicious shell! Enjoy immediately.
Notes
- You can typically find jars of coconut oil in the baking aisle or health food section of your grocery store.
- Feel free to add colorful sprinkles to your ice cream just as the magic shell hardens for a fun, festive touch.
- For easier pouring, use a small pitcher or gravy boat. Alternatively, simply spoon the chocolate shell over your ice cream.
- Store any leftover magic shell in an airtight container at room temperature for up to 3 hours, or in the refrigerator for up to 5 days. Reheat gently to liquefy before using again.
Nutrition
(Nutritional values are approximate and may vary based on specific ingredients and preparation.)
- Calories: 161kcal
- Carbohydrates: 7g
- Fat: 14g
- Saturated Fat: 10g
- Sodium: 1mg
- Potassium: 80mg
- Fiber: 1g
- Sugar: 5g
- Vitamin A: 5IU
- Calcium: 9mg
- Iron: 0.9mg
Did you make this recipe? Tag @dinneratthezoo on Instagram and hashtag it #dinneratthezoo
Share this recipe with your friends and family!
Share on Twitter
Pin this Recipe