

Welcome to the ultimate guide for creating exquisite **chocolate covered strawberries** right in your own kitchen! These fresh, ripe berries, generously dipped in luscious melted chocolate and optionally adorned with delightful toppings, are far more than just a dessert. They are a statement of simple elegance, a perfect snack, a romantic gesture, or a delightful addition to any celebration. Forget expensive store-bought versions; mastering this classic treat at home is not only cost-effective but also incredibly rewarding, allowing for endless customization and ensuring peak freshness.
The timeless pairing of chocolate and fruit is a culinary match made in heaven. While indulgences like chocolate fondue and brownie pizzas offer their own unique charm, nothing quite captures the blend of refreshing sweetness and rich decadence like a perfectly crafted chocolate-dipped strawberry. This simple recipe empowers you to create gourmet-quality treats that are sure to impress, whether for a special occasion or just a moment of personal bliss.



The Allure of Homemade Chocolate Covered Strawberries
There’s an undeniable charm to chocolate covered strawberries. They symbolize luxury, celebration, and thoughtful indulgence. While readily available in stores, often at a premium price, the experience of making them yourself offers numerous advantages. Crafting these delightful treats at home ensures unparalleled freshness, allows you to choose your preferred chocolate quality and toppings, and significantly reduces the cost. This makes them an ideal choice for a thoughtful gift, especially for occasions like Valentine’s Day, anniversaries, or simply as a token of appreciation. If you’re looking for more romantic dessert ideas, explore our list of 25 Valentine’s Day dessert recipes.
Mastering the Art of Chocolate Dipped Strawberries
Creating perfect chocolate dipped strawberries is simpler than you might think. The key lies in selecting the right ingredients and following a few crucial steps. For the best results, always aim for the largest, firmest, and most vibrantly colored strawberries you can find. Larger berries are not only easier to handle during the dipping process but also present a more visually appealing dessert. Once dipped in the silky smooth melted chocolate, these berries can be rolled in various toppings to add texture and flavor, or simply left with their elegant chocolate coating. After a brief period to harden, they are ready to be served and savored.
Selecting Your Star Ingredient: The Strawberries
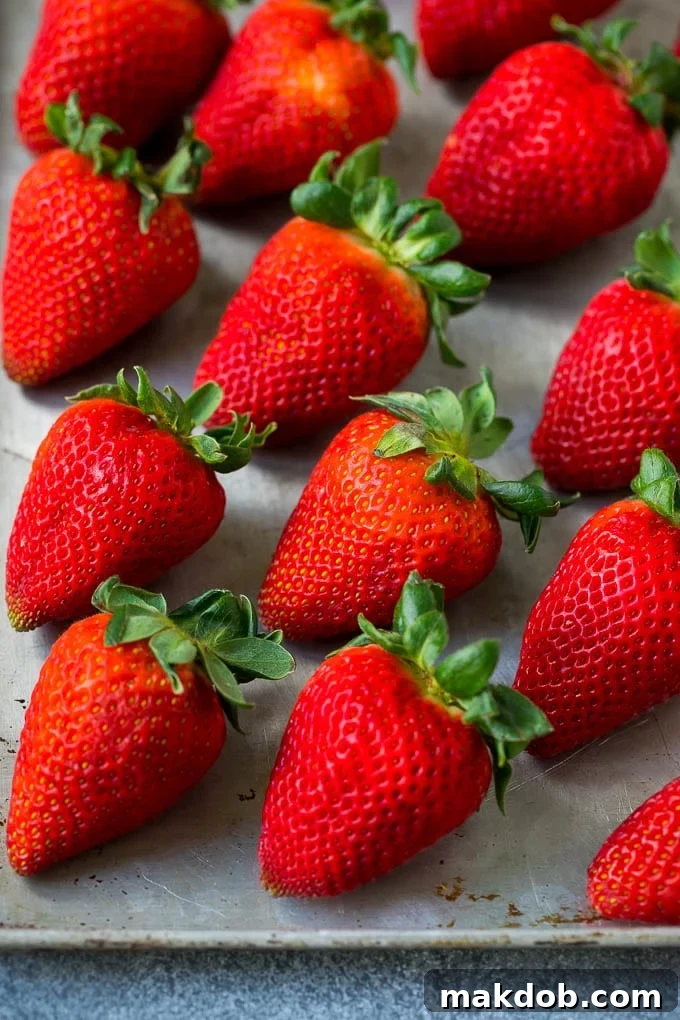
The foundation of any great chocolate-covered strawberry is, naturally, the strawberry itself. Look for berries that are bright red, plump, and firm to the touch. Avoid any with soft spots, mold, or dull coloration. While size isn’t strictly necessary, larger strawberries provide a more substantial bite and are generally easier to handle when dipping. Once you’ve brought them home, rinse them gently under cool water. The most critical step before dipping is to ensure your strawberries are *completely dry*. Any lingering moisture will cause your chocolate to seize and become clumpy, preventing a smooth, glossy finish. Pat them dry with paper towels and let them air dry for an additional 15-20 minutes, or even longer, spread out on a clean cloth or paper towel-lined baking sheet.
Choosing the Best Chocolate for Melting and Dipping
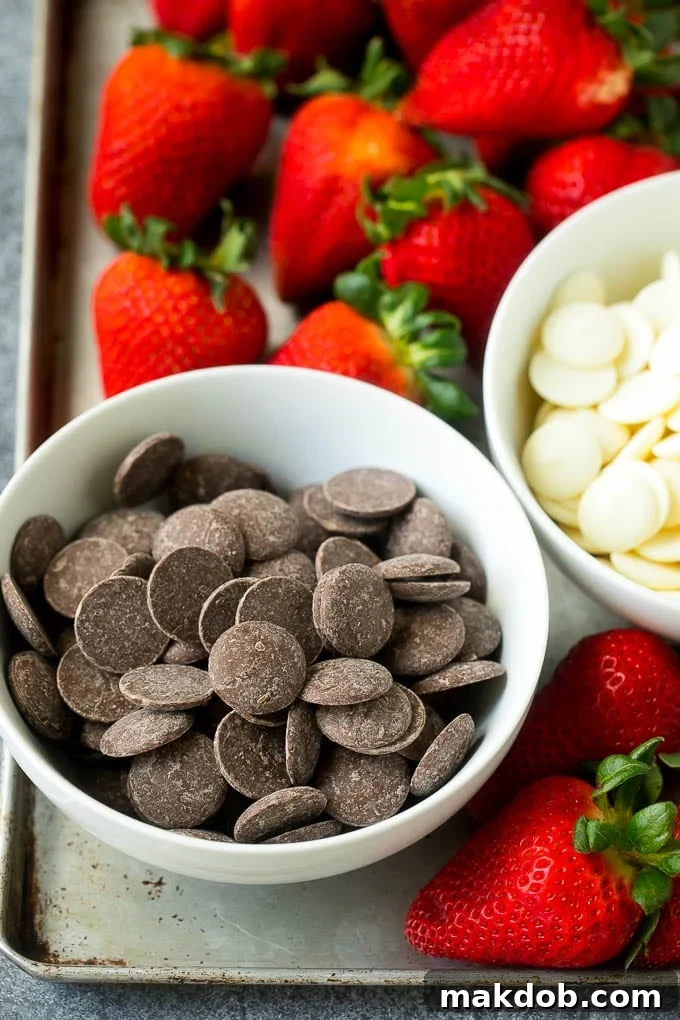
The type of chocolate you use significantly impacts the taste and texture of your finished product. You have several options, each with its own characteristics:
- **Candy Melts (Melting Wafers):** My top recommendation for beginners and those seeking a consistently smooth, professional finish. Brands like Ghirardelli Melting Wafers (available in milk, dark, and white chocolate) are formulated to melt beautifully and harden without any gray residue, often referred to as “bloom,” which can sometimes occur with real chocolate. They are incredibly easy to work with and deliver excellent chocolate flavor. You can typically find these in the baking aisle of most grocery stores.
- **Chocolate Chips:** While convenient, chocolate chips can be trickier to melt to a perfectly smooth, thin consistency suitable for dipping. They often contain stabilizers that prevent them from melting as fluidly as baking bars or candy melts. If you choose chocolate chips, I strongly advise adding a teaspoon of shortening (like Crisco) per 12 ounces of chocolate. This helps thin the chocolate, making it easier to achieve a nice, even coating on your berries. Avoid using brands like Nestle chocolate chips, as they are notoriously difficult to melt properly for dipping purposes.
- **Chopped Chocolate Bars (Baking Chocolate):** High-quality baking chocolate bars (dark, milk, or white) offer the best flavor. However, they require careful tempering to achieve a shiny, snap-like finish and prevent blooming. For a simpler approach, you can melt them without tempering, but be aware that they might not have the same glossy appearance or firm set as tempered chocolate or candy melts.
The Dipping Process: A Step-by-Step Guide
Preparation is Paramount
Before you even think about melting chocolate, ensure your workstation is ready. Line a baking sheet with parchment paper or waxed paper. A nonstick silicone baking mat also works wonderfully. This will provide a non-stick surface for your dipped strawberries to set without sticking.
Melting the Chocolate
Whether you’re using candy melts or chocolate chips, place them in a microwave-safe bowl. If using chocolate chips, remember to add the shortening now. Microwave the chocolate in short bursts – typically 30-second increments – stirring thoroughly after each interval. Chocolate retains heat, so it will continue to melt even after it’s removed from the microwave. Continue this process until the chocolate is just melted and perfectly smooth. Avoid overheating, as this can scorch the chocolate or cause it to seize. For a more controlled melt, especially with baking chocolate, you can use a double boiler, ensuring no water comes into contact with the chocolate.
Dipping Your Strawberries
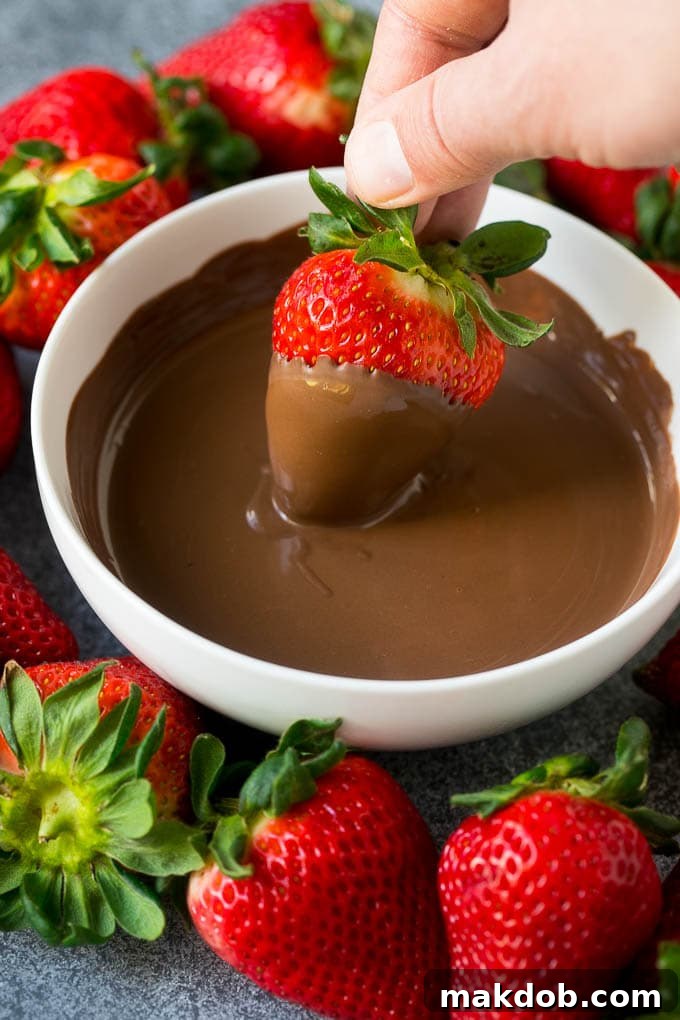
Once your chocolate is melted and smooth, it’s time to dip! I find the easiest method is to grasp each strawberry firmly by its green stem (the hull). Gently submerge the berry into the melted chocolate, turning it to coat about two-thirds to three-quarters of the way up. Allow any excess chocolate to drip off, tapping the stem gently against the edge of the bowl. This creates a clean, even coating. Alternatively, you can use a fork to cradle the strawberry and guide it through the chocolate, or even insert a wooden skewer into the top of each berry for easier handling.
Adding Creative Toppings and Drizzles
If you desire toppings, roll your chocolate-dipped strawberries in them immediately after dipping, while the chocolate is still wet. Some fantastic topping options include:
- Miniature chocolate chips (dark, milk, or white)
- Finely chopped nuts (almonds, pistachios, pecans, walnuts)
- Shredded coconut (toasted or untoasted)
- Colorful sprinkles or edible glitter
- Crushed cookies (like Oreos or Graham crackers)
- A delicate sprinkle of sea salt (especially with dark chocolate)
For an elegant finish, consider a chocolate drizzle. Let your dipped and topped berries set and harden completely first. Then, melt a small amount of additional chocolate (about 1/3 cup) in a separate bowl. Transfer this melted chocolate into a small resealable plastic bag. Snip a tiny corner off the bag, then squeeze gently to drizzle the chocolate in decorative patterns over your dry berries. You can use a contrasting chocolate color for a striking effect, such as white chocolate drizzled over dark chocolate-covered strawberries.

Storage and Shelf Life: Keeping Your Treats Fresh
Once your chocolate covered strawberries are complete, allow them to harden completely on the parchment-lined baking sheet. This usually takes about 15-30 minutes at room temperature, or a little faster in the refrigerator. I generally prefer to store my finished chocolate covered strawberries in an airtight container at room temperature. However, if your home is particularly warm, or if you need them to last a bit longer, refrigeration is an option.
Be aware that chilling your berries can lead to “sweating” or condensation forming on the chocolate surface once they are brought back to room temperature. While this doesn’t affect the taste, it can slightly diminish their pristine appearance. If you do refrigerate them, try to let them come to room temperature gradually before serving to minimize sweating.
For optimal freshness and taste, I recommend preparing your chocolate covered strawberries no more than 24 hours before you plan to serve them. Strawberries are highly perishable, and the fresher they are, the more delicious your treats will be. Ideally, serve them within 6-8 hours of preparation for the best possible experience.
Expert Tips for Perfect Chocolate Covered Strawberries
- **The Enemy is Moisture:** This cannot be stressed enough. Ensure your strawberries are bone dry before dipping. Even a tiny drop of water can cause your chocolate to seize, turning it into a thick, unworkable paste.
- **Mind the Temperature:** Don’t dip cold strawberries into hot chocolate, and vice versa. Ideally, let your washed and dried strawberries come to room temperature before dipping. The melted chocolate should be warm enough to be fluid but not so hot that it cooks the strawberries or becomes difficult to handle.
- **Work Smart, Work Fast:** Melted chocolate starts to set, especially if you’re working in a cool environment. Have all your strawberries prepped and toppings ready before you start melting the chocolate. Dip, decorate, and place on parchment paper efficiently.
- **Deep, Narrow Bowl:** Use a deep, narrow bowl for your melted chocolate. This allows you to dip more of the strawberry without needing a large volume of chocolate, reducing waste and making the dipping process easier.
- **Don’t Over-stir Melted Chocolate:** Once your chocolate is melted and smooth, avoid excessive stirring. This can incorporate air bubbles, leading to a less smooth finish.
Once you discover how incredibly easy and impressive these homemade chocolate covered strawberries are, you’ll find yourself making them for every occasion, or simply as a delightful treat for yourself!
Chocolate Covered Strawberries Recipe
These chocolate covered strawberries are fresh, ripe berries dipped in melted chocolate and rolled in various toppings. An easy and elegant dessert or snack option!

Cook Time: 2 minutes
Total Time: 7 minutes
Ingredients
- 1 1/2 pounds strawberries (get the biggest berries you can find!)
- 12 ounces chocolate chips or candy melts (can use dark, milk or white chocolate or a combination)
- 2 teaspoons shortening (ONLY if you’re using chocolate chips)
- assorted toppings such as miniature chocolate chips, sprinkles or nuts (optional)
- additional chocolate for drizzling (optional)
Instructions
- Place the chocolate or candy melts in microwave safe bowls.
- If you’re using chocolate chips, add the shortening to the bowl.
- Microwave in 30-second increments until chocolate is just melted. Stir until smooth.
- Dip each berry in chocolate, turning to coat completely.
- If you’re using toppings, roll your berries in the toppings while they’re wet.
- Set the berries on a sheet of parchment or waxed paper to dry.
- If you’d like to add a chocolate drizzle to your berries, melt an additional 1/3 cup of chocolate or candy melts and place it in a plastic resealable bag.
- Snip the tip of the bag and drizzle the chocolate over the dry berries.
- Let berries harden completely, then serve, or store in an airtight container at room temperature for up to 24 hours.
Notes
I recommend using Ghirardelli Melting Wafers for this recipe; you can find them in the baking aisle of most grocery stores.
Nutrition
Calories: 335kcal | Carbohydrates: 47g | Protein: 3g | Fat: 15g | Saturated Fat: 8g | Cholesterol: 8mg | Sodium: 39mg | Potassium: 173mg | Fiber: 3g | Sugar: 41g | Vitamin A: 140IU | Vitamin C: 67mg | Calcium: 84mg | Iron: 1.2mg
More Delicious Dessert Ideas
- Chocolate Covered Oreos
- Cosmic Brownies
- Fruit Pizza
- Chocolate Fruit Dip
- Chocolate Covered Pretzels
Tag @dinneratthezoo on Instagram and hashtag it #dinneratthezoo