
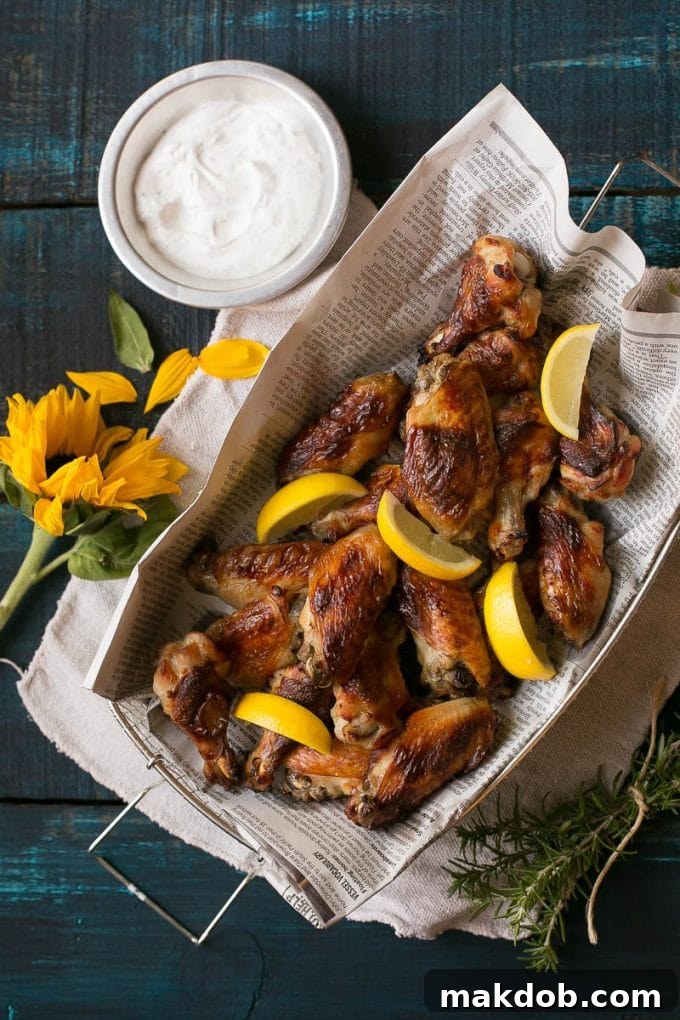
Welcome to the ultimate guide for crafting the most delectable and irresistibly crispy baked lemon chicken wings! Forget the deep fryer; these wings achieve a golden-brown, crunchy exterior and succulent, flavorful interior right in your oven. Infused with a vibrant lemon and herb brine, they’re an absolute game-changer for any meal, whether you’re planning a casual family dinner or a show-stopping appetizer for your next gathering. Prepare to impress with wings that are bursting with zest, savory herbs, and an unbeatable crunch!
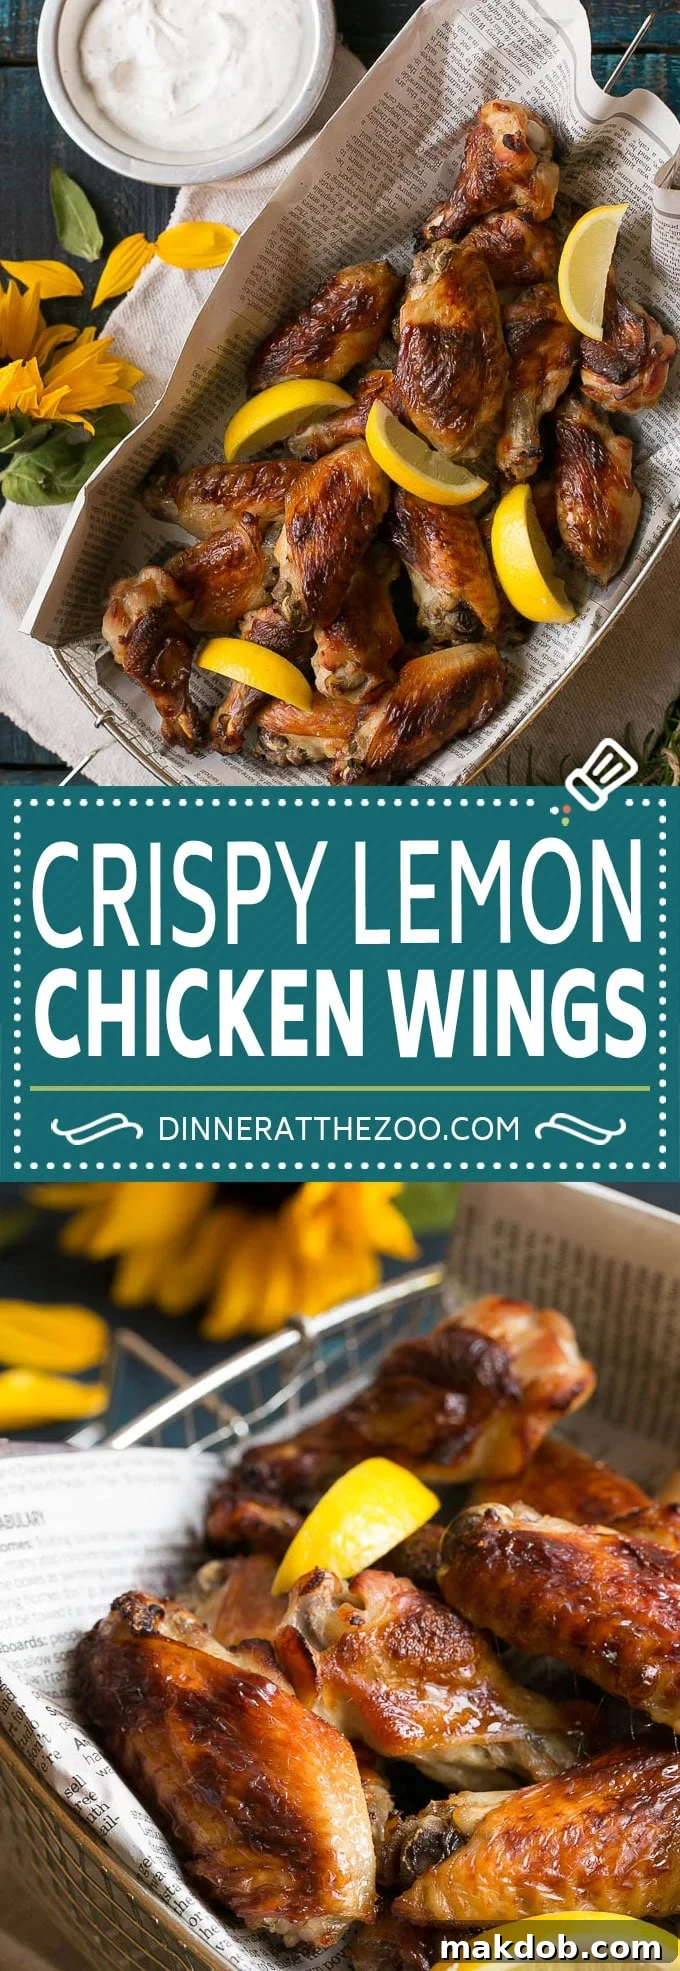

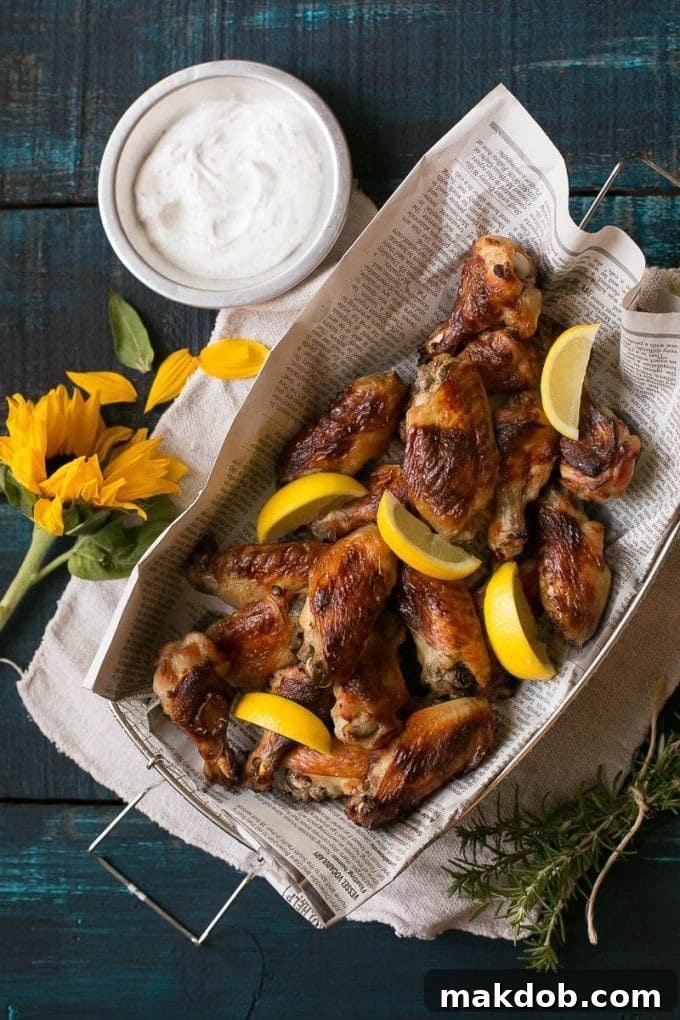
Chicken is a staple in many households, and ours is no exception. While chicken breasts and thighs often make their way to our dinner table, sometimes you crave something a little different, a little more exciting. That’s exactly how these crispy lemon chicken wings became a regular feature in our culinary rotation. One spontaneous trip to the grocery store led to the discovery of beautiful chicken wings, and the decision to try something new instantly paid off. Not only did my family approve, they absolutely adored these wings, solidifying their spot as a beloved family favorite.
The Secret to Unbeatable Crispy Baked Lemon Chicken Wings
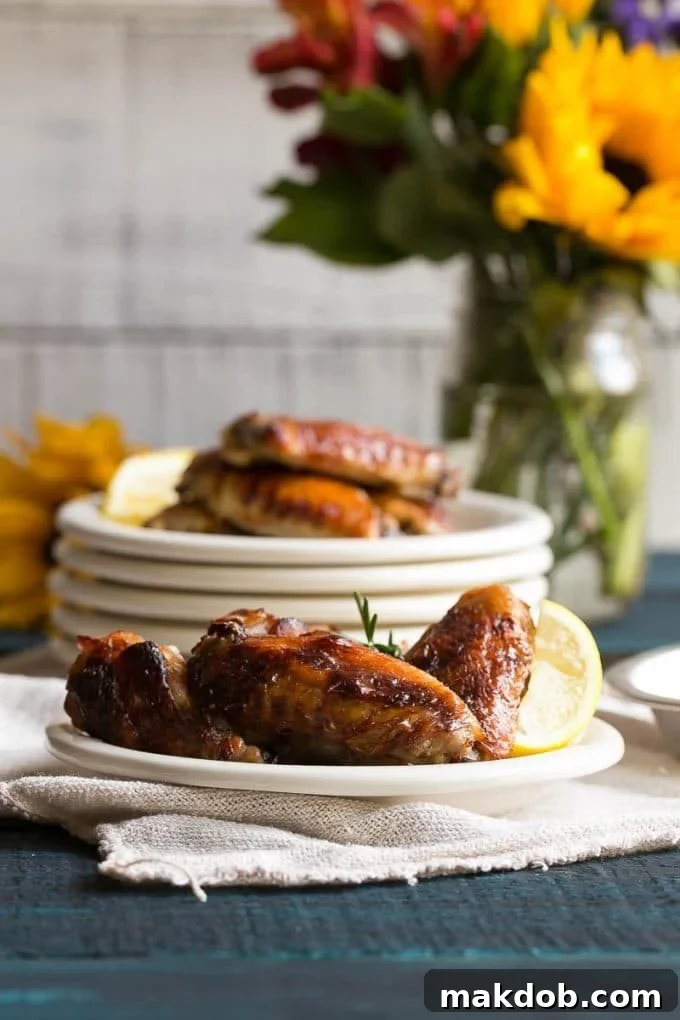
Many people believe that truly crispy chicken wings can only be achieved through deep-frying. However, I’m here to tell you that’s simply not true! These lemon chicken wings are baked to perfection, emerging from the oven with a texture so crisp, you’d swear they were fried. The magic lies in a simple yet incredibly effective technique: brining.
Our special brine isn’t just about adding moisture; it’s a flavor powerhouse. It combines the bright tang of fresh lemon, the subtle sweetness of honey, and the aromatic notes of rosemary. These ingredients not only infuse the chicken with incredible depth but also contribute to that coveted deep golden-brown, almost caramelized skin that defines a perfect crispy wing.
What is Brining and Why is it Essential for Crispy Wings?
Brining is a culinary technique where meat is submerged in a seasoned saltwater solution before cooking. For chicken wings, this process works wonders in multiple ways:
- Moisture Retention: The salt in the brine helps the chicken absorb and retain moisture, resulting in incredibly juicy wings even after high-heat baking. This prevents them from drying out, which can often happen with baked poultry.
- Enhanced Flavor: The brine acts as a carrier, allowing the flavors of lemon, honey, rosemary, garlic, and peppercorns to penetrate deep into the meat, not just season the surface. Every bite is packed with savory and zesty notes.
- Tenderization: Salt helps to break down some of the muscle fibers in the chicken, leading to a more tender texture.
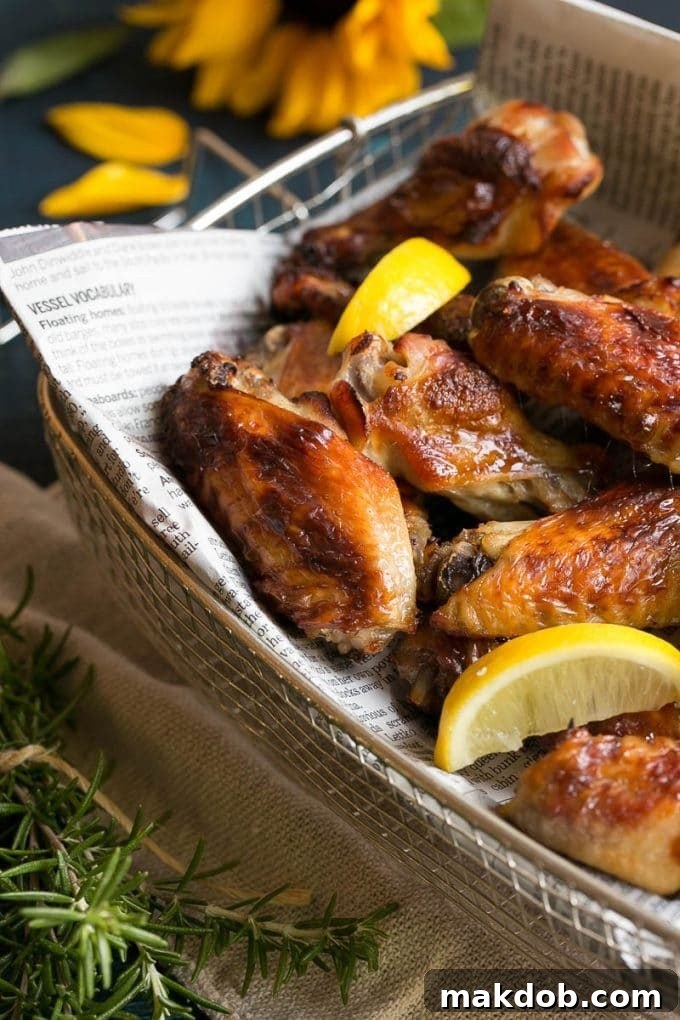
- Crispy Skin Catalyst: This is arguably the most crucial benefit for our baked wings. The salt in the brine helps to draw moisture out of the chicken skin to the surface. When baked at high heat, this surface moisture evaporates quickly, allowing the skin to crisp up beautifully and brown more effectively, creating that desirable caramelized crust without the need for frying. The honey further aids in achieving this gorgeous golden hue and a slight crispness.
The process is straightforward: create the brine, soak the wings, then roast at high heat. It’s a simple sequence that yields consistently spectacular results.
Getting the Brine Just Right: Ingredients and Timing
The brine for these lemon chicken wings is a carefully balanced blend that maximizes both flavor and crispiness. Here’s a closer look at the key components:
- Kosher Salt: Essential for both moisture retention and aiding in crispiness. Use kosher salt as it dissolves well and provides good flavor without being overly salty compared to table salt.
- Honey: Adds a touch of sweetness that balances the lemon and herbs, and more importantly, helps with the caramelization of the skin during baking, resulting in that beautiful golden-brown color and extra crispness.
- Fresh Lemon: Both the juice and the squeezed lemon pieces are used. The juice provides essential acidity and bright citrus flavor, while the leftover pieces contribute their aromatic oils to the brine.
- Fresh Rosemary Sprigs: Rosemary infuses the chicken with an earthy, piney aroma that complements the lemon beautifully. Its robust flavor stands up well to high heat.
- Garlic Cloves (Smashed): Smashed garlic releases its pungent, savory oils more readily into the brine, adding a foundational layer of flavor.
- Dried Bay Leaf: Offers a subtle, slightly floral and herbaceous note that rounds out the brine’s complexity.
- Black Peppercorns: Provide a gentle, woody heat and a fresh aroma, much more nuanced than pre-ground pepper.
- Water: The solvent for all these wonderful flavors. Using a combination of boiling and very cold water helps dissolve the salt and honey quickly, then chills the brine to a safe temperature before adding the chicken.
Brining Time is Crucial: While brining is fantastic, it’s possible to over-brine, which can lead to overly salty or mushy meat. For chicken wings, 2 to 8 hours is the sweet spot. This duration allows enough time for the flavors to penetrate and for the salt to work its magic without compromising the texture. Stick to these guidelines for optimal results.
How to Achieve Maximum Crispiness: Baking Instructions
Once your wings have soaked up all that glorious brine, the baking process is where they transform into crispy delights.
- Prep the Brine: Start by boiling 1 cup of water (the microwave works perfectly for this). In a very large bowl, combine the hot water with kosher salt and honey, stirring until fully dissolved. Then, add the smashed garlic, bay leaf, rosemary, peppercorns, lemon juice, and the squeezed lemon pieces. Pour in 7 cups of very cold water and stir to combine, ensuring the brine is cool before adding the chicken.
- Brine the Wings: Submerge your party-style chicken wings (or halved whole wings) in the cooled brine. Cover the bowl and refrigerate for a minimum of 2 hours and no more than 8 hours. This duration is key for flavor and texture development.
- Preheat and Prepare: When ready to bake, preheat your oven to a high temperature of 400°F (200°C). Line a large baking sheet with aluminum foil for easier cleanup, then spray it generously with cooking spray to prevent sticking.
- Pat Dry, Thoroughly: This step cannot be emphasized enough! Remove the brined chicken wings from the solution and pat them *extremely dry* with paper towels. Excess moisture on the skin is the enemy of crispiness. The drier the skin, the crispier your wings will be.
- Arrange and Bake: Place the dried wings in a single layer on the prepared baking sheet, ensuring they are not overcrowded. This allows for even air circulation, which is essential for crisping. Bake for approximately 45 minutes, or until the wings are a deep golden brown and wonderfully crispy.
- Serve Immediately: Crispy wings are best enjoyed fresh out of the oven. Serve them with fresh lemon wedges for an extra burst of citrus and, if desired, a side of creamy homemade ranch dip or your favorite dipping sauce.
Pro Tips for the Crispiest Baked Wings
- Don’t Crowd the Pan: Give each wing its space. If the baking sheet is too crowded, the wings will steam instead of roast, preventing them from getting crispy. Use two baking sheets if necessary.
- Consider a Wire Rack: For even better airflow around the wings, place them on a wire rack set over your foil-lined baking sheet. This lifts them off the pan, allowing hot air to circulate completely around each piece, enhancing crispiness.
- High Heat is Your Friend: Baking at 400°F (200°C) is crucial. This high temperature ensures the fat renders and the skin crisps up quickly.
- Flip for Evenness: While not strictly necessary if using a rack, flipping the wings halfway through baking can help ensure uniform crispness on all sides.
- Broiler Boost (Optional): If your wings aren’t as crispy as you’d like at the end of the baking time, you can briefly place them under a preheated broiler for 1-2 minutes per side. Watch them very carefully to prevent burning!
- Party Wings vs. Whole Wings: “Party wings” are typically already cut into drumettes and flats, which are ideal for even cooking and easy eating. If you buy whole wings, simply halve them crosswise at the joint.
Serving Suggestions & Perfect Pairings
These crispy lemon chicken wings are incredibly versatile. They can easily be the star of your dinner plate or a much-loved appetizer.
- Dips: While I wholeheartedly recommend my homemade ranch dip, these wings also pair wonderfully with blue cheese dressing, a spicy sriracha mayo, or even a sweet chili sauce. For a simple choice, enjoy them plain with a squeeze of extra lemon!
- Side Dishes: Serve alongside a fresh green salad, classic celery and carrot sticks, a creamy coleslaw, or a simple rice pilaf to make a complete meal. For a low-carb option, pair them with roasted asparagus or a cauliflower mash.
- Beverage Pairings: A light lager, a crisp Sauvignon Blanc, or even a sparkling lemonade would complement the zesty flavors perfectly.
Whether you’re looking for a crowd-pleasing appetizer for game day or a fun, flavorful dinner for the family, these lemon chicken wings are guaranteed to be a hit. Once you taste the difference that brining makes, you’ll wonder why you ever made wings any other way!
Frequently Asked Questions About Baked Lemon Chicken Wings
- Can I use frozen chicken wings for this recipe?
- Yes, you can, but make sure they are completely thawed before brining. Pat them extra dry after thawing and before brining to ensure the best results.
- How long do leftovers last, and how should I reheat them?
- Leftover wings can be stored in an airtight container in the refrigerator for up to 3-4 days. To reheat and retain crispiness, spread them on a baking sheet and bake at 375°F (190°C) for 10-15 minutes, or until heated through and crispy again. An air fryer also works wonders for reheating, taking about 5-7 minutes at 350°F (175°C).
- What if I don’t have fresh rosemary?
- While fresh rosemary offers the best flavor, you can substitute 1 teaspoon of dried rosemary for every tablespoon of fresh. Crush the dried rosemary lightly between your fingers to release its oils before adding it to the brine.
- Can I adjust the spice level?
- Absolutely! For a touch of heat, you can add a pinch of red pepper flakes to the brine or sprinkle some cayenne pepper on the wings before baking. For a spicier kick after baking, toss the cooked wings in your favorite hot sauce.
Still hungry for more delicious ideas? Follow Dinner at the Zoo on Facebook, Twitter, Instagram, and Pinterest for an endless array of fantastic recipes!
More Delicious Chicken Recipes to Explore
- Slow Cooker Teriyaki Chicken
- Honey Mustard Chicken
- Monterey Chicken
- Slow Cooker Whole Chicken
- Sun Dried Tomato Chicken
★
★
★
★
Lemon Chicken Wings
Pin Recipe
Sara Welch

10 minutes
45 minutes
55 minutes
Appetizer, Main Course
American
6 servings
Ingredients
- 2 1/2 pounds party style chicken wings or whole chicken wings that have been halved crosswise
- 1/4 cup kosher salt
- 3 tablespoons honey
- 3 garlic cloves smashed
- 1 dried bay leaf
- 3 sprigs fresh rosemary
- 1 lemon juiced plus the squeezed lemon pieces
- 1 tablespoon black peppercorns
- 8 cups water
- cooking spray
- 4-6 lemon wedges for serving
- Ranch dip for serving optional
Instructions
-
Bring one cup of water to a boil (I use the microwave) and pour the water into a very large bowl. Add the salt and honey to the water and stir until the salt has dissolved. Add the garlic, bay leaf, rosemary and peppercorns to the bowl. Add the lemon juice and the squeezed lemon pieces. Pour 7 cups of very cold water over everything and stir until combined. Place the chicken wings in the brine, cover the bowl and put it into the refrigerator. Chill for at least 2 hours but no more than 8 hours.
-
Preheat the oven to 400 degrees F (200 degrees C). Line a baking sheet with foil and spray with cooking spray. Remove the chicken wings from the brine and pat dry with a paper towel. Place the wings in a single layer on the baking sheet. Bake for 45 minutes or until wings are a deep golden brown. Serve immediately with lemon wedges and ranch dip if desired.
Nutrition
Serving: 4g
|
Calories: 169kcal
|
Carbohydrates: 29g
|
Protein: 7g
|
Fat: 5g
|
Saturated Fat: 1g
|
Cholesterol: 23mg
|
Sodium: 435mg
|
Fiber: 4g
|
Sugar: 16g
Did you make this recipe?
Tag @dinneratthezoo on Instagram and hashtag it #dinneratthezoo