
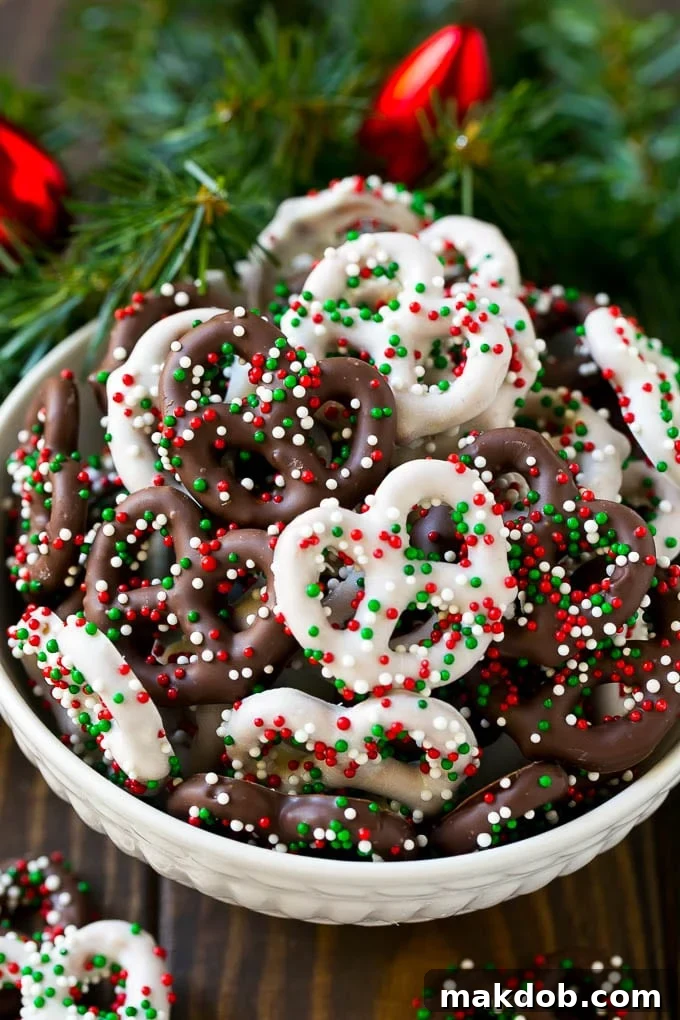
Delicious Chocolate Covered Pretzels: The Ultimate Guide to Easy Homemade Treats
Dive into the delightful world of **chocolate covered pretzels**, a classic sweet and salty treat that’s incredibly easy to make and perfect for any occasion. Whether you’re planning a festive holiday party, preparing thoughtful homemade gifts, or simply craving a satisfying snack, these pretzels coated in luscious dark and white chocolate and adorned with colorful sprinkles are an absolute winner. Their impressive appearance belies their simple preparation, making them a go-to for busy hosts and home bakers alike.
There’s something truly special about sharing homemade candies with loved ones. While I cherish making favorites like peppermint patties and crock pot candy, these chocolate covered pretzels stand out for their irresistible blend of crunchy, salty pretzel and smooth, sweet chocolate. They’re not just fun to prepare; they also create lasting memories and bring smiles to everyone’s faces.
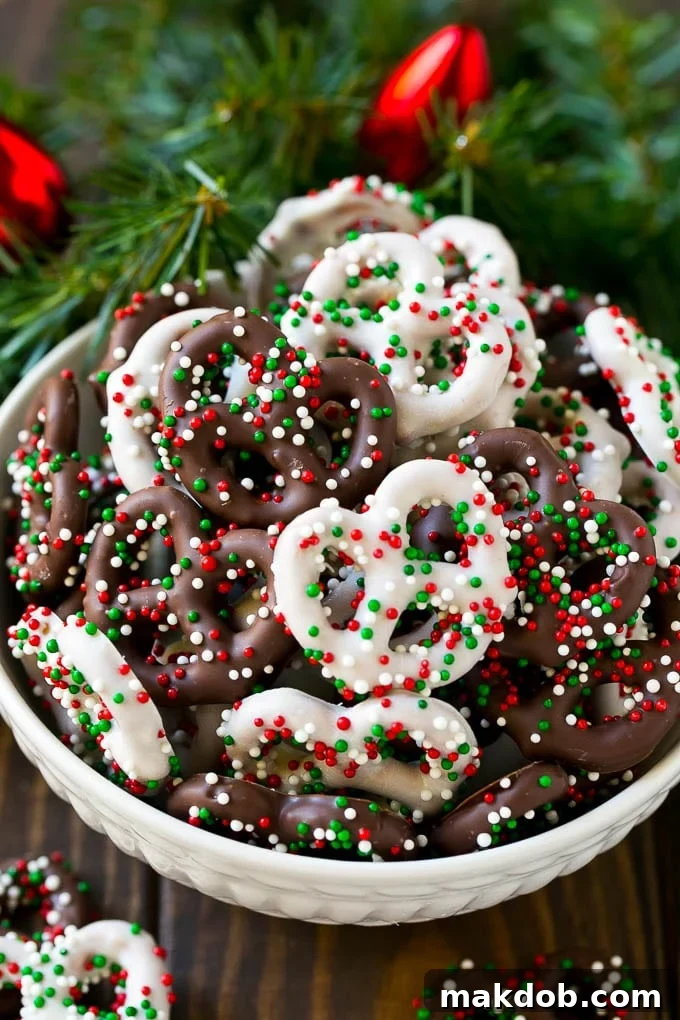
During the busiest times of the year, especially around the holidays, finding time to bake for every event and gift recipient can feel overwhelming. This is where the magic of chocolate covered pretzels truly shines. They require minimal effort and time, yet they can be beautifully customized to match any holiday or celebration. From vibrant Easter hues to spooky Halloween themes or romantic Valentine’s Day pinks and reds, a simple change of sprinkles transforms them instantly.
If you’re looking for more festive treats to complement these pretzels, consider exploring some other beloved holiday entertaining recipes. Some personal favorites include classic Christmas sugar cookies, warmly spiced molasses cookies, and elegant chocolate covered cherries. For even more inspiration, there are countless Christmas recipes that are sure to be a hit with everyone!
Why You’ll Love This Recipe
There are countless reasons why chocolate covered pretzels have become a beloved treat, especially for home bakers looking for something quick, delicious, and adaptable. Firstly, they offer that universally adored combination of sweet and salty, a flavor profile that satisfies nearly every palate. The crisp crunch of the pretzel against the smooth melt of the chocolate creates a delightful textural contrast that is truly addictive.
Beyond taste, the ease of preparation is a major draw. This is a no-bake dessert that requires minimal cooking skills and comes together in minutes, making it ideal for impromptu gatherings or when time is of the essence. Furthermore, their versatility is unmatched; with a simple swap of chocolate colors or sprinkle designs, you can tailor them to any holiday, theme, or personal preference. They’re also wonderfully budget-friendly and kid-friendly, inviting little helpers into the kitchen for a fun, creative activity. And finally, they make fantastic edible gifts, showing thoughtfulness without breaking the bank or demanding hours of intricate work.
Essential Ingredients for Chocolate Covered Pretzels
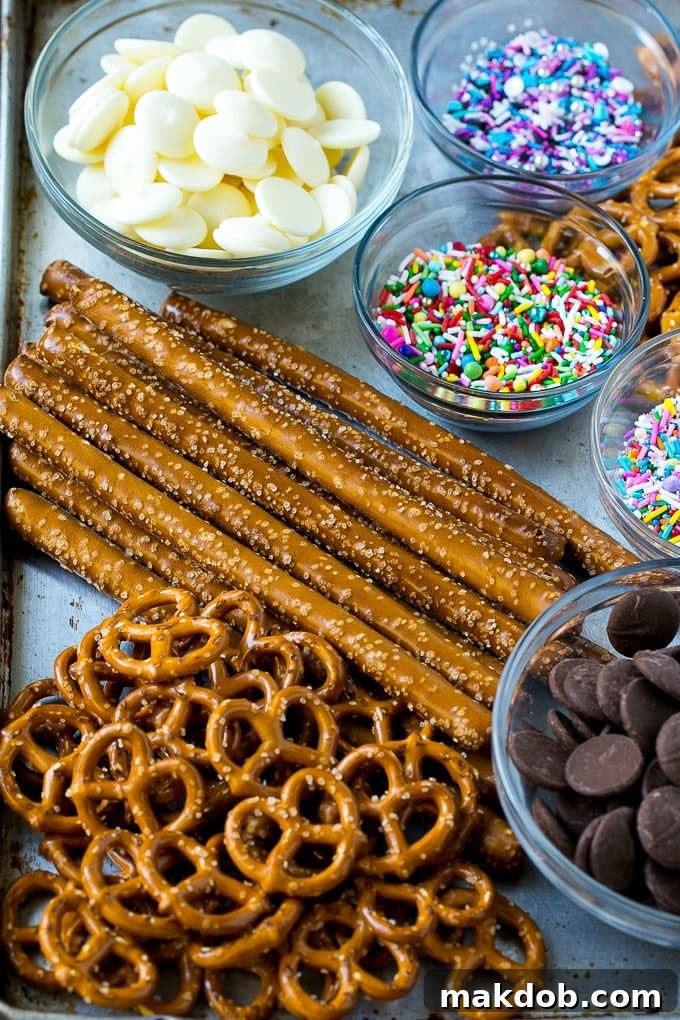
Crafting these delectable treats requires just a few basic ingredients, making them accessible to everyone. Here’s what you’ll need to gather:
- Pretzels: You have several excellent choices.
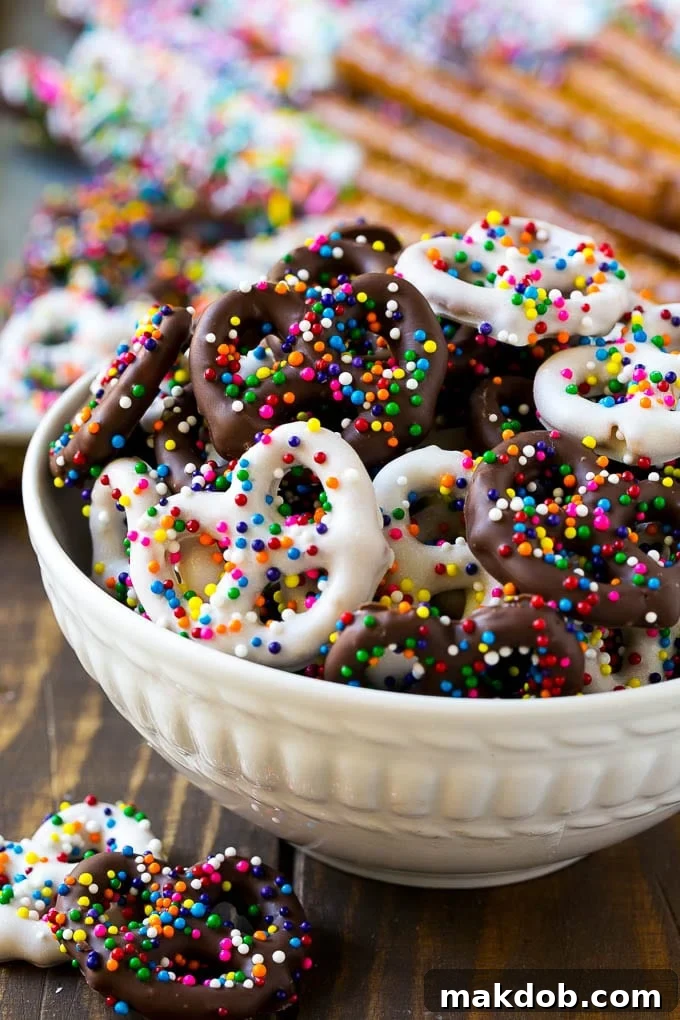
- Pretzel Twists: These classic mini pretzels offer a great surface area for chocolate and sprinkles, providing a satisfying crunch.
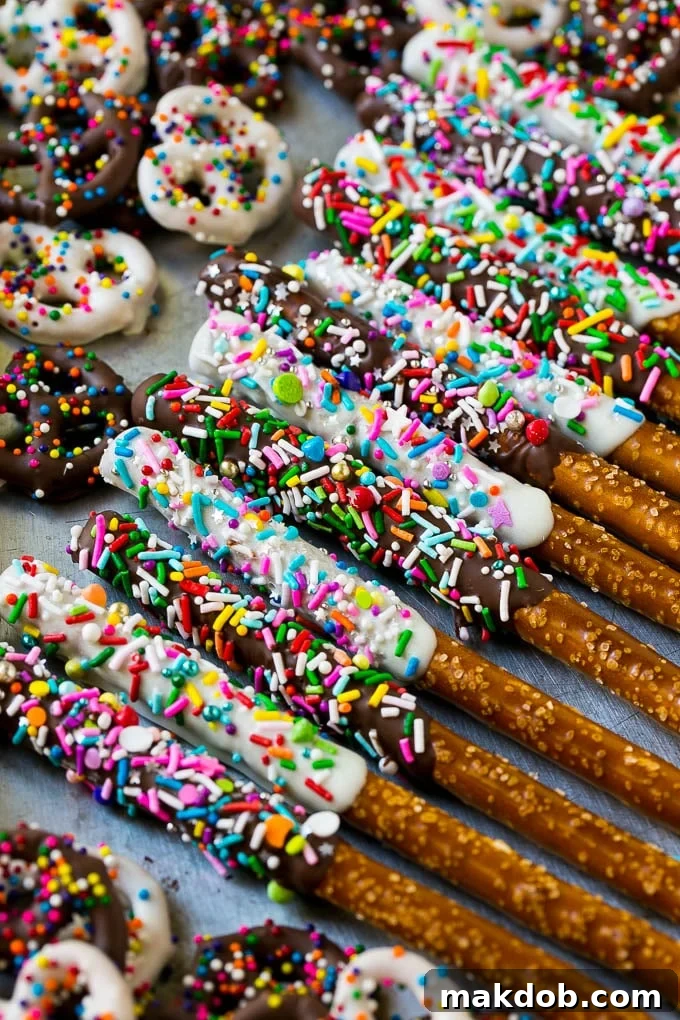
- Pretzel Rods: Ideal for a more elegant presentation, pretzel rods allow for longer, more even chocolate coverage and are perfect for dipping into tall glasses of melted chocolate.
- Chocolate: The star of the show!
- Candy Melts: Highly recommended for their smooth melting consistency, ease of use (no tempering required!), and wide range of colors. Brands like Ghirardelli Melting Wafers melt beautifully and offer excellent flavor.
- Chocolate Chips: Semi-sweet, milk, dark, or white chocolate chips all work well. If using chocolate chips, you’ll need a small amount of shortening to achieve a smooth, dippable consistency, as chocolate chips are formulated to hold their shape and can be too thick when melted alone.
- Sprinkles: These add both visual appeal and a touch of fun.
- Choose your favorite colors and shapes to match any holiday, event, or personal preference. Rainbow sprinkles are a classic, but seasonal blends can elevate the theme.
- Shortening (Optional, but recommended for chocolate chips): A small amount of solid vegetable shortening (like Crisco) will thin out melted chocolate chips, making them easier to dip and ensuring a glossy finish. It’s not necessary if you’re using candy melts.
Recommended Equipment
While this recipe is simple, having the right tools can make the process even smoother and more enjoyable:
- Microwave-Safe Bowls: Essential for melting your chocolate or candy melts. Choose bowls that are deep enough to accommodate dipping.
- Spatula or Spoon: For stirring the melted chocolate until smooth and for general handling.
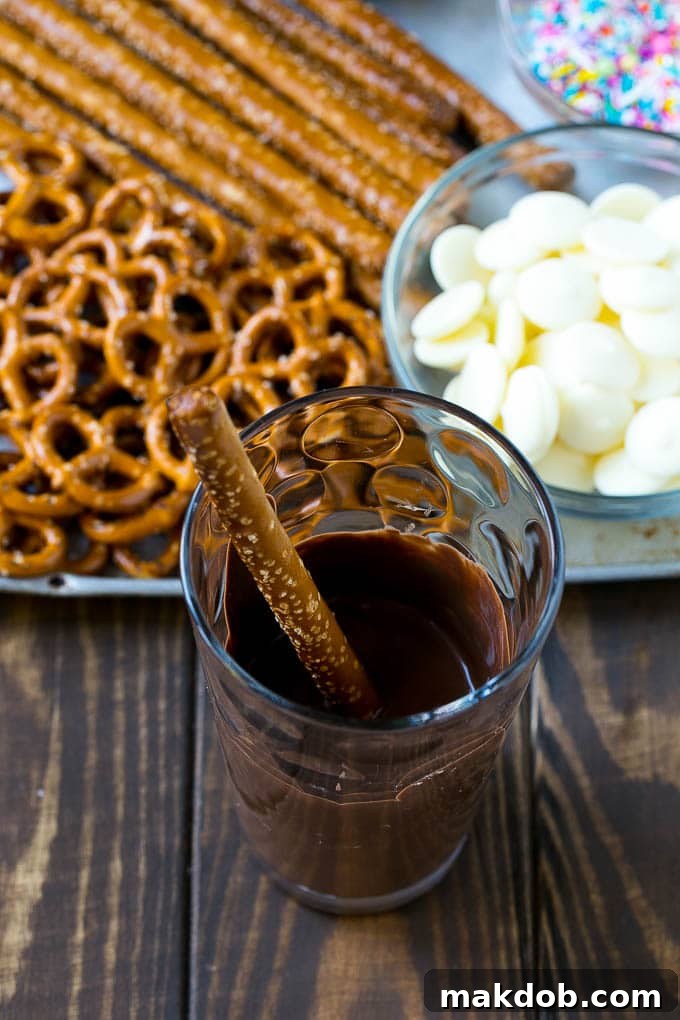
- Tall Glass (for pretzel rods): A tall, narrow glass is incredibly useful for dipping pretzel rods, ensuring an even and generous coating of chocolate.
- Parchment Paper or Silicone Baking Mats: Crucial for lining your baking sheets. This prevents the chocolate from sticking as it dries and makes cleanup a breeze.
- Baking Sheets or Cookie Sheets: To hold your parchment paper and provide a flat surface for the pretzels to dry on.
- Fork (for pretzel twists): A regular dinner fork is perfect for dipping pretzel twists and gently tapping off excess chocolate.
- Toothpicks: Handy for carefully sliding chocolate-coated pretzel twists off the fork onto parchment paper without smudging.
- Airtight Containers: For storing your finished chocolate covered pretzels to maintain their freshness.
How to Easily Make Chocolate Covered Pretzels
This recipe is designed for maximum flavor with minimum fuss. Follow these simple steps for perfectly coated pretzels every time:
- Prepare Your Workspace: Lay out sheets of parchment paper or silicone baking mats on several baking sheets. Have your sprinkles ready in a shallow dish or bowl. This setup ensures you can quickly move from dipping to decorating.
- Melt the Chocolate: Place your candy melts or chocolate chips in a microwave-safe bowl. If using chocolate chips, add the shortening now. Microwave on medium power in 30-second intervals, stirring thoroughly after each interval. Continue until the chocolate is completely melted and perfectly smooth. Avoid overheating, as this can cause the chocolate to seize or burn.
- Dip the Pretzels (Rods): If using pretzel rods, pour the melted chocolate into a tall, narrow glass. Dip each pretzel rod halfway into the chocolate, twirling gently to ensure full coverage. Carefully tap the rod against the side of the glass to remove any excess chocolate, allowing it to drip back into the bowl.
- Decorate (Rods): Immediately after dipping, hold the chocolate-coated rod over your sprinkles and gently roll or spoon sprinkles over the chocolate. Place the decorated rod onto the prepared parchment paper to dry.
- Dip the Pretzels (Twists): For pretzel twists, use a fork to submerge each pretzel fully or partially into the melted chocolate. Lift the pretzel with the fork and gently tap the fork against the edge of the bowl to allow excess chocolate to drip off. This creates a neat, even coating.
- Decorate (Twists): Using a toothpick, carefully slide the chocolate-coated pretzel twist off the fork onto the parchment paper. While the chocolate is still wet, generously sprinkle with your chosen toppings.
- Allow to Dry: Let the pretzels sit at room temperature until the chocolate is completely set and hardened. This typically takes about 15-30 minutes, depending on the temperature and humidity of your kitchen. For faster setting, you can briefly place the baking sheets in the refrigerator for about 5-10 minutes, but avoid leaving them in too long to prevent condensation.
- Enjoy or Store: Once fully dry, your delicious chocolate covered pretzels are ready to be served or stored for later enjoyment.
Pro Tips for Perfectly Coated Pretzels
Achieving bakery-quality chocolate covered pretzels is simpler than you might think with these expert tips:
- Optimal Melting Vessel: For pretzel rods, always melt your candy melts in a tall, narrow glass. This allows for deep, even dipping and minimizes chocolate waste. Simply immerse the rod, swirl, and tap.
- Variety of Pretzels: Feel free to use a combination of **pretzel twists and pretzel rods** to add visual interest and offer different snacking experiences. Both work beautifully with this method.
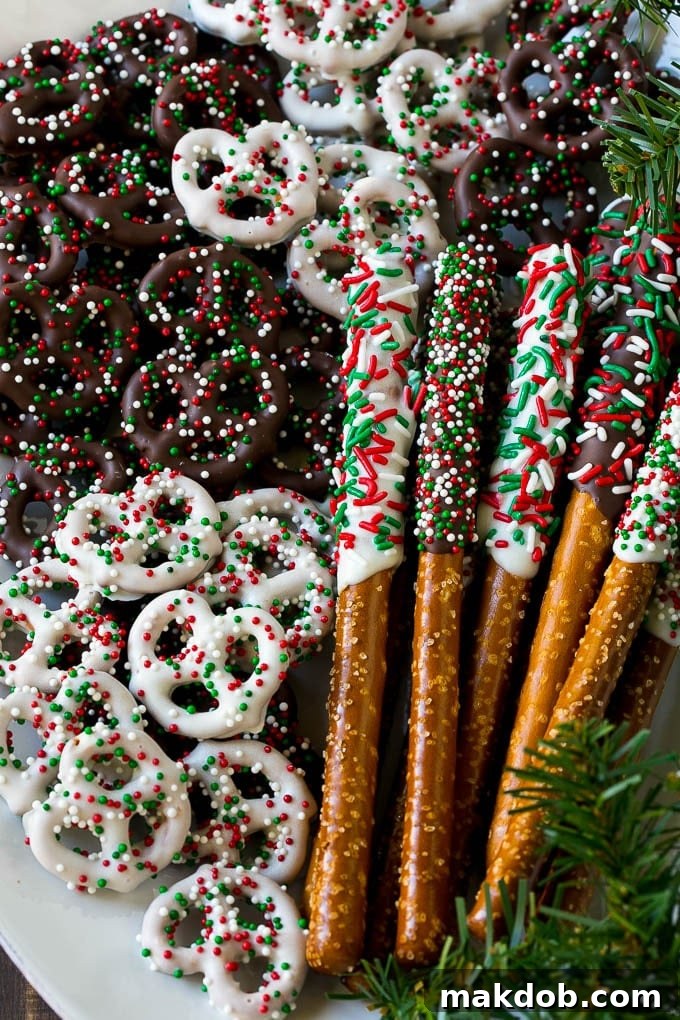
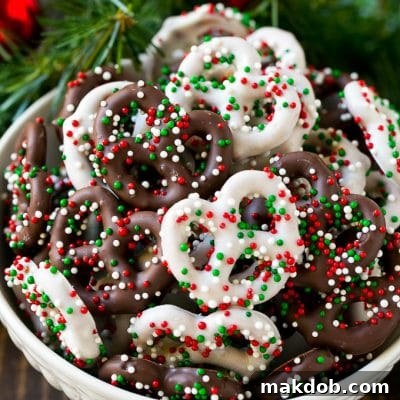
- Endless Sprinkle Possibilities: The beauty of this treat lies in its customizability. Stock up on various types of sprinkles – jimmies, nonpareils, sanding sugar, shaped sprinkles – and pick **different colors for different holidays** or themes throughout the year. Think orange and black for Halloween, pastels for Easter, red and pink for Valentine’s Day, or classic red and green for Christmas.
- The Drying Stage: Always let your freshly coated pretzels dry on a piece of parchment paper laid out on a sheet pan or cookie sheet. This prevents sticking and makes for easy removal once set. You can speed up the drying process by placing the trays in the refrigerator for 5-10 minutes, but avoid leaving them too long to prevent condensation from forming on the chocolate.
- Gift-Giving Perfection: Chocolate covered pretzels are **perfect for thoughtful gift giving**. Once fully set, arrange them in clear cellophane bags, tie with a festive ribbon, or layer them in decorative tins. They look gourmet and convey a personal touch.
- Kid-Friendly Activity: This is a fantastic recipe for involving children in the kitchen. Kids would love to make their own pretzels, choosing their favorite chocolate and creating their unique combinations of sprinkles. Supervise melting, but let them get creative with the dipping and decorating!
- Temperature Control: Ensure your kitchen isn’t too warm, as this can make the chocolate difficult to work with and slow down drying. A cool, dry environment is ideal.
- Thinning Chocolate Chips: If you’re using chocolate chips instead of candy melts, remember that a touch of shortening is key. It helps the chocolate melt smoother and gives it a thinner consistency for easier dipping and a more even coating. Start with 1 teaspoon per cup of chocolate chips and add more if needed, a quarter teaspoon at a time.
Troubleshooting Common Issues
Even with a simple recipe, minor hiccups can occur. Here’s how to address them:
- Chocolate Seizes or Becomes Clumpy: This usually happens if water or steam gets into the chocolate, or if it overheats. If it’s just a little thick, try adding another tiny bit of shortening (for chocolate chips) or a teaspoon of vegetable oil and stirring vigorously. If it’s truly seized (hard and crumbly), unfortunately, it’s best to discard and start fresh. Always ensure your bowls and utensils are completely dry.
- Chocolate is Too Thick for Dipping: As mentioned, add a small amount of shortening or vegetable oil (1/2 to 1 teaspoon at a time) to chocolate chips. For candy melts, if they seem a bit thick, a tiny bit of coconut oil can sometimes help, but generally, candy melts should be smooth on their own.
- Pretzels Don’t Dry Properly: Ensure your chocolate isn’t too thick, as thicker chocolate takes longer to set. Humidity can also affect drying time. Placing the pretzels in the refrigerator for a short period (5-10 minutes) will help them set faster.
- Sprinkles Don’t Stick: You need to apply sprinkles immediately after dipping, while the chocolate is still wet. If the chocolate has started to set, the sprinkles won’t adhere well.
Recipe FAQs: All Your Questions Answered
I highly recommend using candy melts for this recipe, as they are specifically designed to melt smoothly and are incredibly easy to work with, eliminating the need for tempering. My go-to choice is Ghirardelli Melting Wafers, which are typically found in the baking aisle of most grocery stores. They offer an exceptional melt and a delicious taste. If you prefer using real chocolate chips, you can absolutely do so, but I advise adding a little shortening to the melted chocolate. This helps thin it out, making it much easier to achieve a perfect, even coating on your pretzels.
The microwave method is the simplest and most efficient way to melt chocolate or candy melts for dipping pretzels. Place your chosen candy melts or chocolate chips (with shortening if using chips) in a microwave-safe bowl. Heat them in 30-second increments, stirring well after each burst. Continue this process until the chocolate is completely melted and beautifully smooth. This gradual approach prevents overheating and ensures a silky texture.
When stored properly in an airtight container at room temperature, chocolate covered pretzels will maintain their freshness and delicious taste for up to 2 weeks. It’s generally not recommended to freeze or refrigerate the pretzels. Chilling them can cause condensation to form on the chocolate layer when they return to room temperature, which can lead to a dull appearance and a slightly altered texture.
Follow Me
Endless Flavor and Topping Variations
While classic chocolate covered pretzels with sprinkles are undeniably delicious, their true charm lies in their adaptability. You can easily customize them to suit any palate, season, or special event. Here are some exciting ideas to get your creativity flowing:
- Chocolate Colors: Beyond the traditional dark and white, you can use candy melts in a vibrant array of colors. For a custom shade, simply stir a few drops of food coloring into melted white candy melts or white chocolate chips. Imagine bright blues, cheerful yellows, or rich purples!
- Creative Toppings: Sprinkles are just the beginning! Experiment with a variety of textures and flavors:
- Chopped Nuts: Finely chopped pecans, walnuts, almonds, or peanuts add a delightful crunch and nutty flavor.
- Toffee Bits: For a buttery, caramel-like sweetness and a chewy texture.
- Crushed Cookies: Crushed Oreos, graham crackers, or shortbread cookies create a fantastic crumbly topping.
- Shredded Coconut: Toasted or untoasted coconut adds a tropical twist.
- Mini Chocolate Chips: A double chocolate dream!
- Crushed Peppermint Candies: Perfect for a festive holiday treat.
- Sea Salt Flakes: For an extra boost of salty-sweet contrast, especially delicious with dark chocolate.
- Different Chocolate Types: Don’t limit yourself!
- Milk Chocolate Chips: For a sweeter, creamier profile.
- Dark Chocolate Chips: For a more intense, slightly bitter contrast to the salty pretzel.
- Semi-Sweet Chocolate Chips: A versatile middle ground.
- White Chocolate Chips: A sweet canvas for any topping.
- Drizzle Designs: Instead of full coverage, try drizzling contrasting chocolate over the dipped pretzels. For example, dip in dark chocolate, then drizzle with white chocolate, or vice versa. Use a piping bag with a fine tip or simply a fork to create elegant patterns.
- Spices: A pinch of cinnamon, chili powder (for a sweet-heat kick), or even a touch of pumpkin pie spice can add an unexpected depth of flavor to your chocolate.
Serving and Gifting Suggestions
Chocolate covered pretzels are as versatile in their presentation as they are in their flavor. At parties, I always serve chocolate covered pretzel rods because they’re not only fun to eat but also less messy for guests. Arrange them upright in a decorative jar or glass for an appealing display. For pretzel twists, a beautiful bowl or tiered tray works wonderfully.
When it comes to gifting, these homemade treats are truly exceptional. Package them individually in small cellophane bags tied with festive ribbons for party favors or teacher gifts. For larger gifts, layer them in decorative tins or boxes, perhaps alternating with different chocolate colors or sprinkle patterns. The fact that they can be made in advance is a huge bonus, allowing you to prepare thoughtful gifts without last-minute stress. Whether you’re serving your pretzels as a delightful party snack or packaging them up for gifts, you’ll be sure to receive rave reviews and appreciative smiles!
More Sweet Treats to Explore
Rolo Pretzels
Prep/Cook Time: 8 mins
Oreo Balls Recipe
Prep/Cook Time: 31 mins
Eggnog Cake
Prep/Cook Time: 1 hr
Rocky Road Fudge
Prep/Cook Time: 12 mins
Eggnog Cookies
Prep/Cook Time: 30 mins
Love This Recipe?
Please leave a 5-star 🌟🌟🌟🌟🌟 rating in the recipe card below & a review in the comments section further down the page. Your feedback helps!
Chocolate Covered Pretzels
Pin
Sara Welch
40 minutes
5 minutes
45 minutes
Dessert
American
50
Ingredients
- 50 miniature pretzel twists or 24 pretzel rods
- 12 ounces chocolate chips or candy melts milk, white, dark or any combination
- 1/2 cup sprinkles
- 1 tablespoon shortening ONLY if using chocolate chips, you do not need to add shortening to candy melts.
Instructions
-
Place the chocolate or candy melts in a microwave safe bowl. If you’re using chocolate chips, add the shortening to the bowl. You do not need to use shortening if you’re using candy melts.
-
Microwave in 30 second increments or until chocolate is melted. Stir until smooth.
-
If you’re dipping pretzel rods, pour the chocolate into a tall glass and dip each rod halfway into the chocolate. Tap the rod against the side of the glass to remove excess chocolate, then coat each rod in sprinkles and set on parchment to dry.
-
If you’re dipping pretzel twists, use a fork to coat each pretzel in chocolate, then tap the fork against the side of the bowl to remove excess chocolate. Use a toothpick to slide each pretzel off the fork onto parchment paper, then top each pretzel with sprinkles.
-
Let the pretzels sit until dry. Serve, or store in an airtight container for up to 2 weeks.
Notes
- You can use pretzel twists, pretzel rods or a combination of the two.
- Melt your candy melts in a tall glass for chocolate covered pretzel rods. All you have to do is dip your pretzel into the glass for a perfect coating.
- You can use any type of sprinkles that you like. Pick different colors for different holidays all year long.
Nutrition
Carbohydrates: 10g |
Fat: 2g |
Saturated Fat: 1g |
Cholesterol: 1mg |
Sodium: 80mg |
Potassium: 8mg |
Sugar: 5g |
Vitamin A: 15IU |
Calcium: 9mg |
Iron: 0.4mg
Did you make this recipe?
Tag @dinneratthezoo on Instagram and hashtag it #dinneratthezoo