
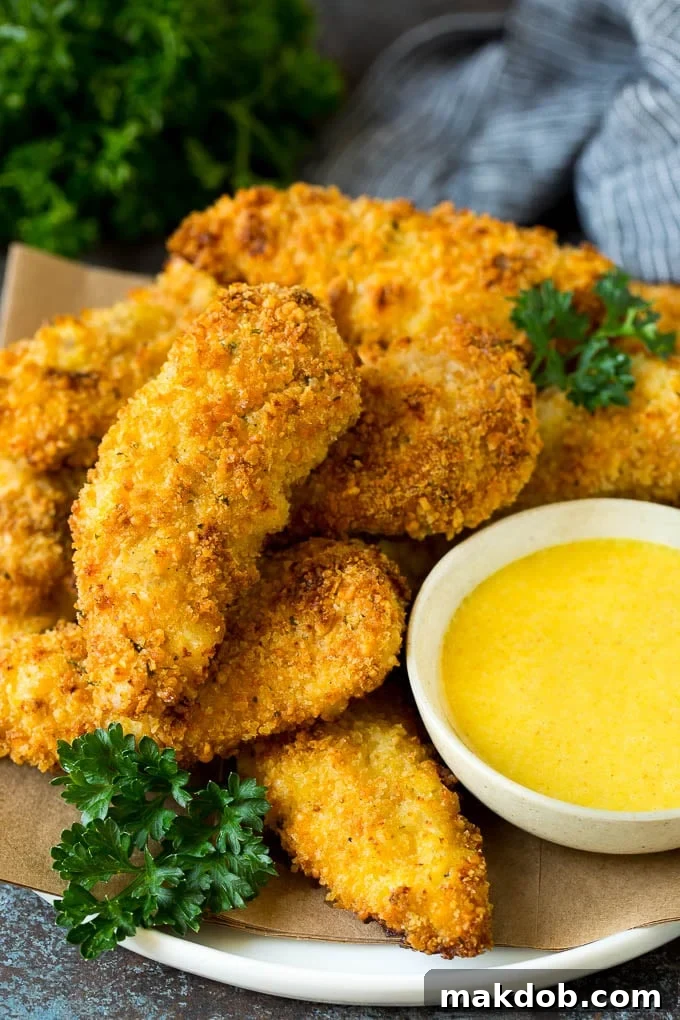
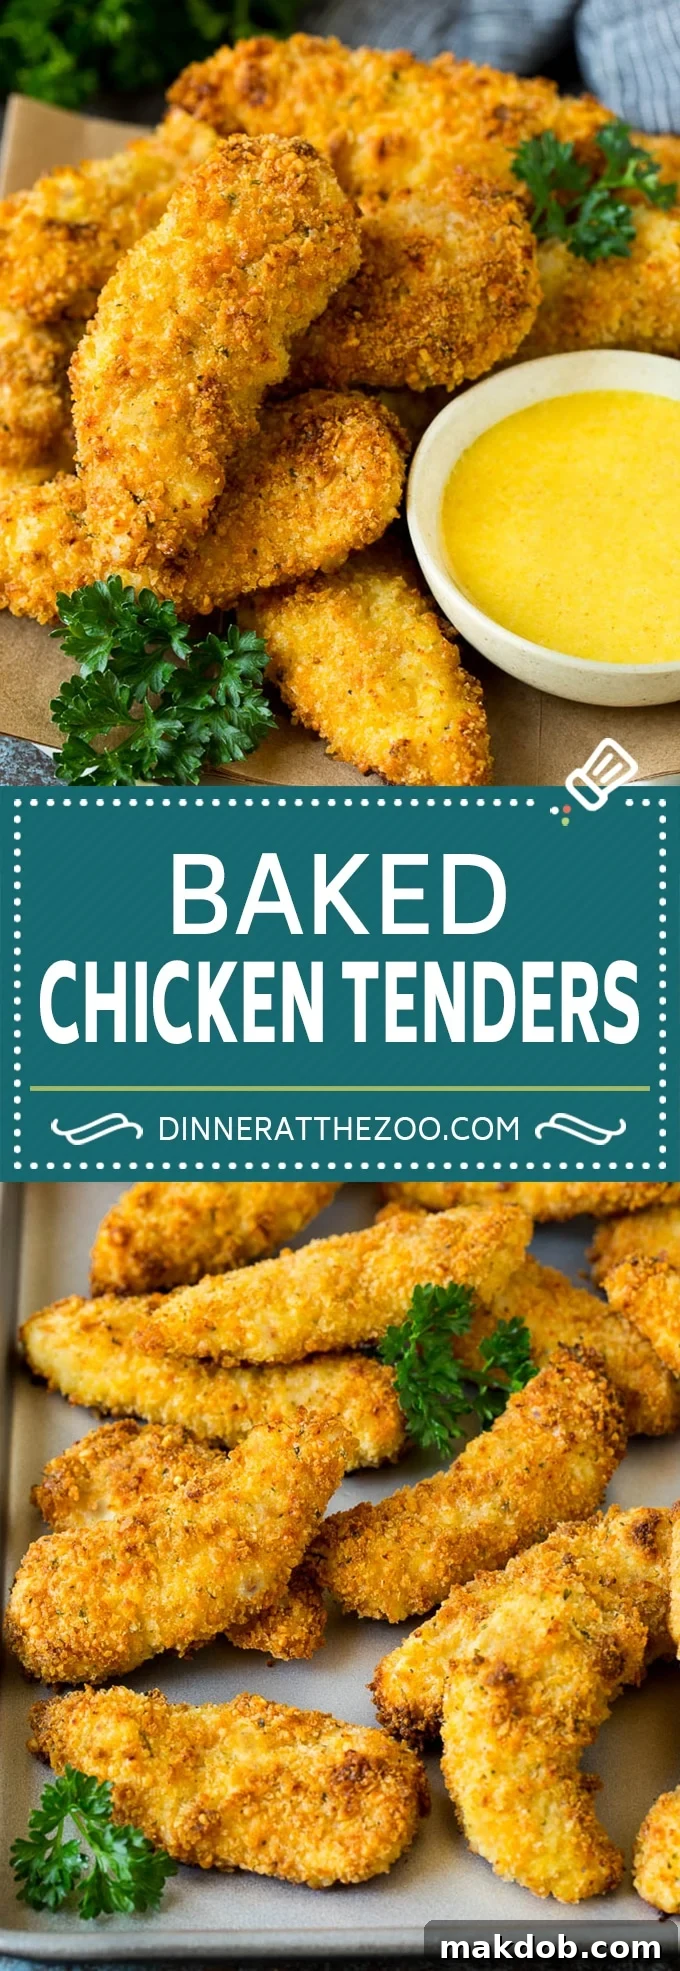

Irresistibly Crispy Baked Chicken Tenders: A Healthy Family Favorite
Craving chicken fingers but looking for a lighter, healthier alternative to deep-frying? Look no further! These baked chicken tenders are a revelation, coated in a seasoned blend of breadcrumbs and parmesan cheese, then oven-baked to achieve a perfect golden brown and crispy perfection. You won’t believe how much these taste like the classic deep-fried version, without all the oil and fuss. It’s a game-changer for weeknight dinners and a guaranteed hit with both kids and adults.
As a home cook, I love recreating restaurant-quality dishes in my own kitchen. From homemade french fries to delicious corn dogs, bringing those beloved flavors home is incredibly satisfying. These ultra-crispy baked chicken tenders are no exception. They’ve quickly become a family staple, with my children asking for them almost every week. The secret lies in a carefully crafted breading and the magic of oven baking, delivering a crunch that rivals any fried chicken.
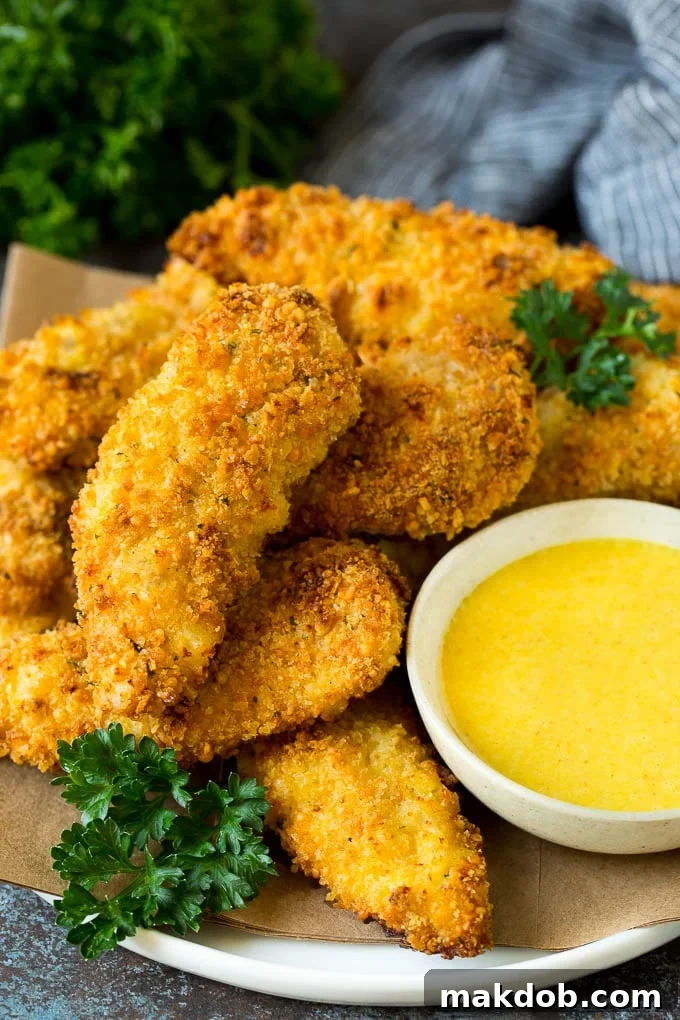
Why Choose Baked Over Fried Chicken Tenders?
The allure of crispy chicken fingers is undeniable, but the traditional deep-frying method can be messy, time-consuming, and often less healthful. Baking offers a fantastic alternative, allowing you to enjoy all the crunch and flavor you love with significantly less fat. Not only are baked chicken tenders a lighter option, but they also simplify cleanup dramatically. No splattering oil, no greasy stovetop, just perfectly cooked chicken ready to be devoured.
Furthermore, baking ensures a more even cook and consistent texture throughout each tender. The high heat of the oven creates a wonderful exterior crust while keeping the chicken moist and tender inside. It’s a win-win for flavor, health, and convenience, making homemade baked chicken tenders an ideal choice for busy families or anyone seeking a delicious yet easy meal.
The Secret to Perfectly Crispy Baked Chicken Tenders
Achieving that coveted crispy texture in baked chicken tenders is simpler than you might think, and it all starts with the right coating. Our recipe combines two types of breadcrumbs for optimal crispiness and flavor, elevated by the savory addition of Parmesan cheese and a blend of spices. The process involves a classic three-step dredging technique, ensuring every piece of chicken is thoroughly coated.
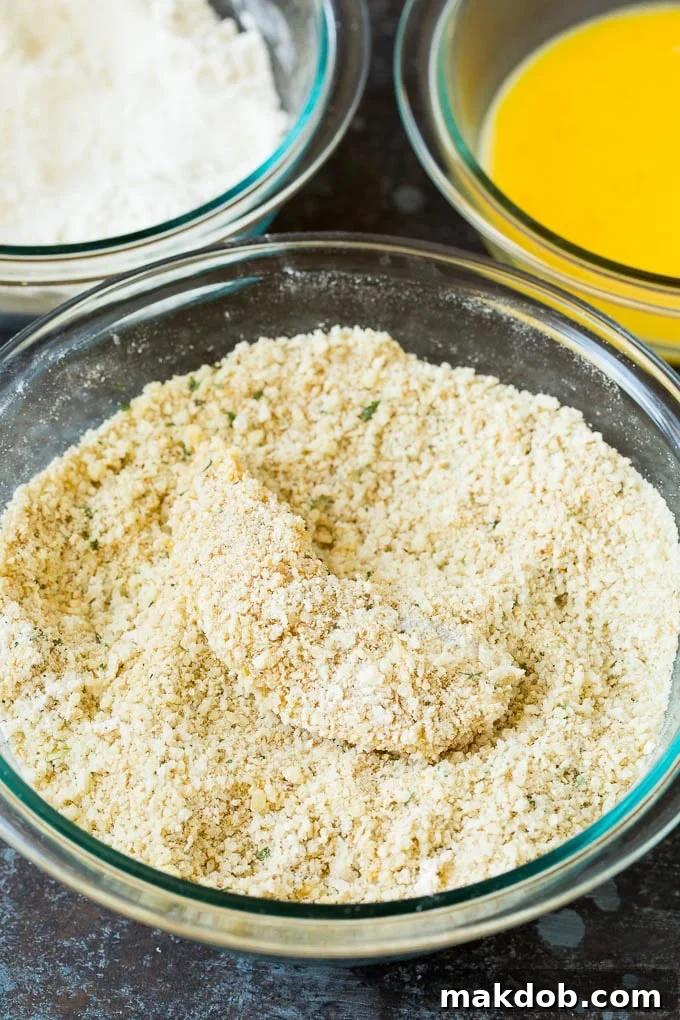
First, the chicken tenders are lightly dusted in seasoned flour. This initial layer creates a surface for the egg wash to adhere to. Next, they are dipped in whisked eggs, which act as the crucial binding agent. Finally, each tender is generously rolled in our special breadcrumb mixture. The magic happens with the blend of panko and Italian breadcrumbs. Panko, with its larger, flakier texture, is key to an extra-crispy exterior, while Italian breadcrumbs infuse a rich, herby flavor. Grated Parmesan cheese not only adds a delightful tang but also contributes to the golden-brown crust. A final drizzle of melted butter and a spritz of cooking spray before baking ensure a beautiful, golden finish that’s packed with crunch.
Step-by-Step Guide to Making Baked Chicken Tenders
Creating these delightful baked chicken tenders is a straightforward process that yields impressive results. Follow these easy steps to bring crispy, flavorful chicken to your table:
- **Preheat Oven & Prep Pan:** Begin by preheating your oven to a hot 425 degrees F (220 degrees C). This high temperature is essential for achieving a crispy exterior. While the oven heats, generously coat a large sheet pan with cooking spray. This prevents sticking and helps in browning.
- **Season the Flour:** In a medium-sized shallow bowl, combine 1/2 cup all-purpose flour with 1 1/2 teaspoons of salt and 1/2 teaspoon of black pepper. Stir these ingredients together thoroughly until well mixed. This seasoned flour will be your first coating layer.
- **Prepare the Egg Wash:** Crack 2 large eggs into another medium bowl. Add 2 tablespoons of water to the eggs and whisk vigorously until the mixture is smooth and evenly combined. This egg wash will help the breadcrumbs adhere to the chicken.
- **Mix the Breading:** In a third medium bowl, combine 3/4 cup of Italian breadcrumbs, 1 cup of panko breadcrumbs, and 1/4 cup of grated Parmesan cheese. Add an additional pinch of salt and pepper to taste. Stir everything together until evenly distributed. This is your flavorful, crispy coating.
- **Dredge the Chicken:** Take each raw chicken tender and first dip it completely into the seasoned flour, shaking off any excess. Next, transfer it to the egg wash, ensuring it’s fully coated. Finally, roll the chicken tender generously in the breadcrumb mixture, pressing lightly to ensure a good, even coating on all sides.
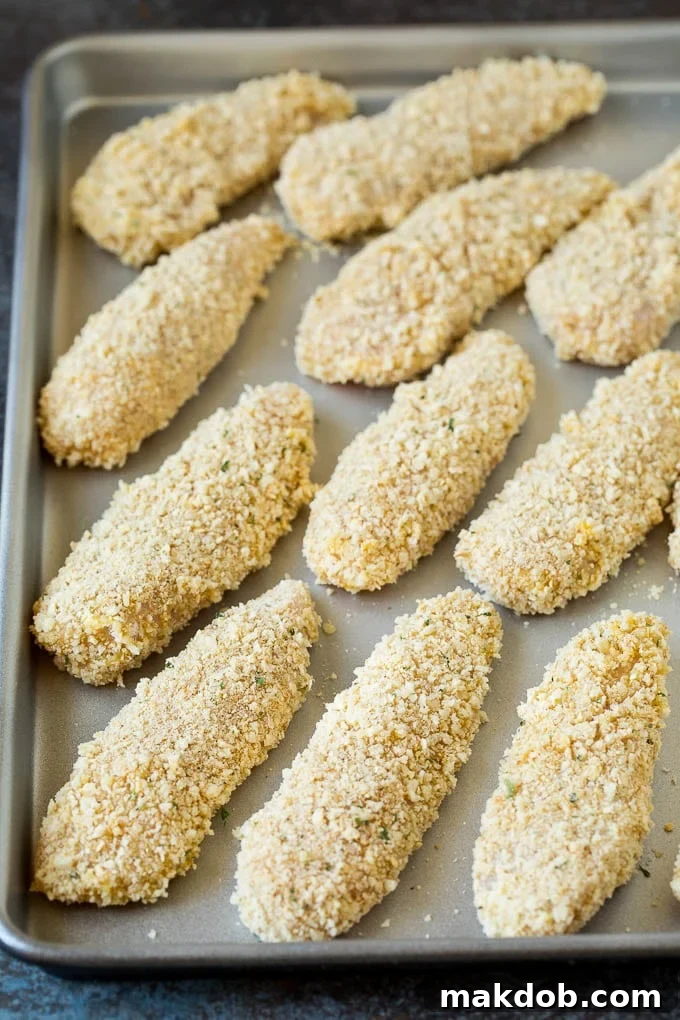
- **Arrange on Pan:** As you finish coating each chicken tender, place it in a single layer on your prepared sheet pan. Make sure not to overcrowd the pan, as this can steam the chicken instead of crisping it. Leave a little space between each piece.
- **Drizzle & Spray:** Once all the chicken tenders are on the sheet pan, drizzle the 3 tablespoons of melted butter evenly over them. Then, give the chicken a final spray with cooking spray. This extra fat is key to achieving that beautiful golden-brown color and enhanced crispiness in the oven.
- **Bake to Perfection:** Bake the chicken tenders for 15-17 minutes. The exact time may vary slightly depending on the thickness of your tenders and your oven. They are ready when the coating is golden brown and crispy, and the chicken is cooked through, reaching an internal temperature of 165 degrees F (74 degrees C). For an even darker, extra-crispy finish, you can broil them for an additional 2-3 minutes at the very end, keeping a close eye to prevent burning. Serve immediately and enjoy!
Essential Tips for the Best Baked Chicken Tenders
To ensure your baked chicken tenders turn out perfectly every time, keep these helpful tips in mind:
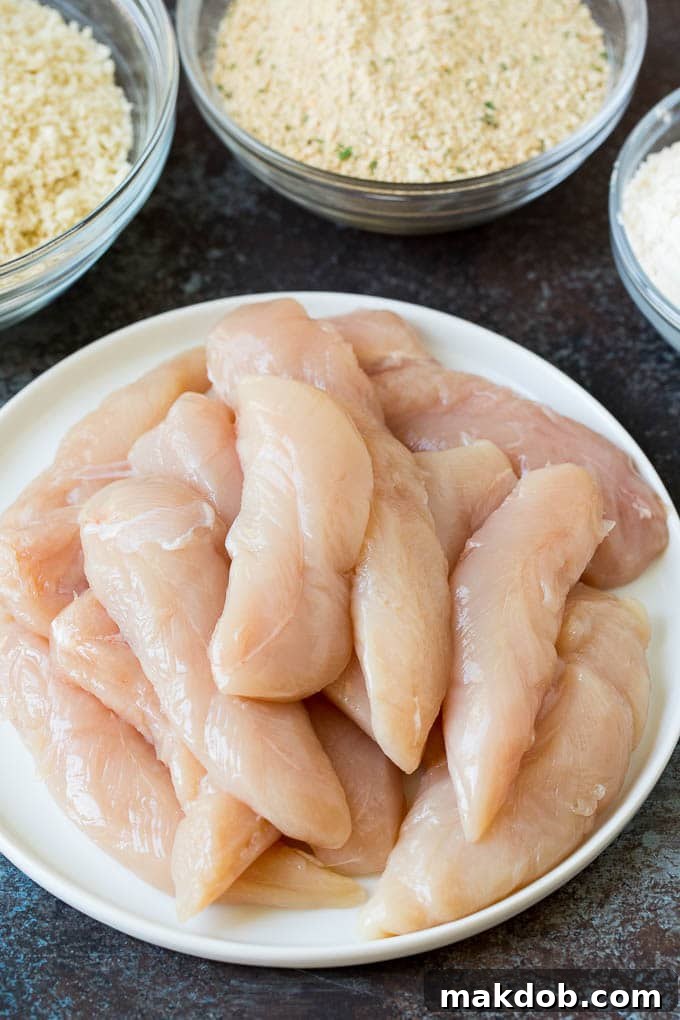
- **Chicken Cuts:** Chicken tenders are also known as chicken tenderloins and can typically be found in the meat section of your grocery store. If you can’t find them, boneless, skinless chicken breasts can be easily cut into 1-inch thick strips to achieve a similar result. Just ensure all pieces are roughly the same size for even cooking.
- **Breading Blend is Key:** Don’t skip the combination of Italian and panko breadcrumbs. The Italian breadcrumbs provide a flavorful base, seasoned with herbs and spices, while the panko breadcrumbs deliver that exceptional, airy crispiness that’s hard to achieve with regular breadcrumbs alone.
- **Storage and Reheating:** Leftover baked chicken tenders can be stored in an airtight container in the refrigerator for up to 3 days. For the best texture when reheating, avoid the microwave. Instead, warm them in the oven or a toaster oven at 350 degrees F (175 degrees C) until they are heated through and crisped back up, typically 10-15 minutes.
- **Serving Versatility:** These tenders are incredibly versatile! Serve them as a main course with your favorite dipping sauces and sides. They also make an excellent protein addition to a fresh salad, a hearty pasta dish, or even as a base for a quick chicken parmesan – simply top with marinara sauce and mozzarella cheese, then broil until bubbly.
- **Preventing Soggy Tenders:** To avoid soggy chicken, ensure your oven is fully preheated and don’t overcrowd the baking sheet. Air circulation is crucial for crispiness. Placing the tenders on a wire rack set inside a baking sheet can also help air circulate all around the chicken, further enhancing the crisp factor.
- **Even Cooking:** Make sure your chicken tenders are similar in size and thickness to ensure they cook evenly. If some are significantly thicker than others, they may require a longer baking time, potentially overcooking the thinner pieces. Trim or pound larger tenders if necessary.
Chicken Tenders vs. Chicken Nuggets: What’s the Difference?
While often grouped together as kid-friendly chicken options, there’s a clear distinction between chicken tenders and chicken nuggets.
Chicken tenders, or chicken tenderloins, are actual muscle cuts from the underside of a chicken breast. They are typically long, slender strips of meat, naturally tender, hence the name. When you eat a chicken tender, you’re eating a whole, intact piece of chicken muscle that has been breaded and cooked.
Chicken nuggets, on the other hand, can be a bit more varied. While some higher-quality nuggets are made from chunks of breast meat, many are formed from ground or processed chicken parts, pressed into specific shapes. They can include a mix of white and dark meat, sometimes with binders or fillers. Essentially, tenders are a specific cut of chicken, while nuggets are a processed product that can be made from various parts of the chicken, formed into bite-sized pieces.
Unleash Your Creativity: Flavor Variations
This baked chicken tenders recipe is fantastic as written, but it also serves as a perfect canvas for culinary creativity. Don’t hesitate to customize the flavors to suit your personal preferences or what you have on hand!
- **Protein Alternatives:** The crispy coating technique isn’t limited to chicken. Try it with strips of firm white fish for delicious homemade fish sticks, or use cubed chicken breasts or thighs to create your own baked chicken nuggets. This method works wonders for creating a crispy coating on various proteins.
- **Exciting Coatings:** While our breadcrumb blend is perfect, feel free to experiment with other additions. Replace up to half a cup of the breadcrumbs with crushed cornflakes for an extra-crunchy texture, crushed cheese crackers for a savory twist, pretzels for a salty bite, or even finely ground nuts like pecans or almonds for a unique flavor and added protein. For a spicier kick, mix in a pinch of cayenne pepper, smoked paprika, or chili powder into the breading mixture.
- **Dipping Sauce Extravaganza:** Ketchup might be the traditional choice for chicken tenders, but why stop there? Elevate your meal with a selection of exciting dipping sauces. Homemade options like tangy honey mustard, smoky homemade BBQ sauce, or creamy ranch dip are always winners. For a more adventurous palate, consider zesty chipotle mayo, a vibrant blue cheese dressing, refreshing tzatziki sauce, or even a sweet and sour sauce. Offer a variety to let everyone choose their favorite!

Pairing Perfection: What to Serve with Your Tenders
These crispy baked chicken tenders are a meal in themselves, but they truly shine when paired with the right side dishes. Here are some fantastic options to complete your family-friendly dinner:
- **Classic Comforts:** Alongside your tenders, a generous serving of crispy homemade french fries or sweet potato fries is always a hit. Macaroni and cheese, mashed potatoes, or even simple roasted potatoes make for hearty and satisfying pairings.
- **Fresh & Healthy Sides:** Balance the richness with lighter options. A crisp green salad with a light vinaigrette, steamed broccoli or green beans, corn on the cob, or a colorful coleslaw offer freshness and added nutrients.
- **Creative Combos:** For a more substantial meal, serve the tenders with rice pilaf, quinoa, or even pasta tossed in a light sauce. You can also dice the cooked tenders and use them as a protein in wraps, quesadillas, or as a topping for nachos.
Frequently Asked Questions About Baked Chicken Tenders
Can I use frozen chicken tenders for this recipe?
While fresh chicken tenders are ideal for the best texture and adherence of the breading, you can use frozen tenders. However, ensure they are fully thawed and patted thoroughly dry before proceeding with the recipe. Excess moisture will prevent the breading from crisping up properly.
How can I make these chicken tenders gluten-free?
To make these gluten-free, simply substitute the all-purpose flour with a gluten-free all-purpose flour blend and use gluten-free breadcrumbs (both Italian style and panko varieties are available). The rest of the ingredients are naturally gluten-free.
Can I prepare these ahead of time?
You can prepare the chicken tenders up to the point of baking. After breading, place them on a parchment-lined baking sheet, cover loosely, and refrigerate for up to 24 hours. When ready to bake, proceed with the melted butter drizzle and cooking spray, adding a few extra minutes to the baking time if cooking directly from cold.
What’s the best way to prevent the breading from falling off?
The key is ensuring your chicken tenders are thoroughly patted dry before dredging. Any excess moisture will prevent the flour and egg from sticking properly. Also, press the breadcrumb mixture firmly onto the chicken to create a good bond. Avoid overcrowding the pan during baking, as this can create steam, which can loosen the breading.
Once you give these incredible baked chicken tenders a try, you’ll likely never look back at the deep-fried version. They are a versatile, flavor-packed dish that delights both kids and adults, making healthy eating both easy and enjoyable!
More Chicken Recipes to Savor
- Chicken Saltimbocca
- BBQ Chicken
- Spatchcock Chicken
- Honey Chicken
- Ginger Chicken