
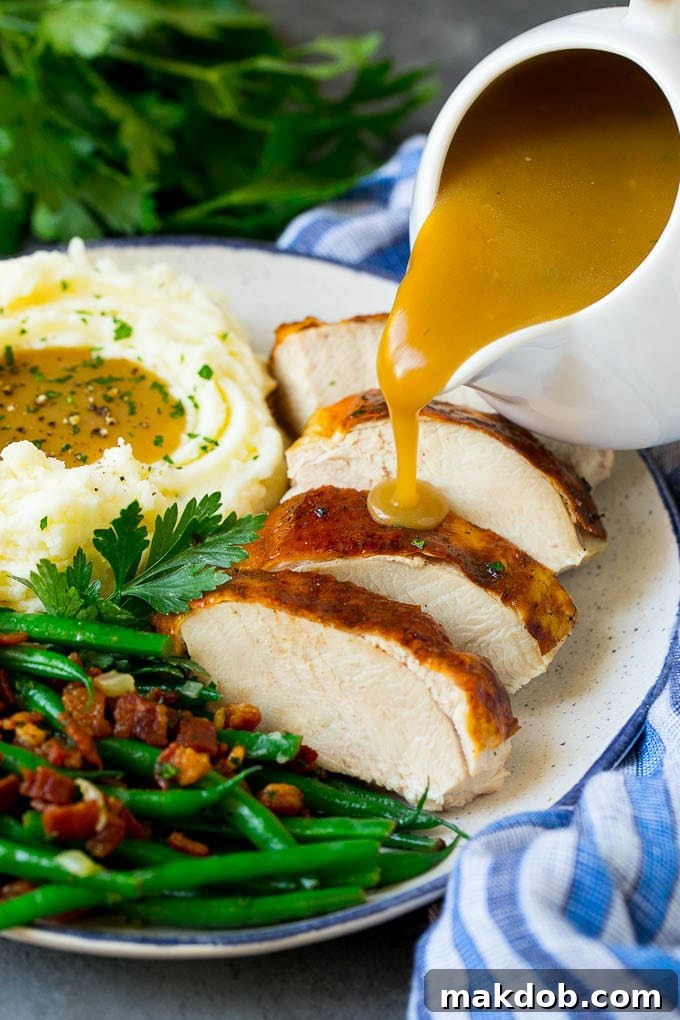
Welcome to the ultimate guide for crafting the perfect turkey gravy – a culinary masterpiece that promises to be the smoothest, creamiest, and most flavor-packed gravy you’ve ever tasted. Forget the store-bought packets; this homemade gravy is surprisingly simple to create and an absolute essential for any holiday feast, especially Thanksgiving. With its rich, savory depth, it transforms any meal into an unforgettable experience, tying together all the festive flavors.
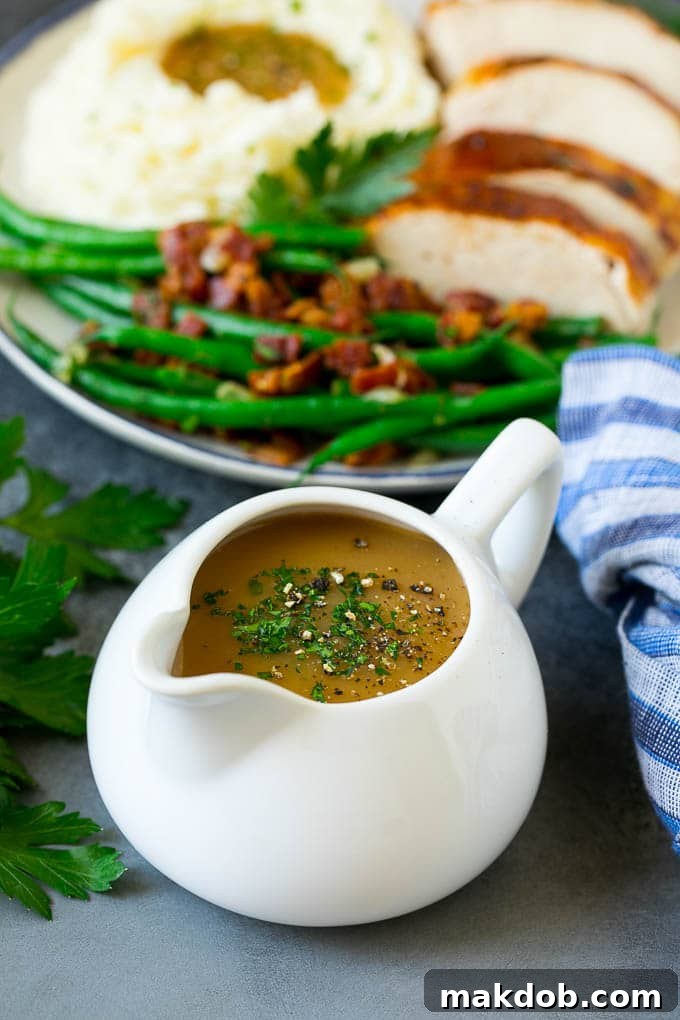
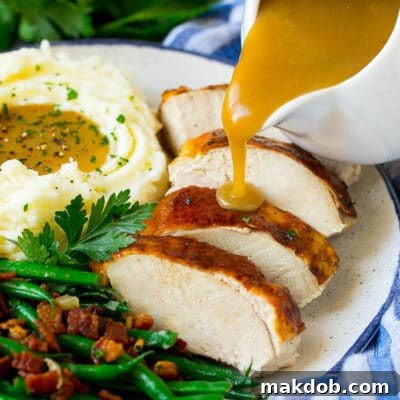
Thanksgiving dinner is a celebration of abundance, and while a succulent roasted turkey, fluffy creamy mashed potatoes, and vibrant slow cooker cranberry sauce are undeniably central, it’s the generous cascade of perfectly crafted turkey gravy that truly completes the picture. It’s the unifying element, generously poured over every component of the plate, ensuring each bite is moist, rich, and utterly delicious.
Why Homemade Turkey Gravy is a Must-Have
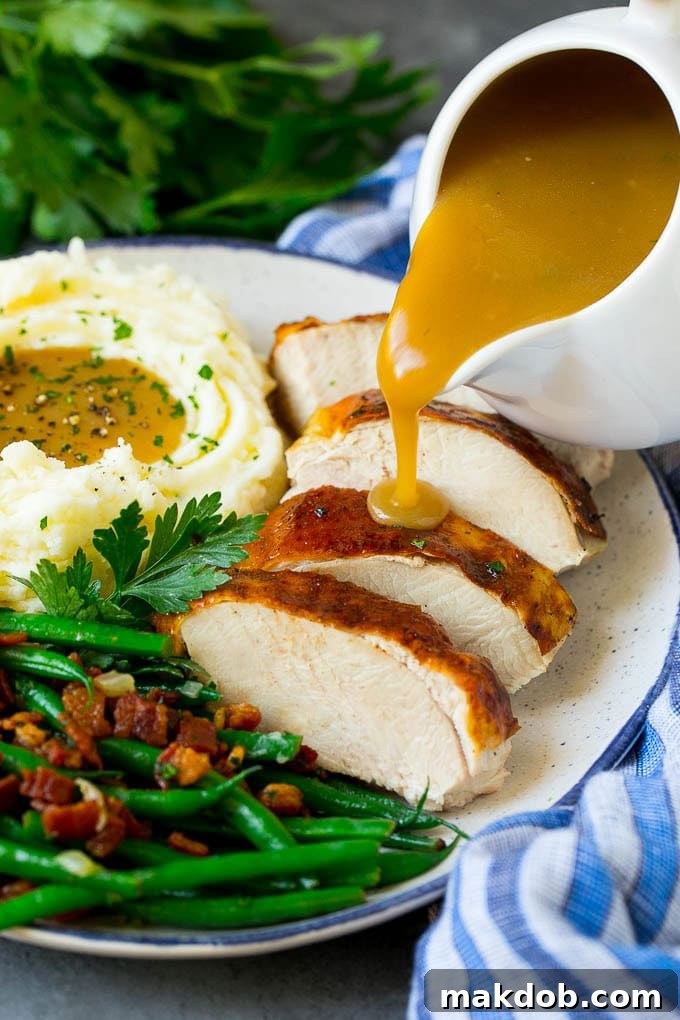
Often, turkey gravy is relegated to an afterthought amidst the hustle and bustle of Thanksgiving preparations. Many default to gravies from jars or powdered mixes, unaware that making a phenomenal gravy from scratch is not only incredibly easy but also significantly elevates the entire meal. In just about 15 minutes, you can create a gravy that far surpasses anything store-bought, making it a small time investment with a huge flavor payoff.
The secret to the unparalleled taste of homemade gravy lies in the use of rich turkey drippings. These precious juices, rendered during the roasting process, are concentrated with all the delicious flavors of your turkey. By incorporating them into your gravy, you ensure a cohesive flavor profile that perfectly complements your main dish. Opting for a homemade version means you control the ingredients, avoiding artificial flavors and excessive sodium often found in packaged alternatives. This allows you to tailor the seasoning to your exact preferences, ensuring a fresh, vibrant, and truly customized gravy.
For this outstanding gravy, you’ll want to start with the best possible turkey. Explore a variety of delicious options from our Thanksgiving recipes, whether you prefer a deeply flavored smoked turkey, a classic herb roasted turkey, a crispy deep fried turkey, or a perfectly cooked spatchcock turkey. Each will provide incredible drippings to form the foundation of your exquisite gravy.
Table of Contents
- Essential Turkey Gravy Ingredients
- How to Make Perfect Turkey Gravy from Scratch
- Expert Tips for the Best Turkey Gravy
- Quick Tip for Smooth Gravy
- Turkey Gravy Recipe FAQs
- Making Homemade Turkey Broth
- How to Thicken Gravy Effectively
- Delicious Flavor Variations for Turkey Gravy
- More Thanksgiving Recipes to Complete Your Feast
- Turkey Gravy Video Guide
- Love This Recipe?
- Full Turkey Gravy Recipe
Essential Turkey Gravy Ingredients
Crafting a truly spectacular turkey gravy requires just a handful of quality ingredients. For this recipe, you will need:
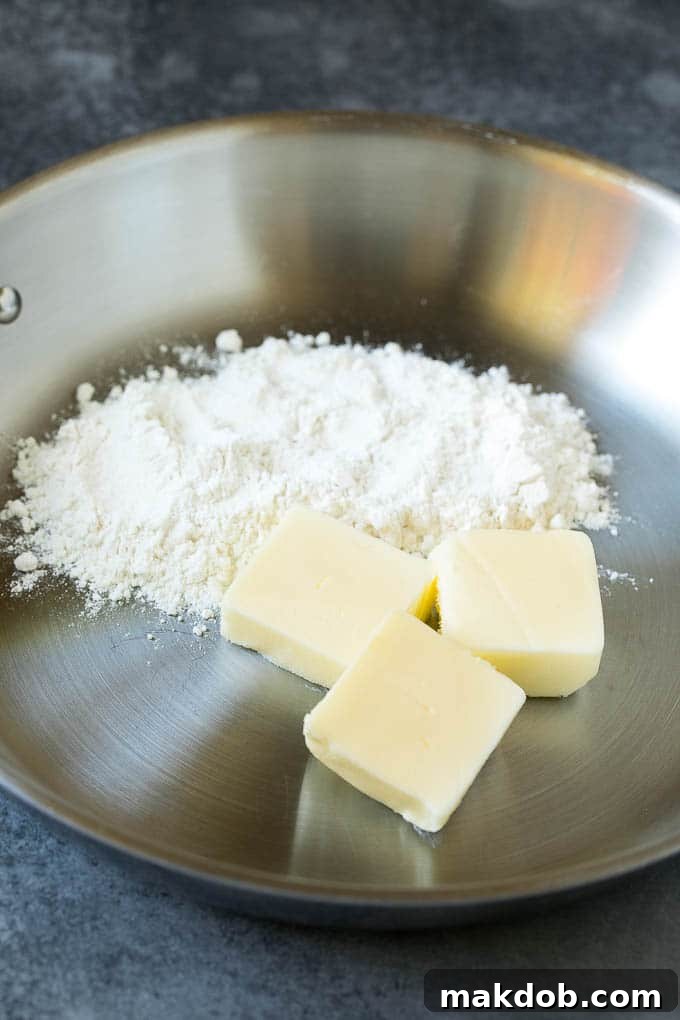
- Unsalted Butter: Forms the base of our roux, providing richness and helping to brown the flour.
- All-Purpose Flour: The thickening agent that creates a smooth, velvety texture when combined with butter to form a roux.
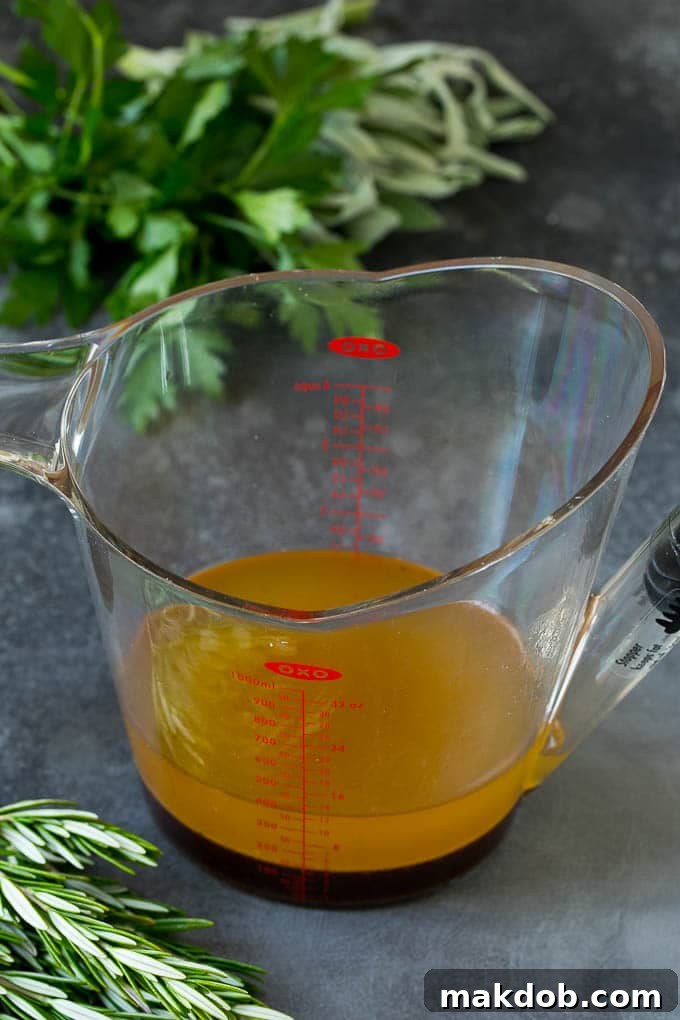
- Turkey Drippings: The flavorful juices collected from your roasted turkey. These are the star ingredient, providing an incomparable depth of turkey flavor. Remember to separate the fat for the best results.
- Chicken or Turkey Broth: Used to thin the gravy to the desired consistency while enhancing the overall turkey flavor. Homemade broth is ideal, but good quality store-bought works well too.
- Fresh Parsley: A bright, herbaceous garnish that adds a touch of color and fresh flavor.
- Salt and Black Pepper: Essential for seasoning to taste, balancing and enhancing all the savory notes.
How to Make Perfect Turkey Gravy from Scratch
Making incredible turkey gravy is a straightforward process that begins with a classic French technique: the roux. A roux, a cooked mixture of fat and flour, is the secret to a smooth, lump-free, and flavorful gravy. Here’s how to create your ultimate homemade gravy:
- Start the Roux: Begin by melting butter in a sturdy saucepan or skillet over medium heat. Once the butter is fully melted and shimmering, it’s time to add the flour.
- Create the Roux: Gradually whisk the all-purpose flour into the melted butter. Continue whisking constantly for 1-2 minutes until the mixture forms a smooth paste and begins to turn a beautiful golden color. This cooking process removes the raw flour taste and helps build a rich base.
- Incorporate Liquids: Slowly pour in your flavorful turkey drippings, followed by the chicken or turkey broth, whisking continuously. The key here is to add the liquid gradually while whisking to prevent lumps from forming. The mixture will start to thicken as it heats.
- Simmer and Thicken: Bring the gravy to a gentle simmer, continuing to whisk occasionally. Let it simmer for approximately 3-4 minutes, or until it reaches your desired thick, creamy consistency. If it’s too thick, add a little more broth; if too thin, a quick thickening trick (detailed below) can help.
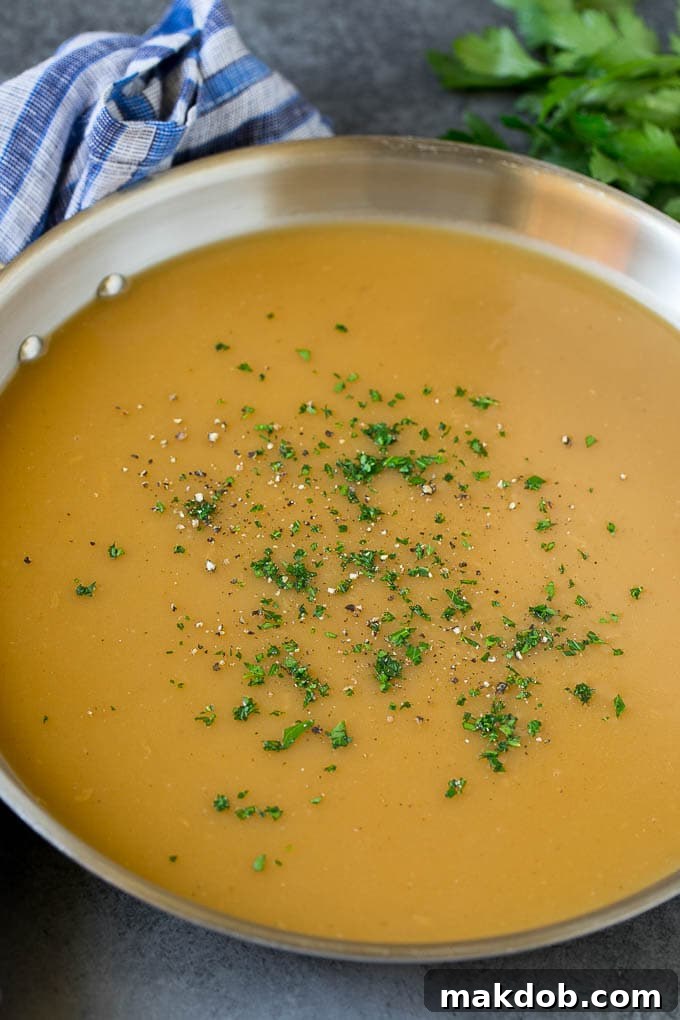
- Season and Serve: Taste the gravy and season generously with salt and freshly ground black pepper. Remember, the drippings might already be seasoned, so adjust carefully. Pour the hot gravy into a pitcher or a elegant gravy boat. Finish with a sprinkle of freshly chopped parsley for a pop of color and freshness, then serve immediately over your magnificent turkey and sides.
Expert Tips for the Best Turkey Gravy
- Timing is Key: I highly recommend making your turkey gravy as soon as your turkey comes out of the oven. While the turkey rests, its juices redistribute, and you’ll have access to warm pan drippings, which are easiest to work with for gravy.
- The Power of a Fat Separator: To achieve a clean, flavorful gravy without excessive grease, a fat separator is indispensable. This clever tool resembles a large measuring cup with a spout at the bottom. Simply pour your pan drippings (and fat) into it. The fat will rise to the top, allowing you to pour out only the rich, flavorful juices from the bottom, leaving the unwanted fat behind.
- Serve Warm: Gravy is best enjoyed warm. If your gravy cools down and becomes too thick, gently reheat it in the microwave in 20-second intervals, stirring after each, until it reaches the perfect temperature and consistency. You can also reheat it on the stovetop over low heat, stirring frequently.
- Banish Lumps with a Sieve: Even the most experienced cooks can sometimes encounter a few stubborn lumps. Don’t fret! Simply pour your finished gravy through a fine-mesh sieve before serving to ensure a perfectly smooth, silky texture.
- Adjust Salt for Brined Turkeys: If you’ve brined your turkey, its drippings will likely be saltier. Be cautious when adding salt to your gravy. Taste first, then season incrementally to avoid over-salting.
- Consistency Check: As your gravy simmers, keep an eye on its consistency. It should be thick enough to coat the back of a spoon but still pourable. Remember it will thicken slightly more as it cools.
Quick Tip for Smooth Gravy
To guarantee a perfectly smooth and lump-free gravy, remember to whisk continuously, especially when adding liquids and as it cooks. Consistent whisking is your best defense against lumps!
Turkey Gravy Recipe FAQs
Absolutely! Gravy reheats beautifully. Place leftover gravy in a saucepan over medium-low heat and gently bring it to a simmer, whisking occasionally to maintain smoothness. If it’s too thick, add a splash of turkey or chicken broth to reach the desired consistency. If it’s a bit too thin after reheating, you can use a cornstarch slurry (cornstarch dissolved in cold water) to thicken it, as described in our thickening section.
The ultimate secret to truly exceptional turkey gravy lies in two main components: high-quality turkey drippings extracted from your roasted bird, and a flavorful turkey broth (homemade is always best, but a good quality store-bought brand works). These provide an authentic, deep turkey flavor that powdered mixes simply cannot replicate. Additionally, starting with a well-cooked roux and consistent whisking are crucial for a smooth texture.
For classic, rich, and velvety turkey gravy, a roux made with flour and butter is generally preferred. The flour-based roux contributes to the gravy’s depth of flavor and creamy texture. However, if you find your gravy needs a bit more thickening at the end, a cornstarch slurry (cornstarch dissolved in cold water) can be an excellent quick fix. Cornstarch provides a glossy, almost translucent finish, while flour results in a more opaque, traditional gravy. Both work, but for the primary thickening, flour in a roux offers superior flavor development.
Homemade turkey gravy can be stored in an airtight container in the refrigerator for 3-4 days. For longer storage, it freezes exceptionally well. Pour cooled gravy into freezer-safe bags or containers and freeze for up to 3 months. Thaw overnight in the refrigerator and reheat gently on the stovetop or in the microwave, adding a splash of broth if needed.
While turkey drippings provide the best flavor, you can still make a delicious gravy without them. Instead of drippings, use an equal amount of butter or oil for your roux. Then, use all turkey or chicken broth as your liquid. You might want to enhance the flavor with a dash of soy sauce, Worcestershire sauce, or a pinch of poultry seasoning to mimic some of the savory depth.
Follow Me
Making Homemade Turkey Broth
While store-bought broth is convenient, making your own homemade turkey broth takes your gravy to an entirely new level of flavor. It’s a simple process that yields incredibly rich results. You can use the carcass of a cooked turkey, which is perfect after Thanksgiving, or simply use 4 roasted turkey wings as your starting point. Here’s a detailed guide:
- Gather Your Ingredients: Place your turkey wings or carcass in a large stock pot. Add 2 sliced carrots, 2 quartered onions, 1 cut celery stalk, a small bunch of flat-leaf parsley, 2 peeled and lightly smashed garlic cloves, 2 bay leaves, 1 sprig of fresh thyme, 1 teaspoon of salt, and 1 teaspoon of whole peppercorns. These aromatics will infuse the broth with a complex, savory flavor.
- Add Water: Pour approximately 5-6 quarts of cold water over all the ingredients in the stock pot, ensuring everything is submerged. Starting with cold water helps to slowly extract maximum flavor from the bones and vegetables.
- Simmer to Perfection: Bring the water to a rolling boil over high heat for about 5 minutes. This helps to bring impurities to the surface. Then, reduce the heat to low, cover the pot partially, and let the mixture simmer gently for 1 hour and 45 minutes. A slow simmer is crucial for developing deep flavor without making the broth cloudy.
- Skim and Strain: After simmering, carefully skim any fat or foam that has risen to the surface. Then, slowly pour the entire mixture through a fine-mesh strainer or a colander lined with a few layers of cheesecloth or paper towels. The paper towels will help remove additional fat and small particles, ensuring a clear, beautiful broth.
- Discard Solids: Discard the cooked turkey pieces, vegetables, and seasonings; all their flavor has been extracted into the broth.
- Store or Use Immediately: Your homemade turkey broth should be a lovely translucent yellow, bursting with rich flavor. Use it immediately in your gravy or other recipes. It can be stored in an airtight container in the refrigerator for 2-3 days, or portioned and frozen for up to 2 months for future use. This fresh, homemade broth will make a noticeable difference in your gravy’s depth.
How to Thicken Gravy Effectively
Achieving the perfect consistency for your turkey gravy is key. Sometimes gravy can end up a little thin, but thankfully, there are several easy ways to thicken it. Before adding more thickeners, ensure your gravy has had enough time to simmer; it typically takes about 3-4 minutes to thicken naturally. If it still seems too thin after this time, give it a couple more minutes over the heat.
- Adding More Flour (Roux Method): If you prefer to stick with a flour-based thickening, create a small additional roux. In a separate small bowl, whisk together 1 tablespoon of all-purpose flour with 2-3 tablespoons of cold water until completely smooth, forming a slurry. Slowly whisk this slurry into your simmering gravy. Continue to cook for another 2-3 minutes, whisking constantly, until the gravy thickens to your desired consistency.
- Using Cornstarch (Slurry Method): Cornstarch is a powerful thickener that works quickly and yields a glossy finish. In a separate bowl, mix 1-2 teaspoons of cornstarch with two tablespoons of cold water until the cornstarch is completely dissolved and forms a smooth slurry. Slowly and carefully whisk this cornstarch slurry into your simmering gravy. Bring the gravy to a full boil for at least one minute to activate the cornstarch and ensure maximum thickening. Do not add cornstarch directly to hot gravy as it will clump.
- Reducing the Gravy: For a deeper flavor and natural thickening, you can simply continue to simmer your gravy, uncovered, over medium-low heat. As the liquid evaporates, the gravy will naturally reduce and concentrate, becoming thicker and more intensely flavored. This method takes longer but offers excellent results.
- Arrowroot Powder: Similar to cornstarch, arrowroot powder can also be used as a gluten-free thickener. Mix 1 teaspoon of arrowroot with 1 tablespoon of cold water to form a slurry, then whisk into simmering gravy. Bring to a boil for 1 minute to thicken.
Delicious Flavor Variations for Turkey Gravy
This classic turkey gravy recipe is wonderfully rich and creamy as is, but it also serves as a fantastic base for customization. Feel free to experiment with these flavor variations to perfectly match your personal taste or complement your holiday menu:
- Herbaceous Enhancements: Infuse your gravy with additional aromatic herbs. Beyond parsley, try seasoning it with a pinch of ground or rubbed sage for a traditional holiday flavor, finely minced fresh rosemary for an earthy note, or more fresh thyme leaves for a delicate, aromatic touch. Add these herbs during the last few minutes of simmering to preserve their fresh flavor.
- Luxuriously Creamy: For an extra decadent and velvety gravy, slowly pour and whisk in about 1/3 cup of heavy cream or half-and-half while the gravy is simmering. This adds an incredible richness and smooth mouthfeel.
- Earthy Mushroom Gravy: Transform your gravy into a mushroom lover’s delight. Sauté sliced mushrooms (like cremini or button mushrooms) separately until deeply golden and tender. Add these sautéed mushrooms to the gravy when you add the salt and pepper, allowing them to simmer for a few minutes to meld the flavors. This adds a wonderful umami depth.
- Wine Infusion: For a sophisticated twist, deglaze your turkey roasting pan with 1/2 cup of dry white wine (like Chardonnay or Sauvignon Blanc) or even a dry red wine (like Pinot Noir) before adding the drippings to the gravy. Scrape up all the flavorful browned bits from the pan. The alcohol will cook off, leaving a complex, enhanced flavor.
- Roasted Garlic Gravy: Roast a head of garlic until soft and caramelized. Squeeze out the roasted garlic pulp and mash it into a paste. Whisk this paste into the gravy along with the drippings and broth for a subtle, sweet garlic flavor that complements turkey beautifully.
A perfectly made, silky, and flavorful gravy has the power to elevate a good turkey dinner to extraordinary heights, and can even save a slightly dry turkey! Skip the packaged options this year and delight your guests with this quick, easy, and utterly delicious homemade recipe.
More Thanksgiving Recipes to Complete Your Feast
Turkey Stuffing for Thanksgiving
1 hr
Squash Casserole
45 mins
Southern Cornbread Dressing
1 hr 15 mins
Cranberry Relish
11 mins
Sweet Potato Casserole with Pecans
1 hr 50 mins
Turkey Gravy Video Guide
For a visual step-by-step guide to making the best turkey gravy, watch our comprehensive video. It walks you through each stage, from preparing the roux to achieving that perfect smooth consistency, ensuring your holiday gravy is nothing short of spectacular.
If the video does not load, you can find the “Turkey Gravy” video guide on our YouTube channel for detailed instructions on creating this delicious recipe.
Love This Recipe?
Please leave a 5-star 🌟🌟🌟🌟🌟 rating in the recipe card below & a review in the comments section further down the page. Your feedback helps us share more delicious recipes!
The Best Homemade Turkey Gravy
Pin Recipe
Sara Welch
5 minutes
10 minutes
15 minutes
Sauce
American
12
Ingredients
- 1/2 cup butter
- 1/2 cup all purpose flour
- 2 cups turkey drippings fat separated out
- 2 1/2 cups chicken or turkey broth
- salt and pepper to taste
- 1 tablespoon chopped parsley
Instructions
-
Melt the butter in a large skillet over medium heat.
-
Add the flour and whisk to combine thoroughly. Cook for 1 minute, stirring constantly to form a golden roux.
-
Slowly pour in the turkey drippings and the broth, whisking constantly to prevent any lumps from forming.
-
Bring the gravy to a gentle simmer. Cook for 3-4 minutes, or until the gravy has thickened to your desired creamy consistency.
-
Season generously with salt and freshly ground black pepper to taste. Adjust as needed, especially if using brined turkey drippings.
-
Pour the finished gravy into a warm pitcher or gravy boat. Garnish with a sprinkle of fresh chopped parsley, then serve immediately.
Notes
- For the freshest flavor and easiest process, make your turkey gravy as soon as you remove your turkey from the oven and it begins to rest.
- Utilize a fat separator to efficiently remove excess fat from the pan drippings, ensuring a rich, pure flavor for your gravy.
- Consistent whisking during cooking is crucial to achieve a perfectly smooth, lump-free gravy.
- If any lumps do form, simply pour the gravy through a fine-mesh sieve before serving for a silky-smooth texture.
- Gravy should always be served warm. If it cools, gently reheat on the stovetop or in the microwave.
Nutrition
|
Carbohydrates: 5g
|
Protein: 2g
|
Fat: 8g
|
Saturated Fat: 5g
|
Cholesterol: 20mg
|
Sodium: 82mg
|
Potassium: 48mg
|
Fiber: 1g
|
Sugar: 1g
|
Vitamin A: 236IU
|
Calcium: 4mg
|
Iron: 1mg
Did you make this recipe?
Tag @dinneratthezoo on Instagram and hashtag it #dinneratthezoo
Tweet
Pin
This post was originally published on September 19, 2019, and was extensively updated on November 4, 2020, to provide more detailed content, expert tips, and enhanced clarity for crafting the ultimate homemade turkey gravy.