
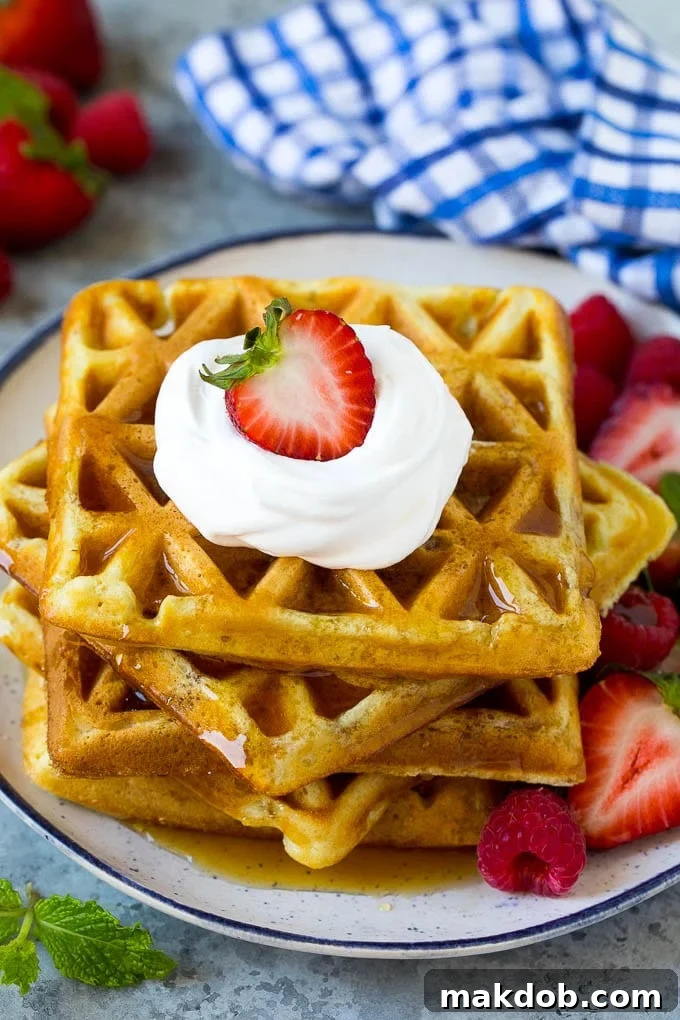
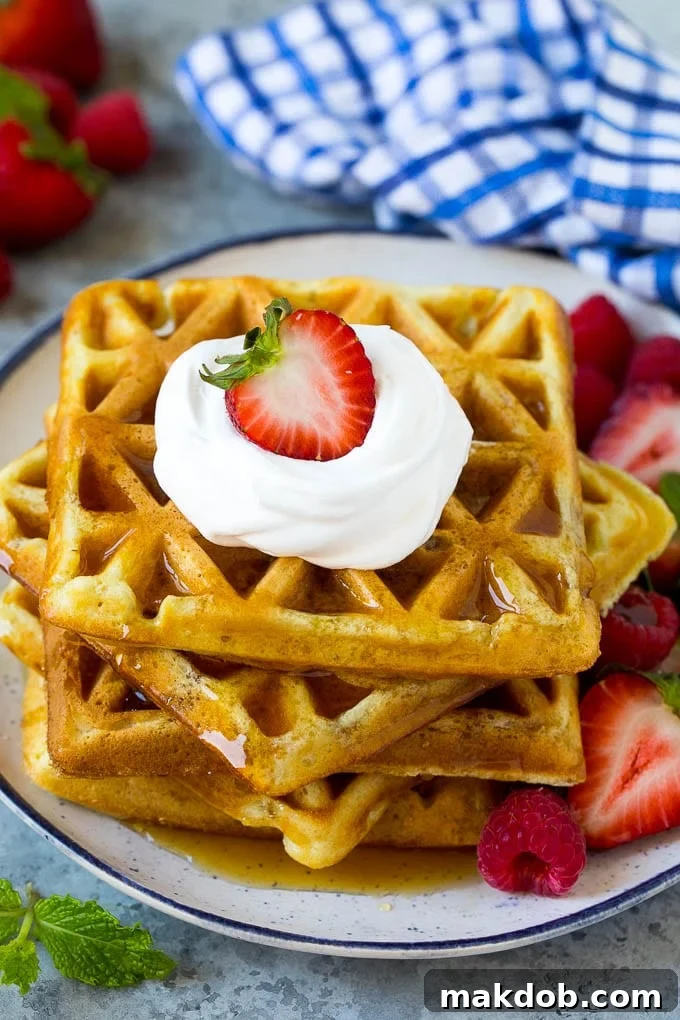
Welcome to the ultimate guide for crafting the most exquisite homemade buttermilk waffles! Forget store-bought mixes; this recipe delivers light, irresistibly fluffy, and perfectly golden-brown waffles every single time. Ideal for a lazy weekend breakfast, a festive holiday brunch, or even a quick weeknight treat, these waffles are surprisingly easy to make and guaranteed to become a family favorite. Prepare to elevate your breakfast game with this simple yet spectacular recipe that has delighted palates for over a decade.
There’s something truly magical about the aroma of fresh waffles filling your home. It promises comfort, joy, and a delicious start to any day. When hosting friends and family for brunch, I always ensure a generous stack of these buttermilk beauties graces the table. They pair wonderfully with a variety of other breakfast delights, from red velvet waffles to savory breakfast egg muffins and delicate cream cheese danishes, offering a balanced and satisfying spread for every guest.
The Secret to Perfectly Fluffy Buttermilk Waffles
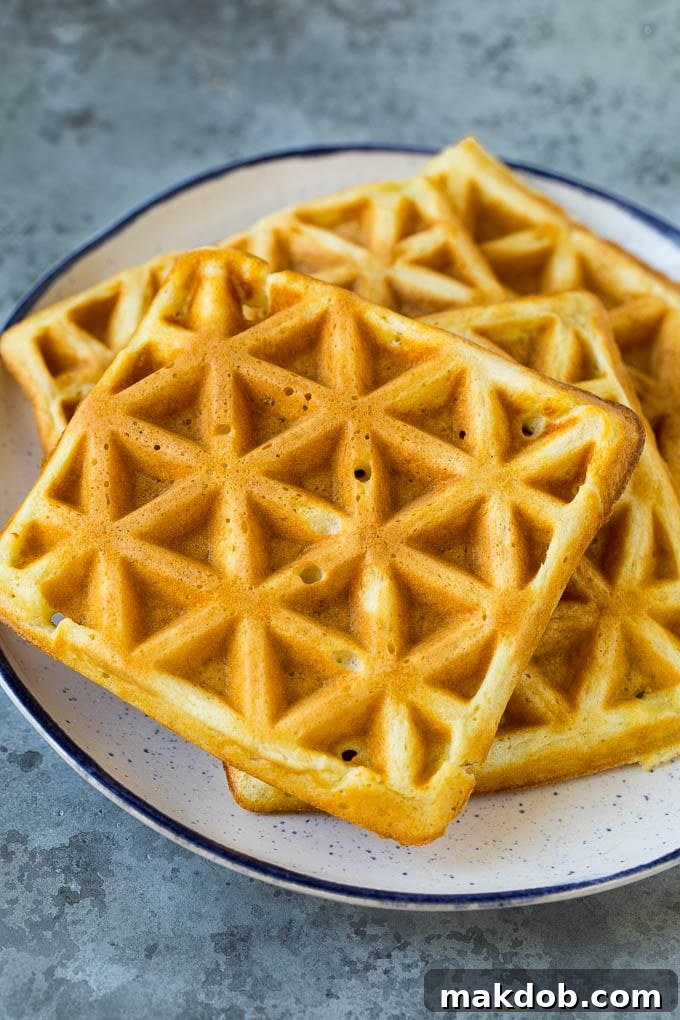
What makes buttermilk waffles stand out from their regular counterparts? The star ingredient, buttermilk, plays a crucial role. Its slight acidity reacts with baking soda to create an abundance of tiny air bubbles in the batter. This chemical reaction is the key to achieving that signature light and tender crumb, along with a subtle tangy flavor that adds depth to the sweetness of the waffle. The result is a waffle that’s crisp on the outside and wonderfully soft on the inside – a texture that’s simply unmatched.
Beyond buttermilk, the careful balance of ingredients is essential. All-purpose flour provides the structure, while baking powder and baking soda work in harmony to give lift. Sugar not only sweetens but also aids in achieving that beautiful golden-brown crust. Eggs bind everything together and contribute to richness, while melted butter adds moisture and flavor. Finally, a touch of vanilla extract rounds out the profile with its warm, inviting aroma.
How to Make Homemade Buttermilk Waffles
Making these glorious buttermilk waffles is a straightforward process, perfect for cooks of all skill levels. Here’s a detailed look at how to bring them to life in your kitchen:
Gathering Your Ingredients
Ensure you have all your ingredients measured and ready before you begin. This practice, known as “mise en place,” simplifies the cooking process and helps prevent any last-minute scrambling. You’ll need flour, sugar, baking powder, baking soda, salt, buttermilk, eggs, melted butter, and vanilla extract. Don’t forget cooking spray for your waffle iron, and your favorite toppings like maple syrup and fresh berries.
Preparing the Batter
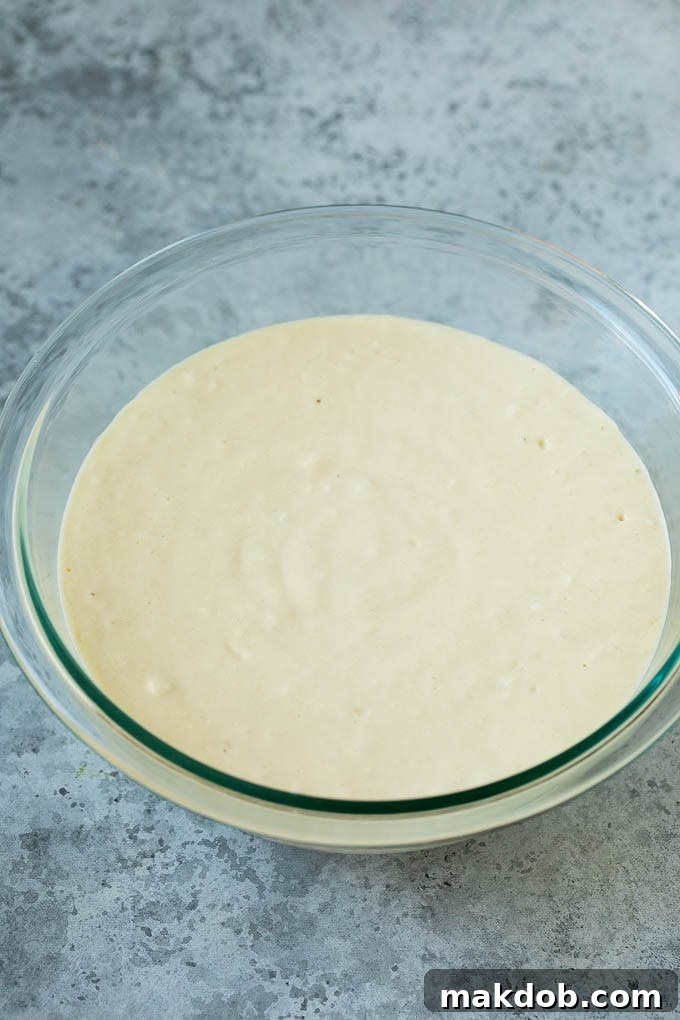
The batter comes together quickly. In a large mixing bowl, combine all your dry ingredients: flour, granulated sugar, baking powder, baking soda, and salt. Whisk them thoroughly to ensure they are evenly distributed, as this is crucial for a consistent rise. In a separate bowl, whisk together the wet ingredients: buttermilk, eggs, and melted butter, along with the vanilla extract. Once combined, pour the wet mixture into the dry ingredients. Stir gently until just combined. A few lumps are perfectly fine and even desirable – overmixing can develop the gluten in the flour too much, leading to tough waffles. Aim for a smooth but still somewhat lumpy batter.
Cooking Your Waffles to Golden Perfection
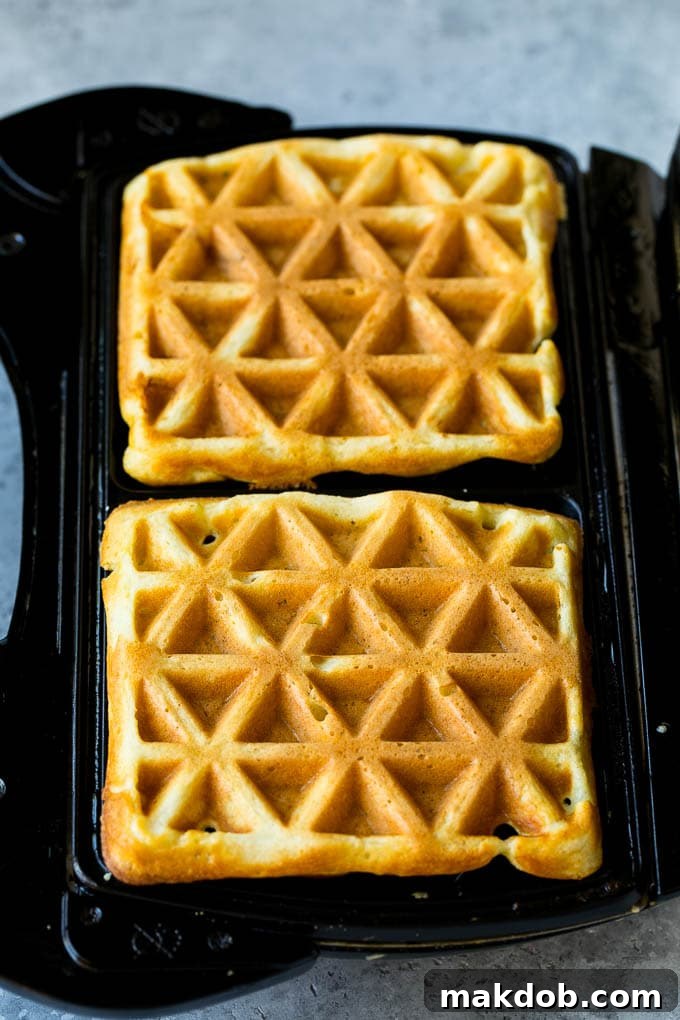
Preheat your waffle iron according to the manufacturer’s instructions. A hot waffle iron is key to preventing sticking and achieving a crispy exterior. Once hot, lightly coat the cooking plates with cooking spray. Pour approximately 1/2 cup of batter into the center of each well (or whatever amount your specific waffle iron recommends), then close the lid and let the magic happen. Cooking times vary between waffle makers, but a good indicator of doneness is when the steam stops escaping from the sides, and the light on your appliance signals it’s ready. In my machine, they usually take about 6 minutes to reach golden-brown perfection.
Serving Suggestions
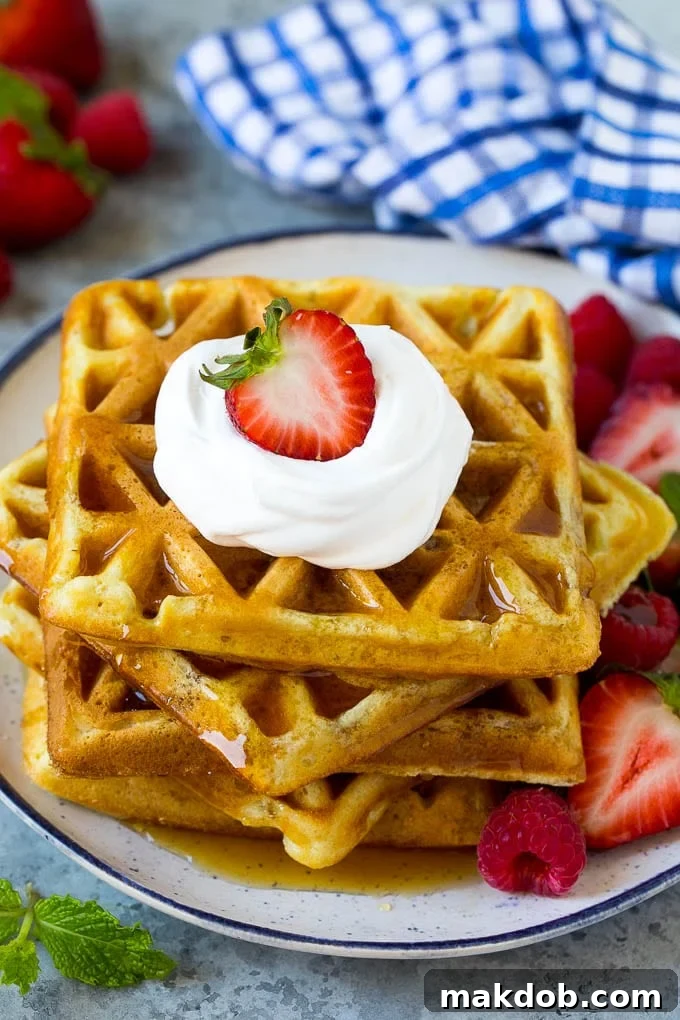
Once cooked, gently remove the waffles from the iron and serve them immediately. The best waffles are enjoyed fresh off the press. Drench them in plenty of warm maple syrup, top with a generous dollop of whipped cream, and scatter fresh berries for a vibrant burst of flavor and color. Other delicious toppings include fruit compotes, chocolate sauce, sliced bananas, or a dusting of powdered sugar.
Pro Tips for Buttermilk Waffle Success
Unlock the full potential of your homemade buttermilk waffles with these expert tips:
Make-Ahead Batter for Easy Mornings
Short on time? You can prepare the waffle batter in advance! Mix all ingredients as directed, then cover the bowl tightly with plastic wrap and refrigerate for up to 4 hours. This allows the flavors to meld and saves precious time on busy mornings. Give it a gentle stir before using, adding a splash more buttermilk if it seems too thick.
Mastering Your Waffle Iron
Every waffle maker has its quirks. Familiarize yourself with your specific model’s instructions for preheating and cooking times. Some irons require more oil than others; a light coating of cooking spray is usually sufficient for non-stick surfaces, but never hesitate to consult your manual. For an extra crispy waffle, avoid opening the iron too early and allow it to cook until the steam subsides.
Creative Mix-Ins and Toppings
Elevate your waffle experience with delicious additions! Stir 1/4 to 1/2 cup of your favorite mix-ins into the batter just before cooking. Popular choices include miniature chocolate chips, chopped nuts (like pecans or walnuts), blueberries, or diced cooked bacon for a sweet and savory twist. For toppings, think beyond maple syrup: try a drizzle of homemade raspberry sauce, warm fruit compote, fresh fruit slices, a dollop of Greek yogurt, or even a sprinkle of cinnamon sugar.
Healthier Alternatives
Looking to make your waffles a bit healthier? Substitute one cup of the all-purpose flour with one cup of whole wheat flour. This adds fiber and a nutty flavor without compromising too much on texture. You can also reduce the sugar slightly, or opt for natural sweeteners like a touch of honey or maple syrup directly in the batter.
Buttermilk Substitutions in a Pinch
No buttermilk on hand? No problem! You can easily create a homemade substitute. For every cup of buttermilk needed, measure slightly less than 2 cups of regular milk (whole milk works best, but 2% is fine). Stir in 2 tablespoons of lemon juice or white vinegar. Let the mixture stand for 5-10 minutes until it slightly thickens and curdles. This “sour milk” will mimic buttermilk’s acidity and reactivity, ensuring your waffles are still light and fluffy.
Storing and Reheating Your Waffles
One of the best things about homemade waffles is their versatility, including how well they store. Make a large batch and enjoy them throughout the week!
Storing for Later Enjoyment
Once cooled completely, waffles can be stored in an airtight container in the refrigerator for up to 4 days. If you’re looking for a longer storage solution, the freezer is your friend. To freeze, individually wrap each cooled waffle in plastic wrap, then place them all into a large gallon-sized freezer bag or an airtight container. They’ll stay fresh for up to 2 months.
Perfect Reheating Methods
Reheating waffles is simple and can bring them back to their crispy glory. The most effective method is using a toaster or toaster oven. This mimics the waffle iron and ensures they come out crunchy and golden-brown. For refrigerated waffles, toast for about 3-5 minutes. If you’re starting with frozen waffles, they’ll need an additional 1-2 minutes, typically around 5-7 minutes, depending on your toaster’s power. Avoid the microwave, as it can make waffles soft and rubbery.
Frequently Asked Questions About Buttermilk Waffles
Can I make the batter gluten-free?
Yes, you can! Substitute the all-purpose flour with a 1:1 gluten-free flour blend. Ensure your blend contains xanthan gum, or add 1/2 teaspoon per cup of flour to help with structure.
Why are my waffles not crispy?
Several factors can affect crispiness. Ensure your waffle iron is fully preheated before adding batter. Don’t overfill the iron, as this can lead to uneven cooking. Lastly, make sure you cook them long enough; the steam stopping is a good indicator. Some irons have different settings for crispiness, so check your manual.
Can I use this batter for pancakes?
While similar, waffle batter is generally thicker and has more fat (from butter or oil) to make them crispy. You can technically use it for pancakes, but they might be denser and less spreadable than a dedicated pancake batter. For best results, use a recipe specifically designed for pancakes.
How do I prevent waffles from sticking to the iron?
Always preheat your waffle iron properly. Lightly grease the plates with cooking spray or butter before pouring the batter, especially if your iron is not non-stick or is new. Over time, a seasoned waffle iron will also help prevent sticking.
There’s an undeniable joy in savoring these perfectly light and fluffy homemade buttermilk waffles. They’re a cherished part of our family mornings, always met with enthusiastic requests from my kids. I’m always delighted to oblige, knowing that a batch of these waffles brings smiles and warmth to our home.
Buttermilk Waffles
Pin Recipe
This recipe for buttermilk waffles is a breakfast delight of light and fluffy waffles cooked to golden brown perfection. These waffles are easy to make and are perfect for any breakfast or brunch gathering!
Cook Time: 20 minutes
Total Time: 30 minutes
Ingredients
- 2 cups all purpose flour
- 2 teaspoons baking powder
- 1 teaspoon baking soda
- 1/4 teaspoon salt
- 2 tablespoons granulated sugar
- 2 cups buttermilk
- 2 eggs
- 6 tablespoons butter melted
- 1 teaspoon vanilla extract
- cooking spray
- berries and maple syrup for serving
Instructions
- Preheat your waffle iron.
- In a large bowl, mix together the flour, baking powder, baking soda, salt and sugar.
- Add the buttermilk, eggs, melted butter and vanilla extract to the bowl. Stir until just combined.
- Coat the waffle iron with cooking spray.
- Spoon 1/2 cup of batter into the wells of your waffle maker and cook according to manufacturer directions (these waffles cook for 6 minutes in my machine). Repeat with remaining batter.
- Serve immediately, topped with maple syrup and berries if desired.
Nutrition
Calories: 263kcal |
Carbohydrates: 42g |
Protein: 7g |
Fat: 8g |
Saturated Fat: 4g |
Cholesterol: 63mg |
Sodium: 292mg |
Fiber: 2g |
Sugar: 20g
Tag @dinneratthezoo on Instagram and hashtag it #dinneratthezoo
Tweet
Pin
More Delicious Breakfast & Brunch Recipes
- Ham and Egg Cups
- Breakfast Burritos
- Dutch Baby Pancake
- Banana Pancakes
- Baked Donuts