

Welcome to the enchanting world of homemade caramel apples, where classic autumn flavors meet confectionery artistry! These delightful treats, often seen as impressive gourmet creations in candy shops, are surprisingly simple to craft right in your own kitchen. Imagine crisp, juicy apples enrobed in a rich, buttery caramel, then dipped in luscious melted chocolate and rolled in an array of tempting toppings. The result is a personalized masterpiece that serves as a perfect dessert, a festive snack, or a thoughtful gift for any occasion.
The combination of sweet caramel and tart apples is a match made in culinary heaven, a timeless pairing that evokes feelings of warmth and nostalgia. Whether you enjoy the creamy indulgence of Snicker Apple Salad, the playful layers of Apple Nachos, or the delightful simplicity of Caramel Apple Dip, there’s an undeniable charm in this classic flavor profile. Our guide focuses on creating the ultimate caramel-coated apples, elevating them with chocolate and custom toppings to a truly gourmet level, all from the comfort of your home.



There’s a special allure to gourmet caramel apples that catches the eye in any candy store – those glistening layers of rich caramel, smooth chocolate, and crunchy nuts are simply irresistible. While the hefty price tag for such artisanal delights might give you pause, the good news is that recreating these spectacular treats at home is not only incredibly easy but also significantly more budget-friendly. This step-by-step guide will demystify the process, allowing you to create impressive, personalized caramel apples without breaking the bank.
Crafting Perfect Caramel Apples: A Step-by-Step Guide
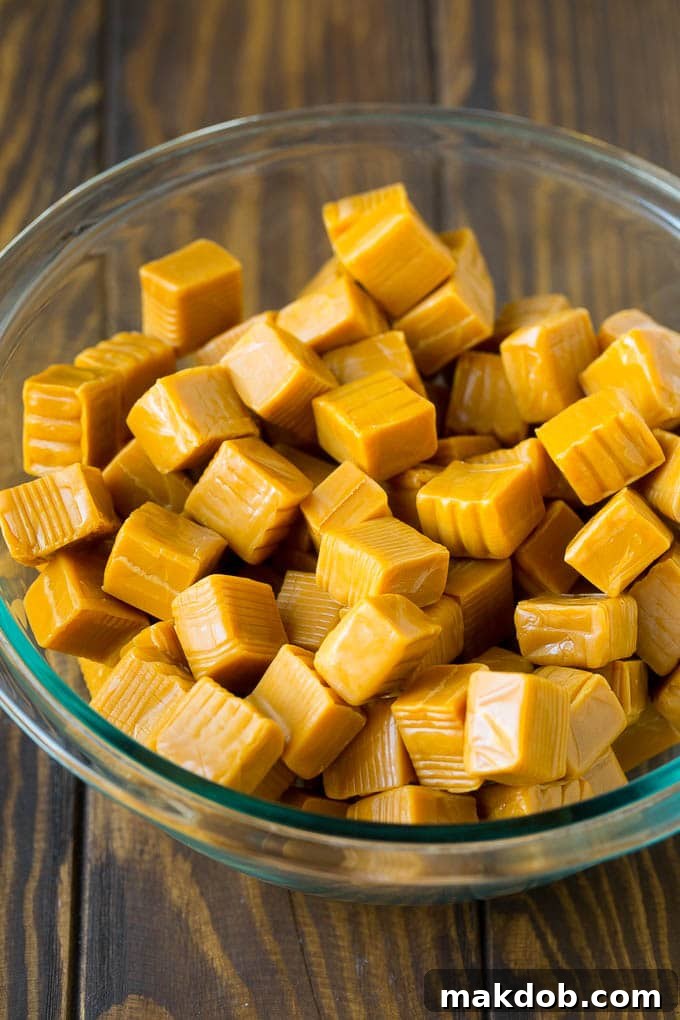
Making delicious caramel apples doesn’t have to be an intimidating task. This recipe simplifies the process by starting with store-bought caramels, transforming them into a silky-smooth dipping sauce with a touch of heavy cream. This ingenious shortcut eliminates the complexities often associated with making caramel from scratch, such as requiring specialized equipment like a candy thermometer or the risk of overcooking or undercooking your caramel. By opting for pre-made caramels, you bypass these potential pitfalls, making this an incredibly foolproof method for achieving perfectly coated caramel apples every time. It’s a wonderful way to enjoy the rich, buttery flavor of homemade caramel without the stress, ensuring a consistent and delightful result for all your gourmet dipped apple creations.
Essential Tips for Irresistible Caramel Apples
Creating truly show-stopping caramel apples involves a few key considerations that can elevate your homemade treats from good to absolutely amazing. Here are some expert tips to ensure your gourmet dipped apples are a resounding success:
- **Choosing Your Apples:** While Granny Smith apples are a popular choice for their delightful tartness, which beautifully contrasts with the sweet caramel and chocolate, don’t limit yourself! Other fantastic apple varieties include Fuji, known for its crispness and sweetness; Braeburn, offering a nice balance of sweet and tart; Gala, a sweet and juicy option; or the subtly tart and firm Pink Lady. The most important thing is to select firm, unblemished apples that can hold up to the dipping process.
- **The Best Chocolate Coating:** For a smooth, even, and professional-looking finish, I highly recommend using candy melts over traditional chocolate chips. Candy melts are formulated to melt into a thinner, more consistent mixture, making them much easier to work with for dipping. Furthermore, they are less prone to developing that undesirable gray “bloom” that can sometimes appear on regular chocolate chips as they dry. For an exceptional taste that rivals real chocolate, I particularly endorse Ghirardelli melting wafers. They offer superior flavor and texture for your gourmet chocolate caramel apples.
- **Unlimited Topping Creativity:** This is where you can truly let your imagination shine! The possibilities for caramel apple toppings are endless. Some tried-and-true favorites include finely chopped nuts (pecans, walnuts, peanuts, almonds), crushed Oreo cookies, colorful mini M&M’s, crunchy toffee bits, fluffy mini marshmallows, or even chopped peanut butter cups. For an extra touch of sophistication, consider sprinkles, shredded coconut, pretzel bits for a sweet and salty crunch, or a drizzle of contrasting colored chocolate. Lay out an array of options and let everyone customize their own perfect caramel apple!
- **Sticks for Dipping and Holding:** To ensure an easy and secure grip for dipping and enjoying your caramel apples, you’ll need sturdy sticks. You can typically find candy sticks or lollipop sticks at most craft stores or in the baking aisle of larger supermarkets. If these are unavailable, standard popsicle sticks make an excellent alternative. Ensure they are inserted firmly into the stem end of the apple for stability.

Optimal Storage for Your Caramel Apples
To keep your homemade caramel apples fresh and delicious for as long as possible, proper storage is crucial. Whole caramel-coated apples, without being cut, can be individually wrapped in plastic wrap or cellophane and stored in the refrigerator for up to one week. This chilling helps maintain the integrity of the caramel and chocolate coatings. However, once you cut into the apples, it’s best to enjoy them immediately. The exposed apple flesh will begin to oxidize and turn brown when it comes into contact with air, diminishing both the appearance and freshness of your gourmet dipped apples. For the freshest taste and best presentation, plan to serve sliced caramel apples right after preparation.
The Secret to Flawless Caramel Application: Removing Apple Wax
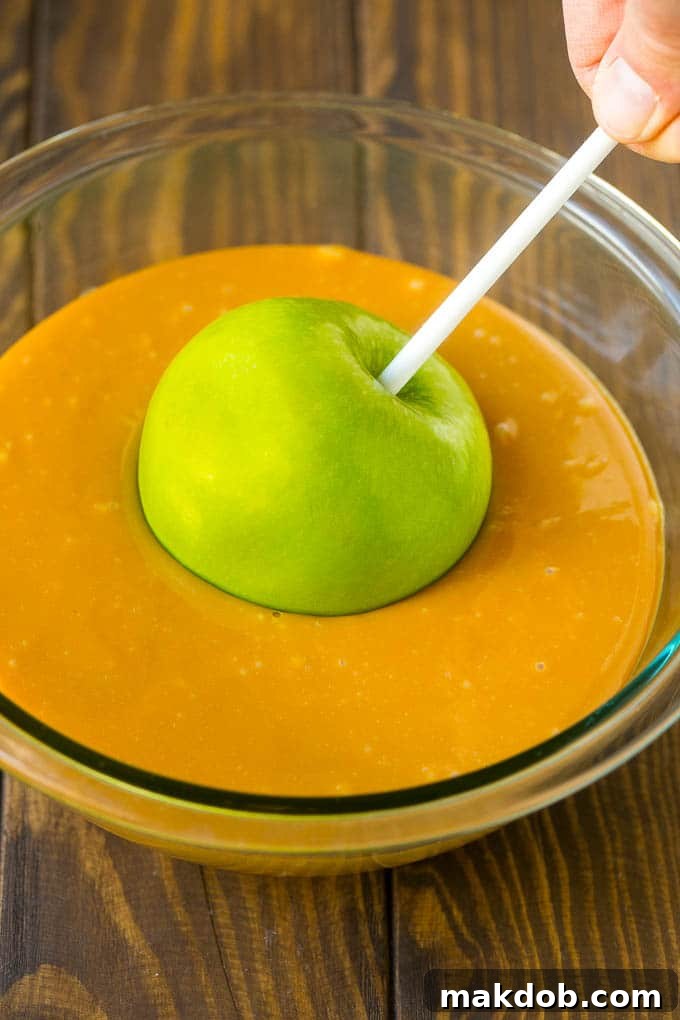
One of the most critical steps to ensuring your caramel coating adheres perfectly to your apples is thorough cleaning. Many commercially sold apples are coated with a thin layer of food-grade wax, which, while harmless, can prevent the caramel from sticking properly. If the wax isn’t removed, your beautiful caramel coating might slide right off, leading to a messy and disappointing result. The most effective way to remove this wax is to scrub each apple vigorously with a clean, soft brush or a rough cloth under very hot running water. The heat from the water will help melt the wax, and the scrubbing action will physically remove any residue, leaving you with a perfectly clean and caramel-ready surface. Dry each apple completely before proceeding to ensure optimal adhesion of the caramel.
Packaging and Gifting: Preventing Sticky Situations
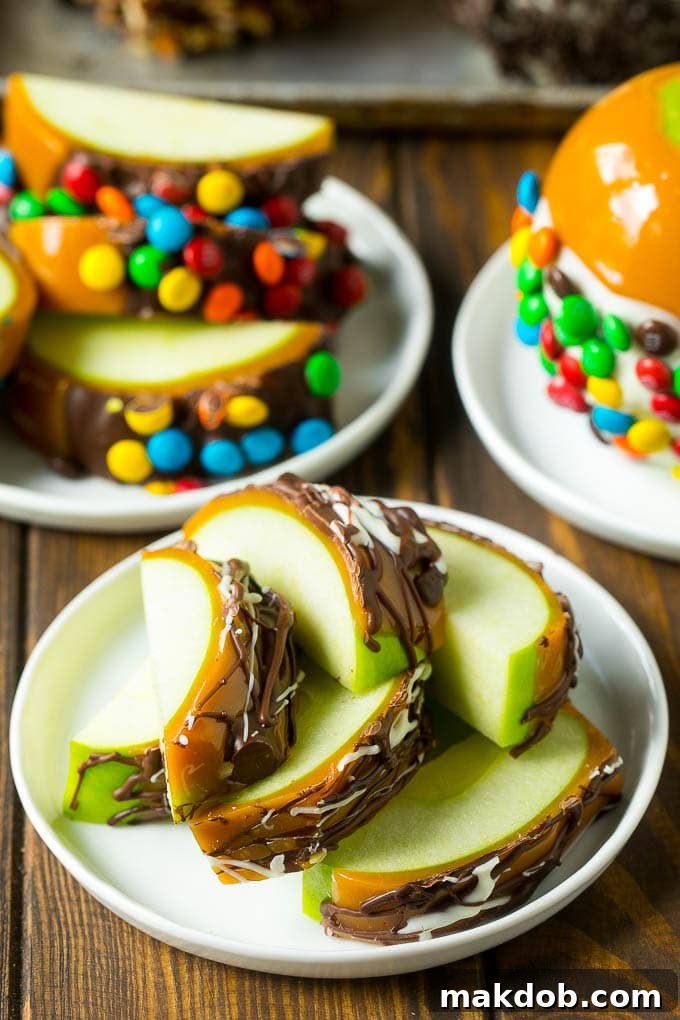
Once your exquisite caramel apples are complete, you’ll want to ensure they maintain their pristine appearance, especially if you’re planning to give them as gifts. The key to preventing the caramel from sticking to your wrapping is chilling. After the caramel and chocolate coatings have set, place your finished apples in the refrigerator for an additional period. This chilling process hardens the caramel coating further, making it less prone to stickiness during handling and wrapping. For a charming and festive presentation, I recommend loosely wrapping each apple in clear cellophane. You can then tie the cellophane at the top with a colorful ribbon, adding an elegant touch that’s perfect for holidays, parties, or special occasions. This not only protects your gourmet dipped apples but also makes them look professionally made and ready for gifting.
Once you discover the joy and ease of making these decadent caramel-covered apples at home, you’ll likely find yourself leaving those pricey candy store versions behind. This isn’t just a recipe; it’s a fun and creative project that’s perfect for involving the kids, sparking their culinary creativity, and creating lasting memories. And the best part? The end results are always unbelievably delicious, satisfying every sweet tooth with their perfect balance of sweet, tart, and crunchy textures. Dive into this delightful dessert adventure and create your own batch of gourmet homemade caramel apples today!
Explore More Sweet Delights
If you’ve enjoyed crafting these gourmet caramel apples, you’ll surely love exploring other homemade sweet treats. Here are some fantastic recipes to expand your dessert repertoire:
- Crispy Peanut Brittle
- Decadent Chocolate Covered Oreos
- Creamy Chocolate Peanut Butter Fudge
- Classic Chocolate Covered Cherries
- Easy Microwave Rocky Road Fudge
Caramel Apples
Pin
Author
Sara Welch

Time
Course Dessert, Snack
Cuisine American
Serves 4
Ingredients
- 4 lollipop or wooden craft sticks
- 4 Granny Smith apples, stems removed
- 11 ounce package of caramels, unwrapped
- 2 tablespoons heavy cream (can also use water)
- 1 1/2 cups chocolate chips or candy melts (white, dark, or milk chocolate, or a combination)
- 1 cup assorted toppings such as chopped nuts and candies
Instructions
- Scrub each apple under very hot running water to remove any wax coating. Dry each apple thoroughly.
- Line a tray or baking sheet with wax paper. Insert 1 stick firmly into the stem end of each apple.
- Microwave caramels and cream in a large, microwave-safe bowl for 1 minute; stir well. Continue to microwave in additional 10- to 20-second intervals, stirring after each, until the caramel mixture is completely smooth and creamy.
- Carefully dip each apple into the melted caramel, rotating to ensure an even coating. Gently scrape any excess caramel from the bottom of the apple against the edge of the bowl.
- Place each caramel-coated apple on the prepared baking sheet. Chill until the caramel is firm, approximately 30 minutes.
- Heat the chocolate or candy melts in the microwave in 30-second increments, stirring until completely melted and smooth.
- Dip each caramel apple halfway into the melted chocolate, allowing any excess chocolate to drip off. Immediately roll each chocolate-dipped apple into your selected toppings, pressing gently to adhere.
- Chill the apples again until all coatings are completely set. Serve fresh, or store in the refrigerator, covered, for up to one week.
Notes
Nutrition
Did you make this recipe?
Tag @dinneratthezoo on Instagram and hashtag it #dinneratthezoo
Tweet
Pin
This post was originally published on October 5, 2016 and was updated on May 23, 2019 with new content.