
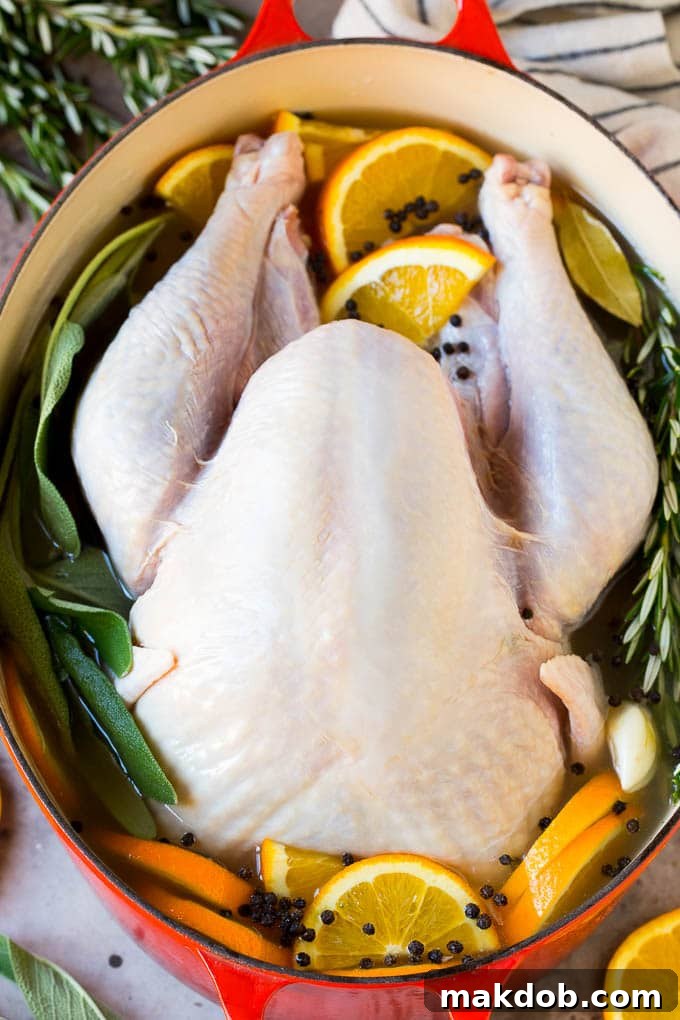
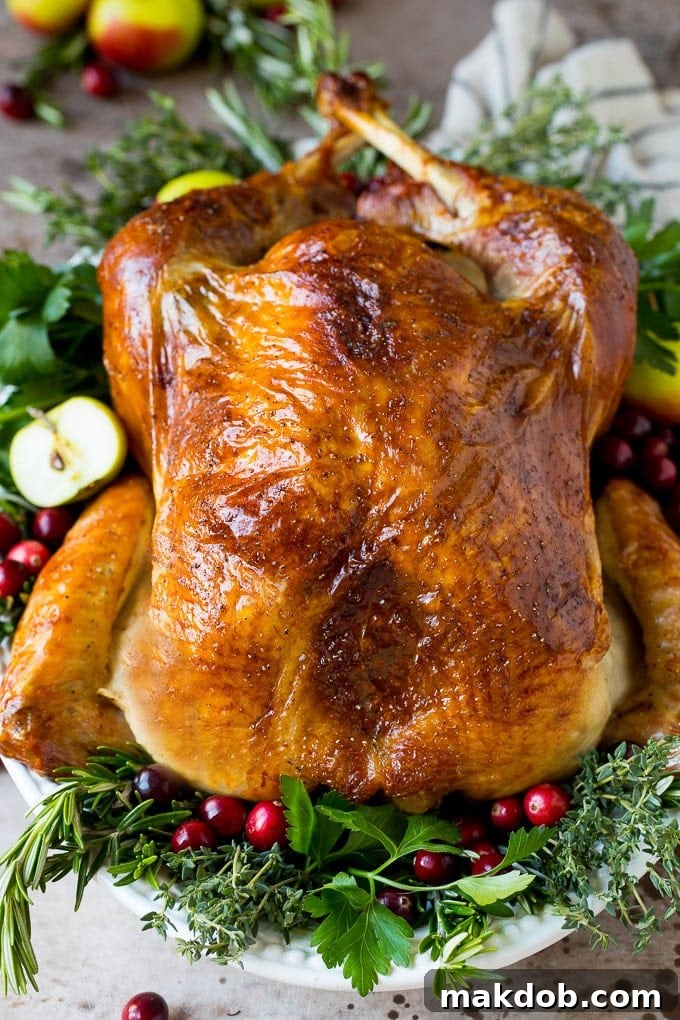
Welcome to the ultimate guide on how to brine a turkey for an unforgettable holiday meal. Say goodbye to dry, bland turkey and hello to a remarkably tender, incredibly juicy, and intensely flavorful bird every single time. Brining is a game-changing technique that guarantees rave reviews and transforms your holiday spread into a culinary masterpiece!
Whether you’re a seasoned chef or a first-time holiday host, mastering the art of brining will elevate your turkey from good to extraordinary. This comprehensive guide will walk you through everything you need to know, from selecting the right ingredients to the precise brining process, ensuring your turkey is the star of the table.
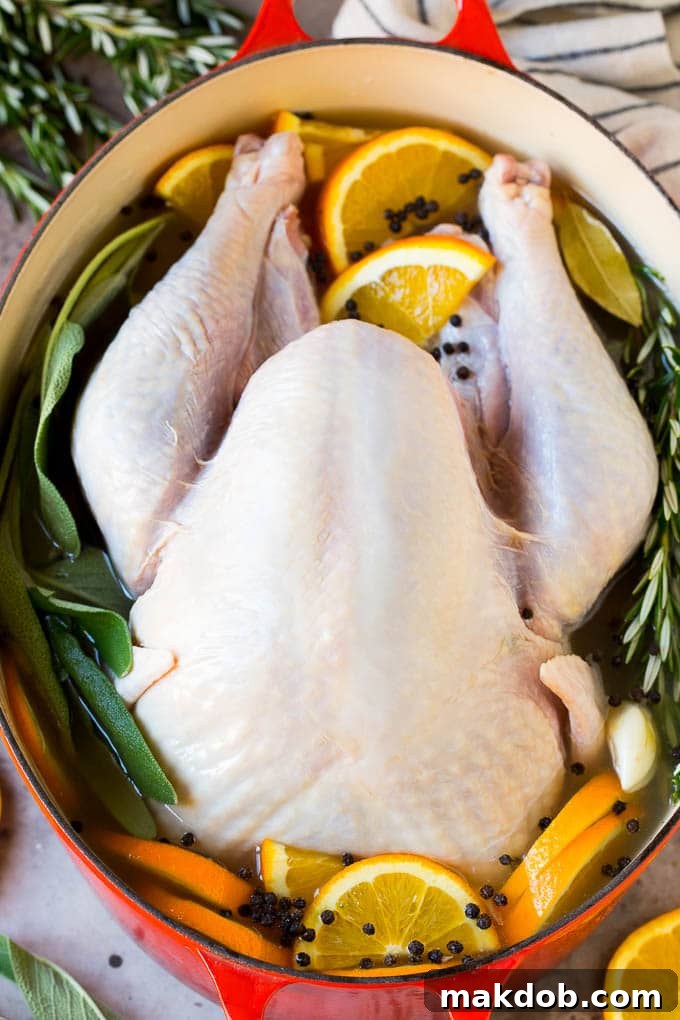
For many, Thanksgiving or any festive gathering isn’t truly complete without a perfectly cooked turkey. Learning how to brine a turkey is arguably the most crucial step towards achieving that perfection. The benefits of brining extend far beyond just adding moisture; it infuses the meat with a symphony of flavors, preventing it from drying out during the cooking process. This technique isn’t exclusive to whole turkeys either; it can be skillfully applied to smaller cuts like turkey breasts, or even whole chickens, delivering equally impressive results.
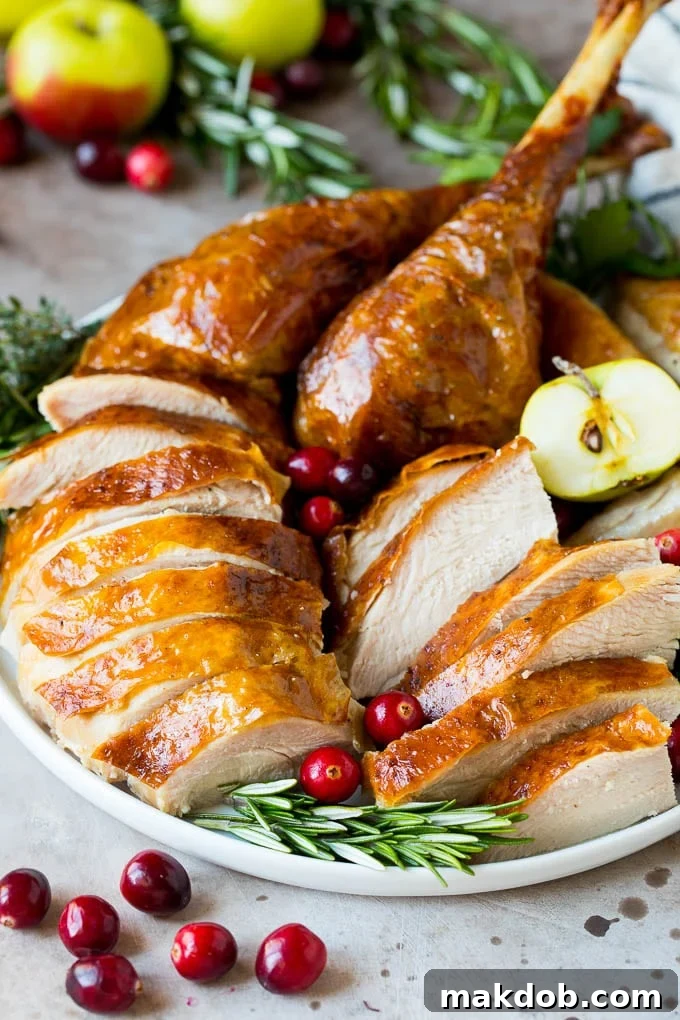
Imagine carving into a succulent turkey, each slice bursting with savory, aromatic notes. Pair your exquisitely brined turkey with an array of classic Thanksgiving side dishes for an unforgettable feast. Our favorites include classic Thanksgiving stuffing, a creamy sweet potato casserole with crunchy pecans, tangy homemade cranberry sauce, and glistening glazed carrots, all designed to complement the rich flavor of your brined bird.
Table of Contents
- The Science Behind Brining a Turkey
- Essential Turkey Brine Ingredients
- Step-by-Step: How To Brine A Turkey
- Choosing Your Turkey’s Cooking Method
- Expert Tips for a Perfect Turkey Brine
- Quick Brining Tip
- FAQs About Brining Turkey
- Creative Flavor Variations for Your Brine
- Best Turkey Dinner Side Dishes
- The Ultimate Turkey Brine Recipe
The Science Behind Brining a Turkey
Before diving into the recipe, let’s understand why brining works its magic. Brining is essentially a process of osmosis and denaturing proteins. When a turkey is submerged in a saltwater solution (brine), two key things happen:
- Osmosis: The turkey meat absorbs liquid from the brine. Because the brine has a higher concentration of salt and dissolved solids than the turkey’s natural juices, water and flavor molecules are drawn into the cells of the meat. This extra moisture helps keep the turkey juicy during cooking, even if it’s slightly overcooked.
- Protein Denaturation: The salt in the brine also begins to break down some of the muscle proteins in the turkey. This process causes the muscle fibers to loosen and unwind, allowing them to retain more moisture and preventing them from seizing up and becoming tough when exposed to heat. The result is a more tender texture.
Beyond moisture and tenderness, the dissolved salt and other aromatics in the brine penetrate deep into the meat, seasoning it from the inside out. This means every bite of your brined turkey will be flavorful, not just the surface.
Essential Turkey Brine Ingredients
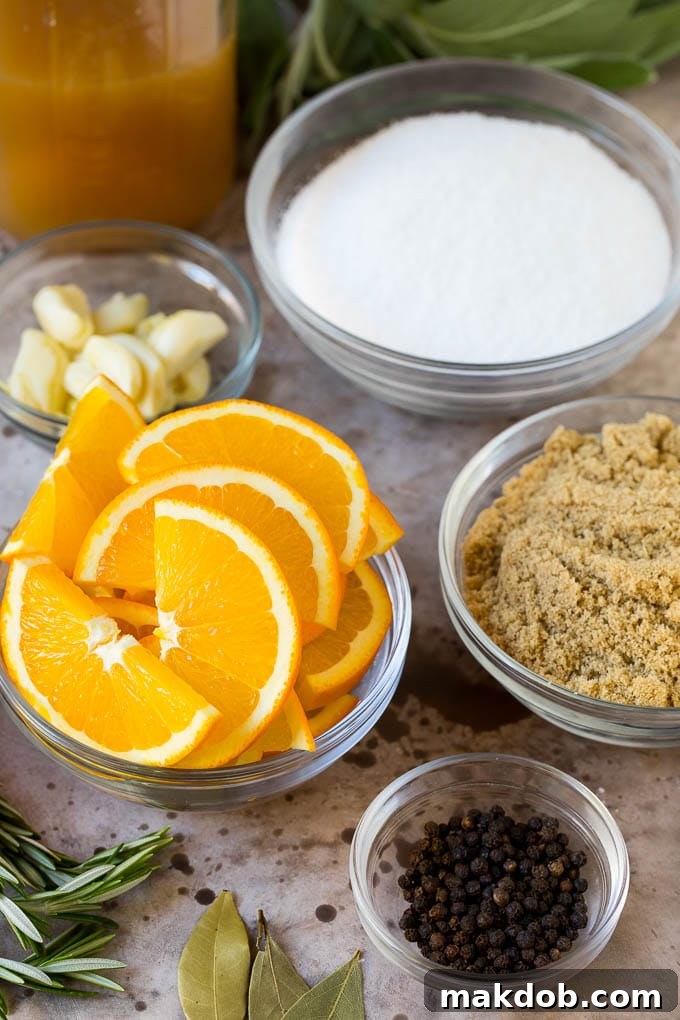
To craft this exceptional turkey brine, you will need a harmonious blend of liquids, salts, sugars, and aromatic spices. Our signature recipe calls for apple cider, cold water, kosher salt, brown sugar, garlic cloves, black peppercorns, oranges, rosemary sprigs, bay leaves, and sage sprigs.
- Apple Cider: It’s vital to use actual apple cider – the unfiltered apple juice beverage – not apple cider vinegar. Apple cider contributes a subtle sweetness and a fruity aroma that beautifully complements turkey. Its naturally darker hue and richer flavor profile come from unfiltered apple juice. If apple cider is unavailable, good quality apple juice can serve as a suitable substitute, though the depth of flavor might vary slightly.
- Cold Water: The base of your brine, cold water helps dissolve the solids and keeps the turkey at a safe temperature before cooking.
- Kosher Salt: This is our preferred salt for brining due to its larger crystal size and lack of iodine, which can sometimes impart a metallic taste. Kosher salt dissolves well and provides a balanced salinity without overpowering other flavors. If you must use regular table salt, remember to reduce the quantity by one-third, as its finer crystals make it much denser and saltier by volume.
- Brown Sugar: Beyond sweetness, brown sugar aids in the Maillard reaction during cooking, contributing to a beautiful golden-brown skin on your turkey. It also balances the saltiness of the brine, adding a subtle caramel note.
- Garlic Cloves: Garlic is a powerhouse of flavor. For this recipe, simply remove the papery skins and gently smash the garlic cloves with the flat side of a knife. You want them bruised and slightly broken to release their aromatic oils, but generally intact so they can be easily removed later.
- Black Peppercorns: While any peppercorns can be used, whole black peppercorns provide a classic, pungent warmth to the brine. There’s no need for expensive varieties here, as they will be discarded with the brine.
- Oranges: Fresh orange slices, including the peel, infuse the brine with bright, citrusy notes. The zest contains essential oils that add a wonderful aroma and complexity. Cut them into half-moon shapes for maximum surface area exposure.
- Rosemary Sprigs: Fresh rosemary offers a robust, piney aroma that is quintessential for poultry.
- Bay Leaves: These dried leaves add a subtle, herbaceous background note that enhances the overall savory profile.
- Sage Sprigs: Sage, with its earthy and slightly peppery flavor, is another classic pairing for turkey, bringing depth and warmth to the brine.
Step-by-Step: How To Brine A Turkey
The brining process is straightforward, but attention to detail ensures a safe and delicious outcome. Follow these steps to prepare your turkey for perfection:
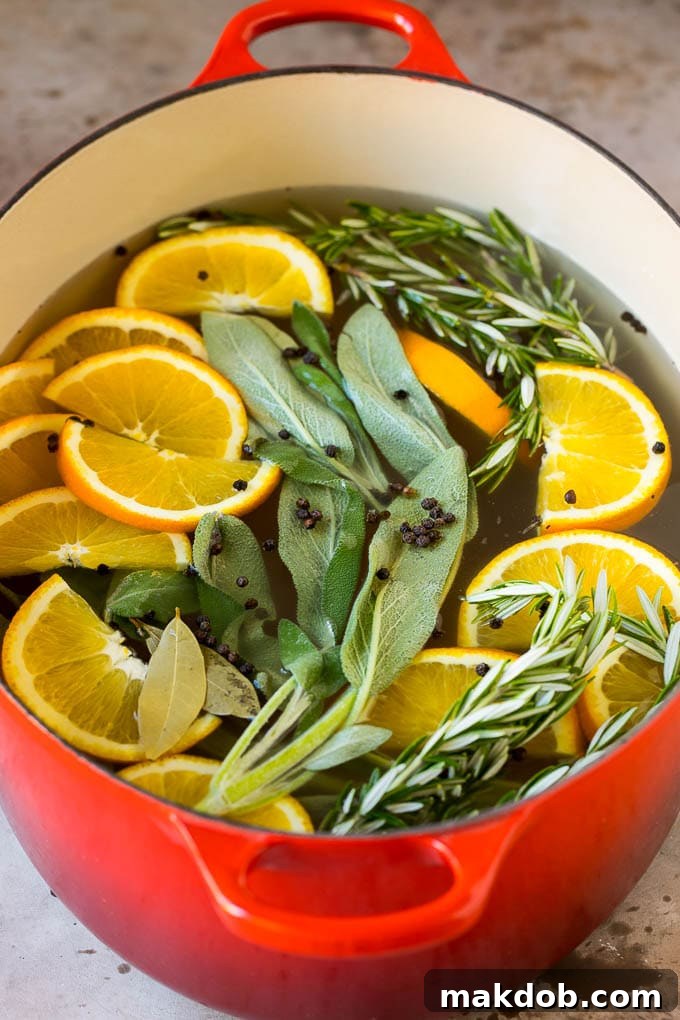
- Prepare the Wet Brine: Begin by combining the apple cider, brown sugar, kosher salt, two gallons of cold water, black peppercorns, smashed garlic cloves, sliced oranges, rosemary sprigs, bay leaves, and sage sprigs in a very large stockpot or an oven-safe pot. Place the pot over medium heat and bring the mixture to a gentle simmer.
- Dissolve & Infuse: Allow the mixture to simmer for just a few minutes, stirring occasionally, until the salt and brown sugar are completely dissolved. This brief simmering helps to fully dissolve the solids and allows the aromatic ingredients to infuse their flavors more deeply into the liquid.
- Cool Completely: This is a critical safety step. Turn off the heat and let the brine liquid cool down to room temperature, and ideally, even colder (below 40°F / 4°C). You absolutely cannot place a raw turkey into warm brine, as this creates a dangerous environment for bacterial growth. If you need to speed up cooling, you can add a large bag of ice directly to the brine after it has cooled significantly, or use ice packs.
- Prepare the Turkey: While the brine cools, ensure your turkey is properly prepared. Remove the giblets and neck from both cavities of the turkey. Pat the turkey thoroughly dry with paper towels, inside and out. This helps the skin crisp up beautifully later.
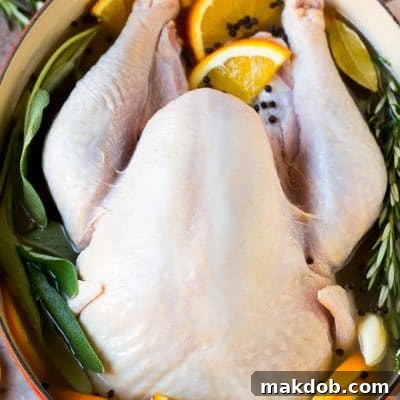
- Submerge the Turkey: Once the brine is completely chilled, transfer it to a large container or a specialized brining bag that is big enough to fully submerge your turkey. Carefully place the turkey into the brine, ensuring it is completely covered by the liquid. You may need to use a plate or a weight to keep the turkey submerged.
- Refrigerate: Place the container with the brined turkey in the refrigerator. Allow the turkey to soak in the salt solution for 18 to 24 hours. For an average-sized fresh or thawed turkey, aiming for 24 hours often yields the best results. For larger birds or partially frozen turkeys, you might extend this by an additional 12-24 hours.
- Rinse and Dry: After the brining period, carefully remove the turkey from the liquid. Discard the brine, as it has been in contact with raw poultry. Rinse the turkey thoroughly under cold running water to remove any excess salt or surface herbs. This step is crucial for preventing an overly salty flavor and ensuring crispy skin.
- Pat Dry: Using fresh paper towels, pat the turkey completely dry, inside and out. A dry surface is key to achieving that coveted golden, crispy skin. Remove any remaining herb pieces from the turkey’s surface.
- Cook as Desired: Your turkey is now perfectly prepped and ready for cooking! Proceed with your preferred cooking method, knowing that your bird is primed for tenderness and flavor.
Choosing Your Turkey’s Cooking Method
After the brining process has worked its magic, the world is your oyster when it comes to cooking your turkey. Brining enhances nearly every method, delivering a moist and flavorful result no matter how you choose to prepare it. I have a variety of trusted methods that consistently produce fantastic results:
- Herb Roasted Turkey: A timeless classic, enhanced by brining for extra moisture and aroma.
- Cajun Turkey: For those who love a bit of a kick, brining ensures a juicy interior to balance the bold spices.
- Spatchcock Turkey: Flattening the turkey allows for faster, more even cooking, and a brined spatchcock turkey is exceptionally tender.
- Deep Fried Turkey: Brining is practically essential for fried turkey, preventing it from drying out in the high heat and locking in flavor.
- Smoked Turkey: The low and slow cooking of smoking combined with brining creates an incredibly moist and smoky bird. If you plan to smoke your turkey, consider our dedicated smoked turkey brine recipe.
If you prefer to cook only a turkey breast, brining still offers tremendous benefits. Here are some great turkey breast recipes:
- Slow Cooker Turkey Breast
- Instant Pot Turkey Breast
- Smoked Turkey Breast
- Grilled Turkey Breast
- Roasted Turkey Breast
Expert Tips for a Perfect Turkey Brine
Achieving a perfectly brined turkey is simple with these expert tips:
- Temperature Control is Paramount: It’s absolutely crucial that you allow the brine liquid to cool completely before submerging your raw turkey. Introducing a turkey into warm or even lukewarm brine creates a hazardous zone for bacterial growth, potentially spoiling your bird. To expedite the cooling process, once the brine has simmered and cooled somewhat, you can add a generous handful of ice cubes directly to the liquid. Stir until the ice melts and the brine is thoroughly chilled.
- Choosing the Right Container: Finding a container large enough to comfortably hold a turkey and several gallons of liquid can be a challenge. The simplest and most convenient solution is to invest in specialized brining bags. These heavy-duty, food-safe bags are readily available online or at most kitchen supply stores. They seal shut, minimize mess, and are disposable, making cleanup a breeze. For added support and stability, place the brining bag inside a large stockpot or a clean cooler to hold its shape and facilitate easy transport to the refrigerator.
- Kosher Salt vs. Table Salt: This recipe specifically calls for kosher salt. Kosher salt has a larger crystal structure and lacks iodine, offering a cleaner, more balanced flavor compared to table salt. If your pantry only contains table salt, you must reduce the amount by one-third (e.g., if the recipe calls for 1.5 cups of kosher salt, use 1 cup of table salt). This adjustment is critical because table salt is much denser by volume and can result in an overly salty turkey if not measured correctly.
- Consider a Dry Brine: If the thought of managing a large container of liquid and a whole turkey feels daunting, a dry brine is an excellent alternative. Dry brining involves rubbing the turkey with a salt and seasoning mixture and letting it rest in the refrigerator. While it works differently, it also yields a wonderfully seasoned and juicy bird without the liquid mess.
- Utilize Pan Drippings: Don’t let those flavorful pan drippings go to waste! The juices collected from your cooked turkey are the perfect base for making a rich, savory homemade turkey gravy to accompany your meal.
- Brine the Turkey Unstuffed: Always brine your turkey unstuffed. Stuffing can absorb too much salt from the brining process and may not cook evenly, posing a food safety risk. Stuff the turkey just before roasting, if desired, or cook the stuffing separately.
- Ensure Proper Refrigeration: Throughout the entire brining period, the turkey must remain at a safe temperature below 40°F (4°C). Use a meat thermometer to check the brine’s temperature if you are unsure. A large cooler packed with ice can serve as a temporary refrigeration solution if your refrigerator space is limited, but ensure the ice is refreshed regularly to maintain temperature.
- Turkey Size and Brine Volume: This recipe is generally suitable for a 12-16 pound turkey. For significantly larger birds, you might need to increase the brine ingredients proportionally to ensure full submersion.
Quick Brining Tip
Always double-check your ingredients! Be sure to use apple cider, the sweet drinking beverage, and not apple cider vinegar. The vinegar will impart a harsh, acidic flavor unsuitable for brining. If true apple cider is hard to find, plain apple juice can be used as a simple and effective substitute.
FAQs About Brining Turkey
Absolutely, brining a turkey is unequivocally worth the effort! A turkey that has been soaked in a properly balanced salt solution becomes significantly more flavorful and is far less prone to drying out during cooking. The meat absorbs some of the brining liquid, which is precisely why it emerges incredibly juicy and moist. This inherent moisture acts as a buffer, ensuring your turkey remains tender even if it’s accidentally overcooked slightly. Furthermore, the absorption of the brining solution means the bird is seasoned all the way through, resulting in a complex flavor profile that delivers the perfect amount of salt and spices in every single bite.
Yes, it is highly recommended that you thoroughly rinse your turkey under cold running water after it comes out of the brine. This step is crucial to remove any excess salt or residual herbs from the surface of the bird. After rinsing, be sure to pat the turkey completely dry with paper towels. A dry surface is key to achieving that desirable crispy, golden-brown skin when the turkey roasts in the oven.
While your turkey will be seasoned throughout from the brine, you can still add surface seasonings for extra flavor and a beautiful crust. I often coat my brined turkey with a mixture of softened butter, minced garlic, fresh herbs (like rosemary or thyme), and a blend of spices. However, it’s generally best to avoid adding any significant amount of extra salt to the turkey itself. If you do add salt, keep it to a very minimal amount, such as a mere 1/2 teaspoon or less, mixed with other seasonings, to prevent an overly salty final product.
You can certainly brine most store-bought turkeys, but there’s a crucial step to take first: carefully read the label. Many commercial turkeys are already “pre-brined” or “self-basting,” meaning they have been injected with a saltwater or flavor solution. If the label indicates that the turkey contains added salt, saline solution, or broth, you should skip the brining process entirely. Brining an already-treated turkey will result in an excessively salty bird that is unpleasant to eat.
Yes, you can use a frozen turkey with this brining technique, but it requires a slightly different approach. A frozen turkey will need a significantly longer period in the brining liquid compared to a fresh or fully thawed bird. This extended time allows the turkey to completely defrost while simultaneously absorbing the flavors of the brine. Depending on the size of your bird, you’ll want to add an extra day or two onto the typical 18-24 hour brining process. Ensure the turkey is fully thawed and pliable before cooking.
For an average-sized fresh or fully thawed turkey (typically 12-16 pounds), it should be submerged in the brining liquid for approximately 18 to 24 hours. This duration allows sufficient time for the salt and flavors to penetrate the meat, ensuring maximum tenderness and juiciness. Whenever possible, I personally aim for the full 24-hour brining period to achieve the most pronounced and desirable results.
FOLLOW ME
Creative Flavor Variations for Your Brine
Our featured recipe provides a fantastic base brine, but it’s also incredibly versatile, allowing you to customize the flavors to perfectly match your culinary preferences and your holiday theme. Feel free to experiment with these variations to make your turkey truly unique:
- Herbs: While sage and rosemary are classic choices, consider exploring other fresh herbs. Fresh parsley, with its vibrant green notes, or earthy thyme, or even the delicate floral hints of marjoram can dramatically alter the brine’s aromatic profile.
- Sweetener: Brown sugar adds a lovely caramel depth, but you can easily swap it out for other sweeteners. Rich honey introduces a unique floral sweetness, while pure maple syrup offers a distinct earthy, autumnal flavor that pairs beautifully with turkey.
- Spices: Broaden your spice horizons! Incorporate warm, aromatic whole spices such as cinnamon sticks for a festive touch, allspice berries for a complex, clove-like essence, star anise for a touch of licorice, or earthy fennel seeds. Toasting whole spices briefly before adding them to the simmering brine can further intensify their flavors.
- Citrus: Oranges provide a wonderful brightness, but lemons are another fantastic citrus option. Use lemon slices instead of, or in addition to, your orange slices for a sharper, zesty kick that cuts through the richness of the turkey.
- Liquids: For an even deeper flavor, consider replacing some of the cold water with chicken or vegetable broth. For a truly indulgent brine, some chefs even add a dry white wine or hard cider, allowing the alcohol to enhance the flavor penetration.
- Heat: If you enjoy a touch of warmth, add a few dried chili flakes, a sliced jalapeño, or even a whole dried chipotle pepper to the brine for a subtle, smoky heat.
Once you experience the unparalleled tenderness, juiciness, and complex flavors of a turkey prepared with this brining technique, you’ll discover that there’s simply no other way you’ll want to make your holiday bird!
Best Turkey Dinner Side Dishes
Southern Cornbread Dressing
1 hr 15 mins
Candied Yams Recipe
55 mins
Honey Roasted Carrots
35 mins
Cranberry Relish
11 mins
Thanksgiving Salad
16 mins
The Ultimate Turkey Brine Recipe
How to Brine a Turkey – Turkey Brine Recipe
Pin
Time
Ingredients
- 2 cups apple cider (the juice, not apple cider vinegar)
- 2 gallons cold water
- 1 1/2 cups kosher salt
- 1 cup light brown sugar
- 8 cloves garlic (smashed)
- 2 tablespoons peppercorns
- 2 oranges (thinly sliced)
- 5 rosemary sprigs
- 3 bay leaves
- 4 sage sprigs
Instructions
-
In a large stockpot, combine all brine ingredients (apple cider, water, kosher salt, brown sugar, garlic, peppercorns, oranges, rosemary, bay leaves, and sage). Place over medium heat.
-
Bring the mixture to a gentle simmer. Cook for 2-3 minutes, stirring occasionally, until the salt and sugar have completely dissolved.
-
Remove the pot from the heat and allow the brine mixture to cool down completely to a safe temperature (below 40°F / 4°C) before proceeding. You can add ice to speed this up.
-
Once chilled, pour the brine into a large container or a specialized brining bag that can fully accommodate your turkey.
-
Submerge a whole, thawed turkey into the brine solution, ensuring it is completely covered. Refrigerate for 18-24 hours.
-
When ready to cook, remove the turkey from the brine. Discard the brine. Rinse the turkey thoroughly with cool water and pat it completely dry with paper towels, both inside and out. Remove any remaining herbs.
-
Proceed with your chosen turkey cooking method, confident that your bird will be tender, juicy, and flavorful.
Notes
- It’s crucial to let the brine liquid cool completely before adding the turkey. Submerging raw poultry in warm brine can create unsafe conditions for bacterial growth. If you’re short on time, add a generous amount of ice cubes to the room-temperature brine to chill it quickly.
- Finding a container large enough to hold a turkey and its brine can be tricky. Brining bags are an excellent solution. These disposable bags are available online or in kitchen stores, seal securely, and make cleanup minimal. For stability, you can place the brining bag inside a large pot or a clean cooler.
- Always check your turkey’s label. If it’s already pre-brined or injected with a solution, skip this brining recipe to avoid an overly salty bird.