
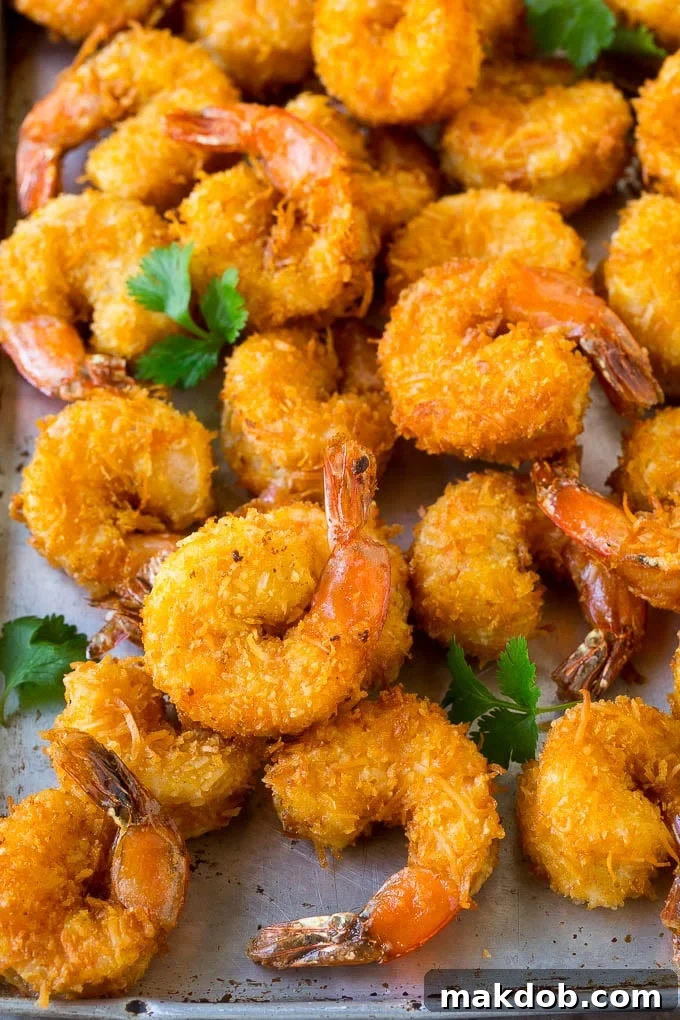
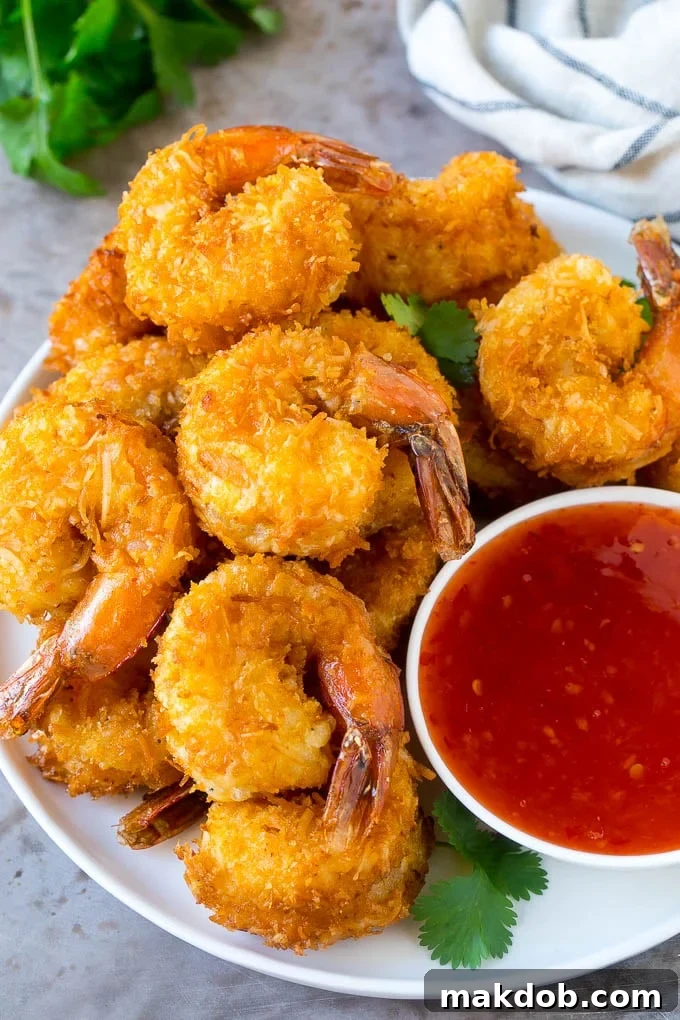
Welcome to the ultimate guide for creating irresistible homemade coconut shrimp – a dish so tantalizing, it will transport your taste buds straight to a tropical paradise. These jumbo shrimp are encased in a delightful sweet and savory coating, then deep-fried to achieve a golden-brown, crispy perfection that rivals any restaurant appetizer. Forget the takeout; making this restaurant-style delicacy at home is surprisingly simple and incredibly rewarding.
There’s immense satisfaction in recreating beloved restaurant dishes in your own kitchen. Beyond these succulent coconut shrimp, I’ve enjoyed perfecting appetizer recipes like zesty garlic parmesan wings, creamy crab rangoon, and fresh chicken lettuce wraps. But among them all, coconut shrimp holds a special place, offering a unique blend of textures and flavors that is truly addictive. You’ll soon discover that the homemade version often surpasses what you find in eateries, offering a freshness and customizable flavor profile that’s simply unparalleled.
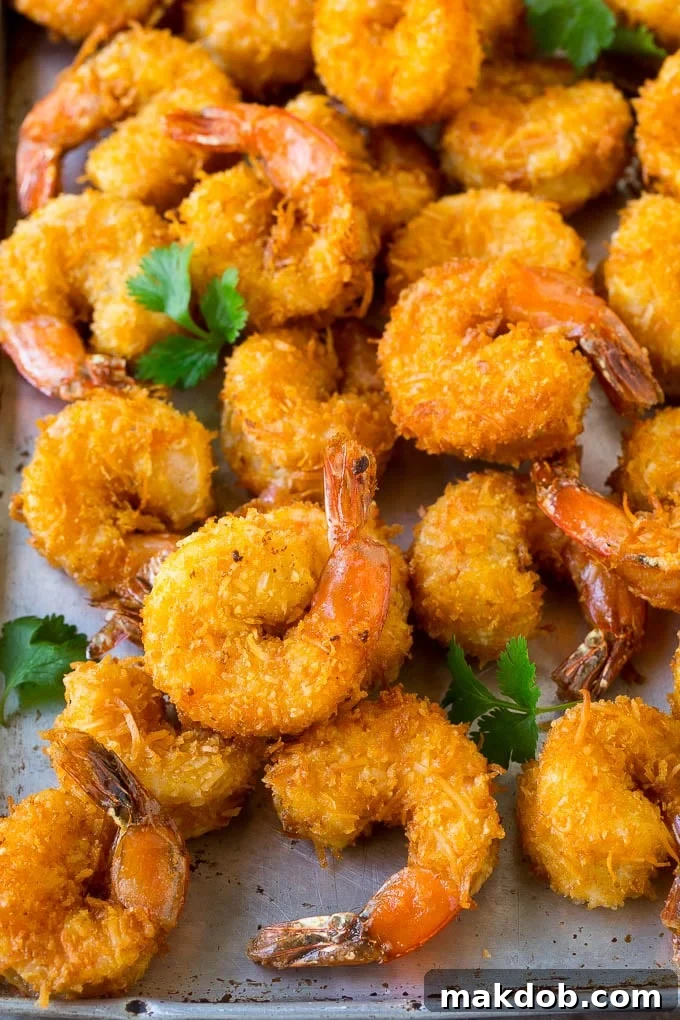
Coconut shrimp has long been one of my ultimate culinary indulgences. The moment I spot it on a menu, I know it’s a must-order! The good news is, achieving that perfectly crispy and flavorful shrimp at home is far easier than you might imagine. In fact, by controlling the quality of your ingredients and following a few simple steps, you can create a dish that not only satisfies your cravings but often tastes even better than its restaurant counterpart. This recipe promises a delightful crunch, tender shrimp, and that signature tropical sweetness that makes coconut shrimp so beloved.
Table of Contents
- Why You’ll Love This Coconut Shrimp Recipe
- Essential Coconut Shrimp Ingredients
- How to Master Coconut Shrimp at Home: A Step-by-Step Guide
- Preparing Your Shrimp for Perfection
- The Perfect Breading Station
- Achieving Golden-Brown Crispy Fried Shrimp
- Expert Tips for the Best Coconut Shrimp
- Frequently Asked Questions (FAQs) About Coconut Shrimp
- Alternative Cooking Methods
- Baked Coconut Shrimp: A Lighter Option
- Air Fryer Coconut Shrimp: Crispy & Convenient
- More Irresistible Shrimp Recipes
- Love This Recipe?
- Coconut Shrimp Recipe
Why You’ll Love This Coconut Shrimp Recipe
Beyond being a show-stopping appetizer, this homemade coconut shrimp recipe offers several compelling reasons to make it your new go-to:
- Unmatched Taste & Texture: The combination of plump, succulent shrimp with a perfectly crisp, sweet, and savory coconut-panko coating is simply divine. Each bite delivers a burst of flavor and a satisfying crunch that makes it utterly irresistible.
- Surprisingly Easy to Make: Don’t be intimidated by deep frying! With clear, step-by-step instructions and a few expert tips, you’ll find that making restaurant-quality coconut shrimp at home is quite manageable, even for novice cooks.
- Versatile Serving Options: Whether you’re looking for an impressive party appetizer, a delightful snack, or a unique main course, coconut shrimp fits the bill. It pairs wonderfully with a variety of dipping sauces and side dishes.
- Freshness You Can Trust: When you make it yourself, you control the ingredients. You can choose the freshest shrimp and high-quality coconut, ensuring a superior taste that pre-made or frozen options simply can’t match.
Essential Coconut Shrimp Ingredients
Crafting the perfect batch of coconut shrimp begins with selecting the right ingredients. For this delightful recipe, you will need:
- Large or Jumbo Shrimp: The star of our dish! Opt for large or jumbo shrimp (16/20 count per pound is ideal) for a substantial bite. Fresh or frozen (thawed) shrimp work well, just ensure they are peeled and deveined, leaving the tails on for presentation and easy handling.
- All-Purpose Flour: Forms the initial dry layer, helping the egg wash adhere to the shrimp. A light dusting is all you need.
- Salt and Black Pepper: Basic seasonings to enhance the natural flavor of the shrimp and the coating.
- Eggs: Beaten eggs act as the “glue,” binding the flour to the coconut-panko mixture.
- Finely Shredded Coconut: This is where the signature tropical flavor comes from. You can use sweetened or unsweetened flakes. Sweetened coconut adds an extra layer of sweetness that beautifully complements the savory shrimp and spicy dipping sauce.
- Panko Breadcrumbs: The secret to an extra crispy coating! Panko breadcrumbs are lighter and flakier than traditional breadcrumbs, resulting in a much crispier texture when fried.
- Oil for Frying: Choose a neutral-flavored oil with a high smoke point, such as peanut oil, vegetable oil, canola oil, or grapeseed oil. The quantity will depend on your pot size, but you’ll need a few inches for deep frying.
- Sweet Chili Sauce: The quintessential dipping sauce for coconut shrimp. Its sweet and mildly spicy notes perfectly cut through the richness of the fried shrimp.
- Cilantro (Optional): For a fresh garnish and a hint of herbaceous flavor.
How to Master Coconut Shrimp at Home: A Step-by-Step Guide
Creating crispy, golden coconut shrimp is a straightforward process when you follow these clear steps. The key is setting up an efficient dredging station and maintaining optimal oil temperature for frying.
Preparing Your Shrimp for Perfection
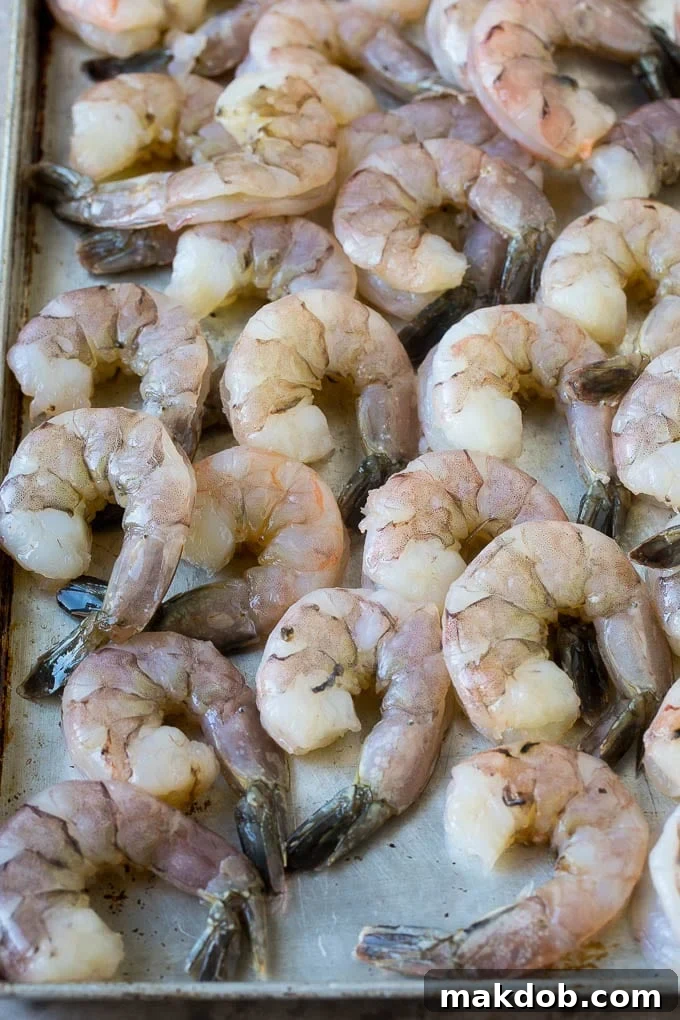
Before you even think about breading, proper shrimp preparation is crucial. If starting with raw, shell-on shrimp, carefully peel them, making sure to leave the tails intact. The tail serves a dual purpose: it acts as a convenient handle for picking up and enjoying your shrimp, and it adds to the aesthetic appeal of the dish. Next, you’ll need to devein the shrimp. This involves making a shallow incision along the back of each shrimp with a small paring knife and removing the dark, string-like vein. While not harmful, removing the vein improves the texture and appearance. If you’ve opted for pre-peeled and deveined shrimp, you can skip these steps and proceed directly to the breading process.
The Perfect Breading Station
A well-organized breading station makes the coating process smooth and mess-free. Set up three shallow bowls in a row:
- In the first bowl, combine your all-purpose flour with salt and black pepper. Whisk these together until fully integrated.
- In the second bowl, lightly beat the eggs until the yolks and whites are fully combined.
- In the third bowl, mix the panko breadcrumbs with the shredded coconut. Ensure they are thoroughly blended for an even coating.
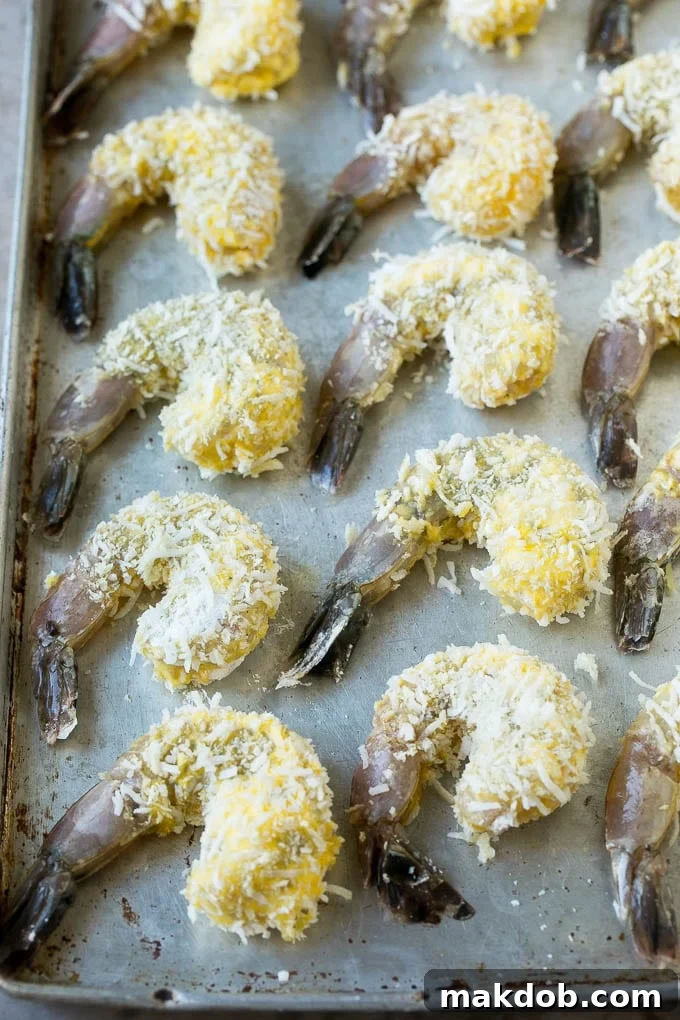
Now, take each shrimp and follow this sequence: first, dip it into the flour mixture, ensuring it’s lightly coated and shaking off any excess. Next, immerse it in the beaten egg, letting any extra drip off before moving to the final step. Finally, dredge the shrimp in the panko and coconut mixture, pressing gently to ensure a thick, even layer. Place each breaded shrimp on a clean sheet pan and repeat until all the shrimp are coated and ready for frying. This assembly line approach ensures every shrimp is perfectly prepared.
Achieving Golden-Brown Crispy Fried Shrimp
For deep frying, select a sturdy, deep pot or Dutch oven and add a few inches of your chosen cooking oil. Heat the oil over medium-high heat until it reaches the ideal temperature. A key to perfectly fried shrimp is precise temperature control. Ideally, you want your oil to be between 350 and 375 degrees F (175-190 degrees C). A kitchen thermometer is invaluable here. If the oil is too hot, the coating will burn before the shrimp cooks through; if too cold, the breading will absorb too much oil, resulting in greasy, soggy shrimp.
Once the oil is at temperature, carefully add the breaded shrimp in batches, ensuring not to overcrowd the pot. Overcrowding lowers the oil temperature and can lead to uneven cooking. Fry the shrimp for approximately 3-4 minutes per batch, or until they turn a beautiful golden brown and the shrimp are cooked through. The cooking time is relatively short as shrimp cook quickly. As each batch finishes, use a slotted spoon or spider to transfer the shrimp to a plate lined with paper towels to drain any excess oil. This step is crucial for maintaining crispiness. Repeat this process until all your delicious coconut shrimp are cooked. Serve them immediately while they are still hot and crispy, accompanied by your favorite dipping sauce, and get ready to enjoy a truly delectable meal or appetizer.
Expert Tips for the Best Coconut Shrimp
Elevate your homemade coconut shrimp from great to absolutely extraordinary with these insider tips and tricks:
- Shrimp Size Matters: For the most satisfying bite, invest in the largest shrimp you can find and afford. Jumbo shrimp (approximately 16/20 count per pound) are highly recommended. Larger shrimp stay plump and juicy inside their crispy coating, creating a more enjoyable eating experience.
- Embrace Panko Power: This recipe specifically calls for panko breadcrumbs, which are a game-changer for achieving ultimate crispiness. Unlike traditional breadcrumbs, panko flakes are larger, lighter, and absorb less oil, resulting in a distinctly airy and crunchy texture. You can typically find them in the Asian aisle of most grocery stores.
- Sweetened or Unsweetened Coconut: The choice between sweetened and unsweetened shredded coconut flakes depends on your preference. I personally lean towards sweetened coconut as it enhances the tropical sweetness that balances the savory shrimp so well. However, if you prefer a less sweet profile, unsweetened will work perfectly fine, allowing the natural flavor of the shrimp and the dipping sauce to shine more prominently.
- Versatile Serving Suggestions: While undeniably a fantastic appetizer, coconut shrimp can easily transition into a delightful main course. Pair it with Asian-inspired sides such as flavorful spam fried rice, a vibrant buddha’s delight vegetable stir-fry, or classic sushi rice for a complete and satisfying meal. For a lighter option, a fresh green salad or a simple cabbage slaw would be excellent.
- Dipping Sauce Delights: The classic accompaniment is Thai sweet chili sauce, found in the ethnic foods aisle of your local grocery store or any Asian market. Its sweet, tangy, and subtly spicy profile is a perfect match. Don’t limit yourself, though! Get creative with other dipping options like a tangy sweet and sour sauce, a bright orange marmalade, a tropical pineapple preserves, or even a homemade mango salsa.
- Smart Storage and Reheating: If you happen to have leftovers (a rare occurrence with this dish!), store them in an airtight container in the refrigerator for up to 2 days. To bring back their crispy glory, reheat the shrimp in a preheated oven at 425 degrees F (220 degrees C) for 5-7 minutes, or until thoroughly heated and crispy again. Avoid the microwave, as it will make them soggy.
- Optimal Oil Selection and Temperature: Always use a neutral flavored oil with a high smoke point for deep frying, such as peanut oil, vegetable oil, or canola oil. These oils can withstand the high temperatures required without imparting unwanted flavors or breaking down. Consistent oil temperature is paramount; too hot, and the coating will burn before the shrimp cooks; too cold, and the shrimp will be greasy.
- The Art of Coating: After dipping the shrimp in the egg wash, ensure you let any excess egg drip off completely before transferring them to the coconut-breadcrumb mixture. This prevents clumpy breading and ensures a thin, even, and ultimately crispier coating.
Quick Tip: Oil Temperature Control
Always use a reliable thermometer to monitor and maintain your oil’s temperature. The sweet spot for perfectly crispy coconut shrimp is between 350 and 375 degrees F (175-190 degrees C). If your oil is too hot, the delicate coconut coating can burn rapidly, leaving the inside undercooked. Conversely, if the oil is too cold, the breading will absorb excessive amounts of oil, resulting in a heavy, greasy, and unpleasant texture.
Frequently Asked Questions (FAQs) About Coconut Shrimp
To peel shrimp, begin at the bottom where the legs are attached and gently pull away the shell. For this recipe, it’s best to leave the tail segment on, as it provides a convenient handle for eating and enhances the presentation. To devein, make a shallow cut along the curved back of each shrimp with a small paring knife. This exposes the dark, gritty vein, which you can then carefully remove. If you’ve purchased shrimp that are already peeled and deveined, you can bypass these initial preparation steps and proceed directly to breading.
Coconut shrimp typically consists of fresh shrimp coated in a three-stage breading process. First, the shrimp are lightly dusted with flour, then dipped in beaten egg, and finally generously coated in a mixture of shredded coconut and panko breadcrumbs. This delicious combination is then usually deep-fried to achieve its signature crispy, golden exterior and tender interior.
Coconut shrimp is incredibly versatile! As a starter, it shines with a variety of dipping sauces, most commonly sweet chili sauce. You could also serve it with a light side like a refreshing red cabbage slaw or a vibrant tropical pineapple salsa. For a complete meal, it pairs wonderfully with sides such as fluffy cilantro lime rice, crispy homemade french fries, or a simple green salad. The key is to balance the richness of the fried shrimp with fresh, tangy, or slightly spicy complements.
Generally, no, you do not eat the tail of the shrimp. The tail is intentionally left on for practical and aesthetic reasons. It provides a convenient handle, making it easier to pick up and dip the shrimp without getting your fingers messy. It also contributes to the visual appeal of the dish, giving it a more elegant, restaurant-style look.
FOLLOW ME
Alternative Cooking Methods
While deep frying yields the crispiest results, you can also prepare delicious coconut shrimp using alternative methods that are lighter or more convenient.
Baked Coconut Shrimp: A Lighter Option
For those seeking a healthier or less oil-intensive approach, baking your coconut shrimp in the oven is a fantastic choice. While the coating might not achieve the exact same level of deep-fried crispiness, it will still be delightfully crunchy and flavorful. To bake, arrange your breaded shrimp in a single layer on a greased baking sheet. For an extra golden hue and a bit more crisp, lightly mist the shrimp with cooking spray before baking. Preheat your oven to 425 degrees F (220 degrees C) and bake for 10-15 minutes, or until the shrimp are cooked through and the coating is beautifully browned. Flip them halfway through for even cooking.
Air Fryer Coconut Shrimp: Crispy & Convenient
The air fryer offers a wonderful middle ground, delivering impressive crispiness with significantly less oil than traditional deep frying. After coating your shrimp according to the recipe instructions, preheat your air fryer to 400 degrees F (200 degrees C). Arrange the breaded shrimp in a single layer in the air fryer basket, ensuring not to overcrowd it (you’ll need to work in batches). Air fry for 6-8 minutes, making sure to flip the shrimp halfway through the cooking process. They will emerge golden, crispy, and perfectly cooked, with a delightful crunch reminiscent of deep-fried versions.
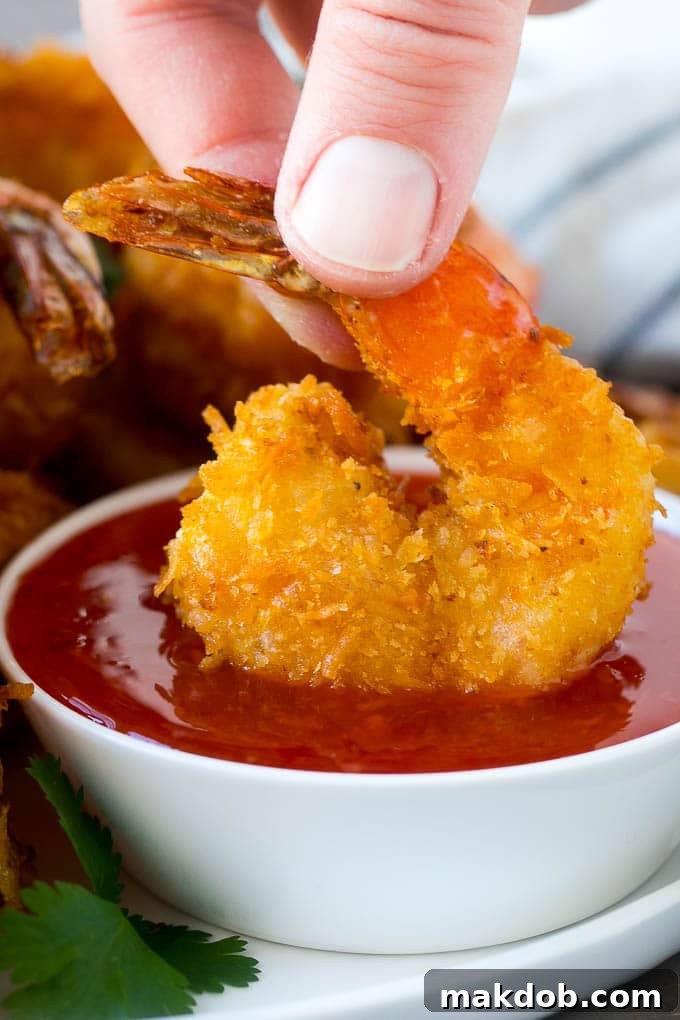
Once you experience the sheer delight of making these mouthwatering coconut shrimp from scratch, you’ll likely find yourself skipping the restaurant version entirely. The freshness, the perfect crisp-tender balance, and the customizable flavors of homemade truly set it apart. Whether you choose to serve these delectable bites as a hearty appetizer for your next gathering or as an elegant main course alongside a bed of fluffy rice, they are undeniably guaranteed to be a resounding hit with everyone who tries them. Get ready to impress and savor every golden, crunchy morsel!
More Irresistible Shrimp Recipes
Shrimp Ceviche
35 mins
Mexican Shrimp Cocktail (Coctel de Camarones)
21 mins
Shrimp Alfredo
30 mins
Jerk Shrimp Kabobs
15 mins
Shrimp Fajitas
25 mins
Love This Recipe?
Please leave a 5-star 🌟🌟🌟🌟🌟 rating in the recipe card below & a review in the comments section further down the page.
Coconut Shrimp
Pin
Save
Saved
Time
Ingredients
- 2 pounds jumbo shrimp deveined and peeled, with tails left on for handling
- 1/2 cup all-purpose flour
- 3/4 teaspoon salt
- 1/2 teaspoon black pepper
- 3 large eggs beaten
- 1 1/2 cups finely shredded coconut (sweetened for best flavor, but unsweetened works too)
- 1 cup panko breadcrumbs
- neutral-flavored oil for deep frying (e.g., vegetable, canola, or peanut oil)
- 3/4 cup sweet chili sauce for dipping
- fresh cilantro for garnish (optional)
Instructions
-
Begin by setting up your breading station. In a medium-sized bowl, combine the all-purpose flour with the specified amounts of salt and pepper. Whisk these dry ingredients together thoroughly until well combined.
-
In a second shallow bowl, crack and beat the eggs until the yolks and whites are fully integrated. In a third shallow bowl, add the finely shredded coconut and panko breadcrumbs. Mix them together thoroughly to ensure an even distribution.
-
Take each shrimp, one at a time, and first dip it into the flour mixture, shaking off any excess. Next, dip the floured shrimp into the beaten egg, allowing any surplus egg to drip back into the bowl. Finally, roll the shrimp generously in the coconut and breadcrumb mixture, pressing gently to ensure a complete and even coating. Place each fully breaded shrimp on a clean sheet pan. Continue this process until all shrimp are breaded.
-
In a deep, heavy-bottomed pot or Dutch oven, pour about 3 inches of neutral-flavored oil. Heat the oil over medium-high heat until it reaches a temperature of 350 degrees F (175 degrees C). Use a kitchen thermometer to ensure accuracy, as consistent oil temperature is crucial for crispy, non-greasy shrimp.
-
Carefully add the breaded shrimp to the hot oil, frying in batches of about 6 shrimp at a time to avoid overcrowding and dropping the oil temperature too much. Cook for 3-4 minutes per batch, or until the shrimp turn a beautiful golden brown and are cooked through.
-
Once golden and crispy, use a slotted spoon or spider to remove the cooked shrimp from the oil. Transfer them to a plate lined with paper towels to drain any excess oil. This step helps maintain their crispiness.
-
Repeat the frying and draining process with the remaining breaded shrimp until all are cooked. Serve the shrimp immediately while hot, accompanied by sweet chili sauce for dipping. Garnish with fresh cilantro leaves if desired for an extra touch of freshness. Enjoy your perfectly homemade coconut shrimp!
Notes
- Oil Temperature is Key: Always use a reliable thermometer to ensure your oil stays between 350 and 375 degrees F (175-190 degrees C). Oil that’s too hot will burn the coating, while oil that’s too cool will lead to greasy shrimp.
- Choose Jumbo Shrimp: For the most tender and satisfying bite, opt for jumbo shrimp (16/20 count per pound). Larger shrimp hold their moisture better and provide a more substantial experience with each crispy bite.
- Storage & Reheating: Leftovers can be stored in an airtight container in the refrigerator for up to 2 days. To reheat and maintain crispiness, warm them in an oven at 425 degrees F (220 degrees C) for 5-7 minutes.
- Sweetened vs. Unsweetened Coconut: While the recipe calls for sweetened coconut, unsweetened can be used if you prefer less sweetness. The sweetened variety adds a beautiful depth of flavor that complements the shrimp perfectly.
- Alternative Cooking: For a lighter version, bake shrimp at 425°F for 10-15 minutes (sprayed with cooking oil). For a quicker method, air fry at 400°F for 6-8 minutes, flipping halfway.