
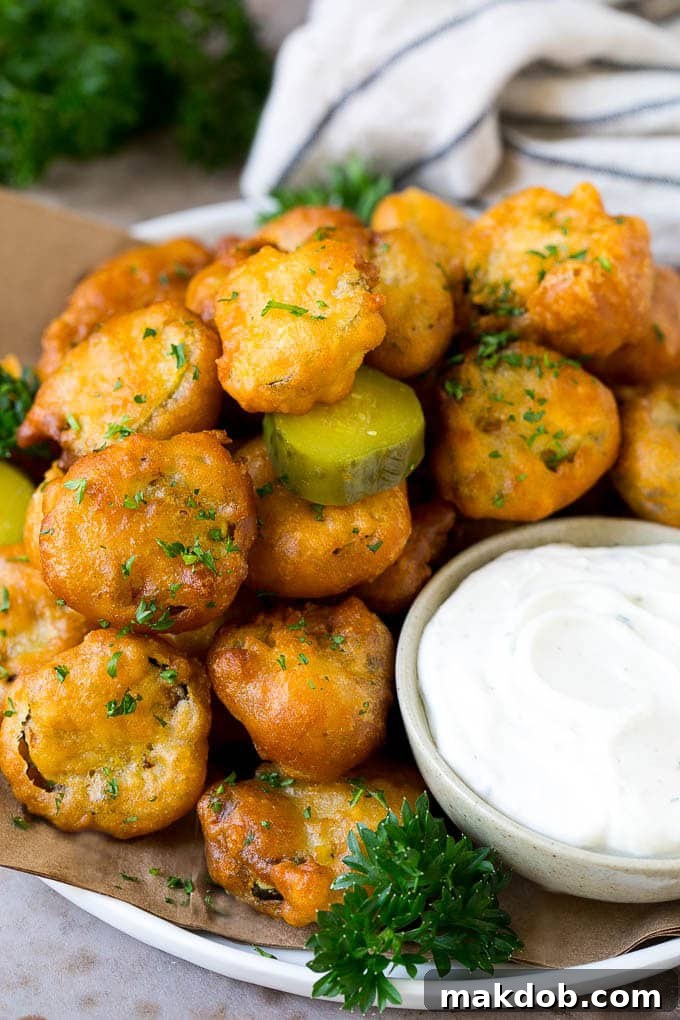
Get ready to indulge in the ultimate snack experience with this incredible fried pickles recipe! Imagine perfectly seasoned dill pickle slices, encased in a light and airy beer batter, then deep-fried until they achieve that coveted crispy, golden-brown perfection. This isn’t just an appetizer; it’s a culinary revelation that promises to be a unique and utterly unexpected crowd-pleaser, guaranteed to earn rave reviews from everyone who tries them.
For pickle enthusiasts, there’s truly nothing quite like the tangy, briny crunch of a good pickle. My personal adoration for pickles runs deep, inspiring me to explore various delightful forms, from the creamy tang of dill pickle dip to the savory indulgence of bacon-wrapped pickles. But among all these delightful creations, these irresistible deep-fried pickles hold a special place. They transform a simple pickle into an extraordinary treat, elevating it from a mere condiment to the star of your appetizer spread.
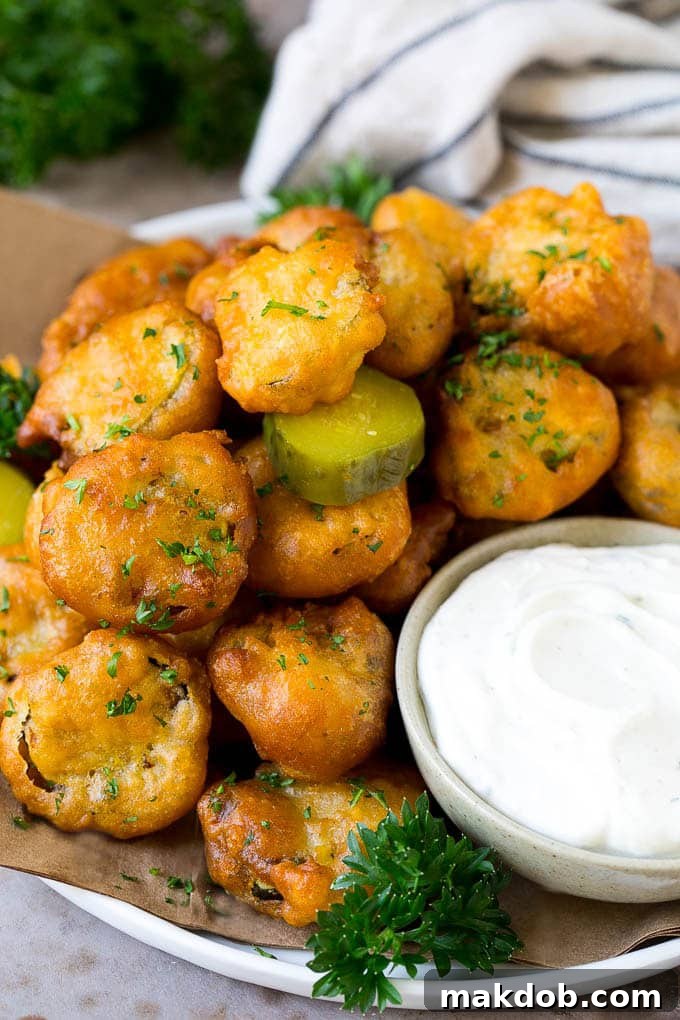
Whenever I dine out, my eyes invariably scan the appetizer menu for one particular item: fried pickles. Their unique blend of tangy, salty, and savory flavors, coupled with that irresistible crunch, is simply unmatched. Over the years, I’ve dedicated myself to perfecting this fun snack right in my own kitchen, and I can confidently say that my homemade version surpasses anything you’d find at a restaurant. There’s a certain freshness and customization that only a home-cooked fried pickle can offer, making it an experience that truly stands out. You control the quality of ingredients, the crispiness of the batter, and the seasoning to your exact preference.
These crispy fried pickles are not just a snack; they’re a centerpiece! They are absolutely perfect for any appetizer platter, creating a vibrant spread that caters to all tastes. Imagine them alongside other fantastic starters like fried okra, succulent coconut shrimp, or a warm, comforting hot spinach dip. Whether you’re hosting a game day party, a casual get-together with friends, or simply craving a satisfying snack, these deep-fried dill pickles are guaranteed to be the star of the show. They disappear almost as quickly as they’re made!
Table of Contents
- The Magic Behind Fried Pickles
- Essential Fried Pickles Ingredients
- Step-by-Step: How to Make Fried Pickles
- Pro Tips for the Perfect Fried Pickles
- Fried Pickles Recipe FAQs
- Delicious Flavor Variations
- More Irresistible Appetizer Recipes You’ll Love
- Complete Fried Pickles Recipe Card
The Magic Behind Crispy Fried Pickles
Fried pickles have long held a cherished spot in Southern cuisine, gradually captivating taste buds across the entire United States. Their appeal lies in a fascinating contradiction: the sharp, tangy burst of the pickle is beautifully mellowed and complemented by the rich, savory crunch of a perfectly fried batter. This simple preparation transforms an ordinary brined cucumber into an extraordinary hot appetizer, making it a beloved choice for gatherings, casual dining, and game-day feasts. The contrast in textures and flavors – from the soft, warm interior of the pickle to the crisp, golden exterior – is what makes them so utterly addictive and memorable.
What makes this particular fried pickles recipe stand out is the use of a light beer batter. Unlike heavier batters that can overwhelm the delicate pickle, beer batter creates an incredibly airy, delicate, yet supremely crispy coating that doesn’t overpower the pickle’s natural flavor. The carbonation in the beer works wonders, introducing tiny air pockets that expand during frying, resulting in that wonderfully light and crunchy texture we all crave. It’s a culinary trick that ensures each bite delivers a delightful crunch without feeling greasy or dense. This method is a game-changer for achieving restaurant-quality results right in your home kitchen, promising a satisfying crackle and burst of flavor with every piece.
Essential Fried Pickles Ingredients
Crafting these delectable fried pickles requires a straightforward list of ingredients, most of which you likely already have in your pantry. Each component plays a vital role in achieving that perfect balance of flavor and texture, ensuring a truly delicious outcome:
- Sliced Pickles: The star of the show! For the best texture and flavor, I highly recommend using whole dill pickles and slicing them yourself. This allows you to control the thickness, ensuring each slice is robust enough to handle the batter and frying process without becoming flimsy. Aim for a good quality, firm dill pickle.
- All-Purpose Flour: This forms the base of our crispy coating. It’s used in two crucial stages – first for a light coating on the pickles to help the liquid batter adhere, and second as the primary component for our flavorful beer batter.
- Beer: The secret weapon for a light and exceptionally crispy batter! The carbonation in the beer creates air bubbles that expand upon frying, resulting in an airy texture, while the subtle flavors of the beer add depth. For optimal results, choose a lighter-colored beer such as a lager, pilsner, or a Belgian-style wheat ale.
- Kosher Salt: Essential for seasoning the batter. It enhances the overall savory profile and perfectly balances the inherent tanginess of the pickles.
- Black Pepper: Adds a hint of warmth and a subtle, mild spice to the batter, complementing the other seasonings.
- Garlic Powder & Onion Powder: These fundamental pantry spices infuse the batter with aromatic depth and savory notes. They perfectly marry with the pickle’s flavor, creating a well-rounded and irresistible taste without overpowering the star ingredient.
- Oil for Frying: A crucial ingredient for deep-frying. Vegetable oil, canola oil, or peanut oil are excellent choices due to their high smoke points, which are necessary for frying at high temperatures. These oils ensure even cooking, a beautiful golden color, and a crisp, non-greasy exterior.
- Fresh Parsley: An optional but highly recommended garnish. A delicate sprinkle of finely chopped fresh parsley not only adds a vibrant pop of color, making your dish visually appealing, but also provides a fresh, herbaceous note that wonderfully brightens the rich, savory flavors of the fried pickles.
Step-by-Step: How to Make Crispy Fried Pickles
Making homemade crispy fried pickles is surprisingly simple and incredibly rewarding. Follow these detailed steps to achieve perfectly golden-brown, irresistible bites every single time:
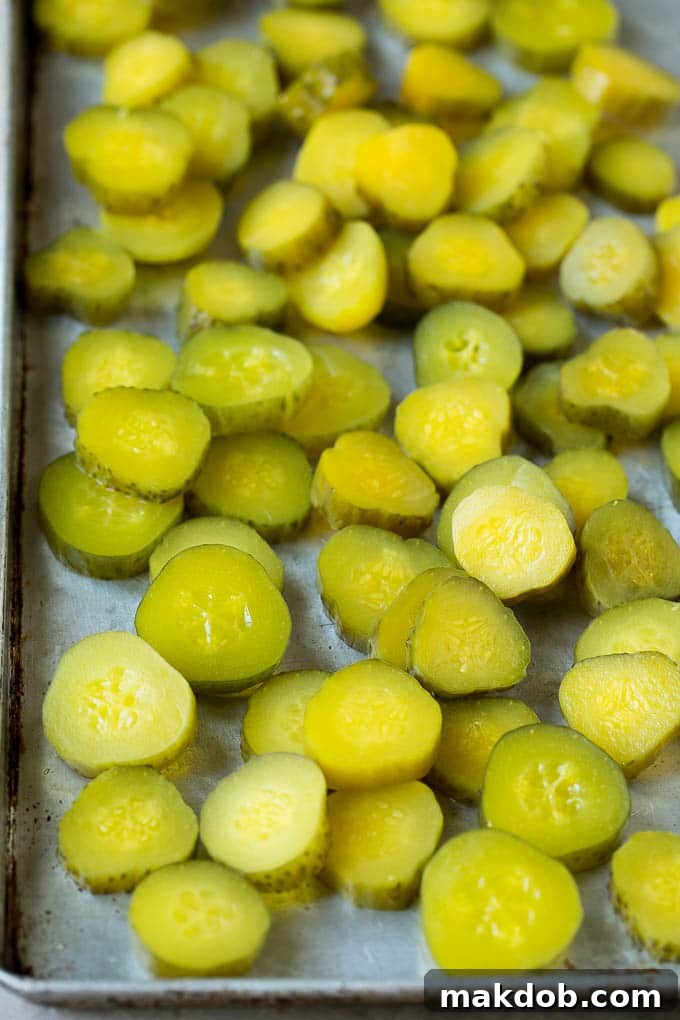
- Prepare Your Pickles: If using whole pickles, begin by carefully slicing them into uniform 3/4-inch thick rounds. This thickness is ideal for ensuring the pickle remains tender inside while the batter crisps perfectly. Lay the pickle slices thoroughly dry on several layers of paper towels and pat them vigorously. This is a crucial step; removing excess moisture prevents a soggy batter and minimizes oil splattering during frying.
- Heat the Frying Oil: Pour about 3 inches of your chosen frying oil (vegetable or peanut oil work best) into a deep, heavy-bottomed pot or Dutch oven. Attach a reliable frying thermometer to the side of the pot. Heat the oil gradually until it reaches a consistent temperature of 375°F (190°C). Maintaining this precise temperature is vital for achieving truly crispy, non-greasy fried pickles.
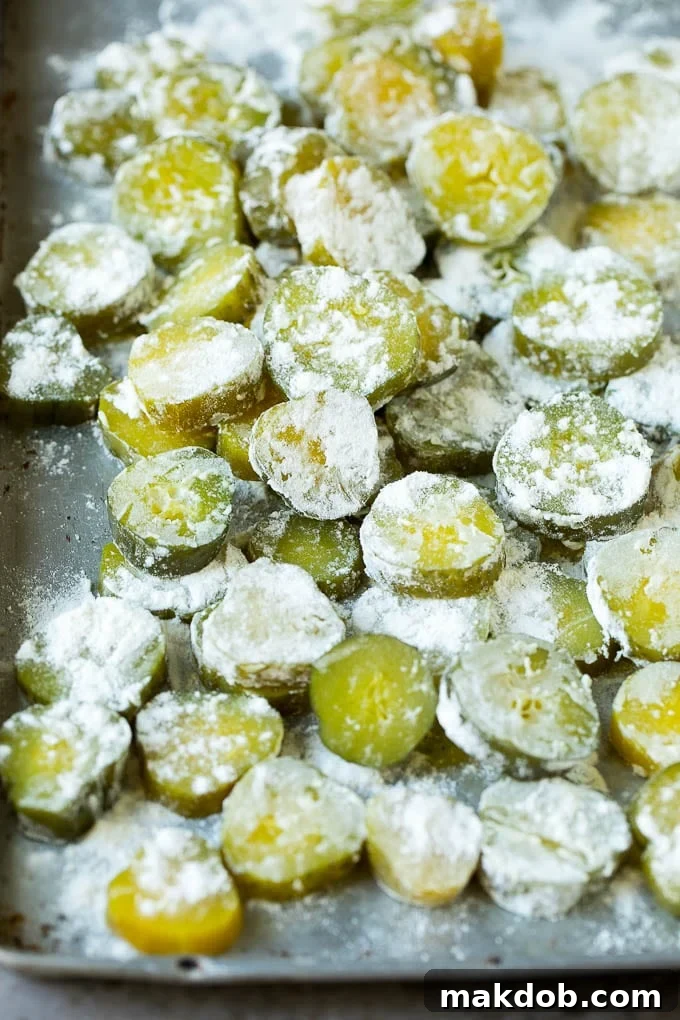
- First Flour Coating: In a shallow dish or a medium bowl, place 1/2 cup of all-purpose flour. Lightly dredge each thoroughly dried pickle slice in this flour, ensuring it’s evenly coated. Shake off any excess flour before proceeding. This initial coating provides a dry surface that helps the wet beer batter adhere more effectively.
- Prepare the Beer Batter: In a separate medium-sized mixing bowl, whisk together the remaining 1 cup of all-purpose flour, the beer, kosher salt, black pepper, garlic powder, and onion powder. Continue whisking until the batter is smooth and relatively lump-free. The consistency should resemble a thick pancake batter – it should be thick enough to cling to the pickle slices but still fluid enough to coat them evenly without clumping.
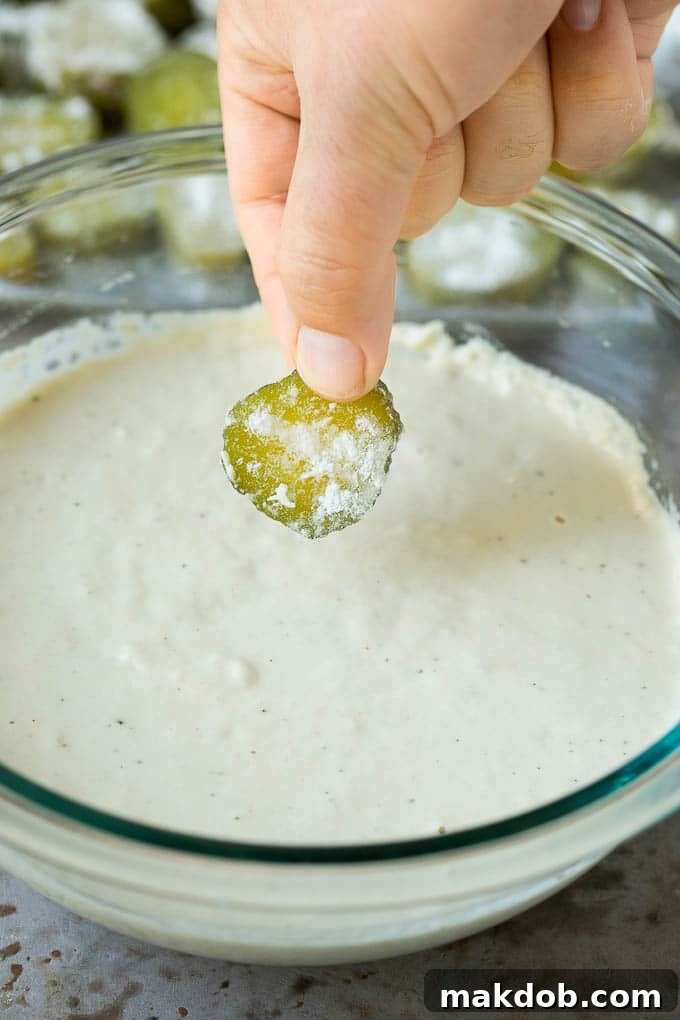
- Batter the Pickles: Working in small, manageable batches to avoid overcrowding, dip each flour-coated pickle slice into the prepared beer batter. Allow any excess batter to drip off back into the bowl for a perfectly thin, even coating.
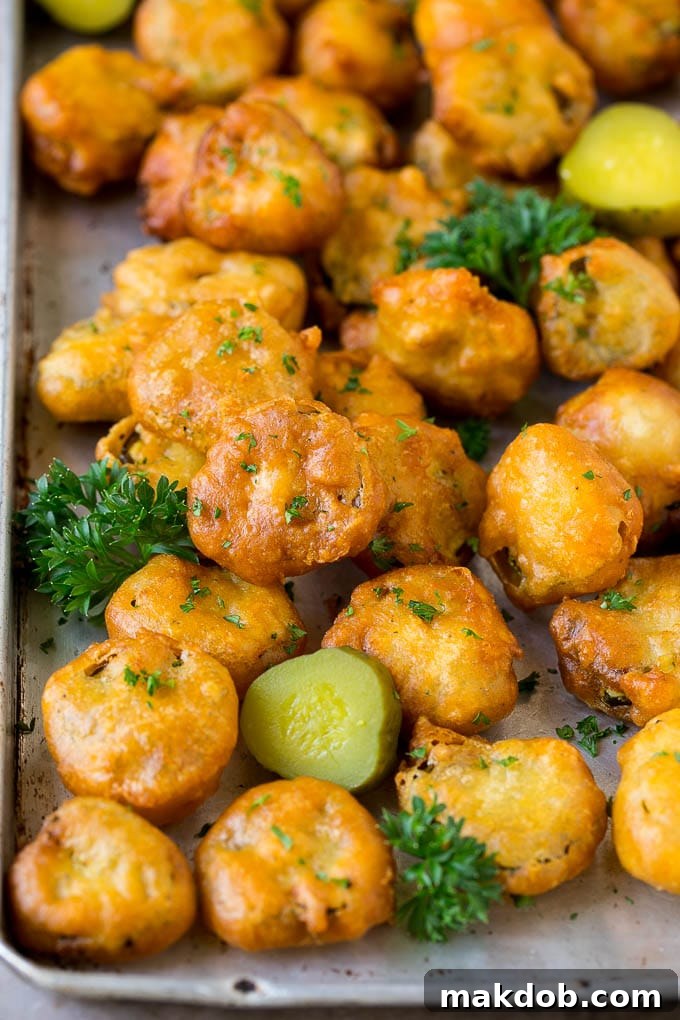
- Deep Fry to Golden Perfection: Carefully and gently place 8-10 battered pickle slices into the preheated hot oil using a spider strainer or slotted spoon. Fry them for approximately 3-5 minutes, turning them occasionally with your utensil, until they turn a beautiful, crispy golden brown on all sides. They should float to the surface when they are cooked through.
- Drain and Season: Once perfectly golden, use your spider strainer to carefully remove the fried pickles from the oil. Immediately transfer them to a wire rack that has been placed over a paper towel-lined baking sheet. This setup allows any excess oil to drain off efficiently, which is key to maintaining their delightful crispness. If desired, immediately sprinkle them with a tiny pinch of extra kosher salt and a generous sprinkle of fresh chopped parsley for added flavor and visual appeal.
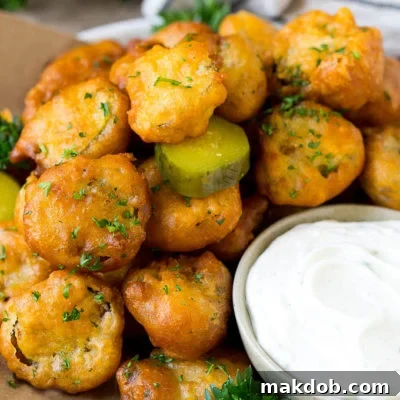
- Serve Immediately: Fried pickles are at their absolute best when enjoyed hot and fresh, straight out of the fryer. Arrange them on a platter and serve with your favorite dipping sauces, such as homemade ranch, a zesty remoulade, spicy aioli, or even a classic ketchup.
Pro Tips for Achieving the Perfect Fried Pickles
While the step-by-step guide will get you delicious results, these expert tips will elevate your homemade fried pickles from good to absolutely phenomenal, ensuring restaurant-quality crispness and flavor every time:
- Start with the Right Pickles: I strongly prefer to cut my own pickle slices from whole dill pickles rather than relying on store-bought pickle chips. Many pre-sliced varieties tend to be too thin and flimsy, making them prone to falling apart or becoming overly soft and watery when fried. Opt for whole pickles and slice them yourself for superior results, allowing you to control the quality and thickness.
- Optimal Slice Thickness is Key: For the ideal balance of pickle and crispy batter in every bite, I recommend cutting your pickles into approximately 3/4 inch thick slices. This thickness provides enough pickle to deliver that satisfying tangy burst, while still allowing the batter to cook through evenly and become wonderfully crisp without turning greasy.
- Thoroughly Dry Your Pickles: This cannot be stressed enough! Before flouring, lay your pickle slices out in a single layer on several sheets of paper towels and pat them vigorously dry. Any residual moisture on the pickles will create steam during frying, leading to a less crispy, potentially soggy batter that won’t adhere properly.
- Maintain Consistent Oil Temperature: The undisputed secret to crispy, non-greasy fried pickles is consistent oil temperature. Always use a reliable frying thermometer to ensure your oil is precisely at 375°F (190°C) before adding the pickles and throughout the entire frying process. If the oil is too cool, the pickles will absorb too much oil and become unpleasantly greasy. If it’s too hot, the batter will burn quickly before the pickle is properly heated through.
- Fry in Small Batches: Never, ever overcrowd your pot. Fry the pickles in small batches (typically 8-10 slices at a time, depending on your pot size) to prevent the oil temperature from dropping drastically. Overcrowding leads to a significant drop in oil temperature, causing the pickles to steam instead of fry, resulting in a disappointingly soggy texture.
- Strategic Setup for Efficiency: Streamline your frying process by keeping your workstation organized. Position the bowl of batter conveniently close to the pot of hot oil. This minimizes the distance you need to travel with battered pickles, reducing drips, mess, and ensuring a smooth, quick transfer into the fryer.
- Utilize the Right Tools: A sturdy spider strainer or a long, heat-resistant slotted spoon is invaluable for safely placing the pickles into the hot oil and efficiently removing them once they’re golden brown. These tools allow for quick and easy retrieval without damaging the delicate batter.
- Immediate Drainage is Crucial: After frying, transfer the pickles directly to a wire rack placed over a paper towel-lined baking sheet. This setup allows air to circulate around the pickles from all sides, preventing them from sitting in their own oil and losing their precious crispness. Pat lightly with another paper towel if any residual oil remains.
- No Eggs? No Problem! This particular beer batter naturally fries up light and crispy without the need for eggs. The carbonation from the beer, combined with the gluten in the flour, creates the perfect airy and crunchy texture without added ingredients.
- Serve Promptly for Peak Flavor: Fried pickles are at their absolute peak of perfection when served fresh and piping hot. While you can refrigerate leftovers and reheat them, they will never be quite as good as when they are first made. To reheat, crisp them up in a 400°F (200°C) oven for 5-10 minutes, or for excellent results, use an air fryer at 375°F (190°C) for 3-5 minutes, shaking halfway through.
- Choose Your Frying Oil Wisely: Vegetable oil, canola oil, and peanut oil are all excellent choices for deep-frying due to their high smoke points and relatively neutral flavors, which won’t impart unwanted tastes to your pickles. Avoid oils with lower smoke points like olive oil or butter, as they will burn quickly at the required frying temperature.
Fried Pickles Recipe FAQs
For the best beer batter, opt for a lighter-colored, crisp beer. Lagers and pilsners are excellent choices as they provide a mild flavor, allowing the tangy pickles to truly shine without any overpowering notes. If you prefer a slightly more complex and aromatic taste, you can try a lighter-colored ale, such as a pale ale or a Belgian-style wheat ale. My personal favorite is a Belgian-style wheat ale, which yields a delicious batter that cooks up flavorful and wonderfully crisp every single time. It’s best to avoid dark, heavy beers like stouts or porters, as they can impart an overpowering, bitter flavor and a darker color to your batter.
Fried pickles began as a beloved Southern snack and have since spread their deliciousness across the entire United States. While their exact origin is debated, most food historians credit the Duchess Drive-In, a formerly operating restaurant in Atkins, Arkansas, as the first to popularize and sell fried pickles. Located conveniently near a pickle factory, the restaurant supposedly began experimenting one day by battering and frying pickles, creating an instant local sensation. Although the Duchess Drive-In has unfortunately closed its doors, you can still find a version of their original fried pickles at a special booth during Picklefest in Atkins, Arkansas, which celebrates the town’s pickle heritage. If a trip to Picklefest isn’t in your immediate plans, this recipe offers an authentic and delicious alternative to enjoy at home!
Absolutely, you can use pickle spears if you prefer! While this recipe focuses on pickle slices for their optimal batter-to-pickle ratio and quicker cooking time, spears make a fantastic, hearty alternative. If you opt for spears, ensure they are thoroughly patted dry before flouring and battering. Be aware that spears are thicker, so they will require a slightly longer frying time, typically around 5-7 minutes, to cook through and achieve the desired crispness on the exterior. You might also need to adjust your batter consistency slightly to ensure it clings well to the larger surface area of the spears.
Leftover fried pickles can be stored in an airtight container in the refrigerator for up to 2-3 days. To reheat them and regain some of their original crispness, it’s crucial to avoid the microwave, which will unfortunately make them soggy. Instead, place them in a single layer on a baking sheet and reheat in a preheated oven at 400°F (200°C) for 5-10 minutes, or until they are warmed through and re-crisped to your liking. An air fryer is another excellent option for reheating; simply cook them at 375°F (190°C) for 3-5 minutes, shaking the basket halfway through.
Yes, absolutely! If you prefer not to use beer or are cooking for guests who don’t consume alcohol, you can easily substitute the beer with an equal amount of sparkling water or club soda. The carbonation in these alternatives will still help create a wonderfully light and airy batter, giving you a similar crispy texture that is so desirable. While you might notice a very subtle difference in flavor depth compared to a beer batter, the results will still be incredibly delicious and satisfying.
Yes, with a few substitutions, you can easily make this recipe gluten-free. Replace the all-purpose flour with a 1:1 gluten-free all-purpose flour blend (ensure it contains xanthan gum). For the beer, choose a certified gluten-free beer or opt for sparkling water or club soda as a non-alcoholic, gluten-free carbonated liquid. The cooking process remains the same, yielding delicious crispy fried pickles for everyone to enjoy.
Follow Me
Delicious Flavor Variations
While this fried pickles recipe is incredibly satisfying and delicious as is, its inherent versatility allows for exciting modifications and flavor variations to suit any palate. Don’t hesitate to experiment with these ideas to make the recipe truly your own, adding your personal touch to this classic snack:
- Kick up the Spice Factor: For those who crave a fiery kick, it’s incredibly easy to transform your fried pickles into a spicy delight. Simply mix a generous pinch of cayenne pepper, a dash of smoked paprika, or a few drops of your favorite hot sauce directly into the beer batter. Adjust the quantity to achieve your desired level of heat – from a subtle warmth to an intense inferno!
- Explore Creative Seasoning Blends: Don’t limit yourself to just garlic and onion powder in the batter! Enhance the flavor profile by incorporating other complementary spices and seasoning blends. Consider adding a teaspoon of zesty Cajun seasoning for an authentic Southern kick, a spoonful of aromatic Italian seasoning for an herbaceous and savory twist, or even a touch more smoked paprika for a deeper, earthier, and subtly smoky note.
- Diverse Dipping Experiences: The right dipping sauce can truly elevate your fried pickles from a great snack to an unforgettable culinary experience. While I highly recommend serving them with a creamy homemade ranch dip, the possibilities are virtually endless. Other fantastic options include a tangy homemade BBQ sauce, a fresh and vibrant herb veggie dip, a robust and piquant blue cheese dressing, or even a simple and universally loved classic like ketchup. For a truly unique and addictive pairing, be sure to try my easy fry sauce, which combines mayonnaise, ketchup, and a few key spices for an irresistible blend.
- Beyond Pickles – Other Fried Vegetables: This versatile and delicious beer batter isn’t just for pickles! If you’re looking to expand your fried appetizer repertoire, this same batter works wonders with other vegetables. You can use this exact recipe to create perfectly crispy fried mushrooms, classic onion rings, and even delightful crisp fried green beans. It’s a fantastic, reliable base for all your deep-fried vegetable cravings, offering a consistent texture and flavor profile.
You absolutely have to try this fried pickles recipe! It’s truly amazing how the humble pickle, with just the right treatment – a flavorful beer batter and a quick deep-fry – can be transformed into such a spectacular and universally adored crowd-pleaser. Prepare for empty platters and eager requests for the recipe every single time you serve these irresistible crispy delights!
More Irresistible Appetizer Recipes You’ll Love
Cheese Ball Recipe
16 mins
Rotel Dip with Beef
20 mins
Potato Skins Recipe
1 hr 45 mins
Jalapeno Popper Dip with Bacon
20 mins
Fried Chicken Wings
50 mins
Love This Recipe?
We hope you absolutely adore this recipe for crispy fried pickles! If you tried it and loved it, please consider leaving a 5-star 🌟🌟🌟🌟🌟 rating in the recipe card below and sharing your thoughts in the comments section further down the page. Your feedback is incredibly valuable and helps other home cooks discover and enjoy these amazing fried pickles!
Fried Pickles
Pin Recipe
Save Recipe
Sara Welch
15 minutes
15 minutes
30 minutes
Appetizer
American
6
Ingredients
Instructions
- Heat 3 inches of oil in a deep pot to 375°F (190°C). Use a frying thermometer to ensure accuracy.
- Pat the pickle slices thoroughly dry with paper towels. Then, coat the pickles in 1/2 cup of all-purpose flour, shaking off any excess.
- In a medium bowl, mix together the remaining 1 cup of flour, beer, kosher salt, black pepper, garlic powder, and onion powder until smooth.
- Working in small batches, coat each flour-dredged pickle slice in the prepared beer batter, allowing the excess batter to drip back into the bowl.
- Carefully fry 8-10 pickle slices at a time in the hot oil until they are crispy and golden brown, which typically takes about 3-5 minutes per batch. Turn them occasionally to ensure even browning.
- Using a spider strainer or slotted spoon, remove the fried pickles from the oil and transfer them to a wire rack set over a paper towel-lined baking sheet to drain excess oil.
- Repeat the frying process with the remaining pickles, ensuring the oil temperature returns to 375°F (190°C) between batches.
- Once all pickles are fried, sprinkle them generously with fresh chopped parsley and serve immediately with your favorite dipping sauce.
Notes
- I prefer to cut my own pickle slices from whole dill pickles instead of using store-bought pickle chips. Store-bought sliced pickles often tend to be too thin to adequately hold up to the batter and frying process. For the best results, aim for 3/4-inch thick slices.
- To ensure a smooth and efficient frying process, always keep the bowl of prepared batter conveniently close to your pot of hot oil. This minimizes transfer time and mess.
- Accuracy in oil temperature is paramount for crispy, non-greasy fried pickles. Always use a reliable frying thermometer to maintain the oil at the correct temperature throughout the entire cooking process.
Nutrition
Tag @dinneratthezoo on Instagram and hashtag it #dinneratthezoo