
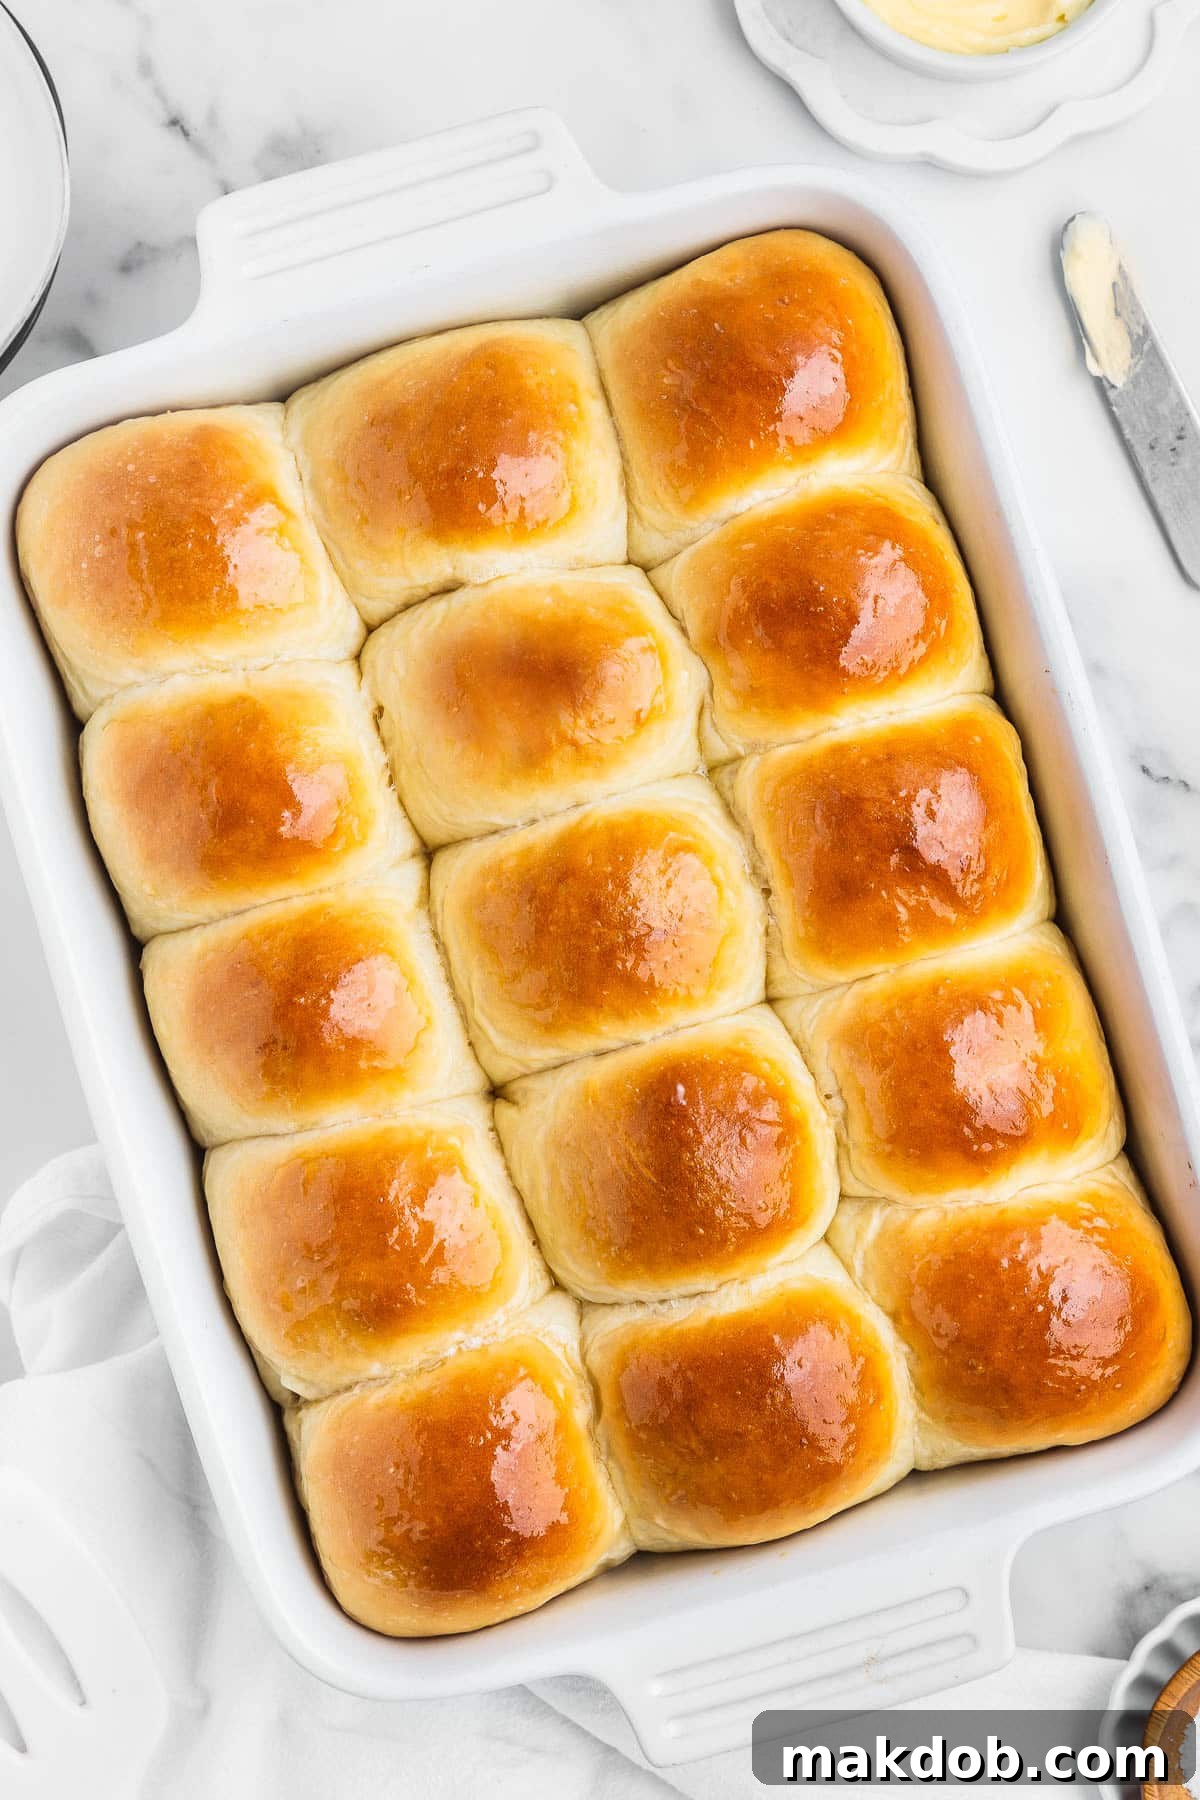
There’s an undeniable magic to freshly baked bread, a warmth that fills the home and a comforting aroma that beckons everyone to the kitchen. Among the countless varieties, homemade dinner rolls stand out as a beloved classic. These aren’t just any rolls; they are a culinary revelation – incredibly light, wonderfully fluffy, and surprisingly simple to master. Perfect for elevating everyday meals, they become an absolute centerpiece, a must-have for cherished holiday celebrations like Thanksgiving and Christmas, where family and food gather in harmony.
The journey from simple ingredients to golden, tender rolls is incredibly rewarding. While the allure of intricate butterflake rolls or wholesome quick breads such as chocolate zucchini bread and blueberry banana bread is strong, there’s a unique satisfaction in serving these irresistible dinner rolls. They offer a perfect balance of subtle sweetness and a tender crumb that pairs effortlessly with a wide array of dishes.
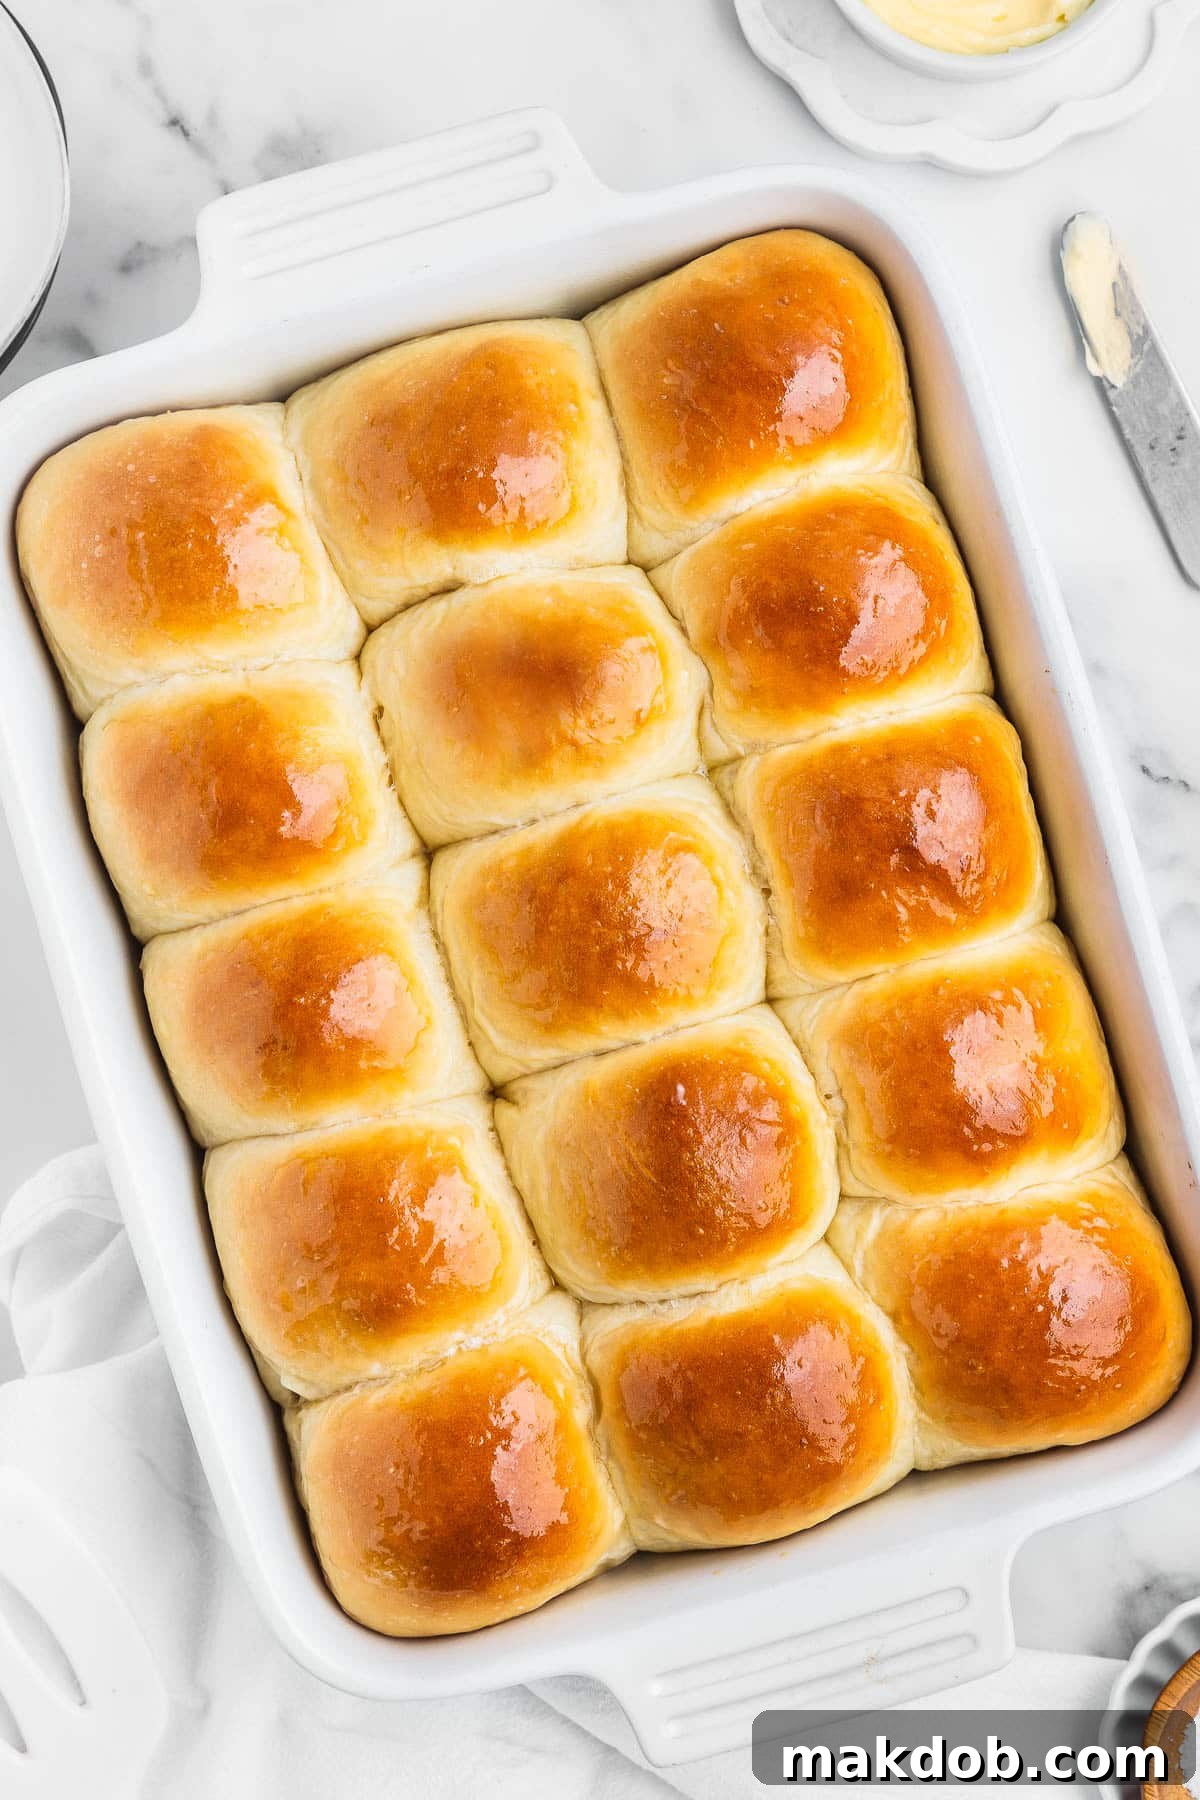
Why Choose Homemade Dinner Rolls Over Store-Bought?
When planning a special occasion meal, be it a festive holiday feast or a cozy family dinner, homemade dinner rolls are always at the top of my menu. There’s simply no comparison to the flavor, texture, and pure delight of bread baked fresh in your own kitchen. Store-bought alternatives often fall short, lacking the depth of flavor and the tender, airy crumb that only a homemade recipe can achieve. The process of making them is far easier than many people imagine, transforming simple ingredients into something truly extraordinary. This particular recipe has become a perennial favorite, earning its spot as one of my all-time best side dish recipes for important gatherings like Thanksgiving and Christmas.
Beyond the superior taste, baking dinner rolls at home offers a sense of accomplishment and warmth that permeates your entire living space. The aroma alone is enough to make mouths water, creating an inviting atmosphere that enhances any meal. Plus, you have complete control over the ingredients, ensuring a wholesome and delicious product free from unnecessary additives. It’s a small effort that yields tremendous rewards, turning a simple dinner into a memorable culinary experience.
Table of Contents
- Homemade Dinner Rolls Ingredients: What You’ll Need
- Step-by-Step Guide: How to Make Irresistible Homemade Dinner Rolls
- Expert Tips For The Perfect Homemade Dinner Rolls
- Quick Tip: The Flour Factor
- Recipe FAQs: Your Dinner Roll Questions Answered
- Flavor Variations: Customize Your Homemade Dinner Rolls
- More Great Side Dish Recipes You’ll Love
- Love This Recipe? Let Us Know!
- Homemade Dinner Rolls Recipe
Homemade Dinner Rolls Ingredients: What You’ll Need
Crafting these perfectly light and fluffy dinner rolls requires a handful of common pantry staples. Each ingredient plays a crucial role in achieving the ideal texture, flavor, and rise. Here’s a closer look at what you’ll need:
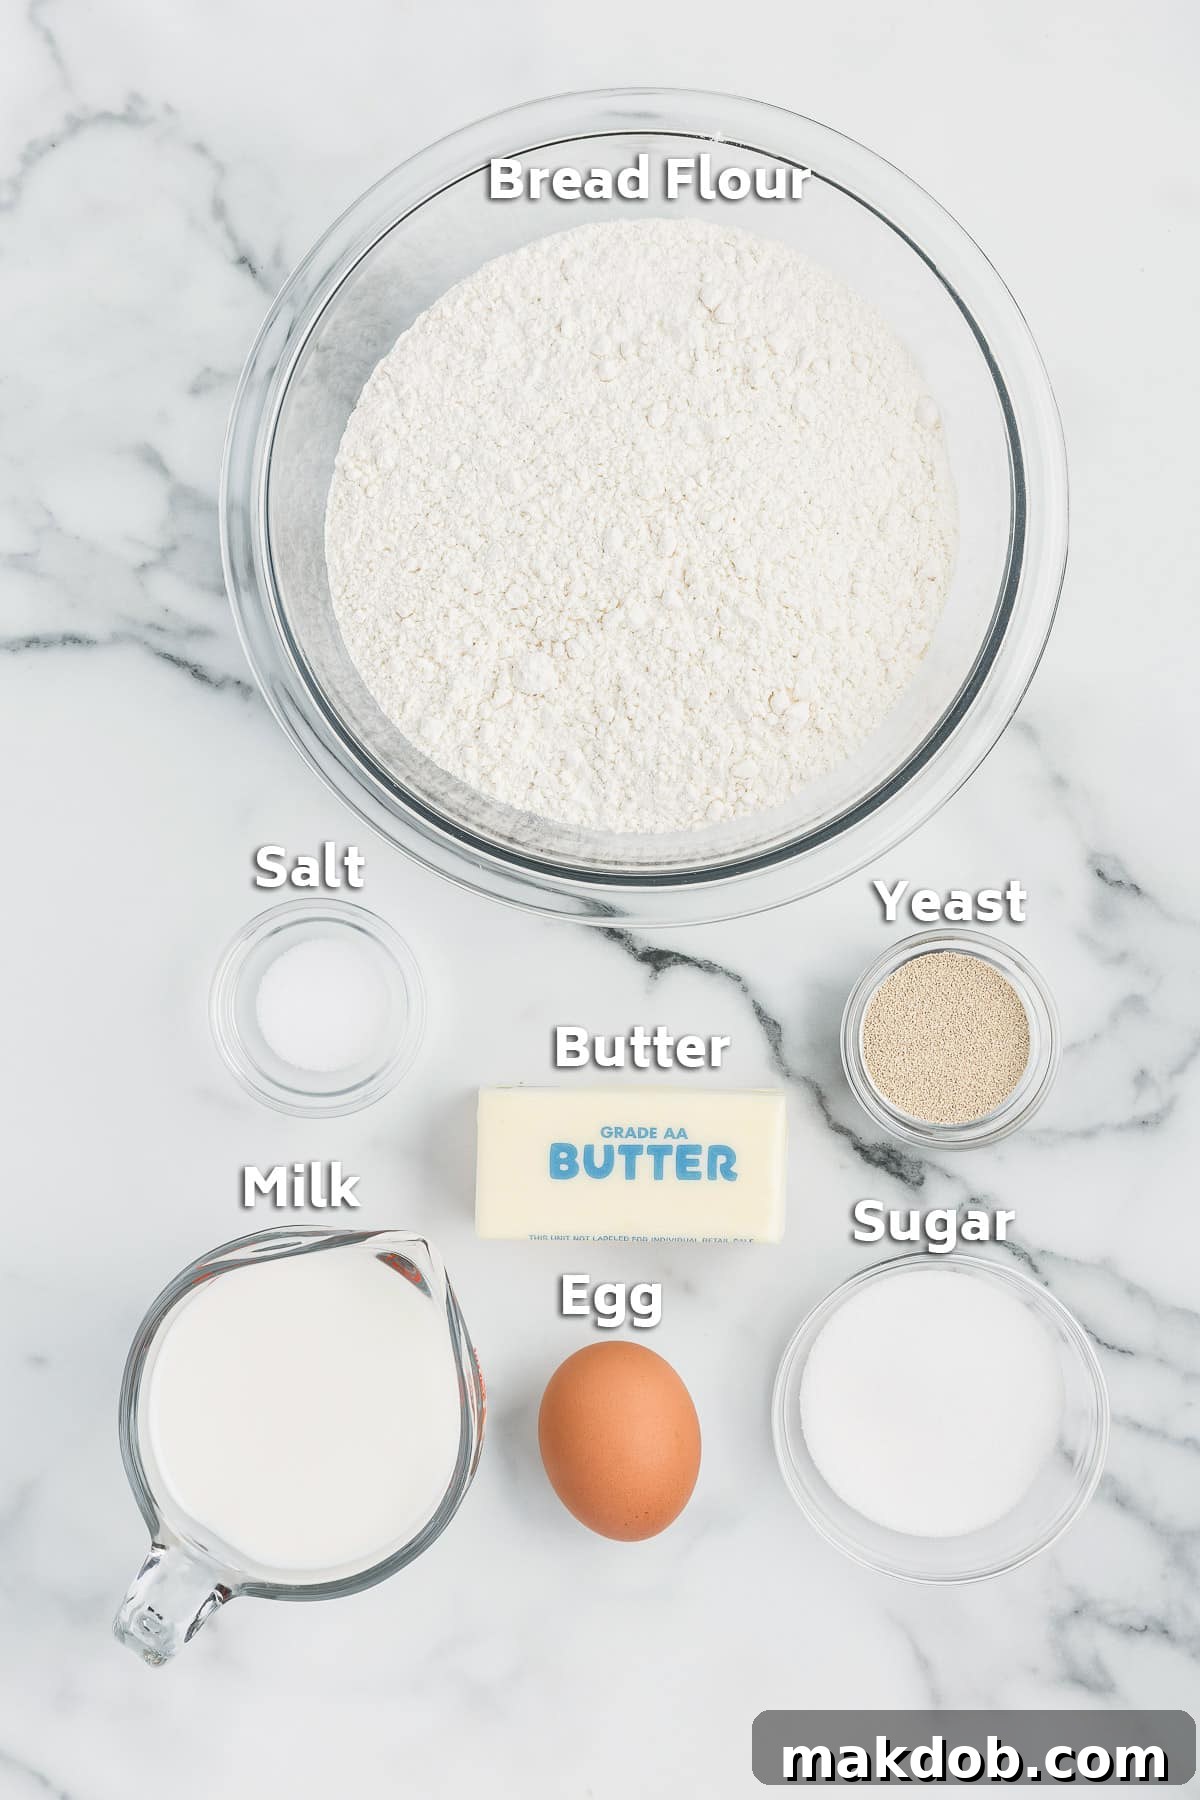
- Whole Milk: The richness of whole milk contributes significantly to the rolls’ tender crumb and overall flavor. Its fat content is essential for a truly luxurious texture.
- Granulated Sugar: A touch of sugar not only adds a subtle sweetness but also feeds the yeast, helping the dough rise beautifully.
- Unsalted Butter: Melted butter adds incredible richness, moisture, and a delicate buttery flavor that’s synonymous with classic dinner rolls. Using unsalted butter allows you to control the salt content precisely.
- Large Egg: An egg provides structure, helps with browning, and adds richness to the dough, resulting in a softer, more decadent roll.
- Bread Flour: While all-purpose flour can work, bread flour, with its higher protein content, yields a more structured yet tender roll with a satisfying chew. It helps develop the gluten perfectly for that ideal fluffy texture.
- Kosher Salt: Essential for balancing the flavors and controlling the yeast activity. Don’t skip the salt!
- Instant Yeast: This magical ingredient is responsible for the rolls’ light and airy texture. Instant yeast is convenient as it doesn’t require prior proofing, making the process quicker and simpler.
Step-by-Step Guide: How to Make Irresistible Homemade Dinner Rolls
Making delicious homemade dinner rolls is a straightforward process that even novice bakers can master. Follow these steps for perfect, golden-brown rolls every time:
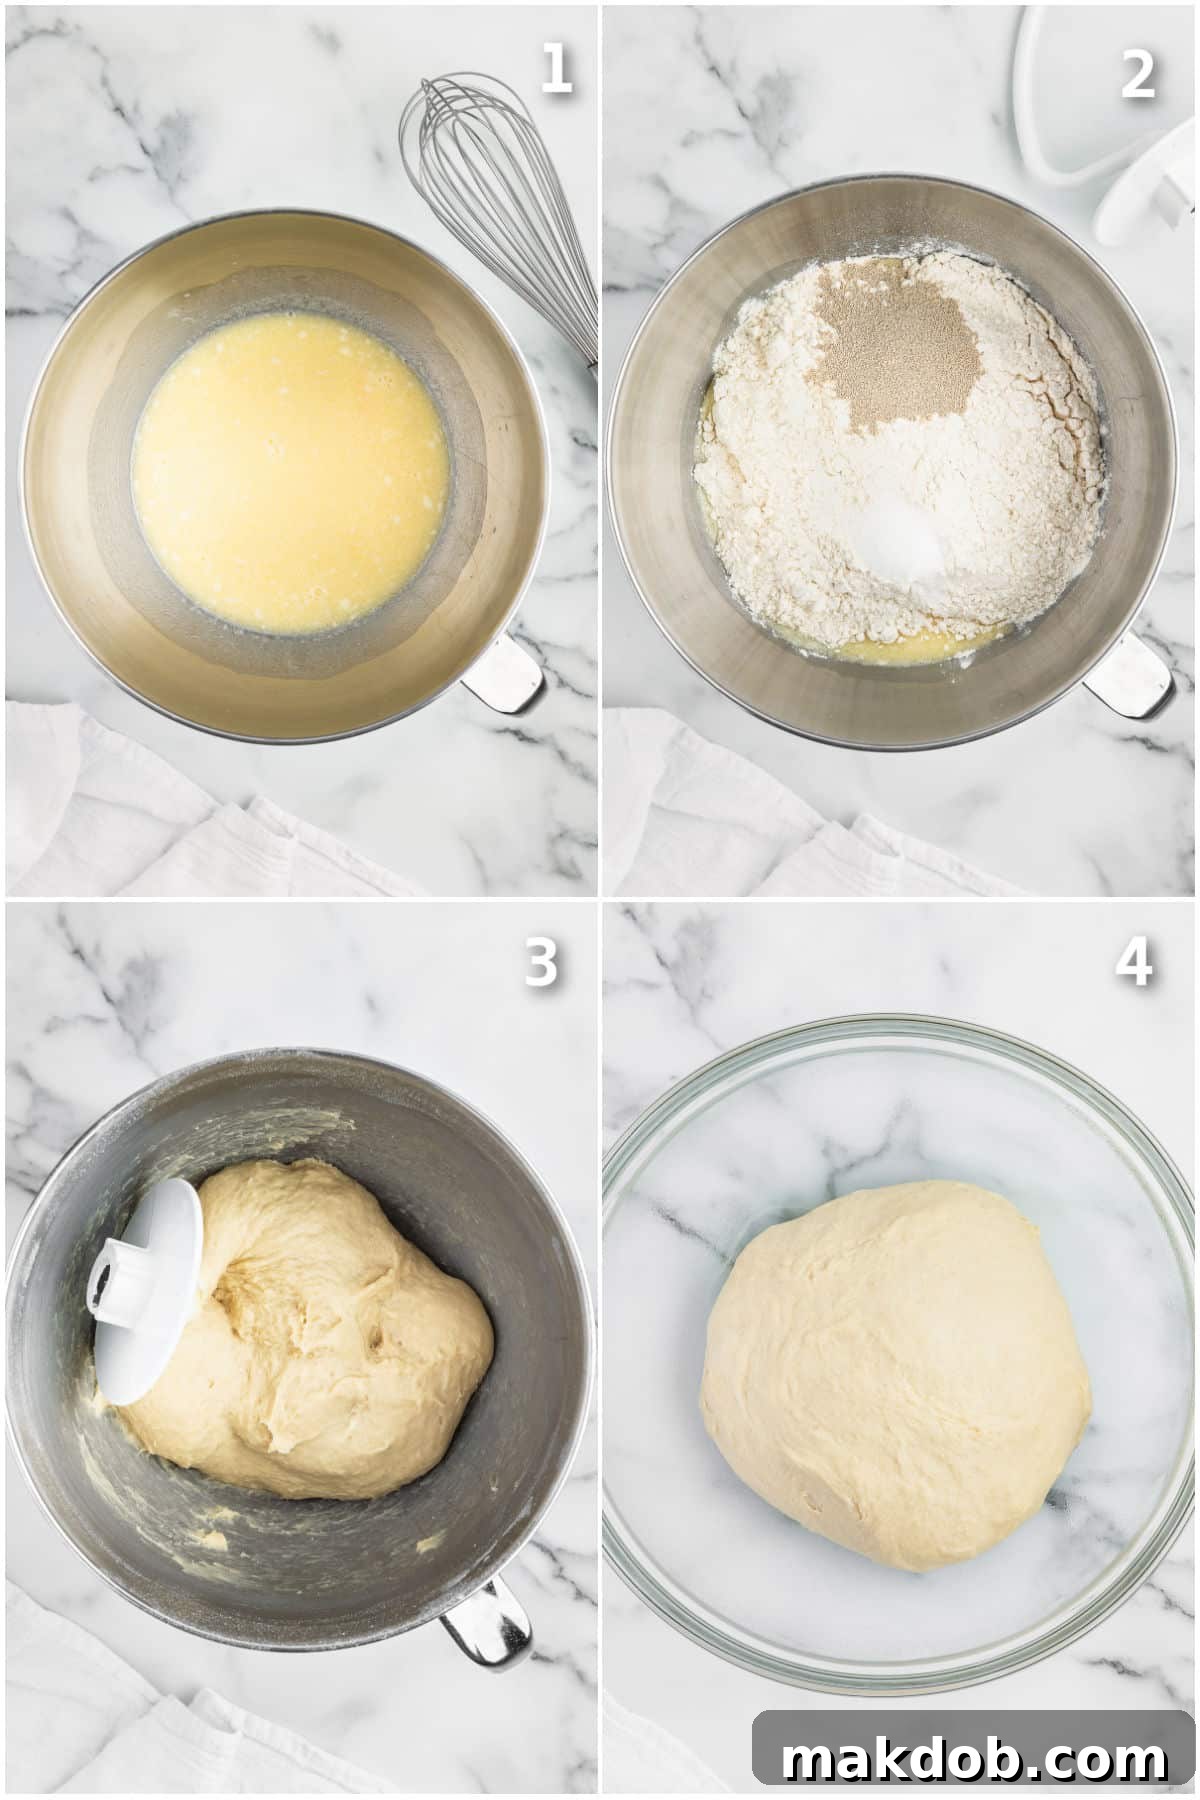
- Activate the Yeast: Start by gently warming your whole milk to an ideal temperature of 105-110 degrees F (40-43 degrees C). You can do this in a microwave for about 60-90 seconds or on the stovetop over low heat. It’s crucial not to overheat the milk, as temperatures above 115 degrees F (46 degrees C) can kill the yeast. A quick-read thermometer is your best friend here to ensure precision.
- Combine Wet Ingredients: Pour the warmed milk into the bowl of your stand mixer. Add the granulated sugar, melted unsalted butter, and the beaten large egg. Whisk these wet ingredients together until they are well combined and uniform.
- Add Dry Ingredients: To the wet mixture, gradually add 4 cups of bread flour, the instant yeast, and the kosher salt. Ensure the salt isn’t directly touching the yeast initially, as salt can sometimes inhibit yeast activity.
- Knead the Dough: Attach the dough hook to your stand mixer. Begin kneading the dough on low to medium speed. Initially, the mixture will look shaggy, but as it kneads, it will come together into a cohesive ball. Continue kneading for about 4-5 minutes until the dough is smooth, elastic, and pulls away cleanly from the sides of the bowl. If the dough remains too sticky, add the remaining 1/2 cup of bread flour a tablespoon at a time until the desired consistency is reached.
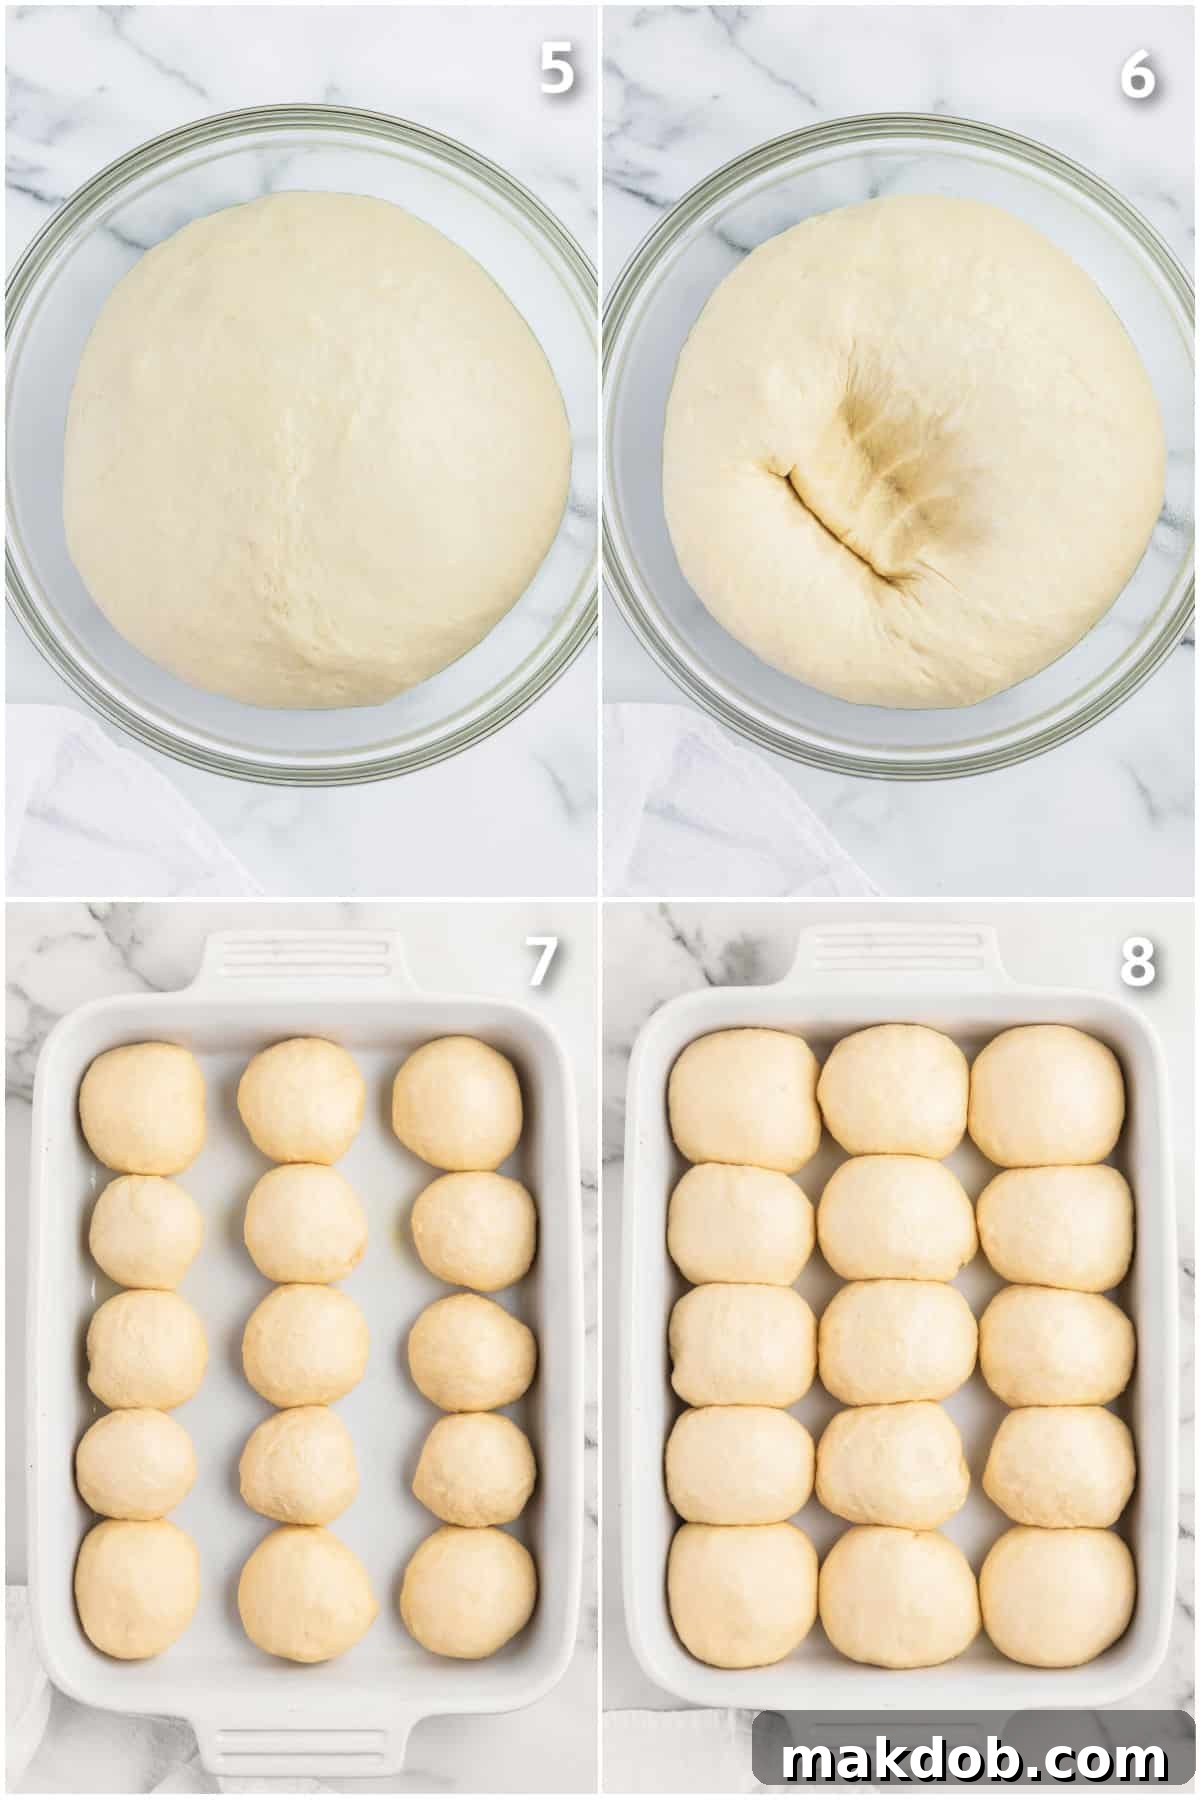
- First Rise (Bulk Fermentation): Lightly coat a large bowl with cooking spray or a neutral oil. Transfer the kneaded dough into this bowl, turning it once to coat all sides. Cover the bowl tightly with plastic wrap or a clean kitchen towel. Place the bowl in a warm, draft-free spot and let the dough rise until it has visibly doubled in size. This typically takes anywhere from 30 minutes to 1.5 hours, depending on the ambient temperature of your kitchen.
- Shape the Rolls: Once the dough has doubled, gently punch it down to release the accumulated air. Remove the dough from the bowl and transfer it to a lightly floured surface. Using a bench scraper or a sharp knife, divide the dough into 15 equal pieces. For perfectly uniform rolls, a kitchen scale can be used to weigh each piece (approximately 45-50g per roll). Roll each piece into a smooth, tight ball.
- Second Rise (Proofing): Arrange the shaped dough balls in a greased 9×13 inch baking dish, ensuring they are slightly touching. This arrangement helps them rise together and creates those soft, tear-apart sides. Cover the pan again with plastic wrap or a towel and let the rolls rise a second time until they have nearly doubled in size and look puffy. This usually takes about 30-45 minutes.
- Preheat Oven & Bake: While the rolls are completing their second rise, preheat your oven to 375 degrees F (190 degrees C). Once the rolls are ready, place the baking pan into the preheated oven. Bake for 17-20 minutes, or until the tops are beautifully golden brown and the internal temperature reaches 200-205 degrees F (93-96 degrees C).
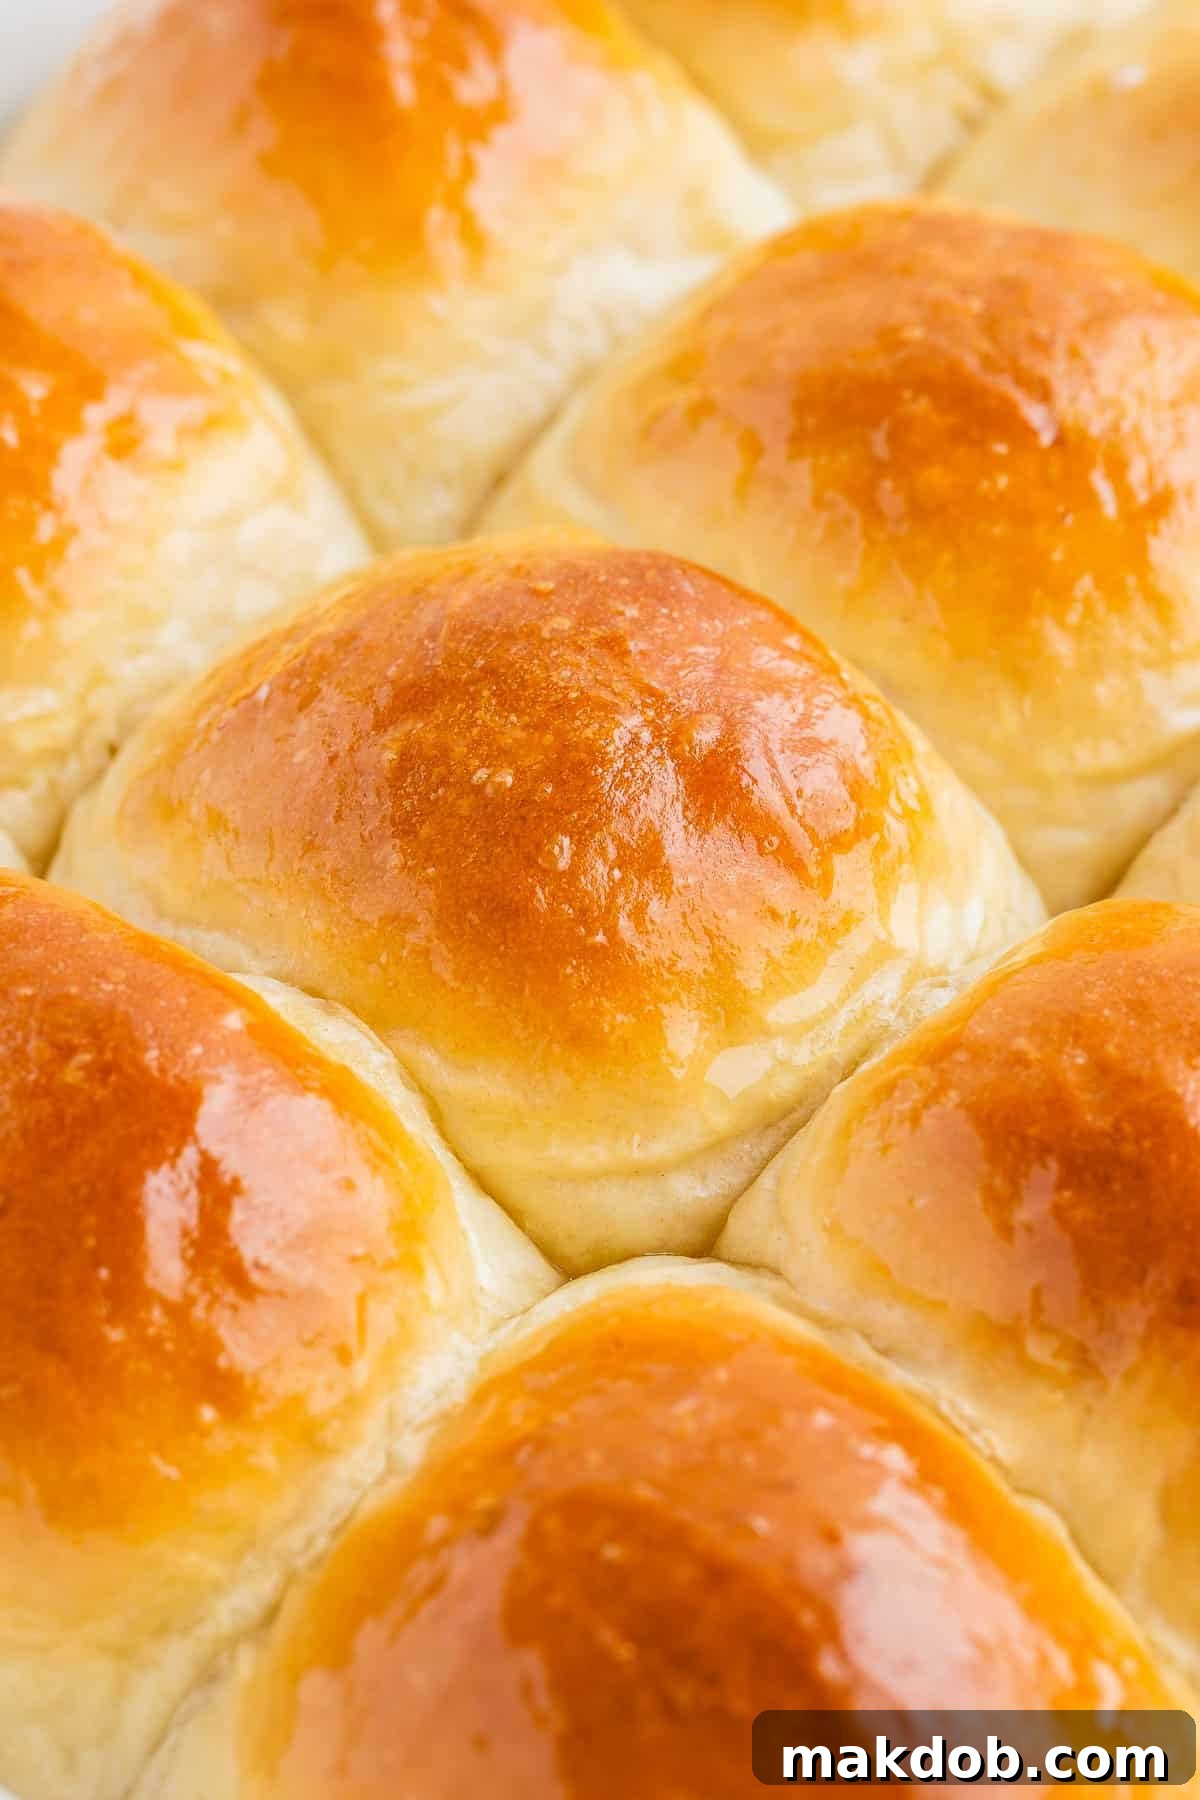
- Serve & Enjoy: Remove the golden-brown rolls from the oven. For an extra touch of indulgence and a gleaming finish, immediately brush the hot rolls with a little extra melted butter and, if desired, sprinkle a pinch of coarse sea salt on top. Allow them to cool slightly before tearing them apart and serving them warm. They are truly best when enjoyed fresh from the oven!
Expert Tips For The Perfect Homemade Dinner Rolls
Achieving bakery-quality dinner rolls at home is simpler than you might think with a few key techniques. Here are my top tips to ensure your homemade rolls are consistently light, fluffy, and utterly delicious:
- Understanding Yeast Types: Instant vs. Active Dry
This recipe specifically calls for instant yeast, also known as rapid-rise yeast, which is incredibly convenient because it doesn’t require prior activation. You can mix it directly with your dry ingredients. If you only have active dry yeast on hand, don’t worry! You can certainly use it, but you’ll need to make a slight adjustment. First, proof the active dry yeast by dissolving it in the warm milk (along with a pinch of sugar) for about 5-10 minutes until it becomes foamy before adding any other ingredients. This step confirms the yeast is alive and active. - The Critical Role of Milk Temperature
The temperature of your milk is paramount for successful yeast activation. It should be warm, but never hot to the touch. The sweet spot is between 105-110 degrees F (40-43 degrees C). If the milk temperature exceeds 115 degrees F, the excessive heat can kill the delicate yeast organisms, preventing your dough from rising properly. Conversely, milk that is too cold will cause the yeast to activate too slowly, resulting in a very long or failed rise. An instant-read thermometer is a worthwhile investment for precise temperature control. - Leveraging Your Stand Mixer (or Hand-Kneading with Care)
I highly recommend using a stand mixer fitted with a dough hook for making homemade dinner rolls. It takes all the hard work out of kneading and ensures proper gluten development, which is crucial for a light and chewy texture. The mixer efficiently kneads the dough for the recommended 4-5 minutes. If you don’t have a stand mixer, you can absolutely knead the dough by hand. Expect to knead for about twice as long (8-10 minutes) on a lightly floured surface, until the dough is smooth, elastic, and passes the “windowpane test” (where a small piece can be stretched thin enough to see light through it without tearing). - Achieving a Beautifully Shiny Golden Top
For rolls with an inviting, shiny golden crust, you have a couple of excellent options. The simplest is to brush the freshly baked rolls with melted butter immediately after they come out of the oven. The butter melts into the warm crust, creating a glistening finish and adding extra flavor. Another popular method is to prepare an egg wash: beat 1 large egg with 1 tablespoon of water and gently brush this mixture over the shaped dough balls just before they go into the oven for their final bake. This helps achieve a deeper golden color and a noticeable sheen. - Prepare Ahead: The Magic of Overnight Dough
Life can be busy, and that’s where the beauty of making dough in advance comes in handy, especially for holiday baking. You can prepare and shape the dough into balls, then arrange them in your greased baking pan. Instead of letting them rise a second time at room temperature, cover the pan tightly with plastic wrap and refrigerate it for up to 18 hours. When you’re ready to bake, remove the rolls from the refrigerator and let them come to room temperature and complete their final rise (which will take longer than usual, typically 1.5-2.5 hours) until they have doubled in size. Once proofed, bake according to the recipe directions. This technique ensures fresh rolls with minimal fuss on baking day. - Precision for Uniform Rolls with a Kitchen Scale
For perfectly sized, evenly baked, and professional-looking dinner rolls, using a kitchen scale is a game-changer. After the first rise, once you’ve punched down the dough, divide it into pieces and weigh each one to ensure they are all exactly the same size. This prevents smaller rolls from overbaking while larger ones remain undercooked, ensuring consistency across your entire batch. - The Importance of Whole Milk’s Fat Content
While some recipes might suggest alternatives, whole milk truly works best in this recipe. Its higher fat content contributes significantly to the richness, tenderness, and overall luxurious taste of the rolls. You can use 2% milk if necessary, but anything with a lower fat percentage than 2% is not recommended. Reduced-fat milks can result in a drier, less flavorful roll, as the fat is crucial for both texture and taste.
Quick Tip: The Flour Factor
For the absolute best texture in your homemade dinner rolls, I highly recommend using bread flour. Its higher protein content develops gluten more effectively, leading to a chewier yet still tender crumb. While all-purpose flour can be used as a substitute, investing in bread flour is definitely worth it for that superior professional result.
Recipe FAQs: Your Dinner Roll Questions Answered
The best way to enjoy dinner rolls is fresh and hot from the oven. If you need to keep them warm for a short period, you can wrap them loosely in foil and place them in a low oven (around 200 degrees F or 93 degrees C) for up to 15-20 minutes. Alternatively, a bread basket lined with a clean kitchen towel can keep them warm at the table for a while. If reheating cooled rolls, place them in a 300 degrees F (150 degrees C) oven for about 6-8 minutes until warmed through and soft.
Yeast activity is heavily influenced by temperature. The rising times provided in this recipe are general guidelines; the true indicator of doneness is when your dough has doubled in size. If your kitchen is particularly cool, you can encourage a faster rise by creating a warmer environment. One effective method is to place your bowl of dough in a turned-off oven with just the oven light on. The warmth from the light creates a perfect, cozy spot for yeast to thrive. Be careful not to actually heat the oven, as high temperatures will kill the yeast. Another option is placing the bowl in a warm, sunny spot or in a microwave (turned off, of course) with a cup of hot water next to it to create a steamy, warm environment.
Homemade dinner rolls are at their absolute best when enjoyed on the day they are baked. However, any leftovers will stay fresh and delicious for up to 3 days when stored in an airtight container at room temperature. For longer storage, you can freeze baked and cooled rolls. Simply wrap them tightly in plastic wrap, then place them in a freezer-safe bag or container. They will keep well in the freezer for up to 2-3 months. To reheat from frozen, thaw them at room temperature, then warm in a 300 degrees F (150 degrees C) oven until soft and heated through.
FOLLOW ME FOR MORE DELICIOUS RECIPES
Flavor Variations: Customize Your Homemade Dinner Rolls
While this recipe yields a perfectly balanced, mildly sweet bread that’s delicious on its own, homemade dinner rolls are an excellent canvas for culinary creativity. You can easily adapt the base dough by incorporating various ingredients to suit your taste preferences or complement your meal. Here are some exciting flavor variations to try:
- Aromatic Herbs: For a savory touch, mix up to 1/4 cup of finely chopped fresh herbs or 2 tablespoons of dried herbs into the dough when you add the flour. Classic choices include fresh dill for a bright, slightly tangy note; dried Italian seasoning for a versatile, earthy profile; or a fragrant combination of fresh rosemary and sage, perfect for serving with holiday roasts.
- Garlic Lover’s Dream: Elevate your rolls with the irresistible aroma of garlic. Add 1 to 2 teaspoons of freshly minced garlic to the dough during the mixing stage. For an even more intense garlic bread experience, consider also adding a pinch of dried Italian seasoning and 1/2 cup of grated Parmesan cheese. This combination creates a savory roll that’s fantastic with pasta dishes or soups. Roasted garlic, mashed into a paste, can also offer a milder, sweeter garlic flavor.
- Sweet Indulgence: If you prefer a sweeter roll, akin to a brioche or a dessert bread, increase the granulated sugar in the recipe to 1/2 cup. You can further enhance this sweetness and add warmth by incorporating 1 to 2 teaspoons of warm spices. Think pumpkin pie spice for autumn, ground cinnamon and nutmeg for a classic touch, or a mix of allspice and cloves for a festive aroma. These are delightful for breakfast or brunch.
- Cheesy Delights: Who doesn’t love cheese with bread? Incorporate 1 cup of your favorite grated cheese into the dough during the last minute of kneading. Sharp cheddar adds a tangy bite, Monterey Jack provides a mild, melty texture, and mozzarella offers a classic, stretchy quality. For an extra cheesy crust, sprinkle a little more cheese on top of the rolls just before baking.
- Seeds and Grains: For added texture and a nutty flavor, try mixing in 1/4 cup of sesame seeds, poppy seeds, or even a blend of mixed seeds (like flax or chia) into the dough. You can also sprinkle some on top before baking. This adds a delightful crunch and extra visual appeal.
Once you experience the joy and simplicity of baking these homemade dinner rolls, you’ll likely find yourself making a batch on a regular basis! My family consistently requests these warm, tender delights, and I’m always happy to oblige, knowing the happiness they bring to our table.
More Great Side Dish Recipes You’ll Love
Honey Roasted Root Vegetables
55 mins
Garlic Sautéed Brussels Sprouts
15 mins
Creamy Baked Mac and Cheese
50 mins
Southern-Style Corn Casserole
55 mins
Creamy Garlic Mashed Potatoes
40 mins
Love This Recipe? Let Us Know!
If you loved baking and enjoying these incredible homemade dinner rolls, please consider leaving a 5-star 🌟🌟🌟🌟🌟 rating in the recipe card below. Your feedback and a review in the comments section further down the page are incredibly valuable and help other home bakers discover this fantastic recipe!
Homemade Dinner Rolls
Pin
SaveSaved
Time
Ingredients
- 1 1/4 cups whole milk
- 3 tablespoons granulated sugar
- 4 tablespoons unsalted butter melted
- 1 large egg beaten, at room temperature
- 4 – 4 1/2 cups bread flour
- 1 1/4 teaspoons kosher salt
- 1 tablespoon instant yeast
- cooking spray
- extra melted butter and coarse salt for serving optional
Instructions
-
Begin by heating the milk until it reaches a temperature of 105-110 degrees F (40-43 degrees C). You can do this either by gently warming it up in the microwave for about a minute or on the stove over low heat. I strongly suggest using an instant-read thermometer to ensure it’s the right temperature, as too hot or too cold milk will affect yeast activation.
-
Pour the warm milk into the bowl of a stand mixer. Add the granulated sugar, melted unsalted butter, and the beaten egg. Whisk these wet ingredients together thoroughly until well combined.
-
Next, add 4 cups of bread flour to the mixer bowl, followed by the instant yeast and the kosher salt.
-
Attach the dough hook to your mixer. Begin kneading the dough on medium speed. The dough will initially be shaggy but will gradually come together.
-
Continue kneading for about 4 to 5 minutes. The dough should become smooth, elastic, and pull away cleanly from the sides of the bowl. If it remains too sticky, gradually sprinkle in a couple of tablespoons of the remaining 1/2 cup flour until the desired texture is achieved. Avoid adding too much flour, which can make the rolls tough.
-
Once perfectly kneaded, lightly coat a large clean bowl with cooking spray or a neutral oil. Transfer the dough to this bowl, turning it once to coat, then cover it tightly with plastic wrap. Let the dough rise in a warm, draft-free place until it doubles in size. This typically takes between 30 to 90 minutes, depending on your room’s temperature.
-
Gently punch down the risen dough to release excess air. Remove it from the bowl and place it on a lightly floured surface. Use a bench scraper or knife to divide the dough into 15 equal pieces. For utmost consistency, use a kitchen scale to weigh each piece, aiming for approximately 45-50 grams per roll.
-
Roll each dough piece into a smooth, tight ball. Arrange these balls seam-side down in a 9×13 inch baking pan that has been generously coated with cooking spray.
-
Cover the pan of shaped rolls loosely with plastic wrap or a clean kitchen towel. Allow them to rise again in a warm spot until they have nearly doubled in size and look visibly puffy, typically another 30-45 minutes.
-
While the rolls are completing their second rise, preheat your oven to 375 degrees F (190 degrees C).
-
Once the rolls are fully risen, place the pan into the preheated oven. Bake for 17 to 20 minutes, or until the tops are beautifully golden brown and they sound hollow when lightly tapped.
-
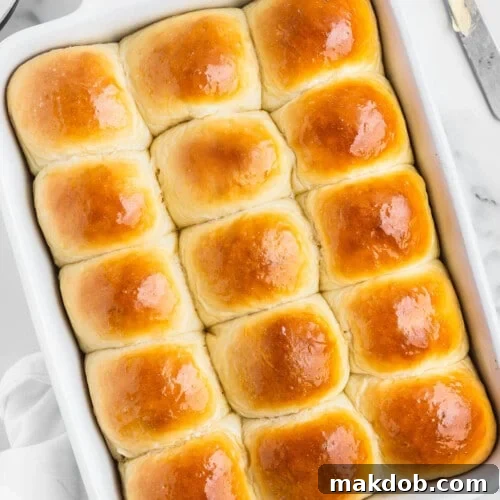
Remove the baked rolls from the oven. For an irresistible finish, immediately brush them generously with extra melted butter and, if desired, sprinkle a touch of coarse sea salt on top. This optional step adds a beautiful sheen and enhances the flavor. Cut the rolls apart and serve warm for the ultimate homemade bread experience.
Notes
- For the very best texture, utilizing **bread flour** is highly recommended. Its higher protein content contributes to a perfectly chewy yet tender crumb. However, if you only have all-purpose flour available, it can be used, though the texture might be slightly less robust.
- To achieve dinner rolls with an appealing shiny top, you have two primary methods. An easy option is to brush the rolls with melted butter as soon as they emerge from the oven. Alternatively, for a deeper golden sheen, prepare an egg wash by whisking 1 egg with 1 tablespoon of water and brush this mixture over the shaped dough balls just before baking.
- This recipe is designed for **instant yeast** (also known as rapid-rise yeast), which can be added directly with your dry ingredients without prior activation. If you opt to use active dry yeast, you’ll need to proof it first. Dissolve the active dry yeast in the warm milk (with a pinch of sugar) for about 5-10 minutes until it becomes foamy, then proceed with the rest of the recipe. This ensures your yeast is active and ready to make your rolls rise beautifully.