
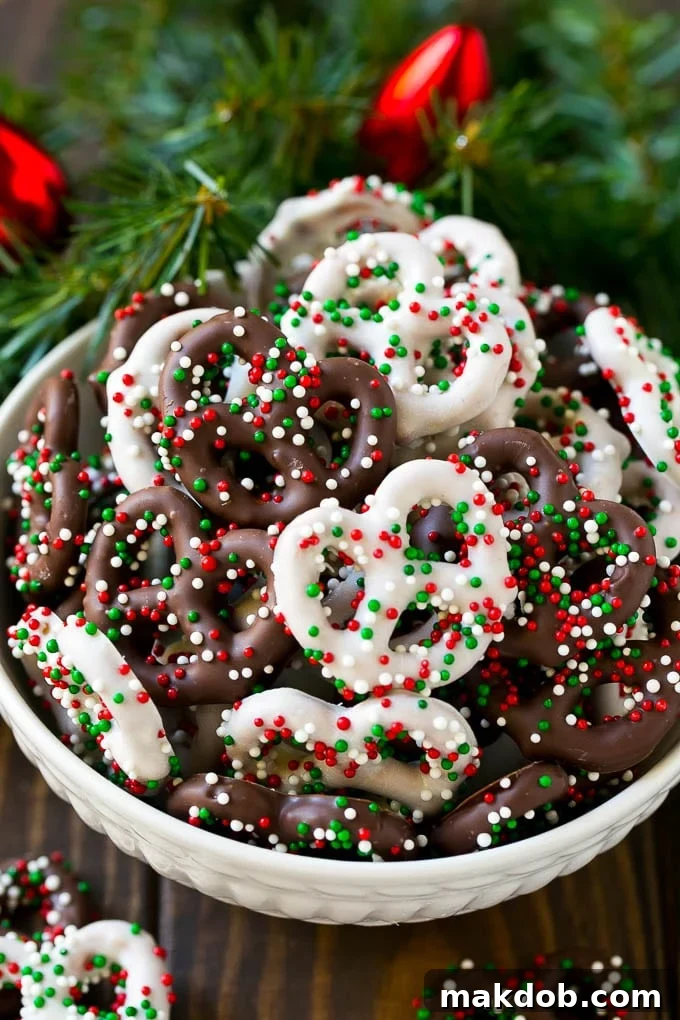
These chocolate covered pretzels are more than just a simple snack; they’re a delightful fusion of salty and sweet, offering an irresistible crunch coated in smooth, luxurious chocolate. Whether you choose classic pretzel twists or elegant pretzel rods, enrobing them in rich dark, creamy milk, or vibrant white chocolate, then adorning them with colorful sprinkles, transforms them into a truly special treat. This super easy candy recipe is an absolute must-have for any occasion, perfect for elevating parties, thoughtful gift-giving, or simply indulging in a homemade delight. Its versatility allows for endless customization, making it suitable for every season and celebration imaginable.
There’s something uniquely heartwarming about sharing homemade candy with family and friends. It’s a gesture that speaks volumes, conveying effort, love, and care in every bite. Among my go-to homemade sweets, peppermint patties and crock pot candy hold a special place. However, these chocolate covered pretzels truly stand out. They strike that perfect balance between savory and sweet, offering a satisfying crunch that makes them incredibly fun to make and impressively stunning to present. The combination of crispy pretzel and melt-in-your-mouth chocolate creates a textural and flavor experience that’s hard to beat.
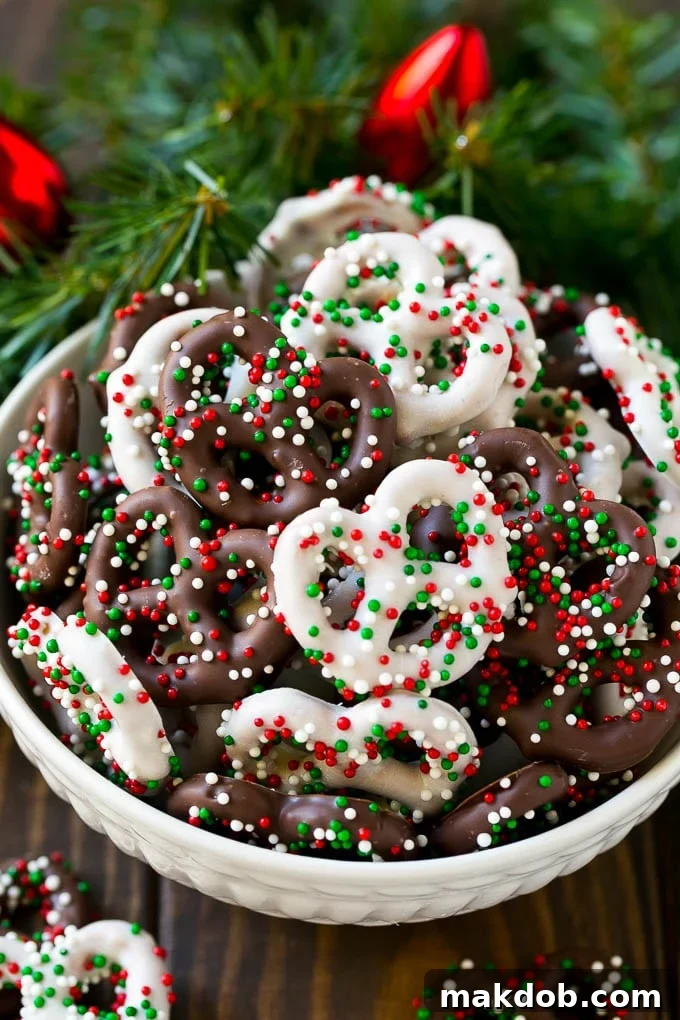
While the holiday season is undoubtedly a magical time of year, it often proves to be the busiest! Between festive gatherings, gift shopping, and numerous events, finding enough hours in the day to bake elaborate treats for everyone can feel impossible. This is precisely where these chocolate covered pretzels become your culinary savior. They are incredibly quick to prepare, often taking mere minutes of active time, and can be effortlessly adorned to match any holiday theme, from Christmas and Halloween to Valentine’s Day and Easter. Their simplicity doesn’t compromise on impact, making them an ideal choice when time is precious but you still want to offer something truly delightful.
As you prepare these delightful pretzels, consider pairing them with some of my other favorite holiday entertaining recipes. Imagine a spread featuring classic Christmas sugar cookies, comforting molasses cookies, and elegant chocolate covered cherries. For even more inspiration, explore my extensive collection of Christmas recipes, guaranteed to bring joy to every guest and family member!
Table of Contents
- The Irresistible Ingredients for Chocolate Covered Pretzels
- Mastering the Art of Making Chocolate Covered Pretzels
- Pro Tips For The Perfect Chocolate Covered Pretzels
- Recipe FAQs: All Your Questions Answered
- Endless Creativity: Flavor and Topping Variations
- More Sweet Treats
- Love This Recipe?
- Chocolate Covered Pretzels Recipe
The Irresistible Ingredients for Chocolate Covered Pretzels
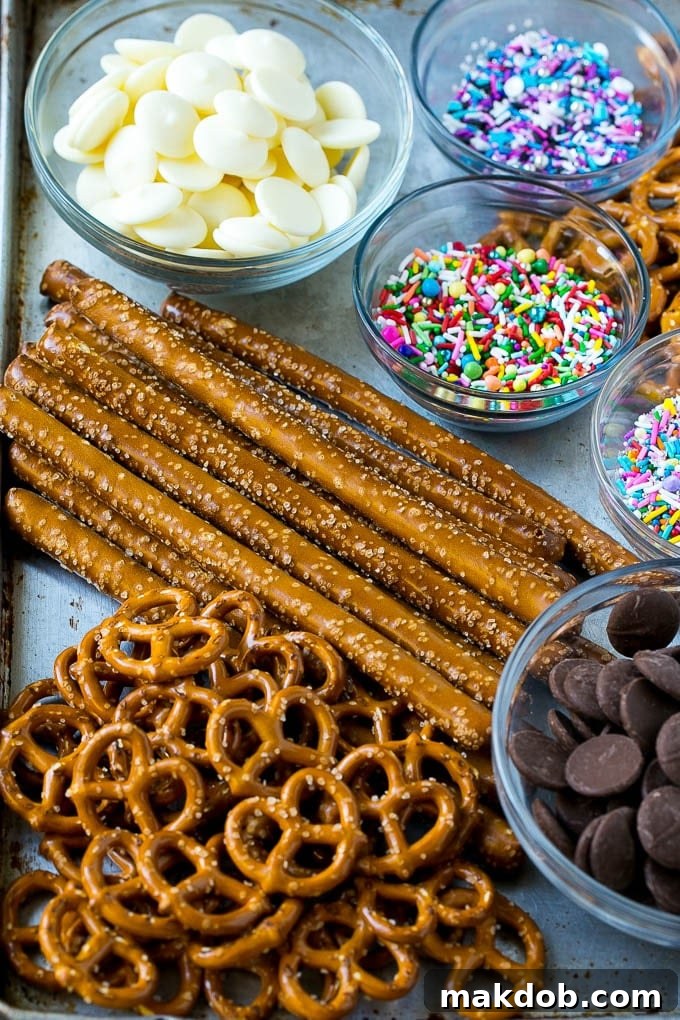
Crafting these delectable chocolate covered pretzels requires just a few key components, ensuring an effortless process with impressive results. You’ll primarily need your choice of pretzels – either classic pretzel twists for a bite-sized crunch or elegant pretzel rods for a more substantial, dippable treat. The star of the show, of course, is the chocolate, for which you have two excellent options: candy melts or high-quality chocolate chips. And to add that final flourish of festive charm, a generous supply of sprinkles is essential.
If you opt for chocolate chips, a small amount of shortening will be your secret ingredient to achieve the perfect dipping consistency. Shortening helps thin out the melted chocolate, making it smoother and easier to coat your pretzels without becoming too thick or clumpy. Candy melts, on the other hand, are designed to melt smoothly on their own and typically do not require any added shortening. Choosing the right ingredients is the first step to ensuring your homemade chocolate pretzels turn out beautifully every time.
Mastering the Art of Making Chocolate Covered Pretzels
Creating perfect chocolate covered pretzels is a simple process that yields deliciously impressive results. Start by preparing your chosen chocolate. Place your candy melts or chocolate chips into a microwave-safe bowl. If you are using chocolate chips, remember to add a small amount of shortening at this stage. This helps achieve a smooth, dippable consistency. Microwave the chocolate in short, 30-second increments, stirring thoroughly after each interval. Continue until the chocolate is completely melted and beautifully smooth, free of any lumps.
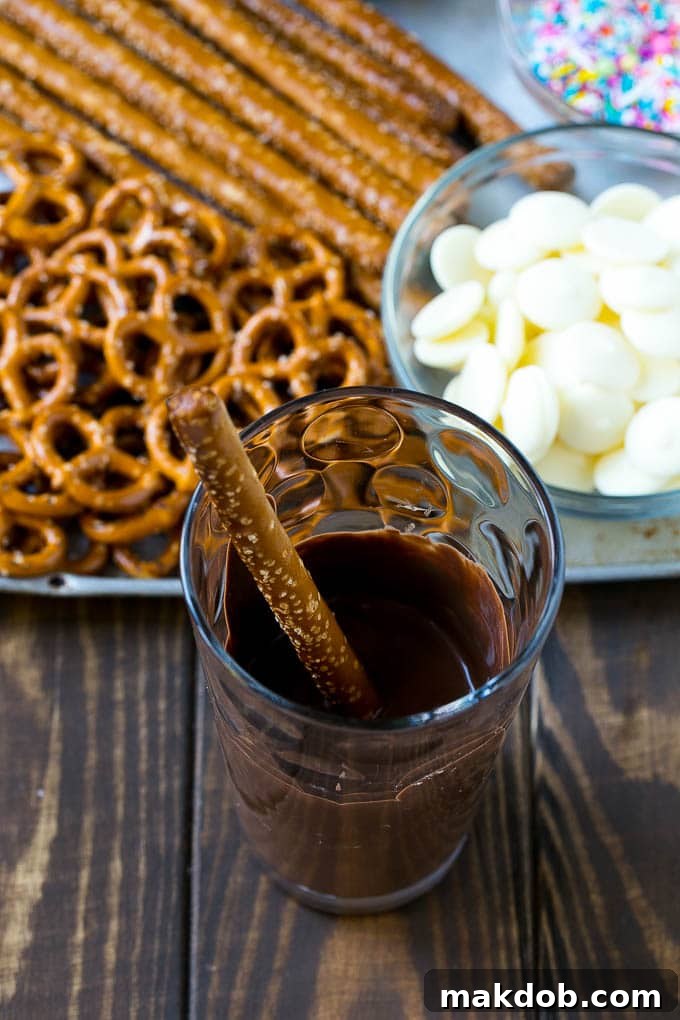
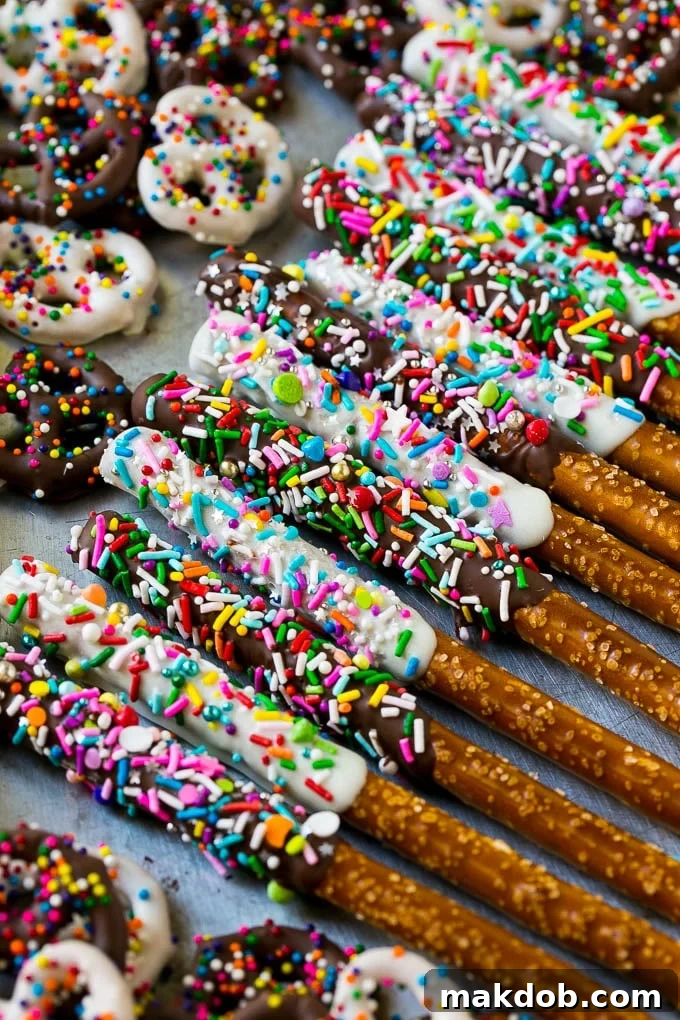
Once your chocolate is perfectly melted, it’s time for the fun part: dipping! For pretzel rods, pour the melted chocolate into a tall, narrow glass. This allows you to effortlessly dip the entire rod or just a portion, ensuring a consistent and even coating. For pretzel twists, a fork is your best tool. Submerge each twist, allowing excess chocolate to drip off before transferring. Immediately after dipping, while the chocolate is still wet, generously dust your pretzels with sprinkles or roll them in your chosen toppings. The quicker you add toppings, the better they will adhere.
Finally, place your decorated pretzels on a sheet of parchment paper or wax paper set on a baking sheet. This prevents sticking and makes for easy cleanup. Allow them to dry completely at room temperature until the chocolate has fully set, which typically takes about 30-60 minutes depending on your room’s temperature and humidity. Once dry, your homemade chocolate covered pretzels are ready to be enjoyed, shared, or packaged as delightful gifts!
Pro Tips For The Perfect Chocolate Covered Pretzels
- Achieving Perfect Coverage for Rods: For pretzel rods, melting your candy melts or chocolate in a tall, narrow glass is a game-changer. This simple trick allows you to easily dip the entire rod into the melted chocolate, ensuring a uniform and generous coating with minimal mess. Just dip, gently tap against the rim to remove excess, and you’re left with a perfectly coated rod.
- Seasonal & Themed Sprinkles: The beauty of these pretzels lies in their adaptability. You can use any type of sprinkles you desire! Select different colors and shapes for various holidays and special occasions throughout the year. Think orange and black for Halloween, pastels for Easter, red and pink for Valentine’s Day, or classic red and green for Christmas. This makes them a festive treat year-round.
- Essential Drying Surface: Always let your freshly dipped pretzels dry on a piece of parchment paper or wax paper laid out on a sheet pan or cookie sheet. This prevents the chocolate from sticking to the surface as it sets, ensuring your pretzels lift off cleanly and maintain their pristine appearance.
- The Ultimate Gift: Chocolate covered pretzels are absolutely perfect for gift-giving. Their attractive appearance and delicious taste make them a highly appreciated present. Simply package them up in clear cellophane bags, tie with a festive ribbon, and you have a beautiful, homemade gift that will impress anyone.
- A Fun Family Activity: These pretzels are not just easy to make, they’re also a fantastic activity for all ages. Kids would love to get involved in creating their own unique pretzel masterpieces with their favorite combinations of sprinkles and toppings. It’s a wonderful way to spend quality time together and create edible art.
- Optimal Storage: Once dry, store your chocolate covered pretzels in an airtight container at room temperature. This will keep them fresh and crispy for up to two weeks, allowing you to prepare them in advance for events or enjoy them over time. Avoid refrigerating or freezing, as condensation can make the chocolate surface appear dull and potentially sticky.
- Quick Cooling Trick: To speed up the drying process, especially if you’re in a hurry, you can place the parchment-lined baking sheets in the refrigerator for 10-15 minutes. Just be sure to bring them back to room temperature before serving to prevent condensation.
Quick Tip: Pretzel Variety
Feel free to use a combination of pretzel twists and pretzel rods to add variety to your presentation and offer different snacking experiences. Both shapes work beautifully with this recipe!
Recipe FAQs: All Your Questions Answered
I highly recommend using candy melts for this recipe due to their superior melting qualities and ease of use. They melt incredibly smoothly, require no tempering (a complex process for real chocolate), and are very forgiving for beginners. My personal preference is Ghirardelli Melting Wafers, which are readily available in the baking aisle of most grocery stores. They offer an exceptional melt and a fantastic flavor. If you prefer to use real chocolate chips (like semi-sweet, milk, or dark chocolate), you’ll want to add a small amount of neutral-flavored shortening to the melted chocolate. This helps to thin it out slightly, making it much easier to dip your pretzels and achieve a smooth, even coating without becoming too thick.
The microwave is my go-to method for melting chocolate candy quickly and efficiently. Simply place your candy melts (or chocolate chips with shortening) in a microwave-safe bowl. Heat the chocolate in short bursts of 30 seconds, stirring thoroughly after each interval. It’s crucial not to overheat the chocolate, as this can cause it to seize or burn. Continue microwaving and stirring until the chocolate is completely melted and has a wonderfully smooth, uniform consistency. The residual heat will continue to melt any small remaining lumps as you stir.
When stored properly in an airtight container at room temperature, your delicious chocolate covered pretzels will remain fresh and crunchy for up to two weeks. To maintain their quality and appearance, I do not recommend freezing or refrigerating the pretzels. Chilling them can cause condensation to form on the chocolate layer once they return to room temperature, leading to a dull, sticky, or “bloomed” surface (white streaks or spots) which affects both their look and texture.
Chocolate seizing means it becomes thick, lumpy, and unusable. This usually happens when even a tiny amount of water or steam comes into contact with the melted chocolate. Ensure all your bowls, spatulas, and utensils are completely dry. If melting over a double boiler, make sure the bottom of your bowl doesn’t touch the simmering water, and no steam escapes into the chocolate.
While you can technically melt chocolate bars, they often don’t have the same smooth melting properties as candy melts or baking chocolate chips, and they may require tempering to achieve a glossy finish and snap. For ease and best results, especially for beginners, candy melts or good quality baking chocolate chips with shortening are recommended.
Pretzels can become soft or soggy if they are exposed to too much humidity or if they are stored incorrectly. As mentioned, avoiding refrigeration is key. Also, ensure your chocolate is fully set before storing, and always use an airtight container to protect them from moisture in the air.
Follow Me
Endless Creativity: Flavor and Topping Variations
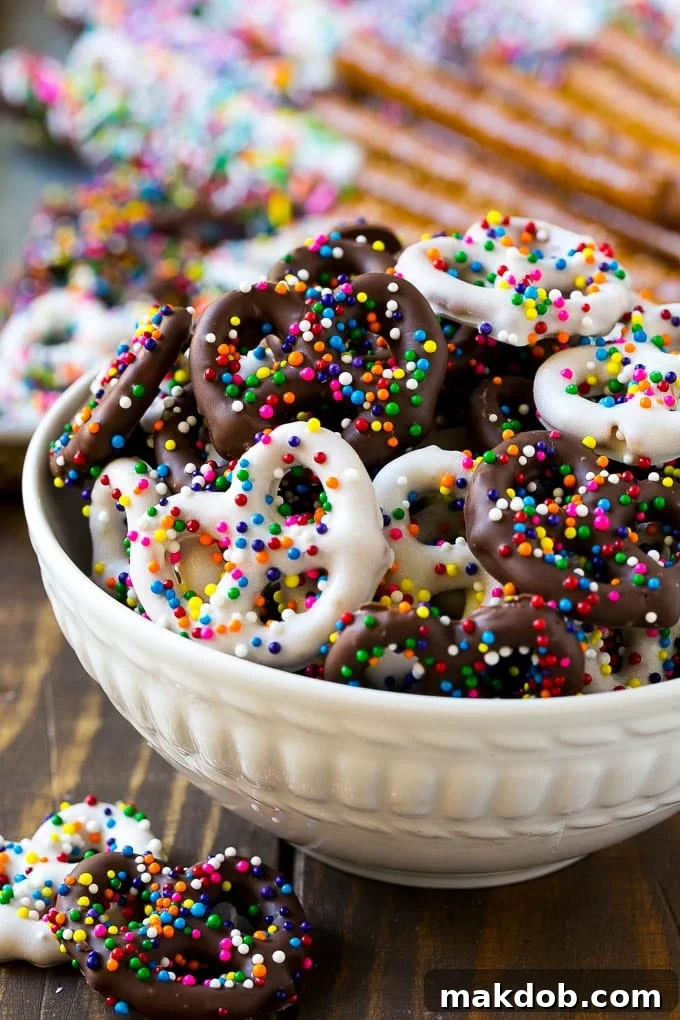
While these chocolate covered pretzels are absolutely delicious in their classic form, their true magic lies in their incredible versatility. They serve as a perfect canvas for your culinary creativity, allowing you to easily change them up to suit any taste preference, theme, or occasion.
- A Spectrum of Colors: Beyond traditional dark and white, you can choose candy melts in a dazzling array of colors to perfectly match your party theme or holiday. Alternatively, for a truly custom hue, stir a couple of drops of gel food coloring into melted white candy melts or white chocolate chips. This opens up endless possibilities for vibrant and eye-catching treats.
- Irresistible Toppings Galore: Sprinkles are just the beginning! Elevate your pretzels with an exciting variety of toppings. Experiment with finely chopped nuts like pecans, almonds, or walnuts for added crunch. Toffee bits offer a delightful caramel note, while crushed Oreos create a classic cookies-and-cream twist. Finely shredded coconut adds a tropical flair, or for a festive touch, try crushed peppermint candies during the holidays. Mini M&Ms, sea salt flakes for a gourmet touch, or even edible glitter can transform your pretzels.
- Your Choice of Chocolate: The type of chocolate significantly influences the flavor profile. You can opt for classic semi-sweet chocolate chips for a balanced taste, rich milk chocolate chips for a creamy, sweeter experience, intense dark chocolate chips for a sophisticated bitterness, or sweet white chocolate chips for a smooth, vanilla-like coating. Any high-quality chocolate chips will work beautifully, allowing you to tailor the treat to your personal preference.
- Elegant Drizzle Designs: For a different look or an artistic touch, try drizzling contrasting colored chocolate over your coated pretzels. A simple zig-zag pattern or more intricate designs can add visual appeal and an extra layer of flavor. Melt a different chocolate color, transfer it to a piping bag with a tiny snipped corner (or a Ziploc bag), and drizzle away!
- Spice It Up: For an unexpected twist, stir a pinch of ground cinnamon, a tiny dash of cayenne pepper for a subtle kick, or a drop of almond extract into your melted chocolate before dipping. These additions can elevate the flavor profile dramatically.
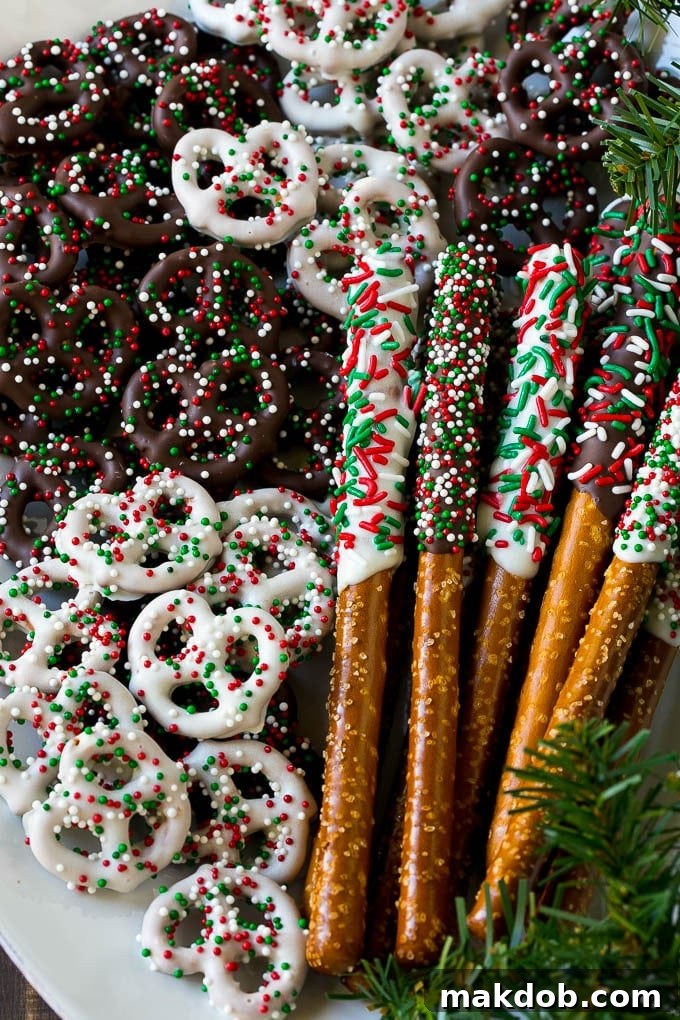
I consistently find myself serving chocolate covered pretzel rods at parties and gatherings. They are not only incredibly fun to eat but also incredibly convenient, as they can be prepared well in advance, reducing stress on the day of your event. Whether you’re presenting your pretzels as a delightful party snack, a festive dessert, or carefully packaging them up for thoughtful gifts, you can be absolutely certain they will receive enthusiastic compliments and rave reviews from everyone who tries them. Their irresistible charm makes them a guaranteed crowd-pleaser!
More Sweet Treats
Rolo Pretzels
8 mins
Oreo Balls Recipe
31 mins
Eggnog Cake
1 hr
Rocky Road Fudge
12 mins
Eggnog Cookies
30 mins
Love This Recipe?
Please leave a 5-star 🌟🌟🌟🌟🌟 rating in the recipe card below & a review in the comments section further down the page. Your feedback is greatly appreciated!
Chocolate Covered Pretzels
Pin
Time
Ingredients
- 50 miniature pretzel twists or 24 pretzel rods
- 12 ounces chocolate chips or candy melts milk, white, dark or any combination
- 1/2 cup sprinkles
- 1 tablespoon shortening ONLY if using chocolate chips, you do not need to add shortening to candy melts.
Instructions
-
Place the chocolate or candy melts in a microwave safe bowl. If you’re using chocolate chips, add the shortening to the bowl. You do not need to use shortening if you’re using candy melts.
-
Microwave in 30 second increments or until chocolate is melted. Stir until smooth.
-
If you’re dipping pretzel rods, pour the chocolate into a tall glass and dip each rod halfway into the chocolate. Tap the rod against the side of the glass to remove excess chocolate, then coat each rod in sprinkles and set on parchment to dry.
-
If you’re dipping pretzel twists, use a fork to coat each pretzel in chocolate, then tap the fork against the side of the bowl to remove excess chocolate. Use a toothpick to slide each pretzel off the fork onto parchment paper, then top each pretzel with sprinkles.
-
Let the pretzels sit until dry. Serve, or store in an airtight container for up to 2 weeks.
Notes
- You can use pretzel twists, pretzel rods or a combination of the two.
- Melt your candy melts in a tall glass for chocolate covered pretzel rods. All you have to do is dip your pretzel into the glass for a perfect coating.
- You can use any type of sprinkles that you like. Pick different colors for different holidays all year long.
- Ensure all your equipment (bowls, spoons) is completely dry when melting chocolate, as even a drop of water can cause the chocolate to seize and become lumpy.
- For best results, allow the chocolate to fully set at room temperature before handling or storing to prevent smudges and ensure a firm coating.