
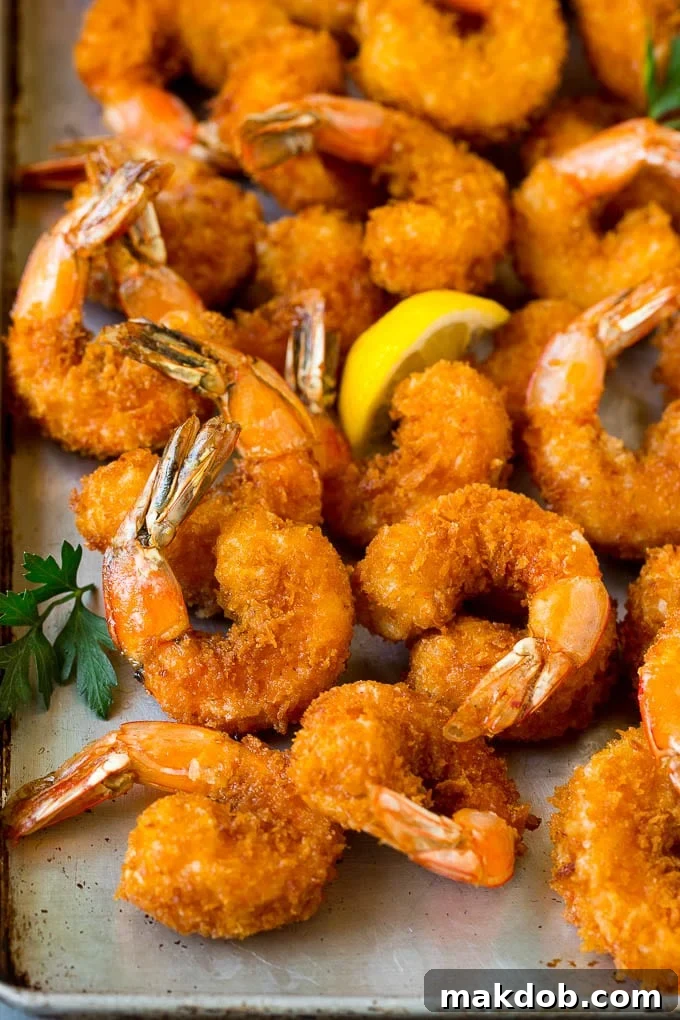
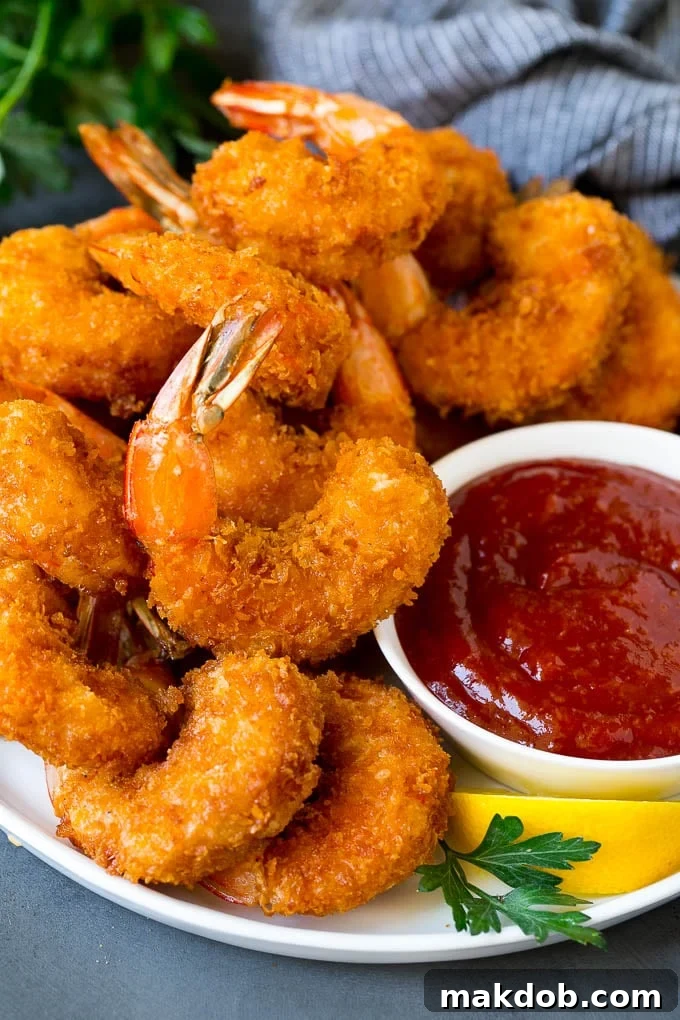
Welcome to the ultimate guide for creating the most delectable and **crispy fried shrimp** you’ve ever tasted, right in your own kitchen! Forget those often greasy, lackluster restaurant versions. This **homemade fried shrimp recipe** uses plump, juicy jumbo shrimp, meticulously coated in a perfectly seasoned breading, then deep-fried to a stunning golden-brown perfection. Whether you’re planning an impressive appetizer for a gathering or a satisfying **main course** for a seafood lover, this recipe promises to deliver an unparalleled culinary experience that’s both simple to master and incredibly rewarding.
There’s something inherently delightful about perfectly cooked shrimp – their sweet, tender flesh encased in a crunchy, flavorful crust. As a devoted **shrimp lover**, I’ve explored numerous ways to enjoy this versatile seafood, from savory Cajun shrimp pasta to comforting shrimp fried rice. However, these golden-fried beauties hold a special place in my heart. If you’re looking to delight your family and friends with an exceptional seafood dish, this is a must-try. Beyond fried shrimp, you can also explore elegant options like grilled tilapia with garlic and herbs, sophisticated steamed mussels, or the classic French seafood stew, bouillabaisse. But for pure, unadulterated comfort and flavor, nothing quite compares to a plate of expertly **deep-fried shrimp**.
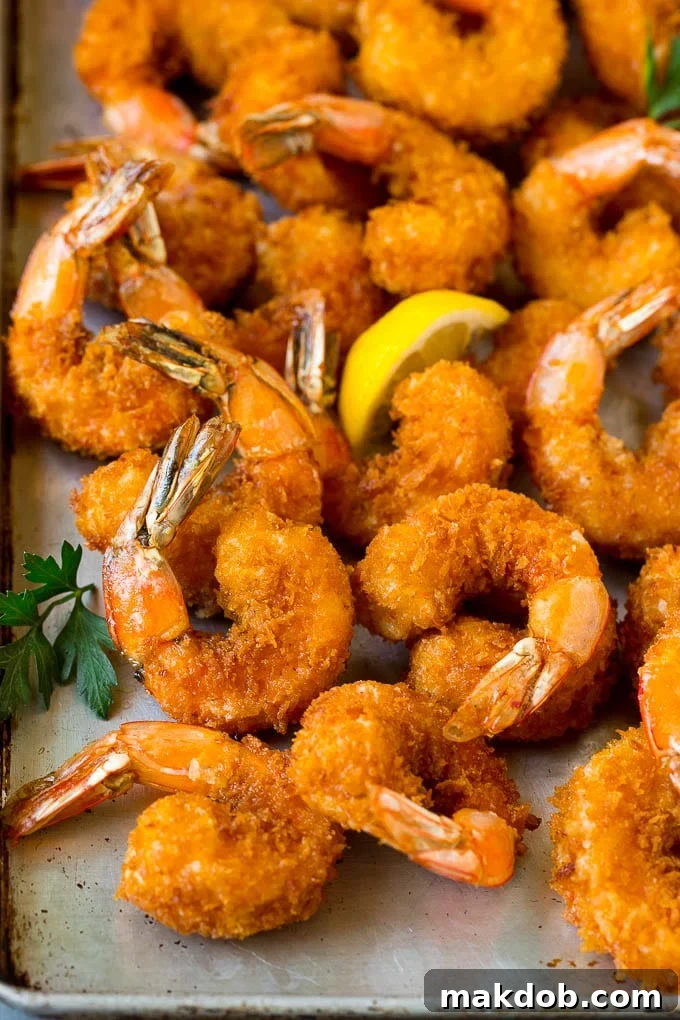
Why Make Homemade Fried Shrimp?
While the allure of restaurant fried shrimp is undeniable, preparing this dish at home offers numerous advantages. You gain complete control over the quality of your ingredients, ensuring the freshest shrimp and the best frying oil. Making it yourself is often more cost-effective, allowing you to enjoy a generous serving without the hefty price tag. Most importantly, you can customize the seasoning to your exact preference, creating a flavor profile that’s simply unmatched by mass-produced versions. My recipe guarantees that perfect balance of sweet, succulent shrimp and an incredibly crunchy, well-seasoned coating, making it superior to many restaurant offerings.
Essential Ingredients for Your Perfect Fried Shrimp
Crafting the ultimate **crispy fried shrimp** starts with selecting the right ingredients. This recipe is straightforward, relying on simple, high-quality components to achieve maximum flavor and texture. Here’s what you’ll need to create this amazing **seafood delight**:
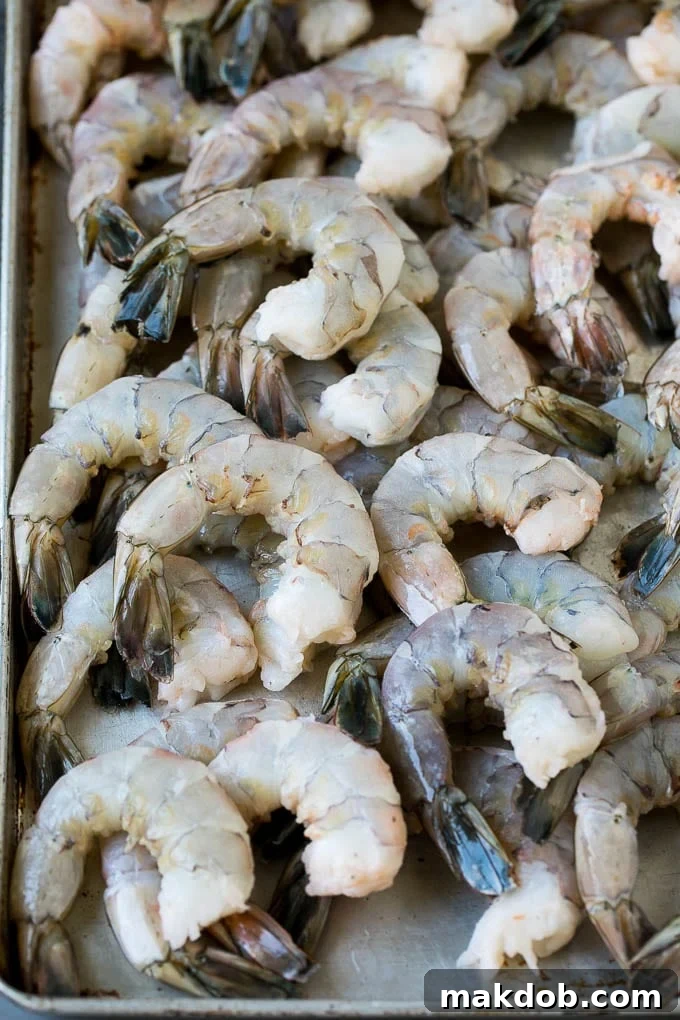
- **Jumbo Shrimp:** You’ll need about 2 pounds of raw, jumbo shrimp. The size matters here – aim for “under 15 count” if possible, meaning there are less than 15 shrimp per pound. Larger shrimp stay juicier and cook more evenly. Ensure they are peeled and deveined, but for that classic presentation and ease of handling, leave the tails on. Fresh shrimp are ideal, but high-quality frozen shrimp (thawed properly) work wonderfully too.
- **All-Purpose Flour:** This forms the crucial first layer of your breading, providing a base for the egg wash to adhere to.
- **Seasonings:** A simple blend of 1 teaspoon salt, 1/2 teaspoon black pepper, and 1/4 teaspoon garlic powder infuses the coating with savory flavor. This trifecta is key to elevating the overall taste of your **seasoned breadcrumbs**.
- **Eggs:** 3 beaten eggs act as the binder, allowing the dry flour and breadcrumbs to stick to the shrimp.
- **Panko Breadcrumbs:** This is perhaps the most important ingredient for achieving that signature crispiness. Panko breadcrumbs, a Japanese-style breadcrumb, are coarser and flakier than traditional breadcrumbs, resulting in a much lighter and crispier texture when fried. You’ll need about 1 3/4 cups.
- **Oil for Frying:** Choose an oil with a high smoke point, such as vegetable oil, canola oil, peanut oil, or sunflower oil. You’ll need enough to fill your pot with about 3 inches of oil for proper deep frying.
- **Optional Garnishes and Serving Suggestions:** Lemon wedges and fresh parsley for a burst of color and freshness, and of course, plenty of cocktail sauce for dipping!
How to Make Perfectly Crispy Fried Shrimp
Creating restaurant-quality **deep-fried shrimp** at home is all about the technique, particularly when it comes to the crispy coating and precise frying temperature. Follow these simple steps for a truly exceptional result:
- **Set Up Your Dredging Station:** Prepare three shallow bowls for your breading station. In the first bowl, combine the all-purpose flour, salt, pepper, and garlic powder. Stir well to ensure the seasonings are evenly distributed. In the second bowl, beat the eggs until they are well-whisked. In the third bowl, pour the panko breadcrumbs.
- **Prepare the Shrimp:** Ensure your shrimp are thoroughly patted dry with paper towels. Excess moisture can prevent the breading from sticking properly and can also cause the oil to splatter.
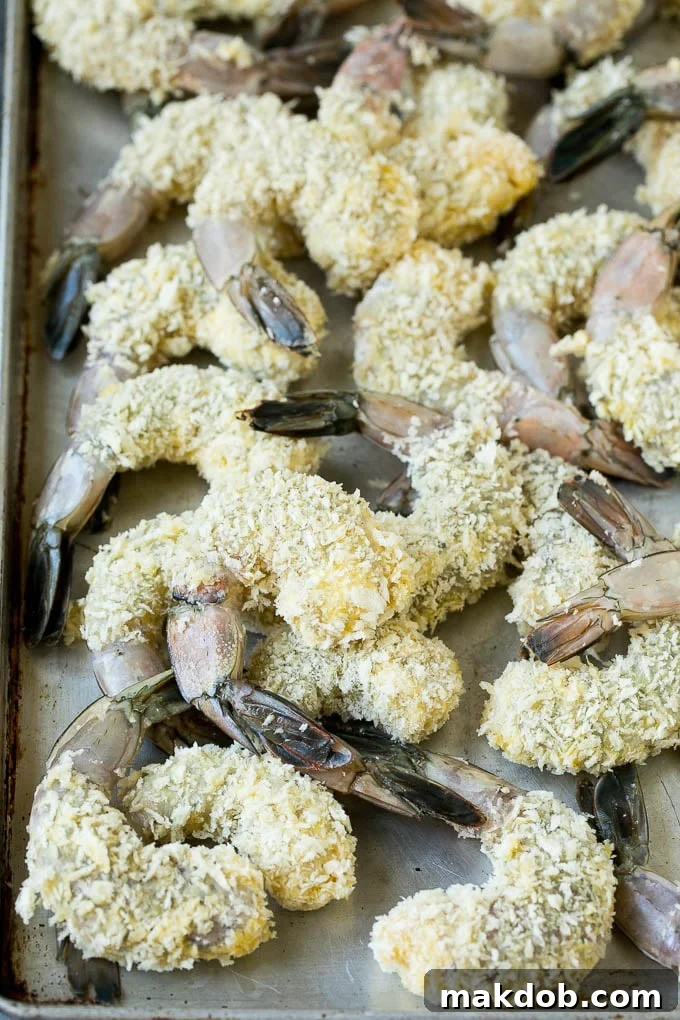
- **Breading the Shrimp:** Take each shrimp by its tail and dip it first into the seasoned flour, ensuring it’s fully coated. Gently shake off any excess flour. Next, immerse the floured shrimp into the beaten egg, letting any excess drip off. Finally, roll the shrimp in the panko breadcrumbs, pressing gently to ensure an even and thorough coating. Place each breaded shrimp on a clean baking sheet or wire rack. Repeat this process until all your **jumbo shrimp** are beautifully breaded.
- **Heat the Oil:** In a deep, heavy-bottomed pot or Dutch oven, heat about 3 inches of your chosen frying oil to 350°F (175°C). Using a reliable frying thermometer is crucial here to maintain the ideal temperature, which is key to achieving that perfect golden crispness without overcooking the shrimp.
- **Fry in Batches:** Carefully add 5-7 breaded shrimp to the hot oil at a time, depending on the size of your pot. Avoid overcrowding the pot, as this will drop the oil temperature too quickly, leading to greasy, less crispy shrimp.
- **Cook to Golden Perfection:** Fry the shrimp for 3-4 minutes, or until they turn a beautiful golden brown and the shrimp meat is opaque and cooked through. During frying, you can gently stir them occasionally with a kitchen spider or slotted spoon to prevent them from clumping together and ensure even cooking.
- **Drain and Season:** Using your kitchen spider, remove the cooked shrimp from the oil and immediately transfer them to a plate lined with paper towels or a wire rack set over a baking sheet to drain any excess oil. For an extra boost of flavor, sprinkle with a pinch of extra salt immediately after removing them from the oil.
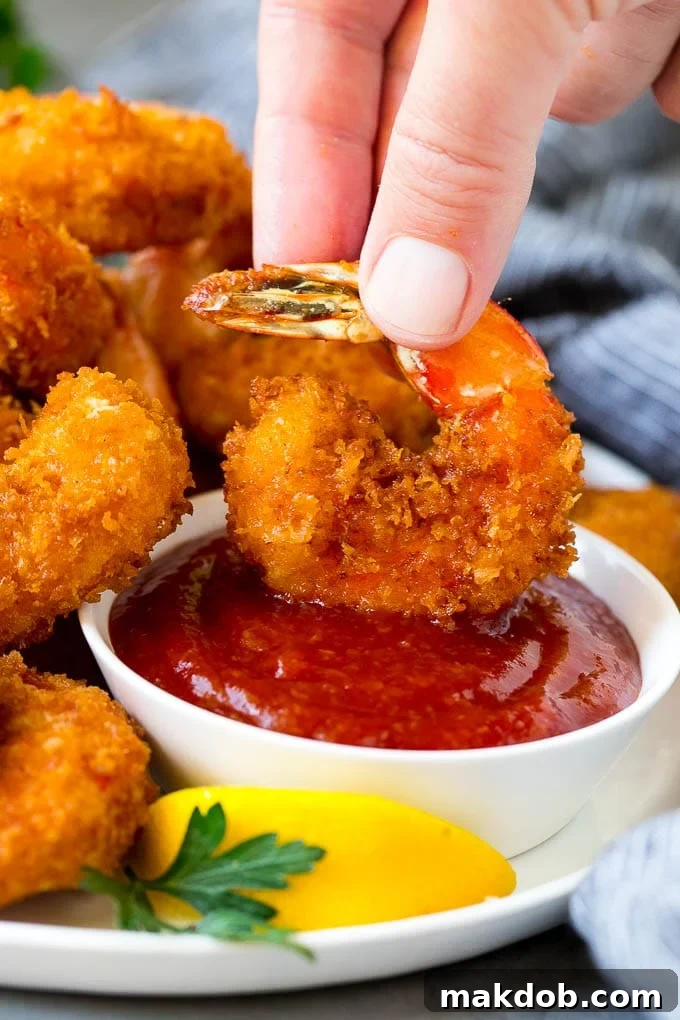
- **Serve Immediately:** Repeat the frying process with the remaining shrimp batches. Serve your perfectly **crispy fried shrimp** piping hot with fresh lemon wedges, a sprinkle of parsley, and your favorite cocktail sauce or tartar sauce. Enjoy the irresistible combination of tender shrimp and crunchy coating!
Tips for Achieving the Best Fried Shrimp
- **Choose Large Shrimp:** Always opt for the largest shrimp you can find. “Under 15 count” (shrimp per pound) is ideal, but “16/20” or “21/25” sizes also yield excellent results. Larger shrimp are less likely to overcook and become rubbery, and they provide a more satisfying bite.
- **Proper Breading Technique:** When coating the shrimp, hold them by the tail and ensure an even layer of flour, egg, and breadcrumbs. Shake off any excess at each stage to prevent a thick, pasty coating and promote maximum crispiness.
- **Maintain Oil Temperature:** The oil temperature is paramount. Aim for a consistent 350°F (175°C). The temperature will drop when you add cold shrimp, so don’t worry about it dipping slightly; it will recover as the shrimp cook. Conversely, do not let the oil exceed 400°F (200°C), as this can burn the breading quickly while leaving the shrimp undercooked or result in a greasy texture. A reliable frying thermometer is your best friend here.
- **Don’t Overcrowd the Pot:** Fry your shrimp in small batches (around 5-7 at a time, depending on your pot size). Overcrowding drastically lowers the oil temperature, leading to soggy, oil-logged shrimp. Give each shrimp enough space to cook evenly and get perfectly crispy.
- **Prevent Clumping:** While frying, gently stir the shrimp a bit with a kitchen spider or slotted spoon. This helps prevent them from sticking together and ensures all sides cook to a uniform golden-brown.
- **Drain Properly:** After frying, immediately transfer the shrimp to a wire rack set over a baking sheet, rather than directly onto paper towels. A wire rack allows air circulation around all sides of the shrimp, preventing the bottom from becoming soggy. If you only have paper towels, arrange them in a single layer and avoid stacking.
- **Season Immediately:** A light sprinkle of salt right after the shrimp come out of the hot oil enhances their flavor significantly.
- **Serving Versatility:** These **homemade fried shrimp** are incredibly versatile. They make a fantastic standalone appetizer with various dipping sauces or can be transformed into a decadent main course. Consider pairing them with London broil for an impressive surf and turf dinner, or serve with a side of coleslaw and fries for a classic seafood platter.
Frequently Asked Questions About Fried Shrimp
How long do you fry shrimp for?
For jumbo shrimp, you should typically fry them for **3-4 minutes** in oil heated to 350°F (175°C). The exact time can vary slightly depending on the size of your shrimp and the consistency of your oil temperature. Look for a golden-brown coating and opaque flesh as indicators that they are perfectly cooked. Overfrying can lead to tough, rubbery shrimp.
How do you keep fried shrimp crispy?
The key to maintaining ultimate crispiness is proper draining and storage. Immediately after frying, place the cooked shrimp on a **cooling rack** in a single layer. This allows air to circulate around them, preventing steam from making the bottom soggy. Avoid stacking the shrimp directly on top of each other. If you need to store leftovers, let them cool completely on the rack, then transfer them to an airtight container in the refrigerator for up to 2-3 days. To reheat, arrange them in a single layer on a baking sheet and bake in a preheated oven at 350°F (175°C) for 10-15 minutes, or until thoroughly heated and re-crisped.
Is it better to fry raw or cooked shrimp?
It is always better to fry **raw shrimp**. Cooked shrimp, when reintroduced to hot oil, tend to become overdone and develop a rubbery, unpleasant texture very quickly. Starting with raw shrimp ensures they cook through perfectly while the breading crisps up, resulting in tender, juicy shrimp with a golden crust.
How do you peel and devein shrimp?
Peeling shrimp is straightforward: simply use your thumb to press into the underside of the shrimp, near where the legs are. Gently peel back each segment of the shell, working from the head end towards the tail. For aesthetic appeal and easy handling, it’s common to leave the last segment of the shell and the tail intact. To devein a shrimp, make a shallow cut along the top (the curved outer edge) of the raw shrimp using a sharp paring knife. The cut should run from the front of the shrimp to the tail, about 1/8 inch deep. Inside this cut, you’ll typically see a dark, string-like vein. Gently reach in and pull it out. If the vein breaks, use your knife to carefully scrape out any remaining pieces. Rinse the deveined shrimp under cold water if necessary, then pat dry.
Delicious Variations for Your Fried Shrimp
While this **crispy fried shrimp recipe** is perfect as written, it also lends itself beautifully to customization. Feel free to experiment with different cooking techniques and flavorings to suit your taste:
- **Baked Fried Shrimp:** For a lighter take, you can bake these shrimp instead of deep frying. After breading, lightly coat the shrimp with cooking spray. Arrange them in a single layer on a baking sheet and bake at 425°F (220°C) for about 15 minutes, or until golden brown and crisp. While still delicious, the texture will be slightly different from deep-fried.
- **Air Fryer Shrimp:** If you own an air fryer, it’s another fantastic method for achieving a similar crispy result with less oil. You can refer to my dedicated air fryer shrimp recipe for specific instructions and tips.
- **Flavor Enhancements:** Don’t hesitate to get creative with your breading seasonings! Consider adding a teaspoon of onion powder, a pinch of smoked paprika for depth, a dash of cayenne pepper for a little kick, or a teaspoon of your favorite Cajun seasoning, Italian seasoning, or seasoned salt. Dried herbs like dill or oregano can also add a delightful aromatic touch.
- **Gluten-Free Option:** To make this recipe gluten-free, simply substitute the all-purpose flour with a gluten-free all-purpose flour blend and use gluten-free panko breadcrumbs. The results are just as delicious and crispy!
Serving Suggestions and Perfect Pairings
These **jumbo fried shrimp** are incredibly versatile. As a classic appetizer, serve them with an array of dipping sauces like cocktail sauce, tartar sauce, or a spicy remoulade. For a more substantial meal, consider pairing them with:
- **Classic Sides:** French fries, coleslaw, hush puppies, onion rings, or a simple green salad.
- **Hearty Meals:** Transform them into a “surf and turf” dinner by serving alongside a perfectly grilled steak, like the London broil mentioned earlier.
- **Creative Applications:** Use the fried shrimp to make delicious shrimp tacos, po’boy sandwiches, or even as a topping for a fresh salad.
I truly adore enjoying **fried shrimp** at restaurants, but with this incredible recipe, you can effortlessly recreate that same, if not superior, fantastic flavor and perfect crispiness within the comfort of your own home. It’s an easy, rewarding dish that’s guaranteed to become a family favorite.
More Delicious Shrimp Recipes You’ll Love
- Buffalo Shrimp
- Shrimp Scampi Dip
- Garlic Butter Shrimp
- Shrimp Kabobs
- Shrimp Boil
Fried Shrimp
Pin
Sara Welch
20 minutes
10 minutes
30 minutes
Appetizer, Main Course
American
6
Ingredients
- 2 pounds jumbo shrimp deveined and peeled, leave tails on
- 1/2 cup all purpose flour
- 1 teaspoon salt
- 1/2 teaspoon pepper
- 1/4 teaspoon garlic powder
- 3 eggs beaten
- 1 3/4 cups panko breadcrumbs
- oil for frying
- lemon wedges and parsley for garnish optional
- cocktail sauce for serving
Instructions
-
Place the flour in a medium size bowl along with the salt, pepper and garlic powder. Stir to combine.
-
Place the beaten eggs in a second bowl. Place the panko breadcrumbs in a third bowl.
-
Dip each shrimp first into the seasoned flour, then into the egg, then roll in the breadcrumbs to coat evenly. Place each breaded shrimp on a sheet pan or wire rack. Repeat until all shrimp are breaded.
-
Heat 3 inches of oil in a deep large pot or Dutch oven to 350 degrees F (175°C). Use a frying thermometer to monitor temperature.
-
Add 6 shrimp at a time to the hot oil and cook for 3-4 minutes, or until golden brown and cooked through. Gently stir them occasionally to ensure even cooking. Drain on paper towels or a wire rack.
-
Repeat the process with the remaining shrimp batches.
-
Place the fried shrimp on a serving plate. Serve immediately with cocktail sauce. Garnish with lemon wedges and fresh parsley if desired.
Notes
- Use the largest shrimp you can find. “Under 15 count” size is preferred, but “16/20” and “21/25” sizes also work very well.
- Ensure the oil temperature is as close to 350°F (175°C) as possible when you add the shrimp. The temperature will temporarily drop when cold shrimp are introduced, but it will rise back up as they cook.
- Continuously monitor your oil temperature with a frying thermometer. Avoid letting the oil go over 400°F (200°C) to prevent burning and ensure even cooking.
Nutrition
Calories:
291kcal
|
Carbohydrates:
21g
|
Protein:
37g
|
Fat:
5g
|
Saturated Fat:
1g
|
Cholesterol:
463mg
|
Sodium:
1722mg
|
Potassium:
197mg
|
Fiber:
1g
|
Sugar:
1g
|
Vitamin A:
119IU
|
Vitamin C:
6mg
|
Calcium:
264mg
|
Iron:
5mg
Did you make this recipe?
Tag @dinneratthezoo on Instagram and hashtag it #dinneratthezoo
Tweet
Pin