
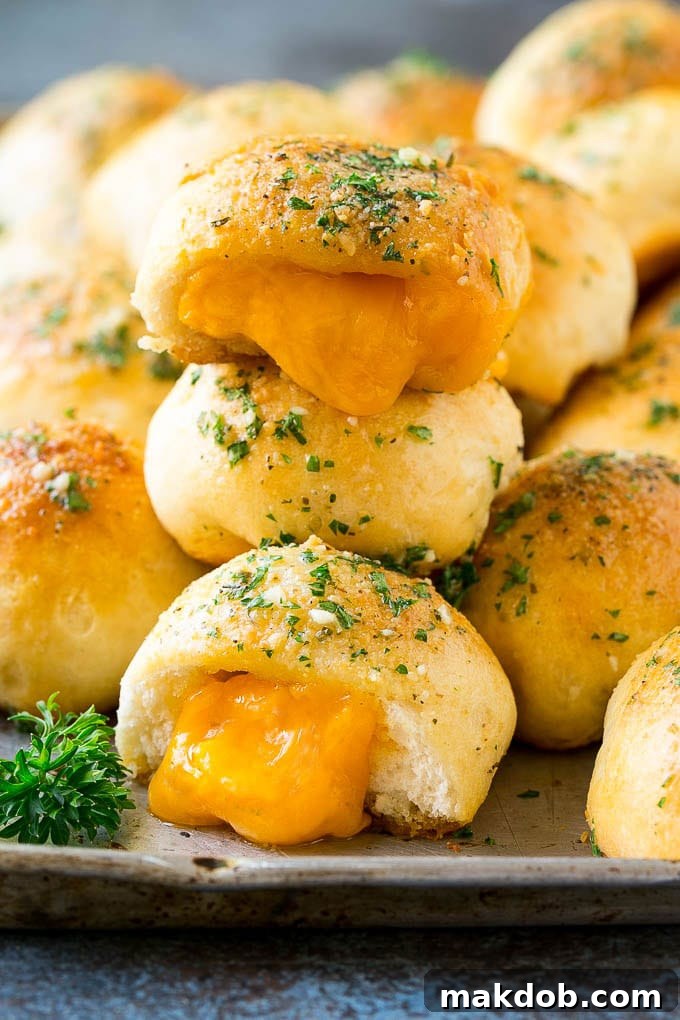
Imagine the warm, buttery aroma of classic garlic bread, but taken to an entirely new level with a surprise burst of gooey, melted cheese at its heart. These aren’t just any cheesy bites; these are **Cheese Bombs** – a culinary creation designed to delight every cheese lover. Crafted from soft biscuit dough wrapped around generous cubes of cheddar, then brushed with an irresistible garlic herb butter and sprinkled with Parmesan, they bake into golden perfection. They’re an effortless snack, a brilliant appetizer, or a comforting side dish that will have everyone reaching for more.
Irresistible Cheese Bombs: Your Ultimate Guide to Cheesy Garlic Bread Goodness
There’s a special kind of magic that happens when garlic bread meets perfectly melted cheese. While a simple slice of garlic bread is undeniably delicious, infusing it with pockets of luscious, gooey cheddar elevates the experience from delightful to absolutely extraordinary. My family consistently raves about these simple yet incredibly satisfying cheese bombs, and once you try them, yours will too!
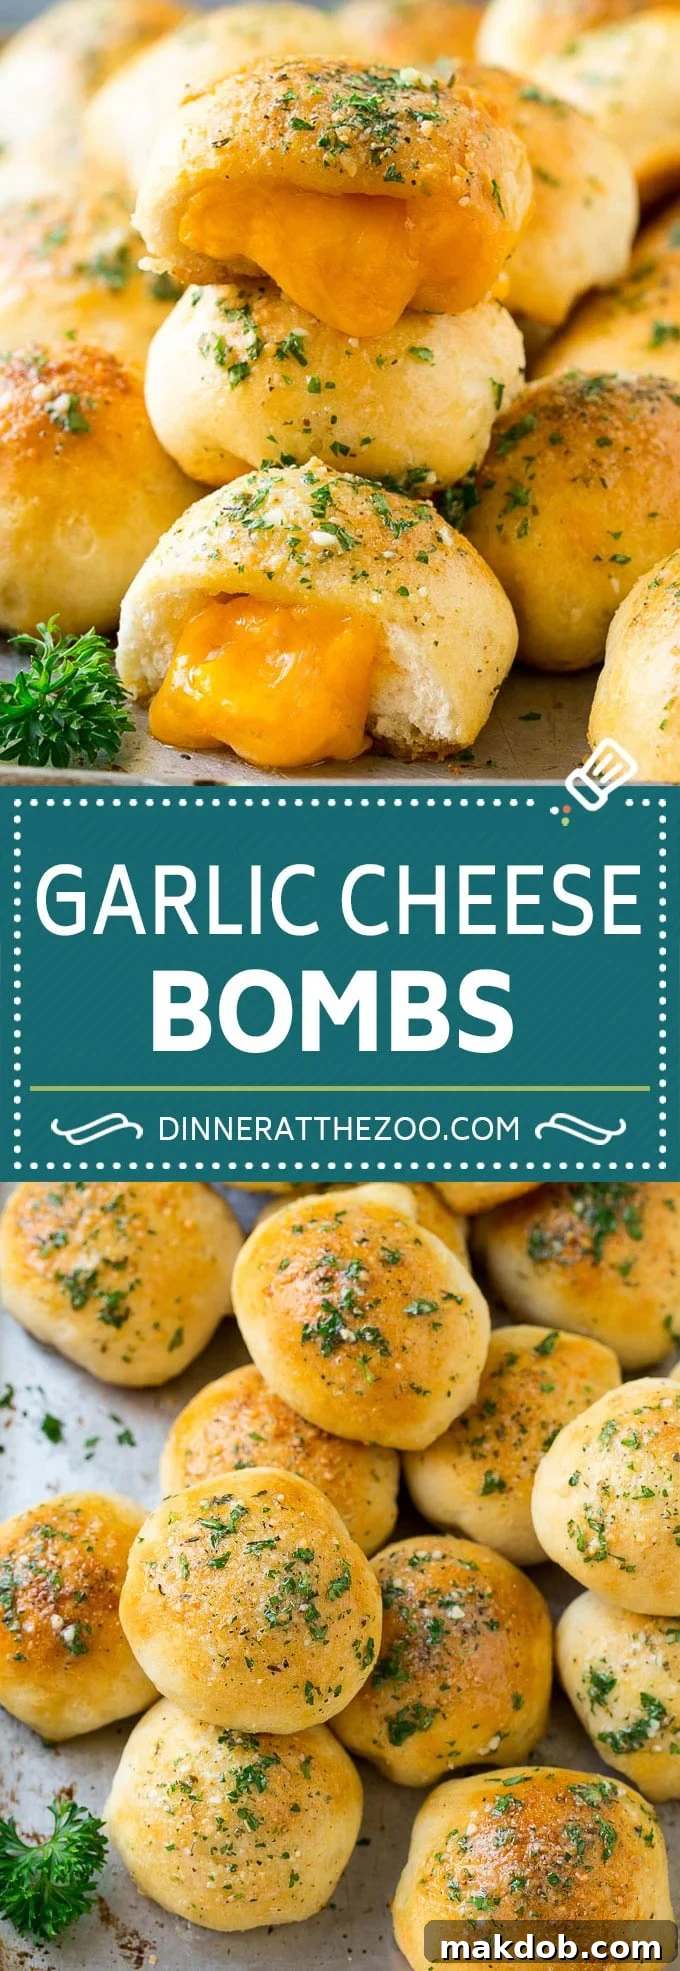
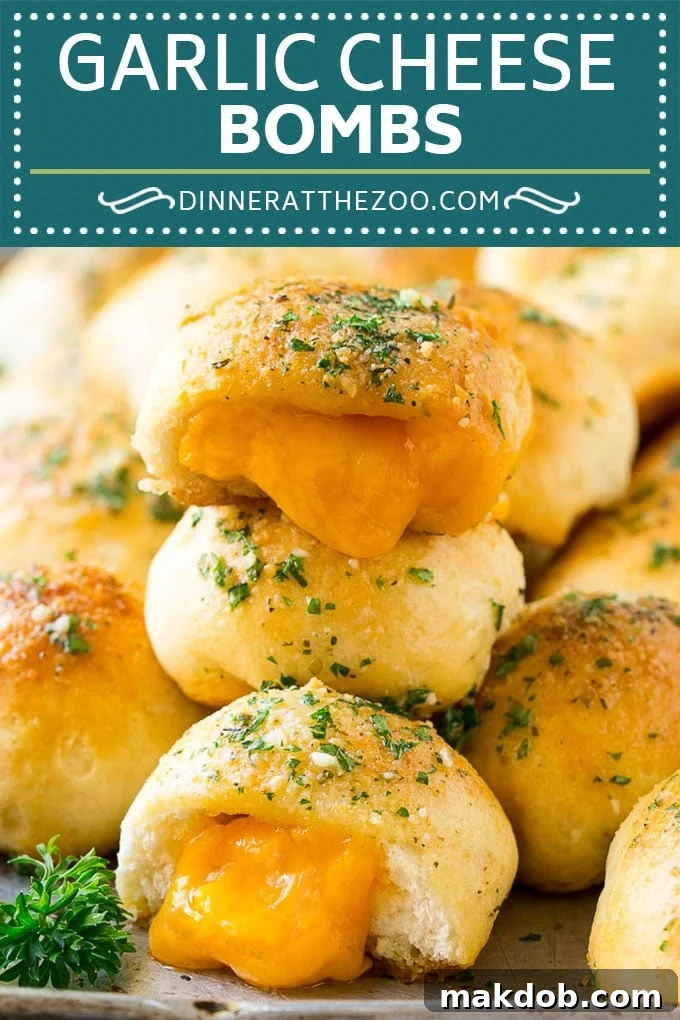
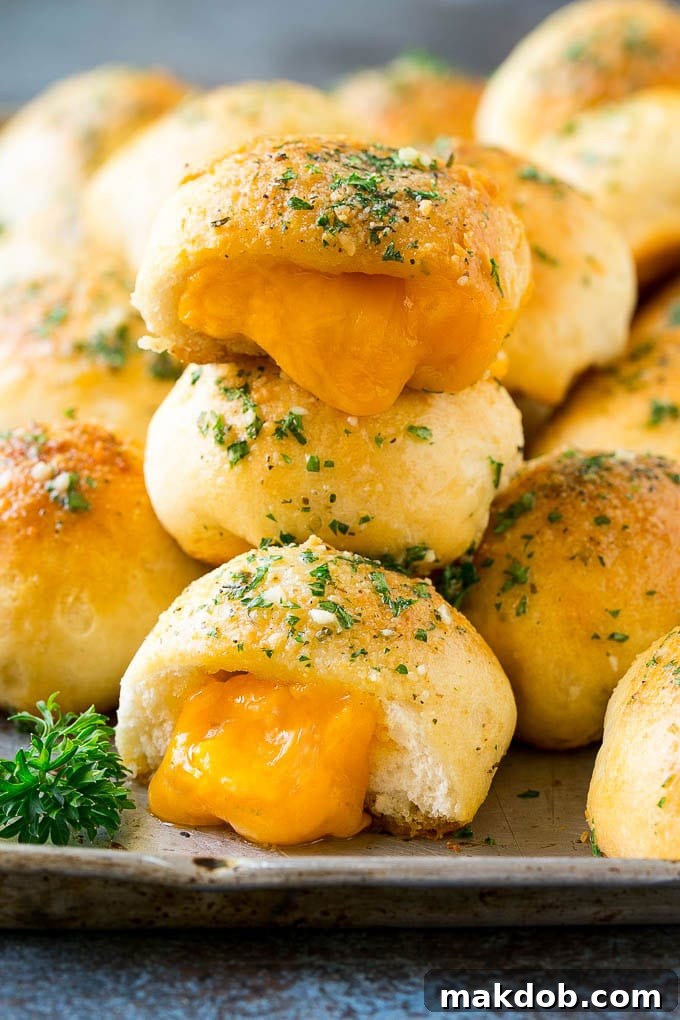
What Exactly Are Cheese Bombs? A Deep Dive into This Cheesy Delight
At their core, cheese bombs are a brilliantly simple concept that yields incredibly satisfying results. Picture soft, fluffy biscuit dough acting as a perfect parcel for a generous cube of your favorite cheese. Once sealed, these delightful dough balls are generously coated in a fragrant mixture of melted butter, pungent garlic, and aromatic Italian herbs. Baked until golden brown and puffed, they emerge from the oven as individual portions of pure comfort food, boasting a savory exterior and a molten, cheesy interior. They offer the comforting familiarity of garlic bread but with an exciting, ooey-gooey surprise in every bite.
Whether you’re hosting a casual get-together, need a quick and impressive appetizer for a party, or simply want to elevate your weeknight dinner with a fantastic side dish, these cheese bombs fit the bill perfectly. Their ease of preparation makes them accessible even for novice cooks, while their irresistible flavor guarantees they’ll be a hit with everyone at the table.
Why These Cheese Bombs Will Become Your Go-To Recipe
Beyond their mouth-watering appeal, these cheese bombs offer a multitude of reasons to make them a staple in your recipe rotation:
- Effortless Preparation: Using pre-made canned biscuit dough drastically cuts down on prep time, making this recipe achievable even on the busiest days. You can have these ready to bake in under 15 minutes!
- Irresistible Flavor Combination: The classic pairing of savory cheddar cheese, rich butter, pungent garlic, and earthy Italian herbs creates a flavor profile that is universally loved and incredibly addictive.
- Versatile Serving Options: From a standalone snack to a sophisticated appetizer or a hearty side dish, cheese bombs seamlessly integrate into any meal or occasion. They pair wonderfully with Italian entrees, warming soups, or grilled meats.
- Kid-Friendly & Crowd-Pleasing: The fun, bite-sized nature and cheesy goodness make them a guaranteed hit with children and adults alike. Prepare for them to disappear quickly at parties!
- Customizable: While cheddar is a fantastic choice, the recipe is incredibly flexible. Experiment with different types of cheese, add extra seasonings, or even introduce small savory fillings to create your unique twist.
Crafting the Perfect Cheese Bomb: Essential Ingredients
The beauty of this recipe lies in its simplicity and reliance on readily available ingredients. Here’s a closer look at what you’ll need to create these cheesy masterpieces:
- Canned Biscuit Dough: For ultimate convenience, we recommend using a 16.3-ounce can of “Grands” style flaky layer biscuits. These larger biscuits provide the perfect canvas for wrapping a good-sized cube of cheese. If you prefer smaller, more bite-sized bombs, regular-sized canned biscuits will work just as well—simply adjust your cheese cube size accordingly. Alternatively, for a different texture, you can experiment with canned pizza dough or breadstick dough, though you may need to adjust baking times slightly.
- Cheddar Cheese Cubes: The star of the show! Sharp or mild cheddar, cut into approximately 3/4″ x 3/4″ cubes, works wonderfully. Its melting properties and rich flavor are ideal. However, don’t limit yourself! Other fantastic melting cheeses include mozzarella for a classic stringy pull, Monterey Jack for a milder flavor, or even a spicy Pepper Jack for a kick.
- Unsalted Butter: The base for our flavorful garlic herb topping. Unsalted butter allows you to control the overall saltiness of the dish.
- Garlic Powder: A staple for any garlic bread recipe. Garlic powder distributes evenly and provides a consistent garlic flavor throughout the butter mixture. If you’re a fan of fresh garlic, you can substitute it with finely minced garlic cloves, but be mindful that fresh garlic can brown quickly.
- Italian Seasoning: A blend of dried herbs like oregano, basil, thyme, and rosemary, Italian seasoning adds a classic savory depth that complements both the garlic and the cheese beautifully.
- Grated Parmesan Cheese: This adds a lovely salty, nutty crust and another layer of cheesy flavor to the exterior of the bombs. Freshly grated Parmesan will always yield the best results, but pre-grated works in a pinch.
- Fresh Parsley: Chopped fresh parsley is primarily used as a garnish, adding a pop of vibrant color and a fresh, herbaceous counterpoint to the rich flavors.
- Cooking Spray: Essential for preventing the cheese bombs from sticking to your baking sheet, ensuring easy removal and a perfectly golden crust.
Step-by-Step Guide to Making Delicious Cheese Bombs
Creating these cheesy delights is straightforward and fun. Follow these simple steps for perfect results:
1. Preheat and Prepare Your Workspace
Start by preheating your oven to 375°F (190°C). This ensures your oven is at the optimal temperature for even baking. While the oven heats, lightly coat a baking sheet with cooking spray to prevent sticking.
2. Prepare the Biscuit Dough
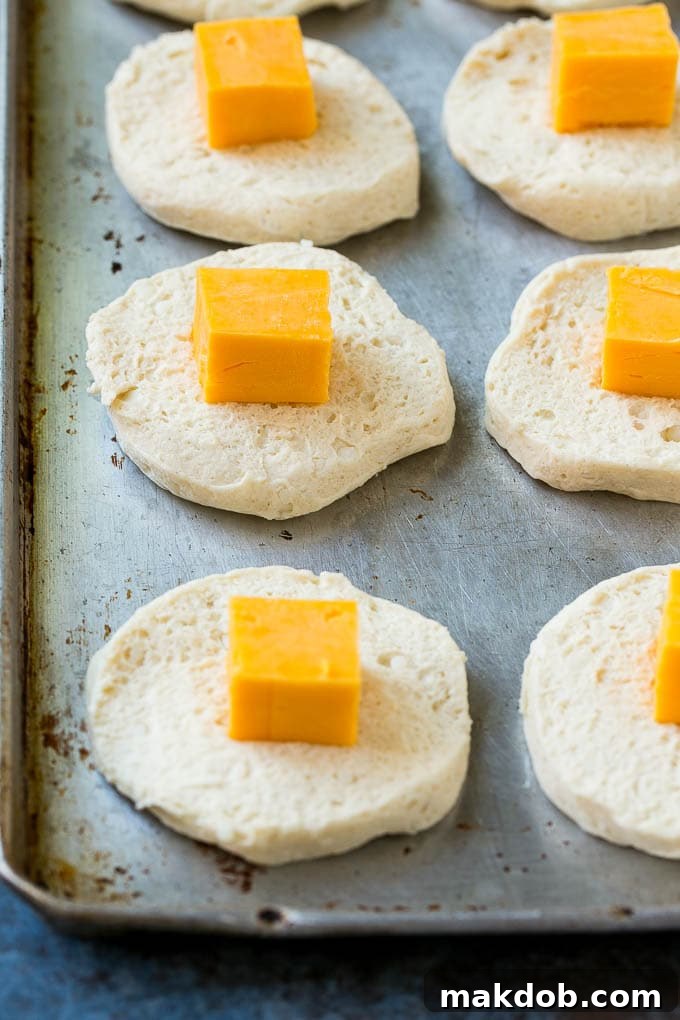
Open your can of Grands style biscuits. For bombs that are a good two-bite size, cut each biscuit crosswise in half using a serrated knife. This creates two thinner, more manageable dough rounds from each biscuit. If using smaller standard biscuits, you can use them whole, or cut them if you desire even smaller bombs.
3. Assemble Your Cheese Bombs
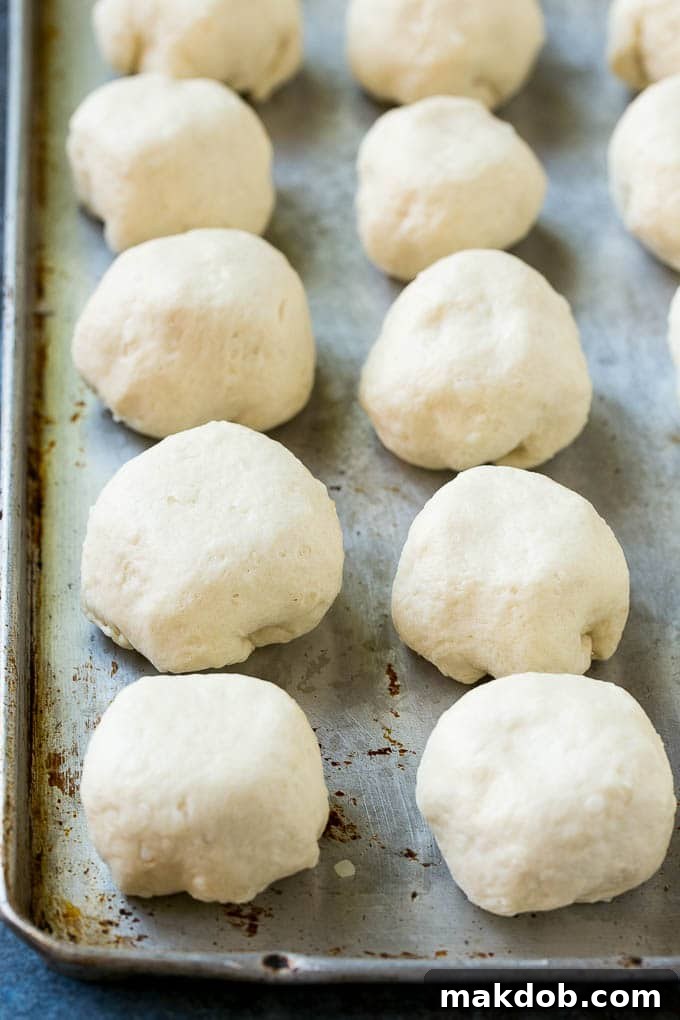
Lay the biscuit halves out on your prepared baking sheet. Place one cheddar cheese cube directly in the center of each biscuit half. Carefully fold the biscuit dough up and around the cheese cube, ensuring that the cheese is completely enclosed. Pinch the seams of the dough firmly to seal them. A tight seal is crucial to prevent the cheese from oozing out during baking. Once sealed, place each cheese bomb seam-side down on the baking sheet, leaving about 2 inches of space between each one to allow for expansion. You might need to bake in batches depending on the size of your baking sheet.
4. Prepare the Garlic Herb Butter Topping
In a small microwave-safe bowl, combine the 4 tablespoons of butter, 1/2 teaspoon of garlic powder, and 1/2 teaspoon of Italian seasoning. Microwave on high in 15-second intervals, stirring between each, until the butter is completely melted and the ingredients are well combined. This aromatic mixture will infuse your cheese bombs with incredible flavor.
5. Apply the Topping and Bake
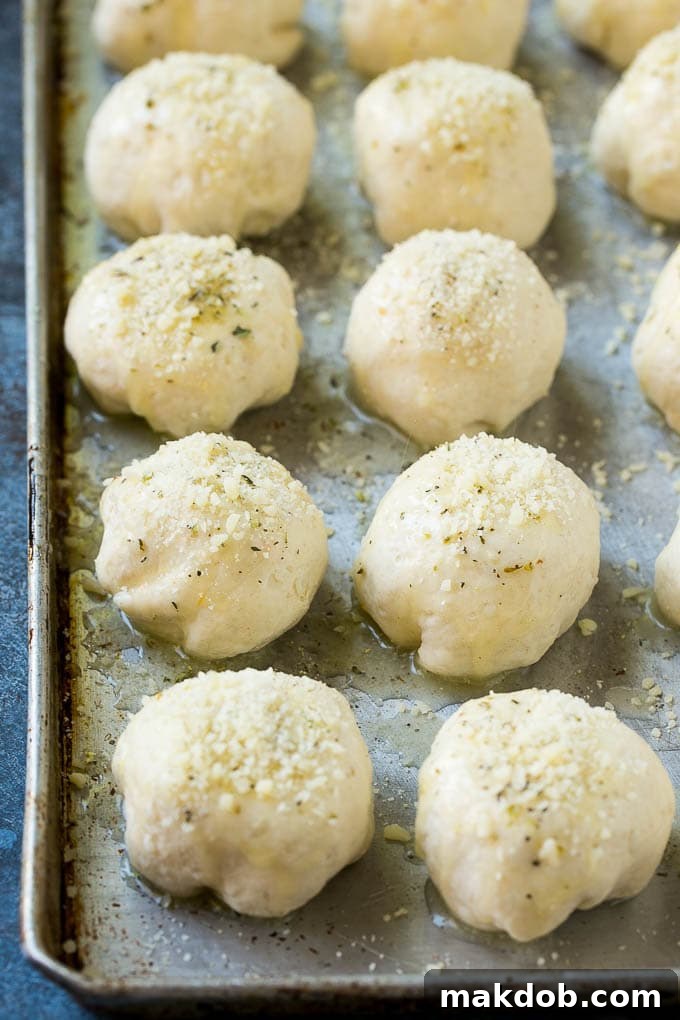
Using a pastry brush, generously brush about 3 tablespoons of the melted garlic butter mixture over the tops of all the cheese bombs on the baking sheet. Afterwards, sprinkle the 1/4 cup of grated Parmesan cheese evenly over them. Make sure to reserve the remaining tablespoon of garlic butter for later. Place the baking sheet into the preheated oven and bake for approximately 10-12 minutes, or until the cheese bombs are beautifully puffed up and lightly golden brown. It’s essential to watch them carefully; overbaking can cause the dough to dry out and the cheese to burst through the seams. A light golden hue is what you’re aiming for.
6. Finish and Serve Immediately
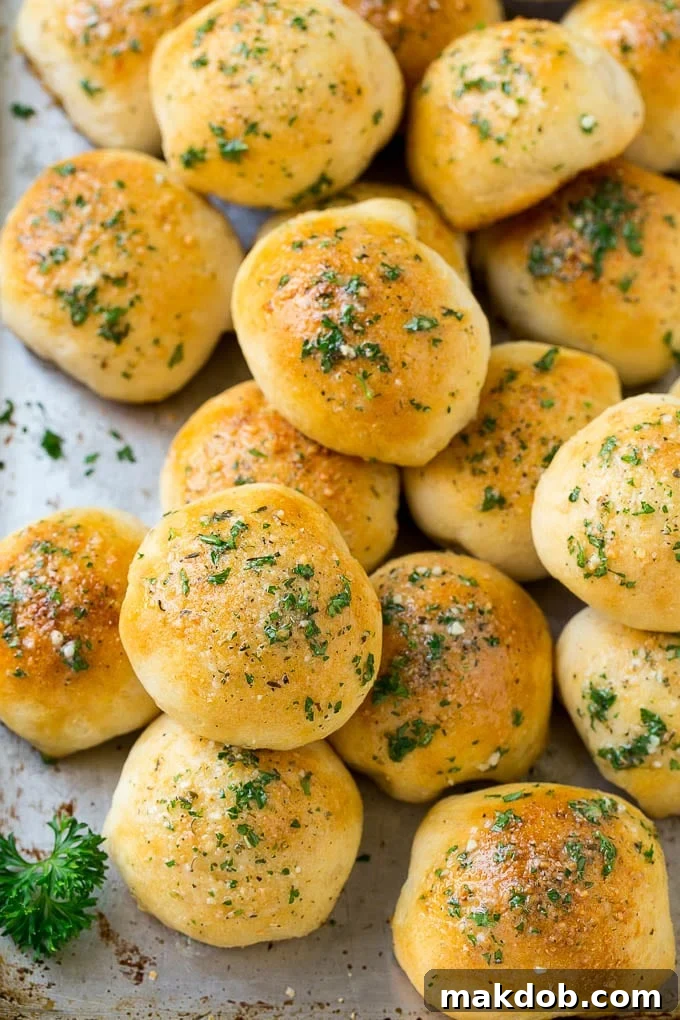
Once baked, remove the cheese bombs from the oven. While they are still hot, brush the reserved tablespoon of garlic butter over them once more. This extra brush of butter enhances their gloss and flavor. Finally, sprinkle with the 2 tablespoons of chopped fresh parsley for a fresh, vibrant finish. Serve your cheese bombs immediately, as they are best enjoyed warm when the cheese is at its most molten and gooey.
Tips for Cheese Bomb Success: Achieve Perfection Every Time
While this recipe is simple, a few pointers can ensure your cheese bombs turn out perfectly every single time:
- Seal the Dough Tightly: This is the most critical step to prevent cheese leakage. Make sure the dough is completely sealed around the cheese cube. If using thinner dough like crescent rolls, you might need to use two layers or be extra diligent with pinching.
- Don’t Overbake: Keep a close eye on your cheese bombs, especially towards the end of the baking time. They should be lightly golden brown. Overbaking can cause the dough to dry out and the cheese to burst through the seams, leading to a mess on your baking sheet.
- Evenly Space on the Baking Sheet: Give each cheese bomb enough room to expand without touching its neighbors. This promotes even baking and browning.
- Vary the Cheese: While cheddar is classic, don’t hesitate to experiment. Mozzarella offers an amazing stretch, Monterey Jack is mild and creamy, and Pepper Jack adds a delightful spice. A blend of cheeses can also be wonderful.
- Fresh Herbs for Best Flavor: While garlic powder and Italian seasoning are convenient, a tiny bit of freshly minced garlic in the butter mixture can amplify the aroma and taste. Likewise, fresh parsley provides a brighter, fresher finish than dried.
- Serve Warm: Cheese bombs are undoubtedly at their best when served warm, straight from the oven, allowing the cheese to be perfectly melted and gooey.
Creative Variations and Customizations for Your Cheese Bombs
The basic cheese bomb recipe is fantastic on its own, but it’s also a wonderful starting point for endless culinary creativity. Here are some ideas to inspire your own unique versions:
- Cheese Choices Beyond Cheddar:
- Mozzarella: For that ultimate cheese pull, use fresh or low-moisture mozzarella.
- Pepper Jack: If you love a little heat, pepper jack cheese will add a pleasant spicy kick.
- Smoked Gouda: For a sophisticated, smoky flavor.
- Provolone: A classic Italian melting cheese that’s mild and delicious.
- Cream Cheese & Jalapeño: Mix softened cream cheese with finely diced jalapeños for a creamy, spicy center.
- Feta & Spinach: A small crumbled amount of feta mixed with wilted spinach inside could offer a Mediterranean twist.
- Dough Alternatives:
- Canned Pizza Dough: Roll it out, cut into squares, and wrap around the cheese.
- Canned Crescent Rolls: These offer a flakier texture and are very easy to work with.
- Homemade Biscuit Dough: If you have a favorite homemade biscuit recipe, feel free to use it for an extra personal touch.
- Amping Up the Flavor in the Butter:
- Fresh Garlic: Mince 2-3 cloves of fresh garlic and sauté lightly in butter before brushing.
- Different Dried Herbs: Experiment with dried oregano, basil, or a pinch of red pepper flakes for heat.
- Garlic & Herb Blend: Look for specialty garlic and herb blends at your local market.
- Onion Powder: A touch of onion powder alongside the garlic can add another layer of savory flavor.
- Adding Extra Fillings:
- Cooked Bacon Bits: A sprinkle of crispy bacon inside with the cheese.
- Diced Pepperoni: Small pieces of pepperoni for a pizza-like bomb.
- Caramelized Onions: A tiny dollop of sweet caramelized onions with the cheese.
- Sun-Dried Tomatoes: Finely chopped sun-dried tomatoes for a tangy, umami boost.
Serving Suggestions: What to Pair with Your Cheese Bombs
These versatile cheese bombs are fantastic on their own, but they also make excellent companions to a variety of dishes:
- Classic Dips:
- Marinara Sauce: A warm, classic choice that complements the Italian seasoning perfectly.
- Ranch Dressing: A creamy, tangy dip that’s always a crowd-pleaser.
- Garlic Aioli: For an extra boost of garlic flavor.
- Pesto: A fresh and aromatic option that adds a vibrant touch.
- As a Side Dish:
- With Pasta Dishes: Serve alongside spaghetti and meatballs, lasagna, or chicken alfredo.
- Alongside Soups: They are the perfect dippers for creamy tomato soup, French onion soup, or a hearty minestrone.
- With Chili or Stews: A comforting addition to a warming bowl of chili or beef stew.
- For BBQ & Grilling: A cheesy bread alternative for your summer cookouts.
- Appetizer & Party Food:
- Game Day Snack: Easy to eat and always a hit during sporting events.
- Party Platter: Arrange them beautifully on a platter with various dips for a stunning appetizer spread.
- Kid’s Lunchbox Treat: Pack them cold for a fun and cheesy surprise (though best warmed).
Storing and Reheating Leftover Cheese Bombs
While cheese bombs are undeniably best served fresh and warm, you might occasionally find yourself with leftovers (though it’s rare!). Here’s how to properly store and reheat them:
- Storage: Allow the cheese bombs to cool completely to room temperature. Store them in an airtight container or a resealable plastic bag in the refrigerator for up to 3-4 days.
- Reheating in the Microwave: For a quick reheat, place 1-2 cheese bombs on a microwave-safe plate. Microwave on high for about 15-30 seconds, or until heated through and the cheese is soft again. Be careful not to overcook, as they can become tough.
- Reheating in the Oven: For a crispier exterior, preheat your oven to 300°F (150°C). Place the cheese bombs on a baking sheet and heat for 5-10 minutes, or until warmed through. This method helps restore some of their original texture.
- Freezing: You can also freeze unbaked or baked cheese bombs!
- Unbaked: Assemble the cheese bombs as instructed, but do not brush with butter or parmesan. Flash freeze them on a baking sheet until solid, then transfer to a freezer-safe bag. Bake from frozen at 375°F for 15-20 minutes, then apply the butter and parmesan for the last few minutes of baking.
- Baked: Allow fully baked cheese bombs to cool completely. Freeze them in a single layer on a baking sheet, then transfer to an airtight freezer bag for up to 2-3 months. Reheat in a preheated oven at 350°F (175°C) for 10-15 minutes, or until warmed through.
Frequently Asked Questions About Cheese Bombs
Can I use homemade biscuit dough for cheese bombs?
Absolutely! If you have a favorite homemade biscuit recipe, feel free to use it. Just ensure your dough is pliable enough to wrap around the cheese cube and seal properly. The baking time might need slight adjustment depending on the dough’s thickness and ingredients.
What if my cheese leaks out during baking?
Cheese leakage usually happens if the dough wasn’t sealed tightly enough, or if the bombs were overbaked. Ensure you firmly pinch all seams together before baking. Also, watch them closely in the oven and remove them as soon as they reach a light golden brown to prevent the cheese from bursting through.
Can I prepare cheese bombs ahead of time?
You can assemble the cheese bombs (dough wrapped around cheese) and store them in the refrigerator, covered, for a few hours before baking. For longer prep ahead, see the freezing instructions above for both baked and unbaked options.
Are cheese bombs freezer-friendly?
Yes, both unbaked and baked cheese bombs can be frozen. For best results, flash freeze them on a baking sheet before transferring to a freezer-safe bag to prevent them from sticking together. Baked bombs can be reheated from frozen, and unbaked bombs can be baked from frozen with a slightly extended baking time.
Can I make these dairy-free or gluten-free?
While the core recipe relies on dairy and gluten, you can experiment with dairy-free cheddar and parmesan alternatives, and gluten-free biscuit dough brands available in many grocery stores. Results may vary depending on the specific products used.
MORE APPETIZER RECIPES YOU’LL LOVE
- Chicken Lettuce Wraps
- Bacon Wrapped Pickles
- BLT Dip
- Buffalo Chicken Sliders
- Spinach Artichoke Wontons
Cheese Bombs Recipe
These delightful cheese bombs are an easy and utterly satisfying snack or side dish. Soft biscuit dough encases gooey cheddar cheese, all brushed with fragrant garlic herb butter and topped with Parmesan before being baked to golden perfection. A true treat for any cheese lover!
Prep Time: 10 minutes
Cook Time: 12 minutes
Total Time: 22 minutes
Course: Appetizer
Cuisine: Italian
Servings: 16
Ingredients
- 16.3 ounce can Grands style biscuits (8 biscuits, cut in half)
- 16 cubes cheddar cheese (approx. 3/4″ x 3/4″)
- 4 tablespoons butter, melted
- 1/2 teaspoon garlic powder
- 1/2 teaspoon Italian seasoning
- 1/4 cup grated Parmesan cheese
- 2 tablespoons chopped fresh parsley
- Cooking spray
Instructions
- Preheat the oven to 375°F (190°C).
- Cut each biscuit in half crosswise with a serrated knife.
- Lay the biscuit halves on a baking sheet that’s been coated with cooking spray.
- Place a cube of cheddar cheese into the center of each biscuit half.
- Fold the biscuit dough around the cheese, firmly pinching the seams to seal completely.
- Place each sealed biscuit seam-side down on the baking sheet, ensuring they are about 2 inches apart. You may need to bake in batches.
- In a small bowl, combine the butter, garlic powder, and Italian seasoning. Microwave until the butter has melted and ingredients are well combined.
- Brush 3 tablespoons of the garlic butter mixture over the tops of the unbaked cheese bombs.
- Sprinkle the grated Parmesan cheese evenly over the brushed cheese bombs.
- Reserve the remaining 1 tablespoon of garlic butter.
- Bake for 10-12 minutes, or until the cheese bombs are lightly golden brown and puffed. Do not overbake, as this can cause the cheese to leak out.
- Once out of the oven, immediately brush the remaining 1 tablespoon of garlic butter over the cooked cheese bombs.
- Sprinkle with chopped fresh parsley and serve immediately while hot and gooey.
Nutrition Facts (Approximate per serving)
- Calories: 166 kcal
- Carbohydrates: 14g
- Protein: 4g
- Fat: 10g
- Saturated Fat: 4g
- Cholesterol: 16mg
- Sodium: 365mg
- Potassium: 71mg
- Sugar: 1g
- Vitamin A: 170IU
- Calcium: 84mg
- Iron: 1mg
Did you make this recipe?
Tag @dinneratthezoo on Instagram and hashtag it #dinneratthezoo
Tweet
Pin