
Homemade Cherry Pie Filling: Your Ultimate Guide to Sweet Perfection
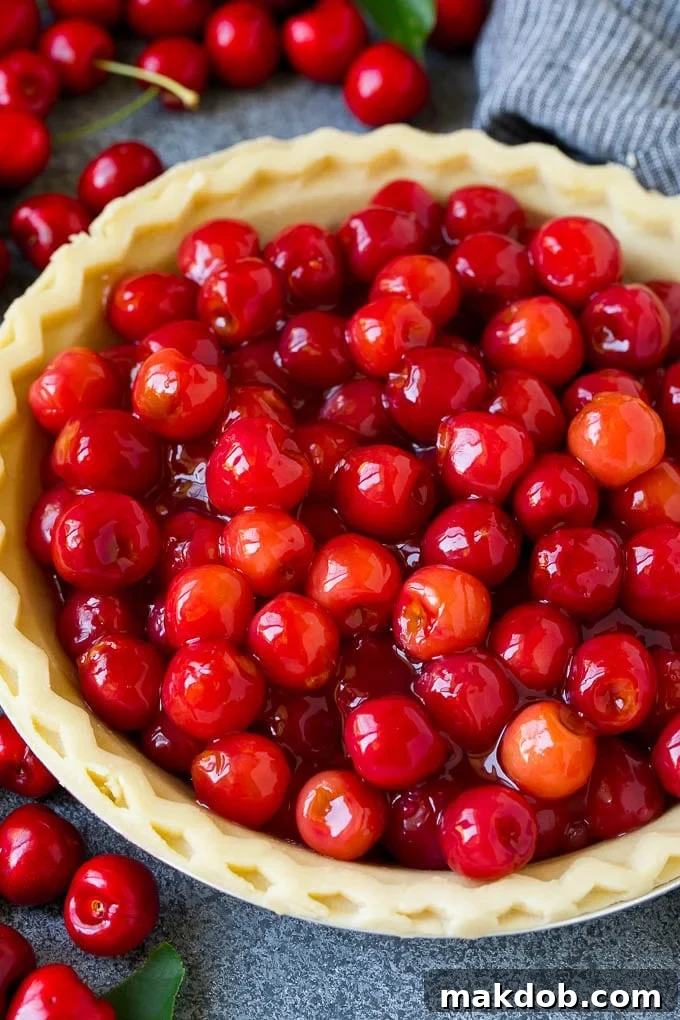
Dive into the delightful world of homemade desserts with this incredible cherry pie filling recipe. Crafted from fresh, sweet cherries, gently simmered with just the right amount of sugar, it transforms into a lusciously thick and rich filling that’s simply unmatched by anything store-bought. Whether you’re an experienced baker or a beginner, this recipe promises to elevate your culinary creations. Prepare to impress with vibrant flavors and a texture that sings of summer.
Beyond its traditional role in a classic cherry pie, this versatile homemade filling can be a star in countless ways! Imagine it generously spooned over light and fluffy pancakes, folded into delicate cream cheese danishes, or as the sweet heart of irresistible cherry bars. Its vibrant color and robust fruit flavor make it an ideal topping for ice cream, a delightful addition to morning parfaits, or a charming component in any baked good. The possibilities are truly endless, making this recipe a staple in any kitchen.
Why Choose Homemade Cherry Pie Filling?
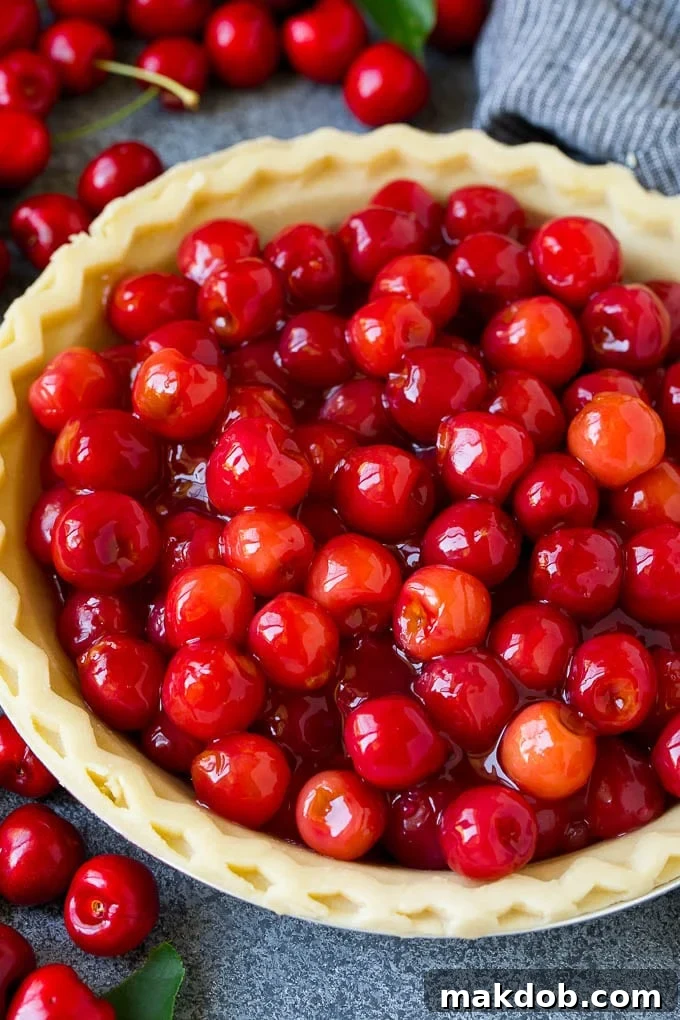
While canned pie filling certainly has its convenience, there’s truly nothing comparable to the fresh, authentic taste of a homemade cherry pie filling. The difference is night and day. Store-bought versions often contain artificial flavors, excessive sweeteners, and food dyes that mask the natural beauty and flavor of cherries. This dessert recipe, on the other hand, allows the genuine essence of ripe cherries to shine through, creating a filling that is bursting with natural sweetness and a hint of tartness. It’s a game-changer that will take your homemade pies and desserts from good to absolutely unforgettable, leaving everyone craving a second slice.
Table of Contents
- Essential Cherry Pie Filling Ingredients
- How to Make the Perfect Cherry Pie Filling
- Mastering the Art of Pitting Cherries
- Expert Tips for Your Cherry Pie Filling
- Storage and Preservation Guidelines
- Frequently Asked Questions About Cherry Pie Filling
- Exciting Flavor Variations to Try
- More Delightful Cherry Recipes
- Show Your Love for This Recipe!
- The Ultimate Cherry Pie Filling Recipe Card
Essential Cherry Pie Filling Ingredients
Crafting this exquisite cherry pie filling requires a handful of simple, wholesome ingredients, each playing a crucial role in achieving that perfect balance of flavor and texture:
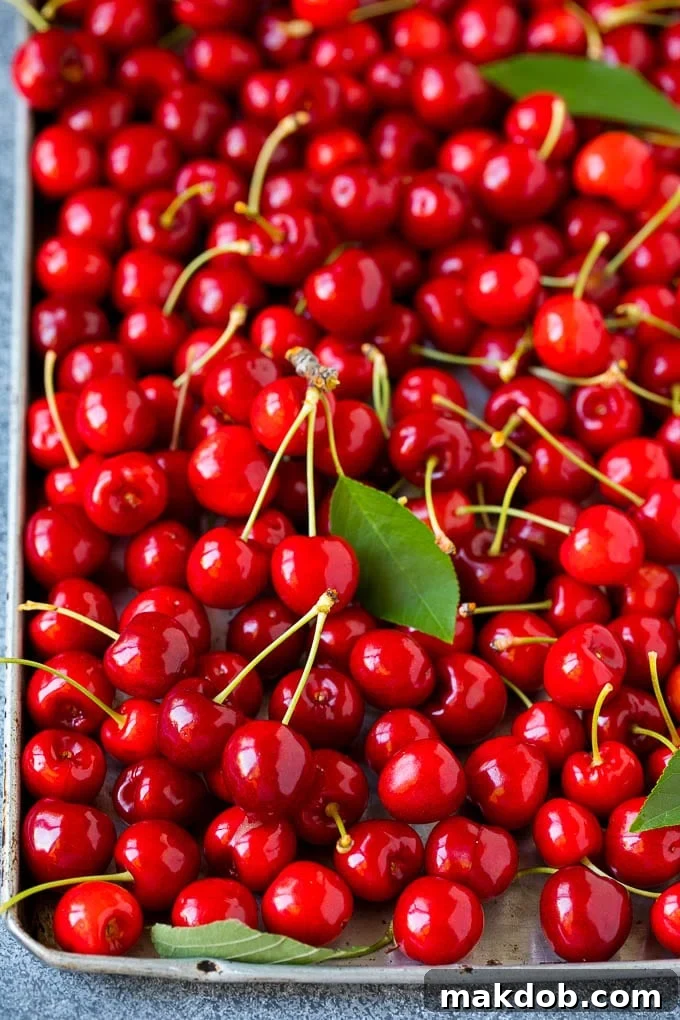
- Fresh or Frozen Cherries: The star of the show! We recommend using fresh sweet cherries like Rainier or Bing for their natural sweetness and vibrant color. Frozen cherries also work wonderfully, offering convenience when fresh ones are out of season.
- Water: Essential for creating the liquid base and helping the cornstarch dissolve and thicken evenly.
- Lemon Juice: A splash of fresh lemon juice brightens the overall flavor, cuts through the sweetness, and enhances the natural tartness of the cherries, preventing the filling from becoming cloyingly sweet.
- Granulated Sugar: Provides the necessary sweetness. The amount can be adjusted based on the natural sweetness of your cherries and your personal preference.
- Cornstarch: This is your thickening agent, creating that desirable rich, spoonable consistency without making the filling cloudy or heavy.
- Vanilla Extract: A touch of vanilla adds warmth and depth, complementing the fruit flavors beautifully.
Each ingredient works in harmony to create a truly irresistible filling that will make your desserts sing.
How to Make the Perfect Cherry Pie Filling
Making a homemade cherry pie filling with fresh sweet cherries is surprisingly simple and immensely rewarding. Follow these easy steps to create a luscious filling:
- Preparation is Key: Begin by thoroughly washing and pitting your cherries. This step is crucial and ensures a smooth, enjoyable eating experience.
- Combine Ingredients: In a large, heavy-bottomed pot, combine your pitted cherries, water, fresh lemon juice, granulated sugar, and cornstarch. Stir gently until all ingredients are well combined and the cornstarch has dissolved, preventing lumps.
- Bring to a Boil: Place the pot over medium-high heat and bring the mixture to a gentle boil. Continuous stirring at this stage helps the sugar dissolve and the cornstarch activate without sticking to the bottom.
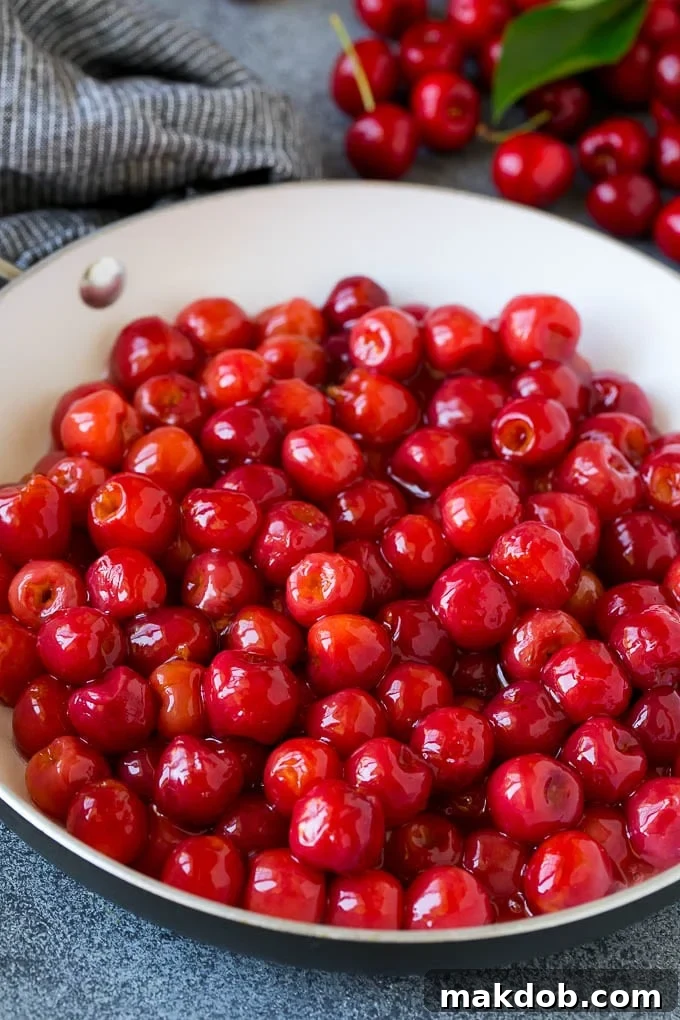
- Simmer to Perfection: Once boiling, reduce the heat to medium-low. Allow the filling to simmer for 8-10 minutes, stirring occasionally. During this time, the cherries will soften, and the filling will begin to thicken to a glorious, rich consistency. The goal is for the cherries to remain mostly intact, as they will continue to soften during baking if used in a pie.
- Flavor Enhancement: Remove the pot from the heat and stir in the vanilla extract. The heat from the filling will allow the vanilla to fully release its aromatic qualities.
- Cool and Serve: Let the filling cool completely before using it. As it cools, it will continue to thicken. Once cooled, it’s ready to be used in your favorite baked goods, as a topping, or stored for later enjoyment.
This straightforward process yields a homemade cherry pie filling that is far superior in taste and quality to any store-bought alternative, bursting with fresh cherry flavor.
Mastering the Art of Pitting Cherries
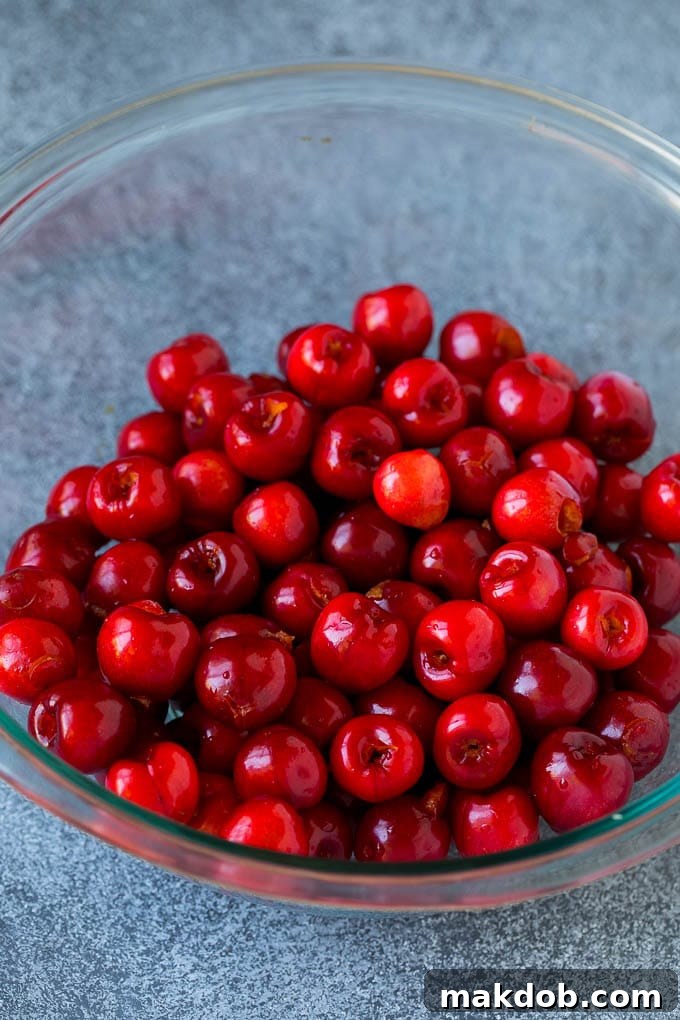
Pitting cherries might seem like a daunting task, but with the right tools and techniques, it can be quick and surprisingly mess-free. This essential step ensures a smooth, delightful eating experience in your pie filling.
The Cherry Pitter Method: Effortless and Efficient
The easiest and most efficient way to pit a large quantity of cherries is with a dedicated cherry pitter. These handy gadgets are designed specifically for this task and are usually quite affordable, often costing less than $10. Most cherry pitters operate on a simple mechanism: you place a single cherry into a designated holder and squeeze the handles until a plunger pushes the pit clean out of the fruit. This method is fast, keeps your hands relatively clean, and minimizes fruit damage.
Alternative Pitting Methods: No Pitter, No Problem!
If you don’t own a cherry pitter, don’t worry! You can still easily remove cherry pits using common kitchen tools:
- Skewer or Chopstick: This method works remarkably well. Hold a cherry between your thumb and forefinger. Using a sturdy skewer or a clean chopstick, push it through the stem end of the cherry until the pit pops out the other side. This requires a little practice but is very effective.
- Pastry Tip (Round): A clean, round pastry tip (the kind used for piping icing) can also be used. Place the cherry on top of a bottle opening (like a soda bottle), then push the pastry tip down through the cherry to eject the pit into the bottle.
- Paper Clip or Hairpin (Clean): For an emergency hack, a straightened paper clip or a clean hairpin can be used similarly to a skewer, pushing the pit out.
Regardless of the method you choose, working over a bowl helps catch any errant juices and pits, keeping your workspace tidy. With a little practice, you’ll be pitting cherries like a pro in no time, ready to create your delicious pie filling!
Mastering Your Cherry Pie Filling: Expert Tips for Success
Achieving the perfect cherry pie filling is all about balance and technique. Here are some essential tips to ensure your homemade filling turns out wonderfully every time:
- Avoid Overcooking: It’s crucial not to overcook your pie filling during the simmering stage. The cherries should still retain some of their shape and a slight firmness. Remember, they will continue to soften significantly when they bake inside a pie crust, so aim for a slightly undercooked texture initially. Overcooked cherries can become mushy and lose their vibrant appeal.
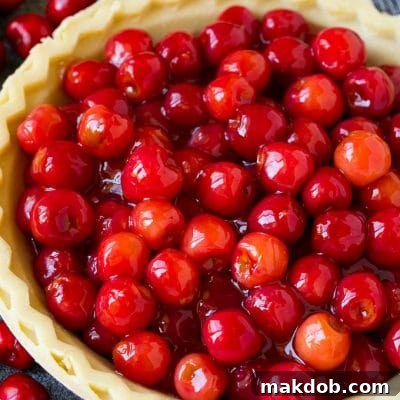
- Baking a Pie with Your Filling: To transform this filling into a classic cherry pie, simply pour the cooled mixture into a homemade or store-bought pie crust. For an extra touch of elegance and flavor, add a top crust (lattice or solid), and carefully seal the edges to prevent leakage. For a golden, professional finish, brush the top crust with an egg wash (one egg beaten with a tablespoon of water) and sprinkle with coarse sugar if desired. Bake in a preheated oven at 375 degrees F (190 degrees C) for 40-50 minutes, or until the crust is beautifully golden brown and the filling is bubbly.
- Beyond the Pie: Endless Culinary Uses: Don’t feel like making a full pie? This versatile filling is perfect for countless other applications! Try making individual cherry tarts for a simpler dessert. It’s also incredibly delicious spooned over warm pancakes, fluffy waffles, creamy oatmeal, or in delightful cobblers and crisps. For a quick treat, serve it in a small bowl with a dollop of fresh yogurt or a generous scoop of vanilla ice cream. It’s also fantastic layered in parfaits or as a filling for layer cakes and cupcakes.
- Cherry Choice: Sweet vs. Sour: This recipe is primarily designed for sweet cherries, such as the popular Rainier or Bing varieties, which offer a naturally rich and sugary flavor. However, it will also work beautifully with sour cherries, also known as tart cherries.
- Adjusting for Sour Cherries: If you prefer the distinct tartness of sour cherries or only have them available, you’ll need to adjust the sweetness. We recommend increasing the granulated sugar by at least 1/4 cup. You can even add more than that, up to an additional 1/2 cup, depending on how sweet you prefer your filling. Always taste and adjust to your liking.
- Fresh vs. Frozen Cherries: You can successfully make this recipe with both fresh or frozen cherries. If you are using frozen cherries, a slight modification is needed. Frozen cherries tend to release more liquid as they thaw and cook, which can result in a thinner filling. To counteract this, you’ll want to add 1 additional tablespoon of cornstarch to the mixture. This extra cornstarch will help achieve the desired thick consistency. There’s no need to thaw frozen cherries before adding them to the pot; simply add them directly from the freezer.
Storage and Preservation Guidelines
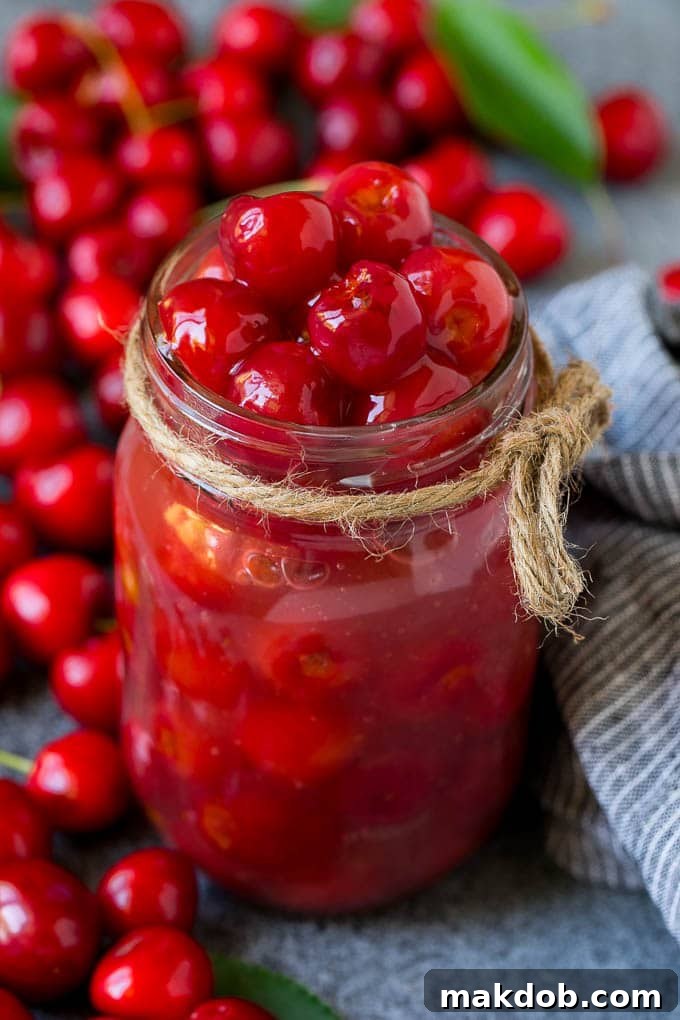
Proper storage is key to enjoying your homemade cherry pie filling for an extended period. You can store your freshly made pie filling in an airtight container or a sealed jar in the refrigerator for up to 3 days. For longer preservation, this filling freezes wonderfully for up to 2 months. When freezing, ensure it’s completely cooled before transferring to freezer-safe containers, leaving a little headspace. If you’re planning to use frozen filling in a pie, remember to thaw it completely in the refrigerator before incorporating it into your recipe.
Frequently Asked Questions About Cherry Pie Filling
Yes, absolutely. Homemade cherry pie filling, due to its fresh fruit content and lack of commercial preservatives, must be refrigerated. Store your cooled filling in a sealed jar or an airtight container in the refrigerator for up to 3 days to maintain its freshness and prevent spoilage.
At its core, homemade cherry pie filling is made with fresh or frozen cherries, sugar, and a thickening agent like cornstarch. Additional ingredients often include water or fruit juice, lemon juice for brightness, and vanilla extract for depth of flavor. In contrast, many store-bought pie fillings also contain artificial colors (like red food dye), high-fructose corn syrup, and various preservatives to extend shelf life, which is why homemade is always the superior choice for natural taste.
While cornstarch is excellent for creating a clear, glossy, and thick filling, you can use other thickeners. Flour can be used, but it might make the filling slightly opaque and could require a longer cooking time to avoid a raw flour taste. Tapioca starch (often labeled “instant tapioca” or “minute tapioca”) is another great alternative, yielding a very clear and glossy finish similar to cornstarch. For every tablespoon of cornstarch, you would generally substitute 2 tablespoons of flour or 1 tablespoon of instant tapioca. Adjust as needed for your desired consistency.
If your filling is too thin, create a slurry by whisking 1 tablespoon of cornstarch with 2 tablespoons of cold water. Gradually add this slurry to the simmering filling, stirring constantly, until it reaches your desired thickness. If your filling is too thick, simply stir in a tablespoon or two of water or cherry juice until it loosens up to your preferred consistency.
FOLLOW ME FOR MORE DELICIOUS RECIPES!
Exciting Flavor Variations to Try
This classic cherry pie filling recipe is fantastic on its own, but it also serves as an excellent base for experimenting with different flavor profiles to truly make it your own. Get creative with these delicious variations:
- Complementary Fruits: For a delightful twist, consider substituting half of the fresh cherries with another type of fruit. Some excellent options that pair beautifully with cherries include crisp apples, juicy blueberries, sweet strawberries, succulent peaches, or tart blackberries. This creates a multi-layered fruit experience that’s truly special.
- Aromatic Flavorings: Elevate the taste and aroma of your filling with additional extracts and spices. A bit of fresh lemon zest can intensify the citrus brightness. A dash of almond extract beautifully complements cherries, bringing out a deeper, more sophisticated flavor. Alternatively, a pinch of warm cinnamon or a hint of nutmeg can add a cozy, comforting spice note, especially perfect for cooler weather desserts.
- Spirited Indulgence: For an adult-friendly version, a tablespoon or two of cherry liqueur (like Kirsch), brandy, or even a good quality bourbon can add an incredible depth and warmth to the filling. Add it with the vanilla extract at the end of cooking.
Once you experience the ease and superior taste of this homemade pie filling, you’ll find it leaps and bounds above any canned alternative. You’ll want to pour this rich, fruity goodness over every dessert you can imagine!
More Delightful Cherry Recipes to Explore
Chocolate Covered Cherries
22 mins
Cherry Muffins
24 mins
Cherry Smoothie
6 mins
Cherry Limeade
6 mins
Cherry Cheesecake Dip
6 mins
Love This Recipe? Let Us Know!
If you’ve enjoyed making and using this incredible homemade cherry pie filling, we would be absolutely thrilled to hear from you! Please consider leaving a 5-star 🌟🌟🌟🌟🌟 rating in the recipe card below and sharing your thoughts and experiences in the comments section further down the page. Your feedback helps us grow and inspires other home cooks!
Cherry Pie Filling
Pin
Save
Saved
Time
Ingredients
- 6 cups sweet cherries pitted
- 1 cup water
- 1 1/2 tablespoons lemon juice
- 3/4 cup granulated sugar
- 1/4 cup cornstarch
- 1/4 teaspoon vanilla extract
Instructions
-
Place the pitted cherries, water, lemon juice, sugar, and cornstarch in a large, heavy-bottomed pot. Stir thoroughly to ensure all ingredients are well combined and the cornstarch is dissolved, which prevents clumping.
-
Bring the cherry mixture to a full boil over medium-high heat, stirring constantly to prevent sticking. Once boiling, reduce the heat to medium-low and let it simmer gently for 8-10 minutes. Stir occasionally during simmering, until the mixture thickens to a rich consistency and the cherries are tender but still largely intact.
-
Remove the pot from the heat and stir in the vanilla extract until fully incorporated. Allow the filling to cool completely before serving or storing. The filling will continue to thicken as it cools. Store any unused filling in an airtight container in the refrigerator for up to 3 days.
Notes
- This recipe is specifically formulated for sweet cherries, but it is also perfectly adaptable for sour cherries. If you opt for sour cherries, you’ll need to increase the granulated sugar by at least 1/4 cup. Feel free to add even more sugar if you prefer a sweeter, less tart filling.
- For optimal freshness, you can store your homemade pie filling in the refrigerator for up to 3 days. If you wish to extend its shelf life, the filling can be frozen for up to 2 months. Make sure the filling is completely thawed in the refrigerator before using it in a pie or any other baked goods.
Nutrition
Carbohydrates: 39g |
Protein: 1g |
Fat: 1g |
Saturated Fat: 1g |
Sodium: 2mg |
Potassium: 230mg |
Fiber: 2g |
Sugar: 32g |
Vitamin A: 65IU |
Vitamin C: 8.3mg |
Calcium: 13mg |
Iron: 0.4mg
Tweet
Pin