
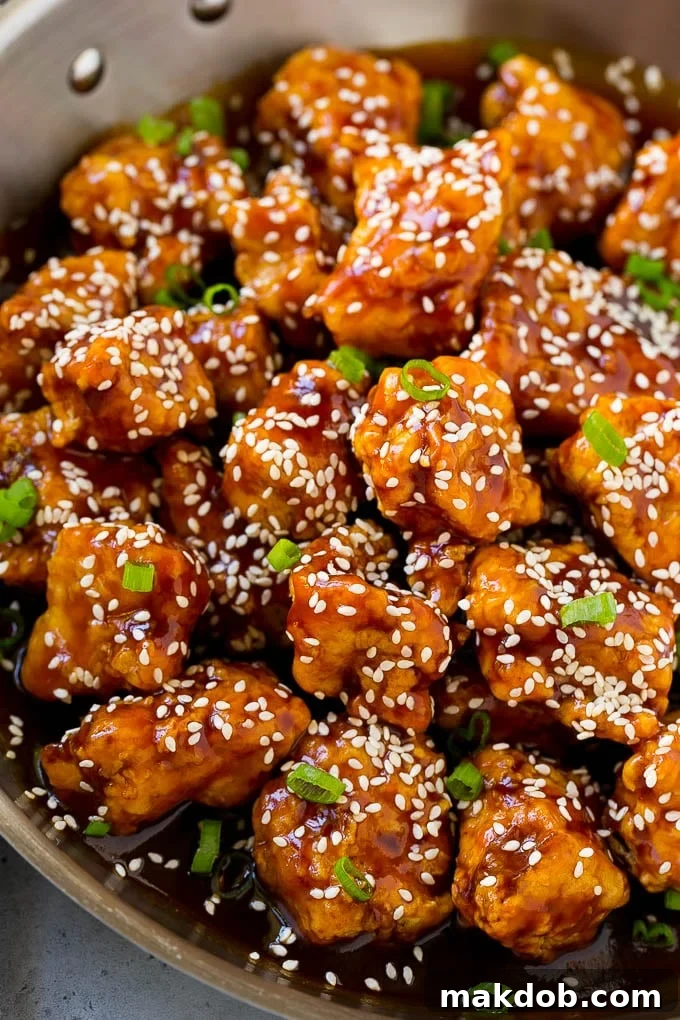
The Ultimate Crispy Sesame Chicken: Better Than Any Restaurant!
Prepare to delight your taste buds with this incredible **Crispy Sesame Chicken recipe** that rivals, and dare we say, surpasses, your favorite takeout version! Imagine perfectly golden, tender chicken pieces, each bite coated in a rich, sweet, and savory honey sesame sauce, garnished with toasted sesame seeds. This isn’t just a meal; it’s an experience that brings authentic Asian flavors right to your kitchen table.
Asian cuisine is a staple in our home, enjoyed at least once a week. While classics like lemon chicken, sweet and sour chicken, and chicken lettuce wraps are always in rotation, this homemade sesame chicken has truly captured our hearts. The irresistible combination of textures and the depth of that glorious sauce make it a constant family request. Get ready to impress everyone with this culinary masterpiece!
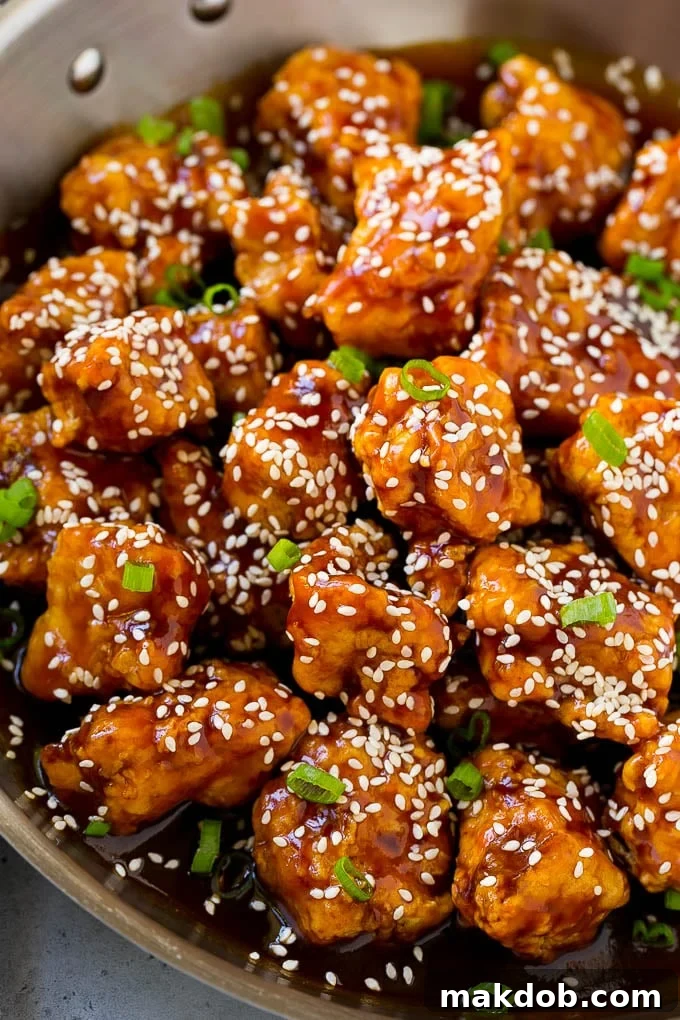
Why Make Homemade Sesame Chicken? Unlocking Authentic Flavors
You know those mouth-watering honey sesame chicken dishes from popular chains like P.F. Chang’s or Panda Express? This recipe is our answer to that craving, an elevated copycat version that brings out even more vibrant flavors and a superior texture. There’s an undeniable satisfaction in creating a restaurant-quality meal from scratch, knowing exactly what goes into it, and customizing it to your family’s preferences. My kids wholeheartedly agree that this homemade rendition is simply the best, and I’m confident you will too!
The beauty of cooking at home lies in the control you have over every ingredient. You can opt for fresh, high-quality chicken, adjust the sweetness or spice level of the sauce, and ensure the frying oil is perfectly clean. This not only results in a healthier meal but also one that tastes incredibly fresh and packed with flavor, a stark contrast to some takeout options that can sometimes feel heavy or overly processed. Plus, it’s a fantastic way to save money while still enjoying your favorite Asian dishes!
How to Make Crispy Sesame Chicken: A Step-by-Step Guide
Creating this delectable **crispy sesame chicken** is easier than you might think, and the payoff is absolutely worth it. The process begins with carefully preparing the chicken to achieve that signature crunch, followed by crafting a sticky, flavorful sauce that brings the entire dish together. Here’s a detailed look at the journey from raw ingredients to a sensational meal:
1. Preparing the Chicken for Ultimate Crispiness
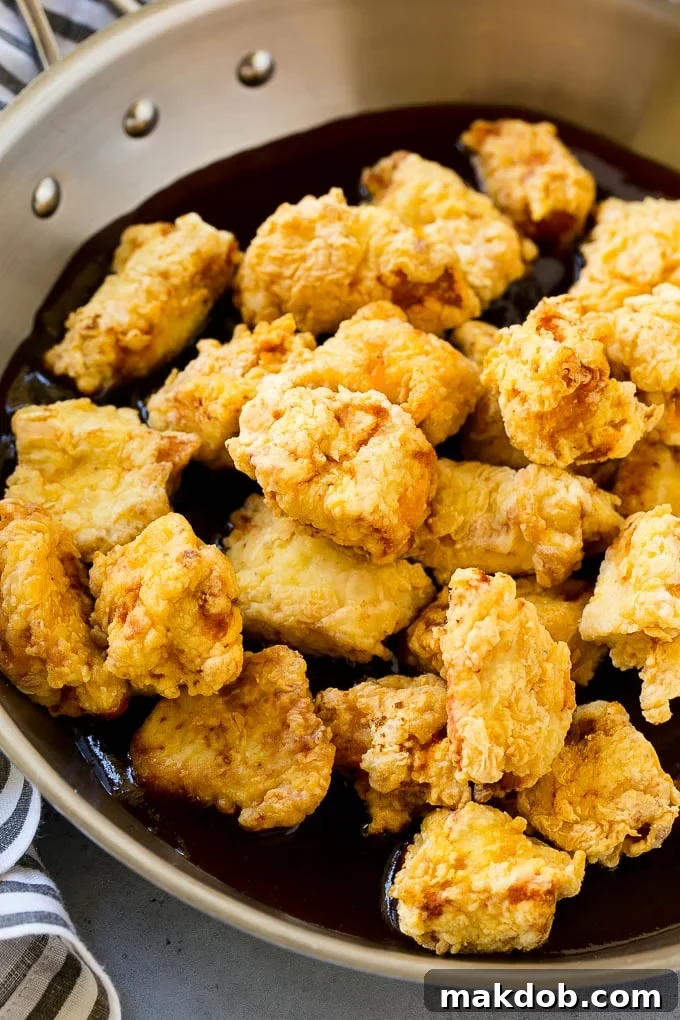
The secret to truly crispy sesame chicken lies in its coating. We start with boneless, skinless chicken breast, cut into uniform 1-inch pieces to ensure even cooking. Each piece is then seasoned with salt and pepper, dipped in a rich egg wash, and then coated generously in a mixture of all-purpose flour and cornstarch. This double-layer coating is crucial for creating that golden, crunchy exterior that makes every bite so satisfying. Cornstarch, in particular, is a hero ingredient here, known for its ability to create a crispier, lighter crust compared to flour alone.
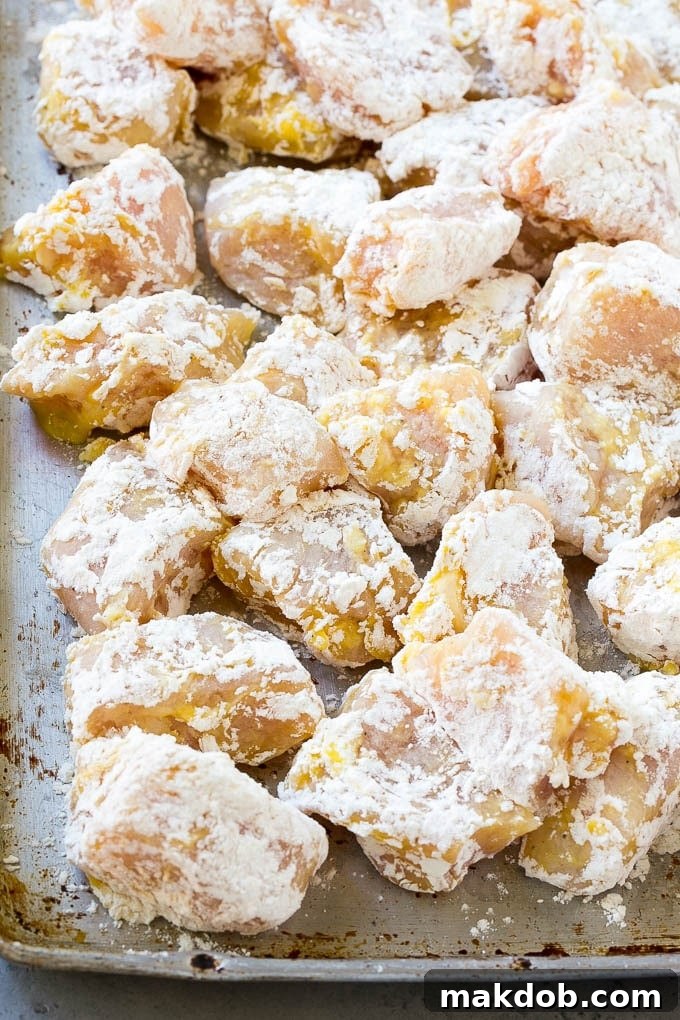
2. The Art of Frying: Achieving Golden Perfection
Once the chicken is perfectly coated, it’s time for frying. We use a few inches of neutral oil (like vegetable or canola oil) in a deep pan. The key to successful frying is maintaining a consistent oil temperature of around 350°F (175°C). Using a kitchen thermometer is highly recommended for this step. If the oil is too hot, the coating will brown too quickly, leaving the inside undercooked. Conversely, if the oil is too cool, the chicken will absorb excess oil, resulting in a greasy, rather than crispy, texture.
Fry the chicken in small batches to avoid overcrowding the pan and dropping the oil temperature. This ensures each piece has enough space to cook evenly and become beautifully golden brown and crispy. Each batch typically takes about 5 minutes. Once fried, immediately transfer the chicken to a wire rack set over paper towels to drain any excess oil, preserving its crispiness.
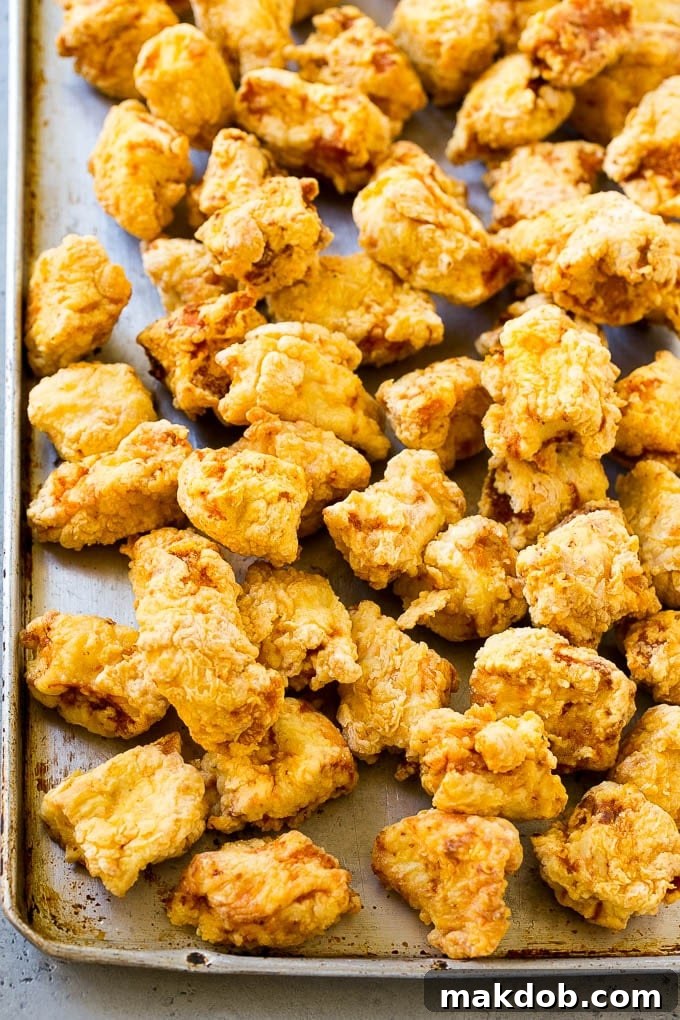
3. Crafting the Signature Honey Sesame Sauce
While the chicken is frying, you can whip up the glorious honey sesame sauce. This sauce is a harmonious blend of sweet, savory, and tangy notes that truly defines the dish. It combines honey for natural sweetness, soy sauce for umami depth, ketchup for a touch of tang, brown sugar for caramelization, rice vinegar for brightness, and toasted sesame oil for its distinctive nutty aroma. A bit of cornstarch is added to help thicken the sauce to a perfect consistency, ensuring it beautifully coats every piece of chicken.
The sauce comes together quickly. Sauté minced garlic in a teaspoon of vegetable oil until fragrant, then whisk in the prepared sauce mixture. Bring it to a gentle simmer and cook for just 3-4 minutes until it thickens into a glossy, irresistible glaze. A fantastic tip: the sauce can be prepared a day or two in advance and stored in the refrigerator, making meal prep even easier!
4. The Final Toss and Garnish
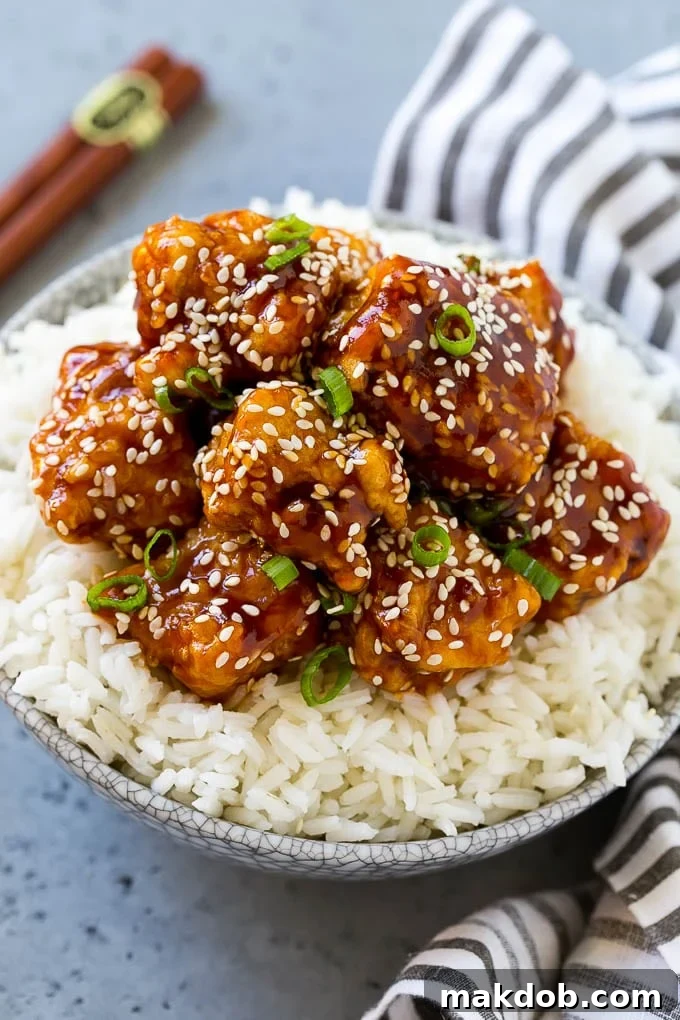
The grand finale! Once all the chicken is fried and the sauce is ready, it’s time to combine them. Add the crispy chicken pieces directly into the warm sauce and toss gently until every piece is thoroughly coated. It’s crucial to serve your sesame chicken immediately after tossing, as the crispy coating will begin to soften once it makes contact with the sauce. This immediacy ensures you get that delightful contrast between the crunchy exterior and the tender chicken within, all enveloped in the sticky, flavorful sauce.
Before serving, sprinkle generously with toasted sesame seeds and freshly sliced green onions. The sesame seeds add another layer of nutty flavor and a lovely texture, while the green onions provide a fresh, aromatic finish and a pop of vibrant color. This final touch not only enhances the taste but also makes the dish visually appealing, turning a simple meal into a feast for the eyes.
What is Sesame Chicken Made Out Of? Exploring the Ingredients
The beauty of sesame chicken lies in its relatively simple yet powerfully flavorful ingredient list. Let’s break down the components that make this dish so special:
For the Chicken
- Chicken: While I traditionally use boneless, skinless chicken breasts for their lean profile and quick cooking time, chicken thighs are an excellent alternative. They offer a richer flavor and stay incredibly moist due to their higher fat content. Either way, cut them into 1-inch pieces for optimal crispiness and even cooking.
- Coating: A blend of beaten eggs (for adhesion), all-purpose flour, and cornstarch. This combination is key to achieving that light yet incredibly crispy crust that holds up well. Salt and pepper are added for basic seasoning.
- Oil for Frying: A neutral oil with a high smoke point, such as vegetable oil, canola oil, or peanut oil, is ideal for deep-frying.
For the Irresistible Sauce
- Aromatics: Minced fresh garlic forms the aromatic base, adding a pungent, savory depth.
- Sweetness: Honey and brown sugar provide the characteristic sweetness and contribute to the sauce’s glossy texture. You can adjust the quantity to your preference.
- Savory & Umami: Soy sauce (reduced sodium if possible for better control over saltiness) is essential for that classic Asian savory depth.
- Tang & Brightness: Ketchup adds a subtle tang and a vibrant color, while rice vinegar provides a delicate acidity that balances the sweetness.
- Nutty Flavor: Toasted sesame oil is a powerhouse of flavor, imparting a distinct nutty aroma that is crucial to the “sesame” in sesame chicken. A little goes a long way!
- Thickener: Cornstarch, mixed with a bit of liquid (usually water or more soy sauce), creates a slurry that thickens the sauce to a perfect, clingy consistency.
- Garnish: Toasted sesame seeds for texture and additional nutty flavor, and sliced green onions for a fresh, mild oniony bite and visual appeal.
Serving Suggestions for Your Homemade Sesame Chicken
This incredible sesame chicken pairs beautifully with a variety of sides, allowing you to create a complete and satisfying meal. Here are some of my favorite ways to serve it:
- Steamed Rice: A classic choice! Fluffy white or brown rice is perfect for soaking up every drop of that delicious sauce.
- Quinoa: For a protein-packed and slightly healthier alternative to rice, quinoa is an excellent option.
- Chow Mein Noodles: Tossed with a light sauce, chow mein noodles offer a wonderful textural contrast and make for a heartier meal.
- Zucchini Noodles (Zoodles): If you’re looking for a low-carb or vegetable-heavy option, zucchini noodles are fantastic. They lighten the dish while still providing a satisfying base.
- Stir-fried Vegetables: A medley of colorful stir-fried vegetables like broccoli, bell peppers, snap peas, or carrots adds nutrients and crunch.
- Light Salad: A simple side salad with a ginger-sesame dressing can offer a refreshing contrast to the richness of the chicken.
No matter what you choose, ensure you have plenty of that irresistible sauce to go around. My kids absolutely adore this crispy chicken, requesting it constantly. There’s truly no need for takeout when you can whip up such an amazing meal at home!
Tips for Success and Variations
To ensure your homemade crispy sesame chicken is a resounding success every time, consider these helpful tips and exciting variations:
Achieving the Crispiest Chicken
- Even Coating: Make sure each chicken piece is thoroughly coated in the egg and flour/cornstarch mixture. This creates a uniform crust.
- Don’t Overcrowd: Fry chicken in small batches. Overcrowding lowers the oil temperature, leading to greasy, less crispy chicken. Give each piece space to sizzle!
- Monitor Oil Temperature: Use a kitchen thermometer to keep your oil at a consistent 350°F (175°C). This is key for chicken that’s cooked through and perfectly golden.
- Drain Properly: Always drain fried chicken on a wire rack over paper towels, not directly on paper towels. This allows air circulation, preventing the bottom from becoming soggy.
Sauce Perfection
- Taste and Adjust: Before tossing the chicken, taste the sauce and adjust sweetness, saltiness, or tanginess to your liking. A little extra honey for more sweetness, or a dash more rice vinegar for a tangier kick.
- Prepare Ahead: As mentioned, the sauce can be made up to two days in advance and stored in the refrigerator. This is a fantastic time-saver for busy weeknights!
- Thickening: If your sauce isn’t thickening enough, make a small cornstarch slurry (1 tsp cornstarch mixed with 1 tsp cold water) and whisk it into the simmering sauce gradually until desired consistency is reached.
Healthier Alternatives
- Baked or Air-Fried Chicken: For a lighter version, you can skip the traditional frying. Coat the chicken as directed, then bake it at 400°F (200°C) for 20-25 minutes, or until cooked through and golden, flipping halfway. Alternatively, air fry at 375°F (190°C) for 15-20 minutes, shaking the basket occasionally. While the crispiness won’t be identical to deep-frying, it’s still delicious!
- Sautéed Chicken: For a very quick and healthier option, simply sauté chicken breast pieces in a tablespoon of oil until cooked through and lightly browned, then proceed with adding the sauce. This eliminates the need for the coating altogether.
Creative Variations
- Spicy Sesame Chicken: Add a pinch of red pepper flakes to the sauce for a subtle kick, or a teaspoon of sriracha for more intense heat.
- Vegetable Boost: Stir-fry some vegetables like broccoli florets, bell pepper strips, or snow peas with the garlic before adding the sauce. Cook until tender-crisp.
- Other Proteins: This sauce isn’t just for chicken! Try it with crispy tofu, shrimp, or even pork tenderloin.
- Ginger Infusion: Add 1/2 teaspoon of grated fresh ginger along with the garlic for an extra layer of aromatic flavor in the sauce.
Storage and Reheating
If you happen to have leftovers (a rare occurrence with this recipe!), store the sesame chicken in an airtight container in the refrigerator for up to 3-4 days. To reheat, the best method for maintaining some crispiness is to warm it in a preheated oven at 350°F (175°C) for 10-15 minutes, or in an air fryer for 5-8 minutes, until heated through. Microwaving is also an option for convenience, but the chicken will lose its crisp texture.
With these tips, you’re well on your way to mastering homemade sesame chicken that will become a cherished family recipe. No more need for expensive takeout – you’ve got this!
More Asian Food Recipes to Explore
If you loved this sesame chicken, you’re in for a treat! Our kitchen is a treasure trove of delightful Asian-inspired dishes that are perfect for any occasion, from quick weeknight dinners to impressive weekend feasts. Dive into these other family favorites:
- Cream Cheese Wontons: Crispy, savory, and incredibly addictive, these wontons are a perfect appetizer.
- Homemade Egg Rolls: Learn to make classic egg rolls that are far superior to frozen versions.
- Chicken Chow Mein: A comforting noodle dish packed with tender chicken and fresh vegetables.
- Slow Cooker Orange Chicken: An effortless way to enjoy the sweet and tangy flavors of orange chicken.
- Beef and Broccoli: A quick and flavorful stir-fry that’s healthier than takeout.
Sesame Chicken Recipe
This sesame chicken features crispy chicken pieces tossed in a sweet and savory honey sesame sauce. This homemade version is even better than what you would get at a restaurant!
Prep Time: 20 minutes
Cook Time: 20 minutes
Total Time: 40 minutes
Course: Dinner
Cuisine: Chinese
Servings: 6 servings
Ingredients
For the chicken
- 1 1/2 lbs boneless skinless chicken breasts, cut into 1-inch pieces
- 2 eggs, beaten
- Salt and pepper to taste
- 1/2 cup all-purpose flour
- 1/2 cup cornstarch
- Oil for frying (vegetable, canola, or peanut oil recommended)
For the sauce
- 1 teaspoon vegetable oil
- 1 teaspoon minced fresh garlic
- 1/4 cup honey
- 1/4 cup soy sauce (reduced sodium if possible)
- 2 tablespoons ketchup
- 3 tablespoons brown sugar
- 2 tablespoons rice vinegar
- 1 tablespoon toasted sesame oil
- 2 teaspoons cornstarch
- 2 tablespoons sesame seeds, for garnish
- 2 tablespoons sliced green onions, for garnish
Instructions
- Place the eggs, salt, and pepper in a bowl. Stir to combine.
- Place the flour and 1/2 cup of cornstarch in a shallow bowl or on a plate. Stir to combine.
- Dip each piece of chicken into the egg mixture, then into the flour mixture, ensuring a full coating. Repeat this process with all the chicken pieces.
- Heat 3 inches of oil in a deep pan or Dutch oven to 350°F (175°C). Use a kitchen thermometer for accuracy.
- Carefully add 7-8 pieces of chicken to the hot oil. Cook for about 5 minutes, or until the chicken is crispy and golden brown. Repeat with the remaining chicken, frying in batches to avoid overcrowding.
- Once fried, remove the chicken and drain on paper towels placed over a wire rack to remove excess oil and maintain crispiness.
- While the chicken is cooking, prepare the sauce. In a separate bowl, combine the honey, soy sauce, ketchup, brown sugar, rice vinegar, toasted sesame oil, and 2 teaspoons of cornstarch. Whisk until smooth.
- Heat the teaspoon of vegetable oil in a large skillet or wok over medium heat. Add the minced garlic and cook for 30 seconds until fragrant.
- Pour the prepared honey sesame sauce mixture into the pan with the garlic. Bring the sauce to a gentle simmer, then cook for 3-4 minutes, stirring occasionally, until the sauce has thickened to a glossy consistency.
- Add the crispy fried chicken to the pan with the sauce. Toss gently to ensure all pieces of chicken are evenly coated.
- Sprinkle with sesame seeds and sliced green onions, then serve immediately over steamed rice or your preferred side. Enjoy your homemade crispy sesame chicken!
Notes
The delicious honey sesame sauce can be prepared up to two days in advance and stored in an airtight container in the refrigerator, making your meal prep even more convenient.
Nutrition
Calories: 392kcal | Carbohydrates: 41g | Protein: 24g | Fat: 14g | Saturated Fat: 6g | Cholesterol: 123mg | Sodium: 1648mg | Potassium: 518mg | Sugar: 26g | Vitamin A: 270IU | Vitamin C: 2.8mg | Calcium: 60mg | Iron: 1.9mg
Did you make this recipe? We’d love to see it! Tag @dinneratthezoo on Instagram and use the hashtag #dinneratthezoo to share your delicious creation!
Tweet
Pin
This post was originally published on April 14, 2015, and has been extensively updated on [Current Date] with fresh content, enhanced details, and improved readability to provide you with the best possible cooking experience.