
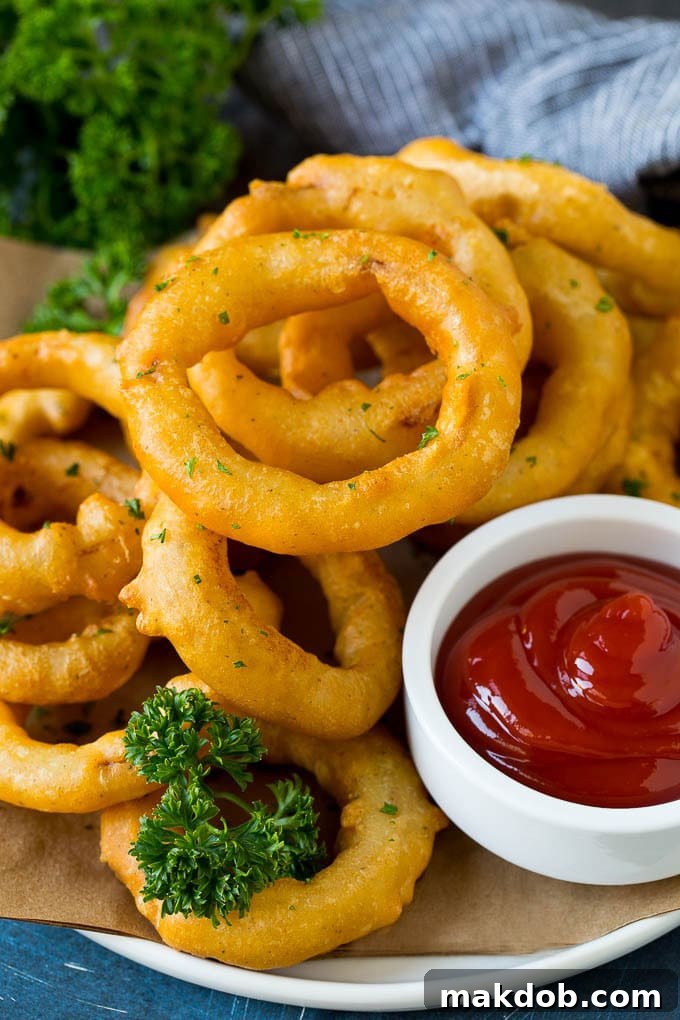
The Ultimate Guide to Homemade Crispy Beer-Battered Onion Rings
Forget the drive-thru! These homemade onion rings are coated in a flavorful beer batter and deep-fried to a perfect golden crispness. You’ll find they are not only even betterthan what you’d get at a restaurant, but also incredibly satisfying and fun to prepare in your own kitchen.
There’s a special joy in recreating your family’s favorite restaurant dishes at home. Beyond these delightful onion rings, we’ve mastered classics like corn dogs, savory sweet potato fries, and the ultimate comfort food, bacon mac and cheese. Now, get ready to add these light and irresistibly crispy onion rings to your homemade culinary repertoire.
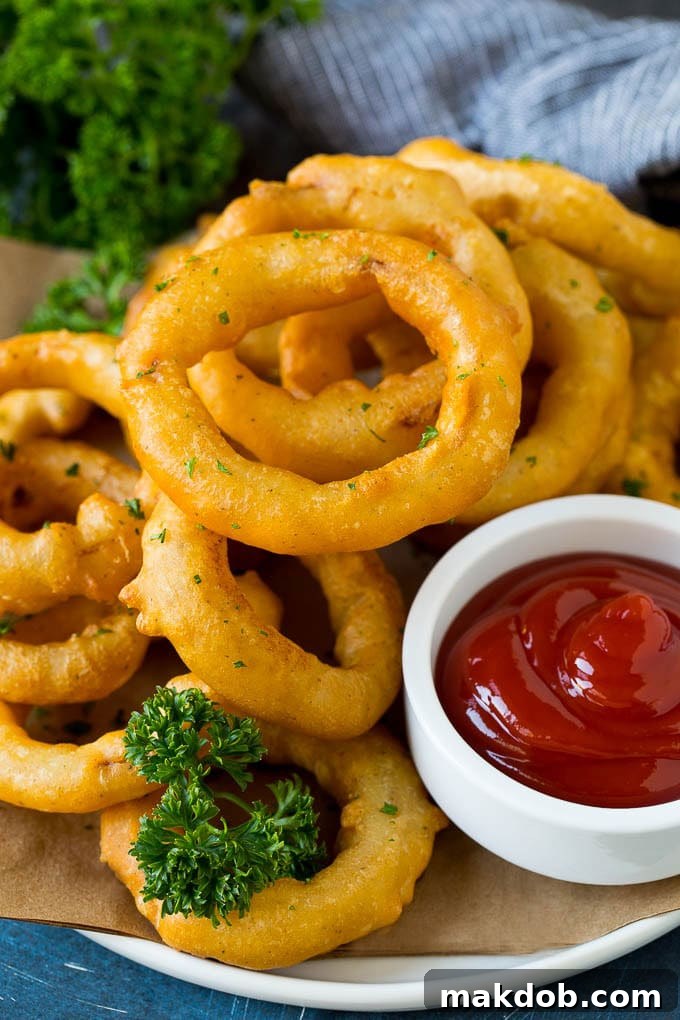
Why Homemade Onion Rings Are Simply the Best
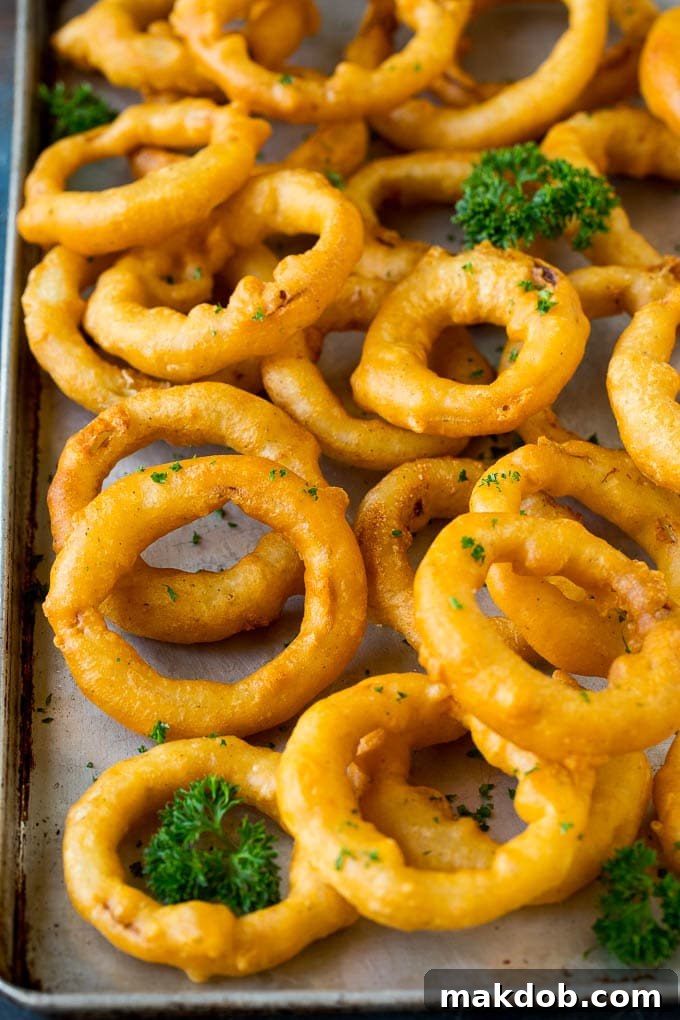
Imagine a pile of perfectly golden-brown onion rings, each one boasting a satisfying crunch on the outside and a sweet, tender onion within. This homemade version isn’t just good; it’s the best I’ve ever tasted, truly surpassing anything you’d find at most eateries. They make an exceptional choice for appetizers, enhancing any meal or gathering, or as a flavorful side dish to your favorite mains.
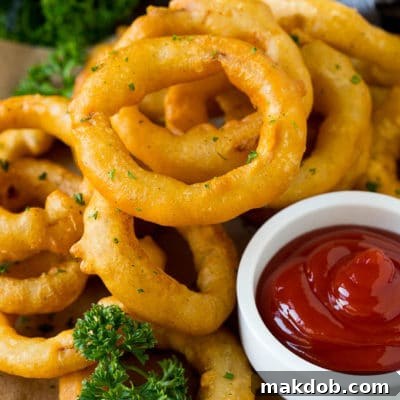
Serve these delectable rings alongside a juicy turkey burger for a classic diner feel, or pair them with other crowd-pleasing snacks like garlic parmesan wings. Prepare for an onslaught of rave reviews as your guests devour these irresistible treats!
Table of Contents
- Essential Ingredients for Perfect Onion Rings
- Step-by-Step Guide: How to Make Beer-Battered Onion Rings
- Expert Tips for Flawless Homemade Onion Rings
- Quick Tip: Master the Oil Temperature
- Frequently Asked Questions (FAQs)
- Unlock More Flavor: Creative Variations for Your Onion Rings
- Perfect Pairings: Serving Suggestions for Your Onion Rings
- Discover More Fabulous Side Dish Options
- Watch the Magic Happen: Onion Rings Video Tutorial
- Loved This Recipe? Your Feedback Matters!
- Homemade Beer-Battered Onion Rings Recipe
Essential Ingredients for Perfect Onion Rings
Crafting these crispy beer-battered onion rings requires a handful of simple, yet crucial ingredients. Each component plays a vital role in achieving that sought-after restaurant-quality taste and texture. Here’s what you’ll need:
- Onions: The star of the show! We recommend using sweet varieties such as Vidalia, Walla Walla, or Maui onions. Their mild flavor caramelizes beautifully when fried, providing a delightful contrast to the savory batter. If these aren’t available, a standard yellow onion will work wonderfully, offering a slightly sharper but still delicious flavor profile.
- Buttermilk: This isn’t just for soaking; it’s a tenderizing and flavor-enhancing marvel. Buttermilk helps to mellow the raw onion’s pungency and adds a subtle tang to the final product. It also gives the onion rings a thicker, more adherent coating.
- All-Purpose Flour: Used in two stages: first as a light dusting to help the batter stick, and then as a key component of the beer batter itself.
- Beer: The secret to that signature airy, crispy batter! The carbonation in beer creates tiny bubbles, which expand when fried, leading to a light and delicate coating. The alcohol content also helps to evaporate moisture quickly, contributing to crispiness. For a mild batter, opt for a light-colored lager. If you desire a more complex flavor, a lighter ale or a Belgian-style wheat ale works exceptionally well, adding a nuanced depth to the batter without overpowering the onion.
- Kosher Salt: Essential for seasoning both the batter and the finished rings, enhancing all the flavors.
- Black Pepper & Garlic Powder: These provide a foundational layer of savory seasoning to the batter, complementing the natural sweetness of the onion.
- Oil for Frying: Choose a neutral-flavored oil with a high smoke point, such as canola oil, vegetable oil, or peanut oil. This ensures your onion rings fry evenly without imparting unwanted flavors or burning.
- Fresh Parsley: A final flourish! Chopped fresh parsley adds a pop of color and a touch of herbaceous freshness, brightening up the rich fried rings.
Step-by-Step Guide: How to Make Beer-Battered Onion Rings
Making delicious homemade onion rings is a straightforward process, but attention to detail ensures a truly spectacular result. Follow these steps for golden, crispy perfection:
1. Prepare Your Onions
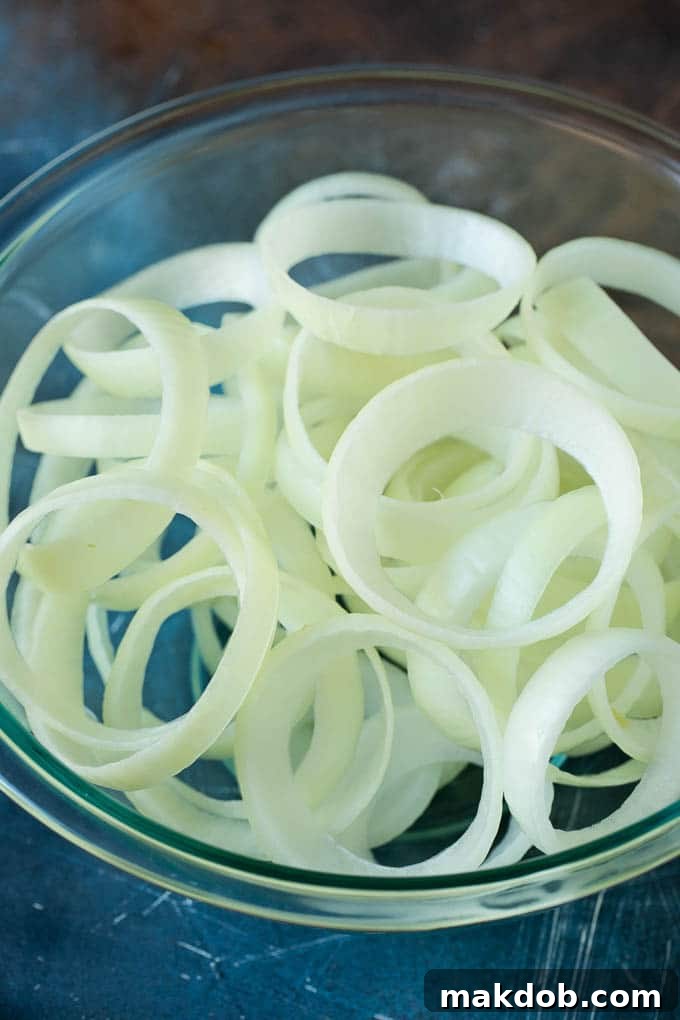
Begin by peeling your onions and trimming off both ends. Then, slice them crosswise into uniform 1/2-inch thick rounds. Carefully separate these slices into individual rings. For the best results, we recommend using only the larger, outer rings, as they cook more consistently. You can save the smaller inner rings for another use, such as sautées or stir-fries.
2. The Buttermilk Soak
Place your separated onion rings into a large bowl and pour in the buttermilk, ensuring all rings are submerged. Allow them to soak for at least one hour. This crucial step not only helps to tenderize the onions and mellow their sharp flavor but also provides a slightly textured surface for the flour and batter to adhere to later.
3. Heat the Frying Oil
While the onions are soaking, pour about 3 inches of your chosen frying oil (canola, vegetable, or peanut) into a deep, heavy-bottomed pot or Dutch oven. Heat the oil over medium-high heat until it reaches a precise 375°F (190°C). Using a frying thermometer is absolutely essential here – consistency in oil temperature is key to perfect onion rings.
4. Prepare the Coating Stations
Set up two separate bowls:
- In one bowl, place 3/4 cup of all-purpose flour. This will be your dry coating.
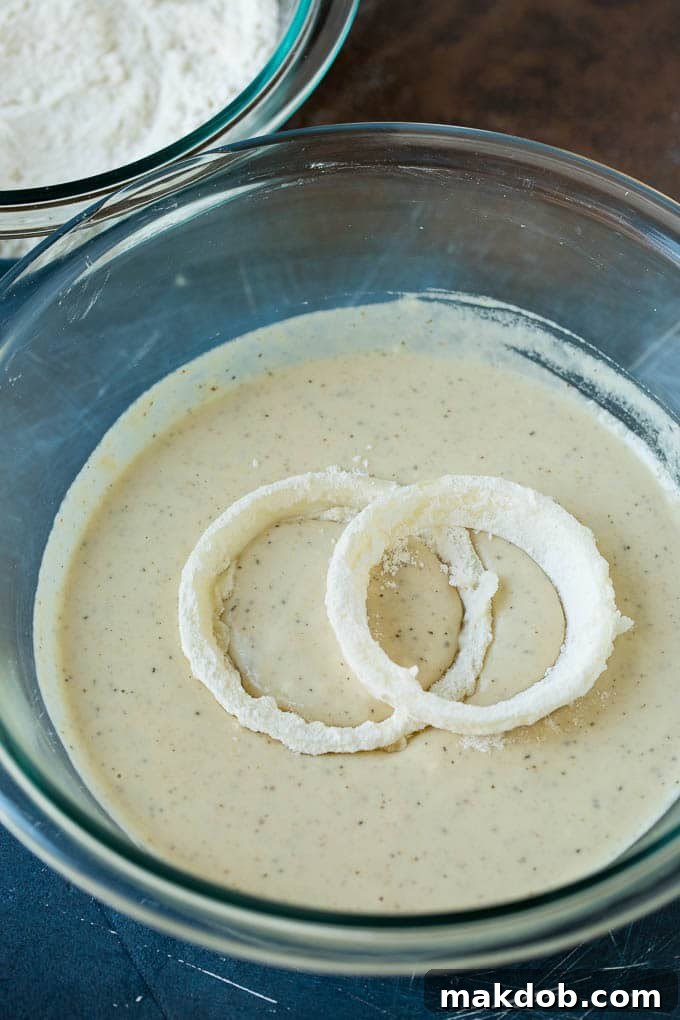
- In a medium bowl, whisk together the remaining 1 cup of all-purpose flour, your chosen beer, kosher salt, black pepper, and garlic powder until a smooth, pancake-like batter forms. Ensure there are no lumps.
5. Batter and Fry in Batches
Once your oil is at temperature and your coatings are ready, begin the frying process:
- Remove an onion ring from the buttermilk, allowing any excess liquid to drip off.
- Dredge the ring thoroughly in the bowl of plain flour, ensuring it’s completely coated. Shake off any excess. The flour creates a dry, textured surface that the wet batter can cling to.
- Immediately dip the floured onion ring into the beer batter, turning to coat evenly. Let any excess batter drip back into the bowl.
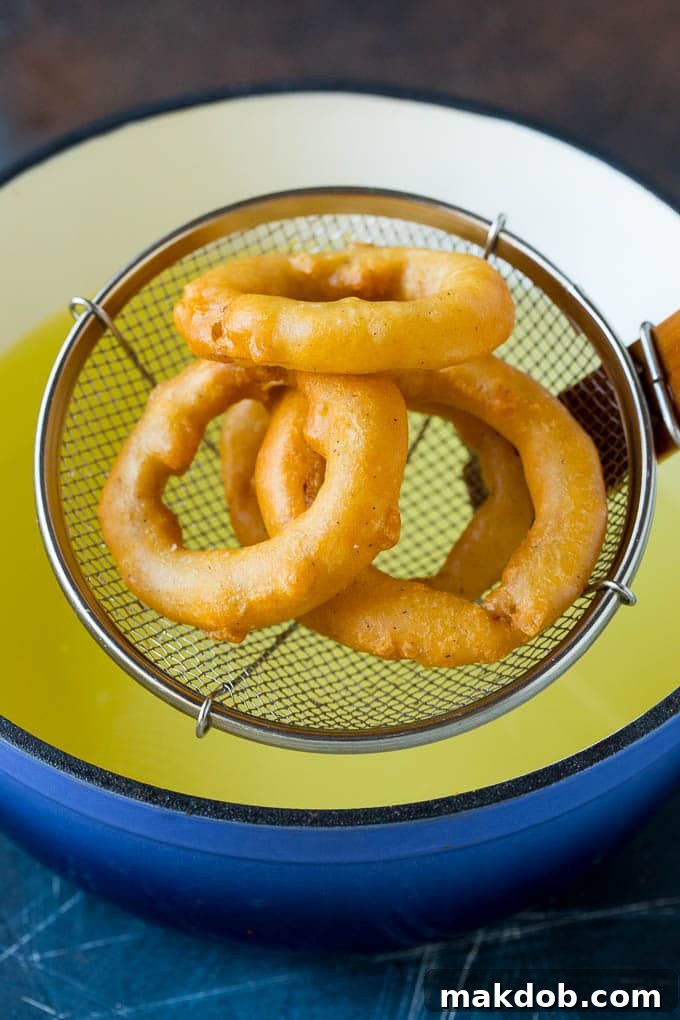
- Carefully lower 6-8 battered onion rings into the hot oil using a spider strainer or tongs. Do not overcrowd the pot, as this will lower the oil temperature and result in soggy rings.
- Fry for 3-4 minutes, turning occasionally, until the onion rings are beautifully golden brown and crispy.
- Using your spider strainer, remove the fried rings from the oil and transfer them to a plate lined with paper towels to drain any excess grease.
6. Finish and Serve
Repeat the battering and frying process with the remaining onion rings, working in batches until all are cooked. Once drained, sprinkle the warm onion rings generously with fresh chopped parsley. Serve immediately for the best possible flavor and crunch!
Expert Tips for Flawless Homemade Onion Rings
- Choose the Right Onion: For the sweetest and most mellow flavor, I highly recommend using a sweet onion variety like Vidalia, Walla Walla, or Maui onions. Their natural sugars caramelize beautifully when fried, adding an incredible depth of flavor. If these specialized varieties are not available, a standard yellow onion is a perfectly acceptable and delicious alternative.
- Serve Immediately for Peak Crispness: Fried onion rings are always best when served fresh, right after they come out of the oil. This is when their batter is at its most crispy and the onion is perfectly tender. While they can be refrigerated, reheating will never quite replicate that fresh-from-the-fryer perfection. However, if you must reheat, an oven at 400 degrees F (200°C) or an air fryer can help crisp them back up nicely.
- Invest in a Spider Strainer: This simple tool is a game-changer for deep frying. A spider strainer makes it incredibly easy and safe to lower delicate onion rings into the hot oil and remove them without damaging the delicate batter.
- Select the Correct Oil: Always opt for a neutral-flavored oil with a high smoke point. Canola oil, vegetable oil, or peanut oil are excellent choices. Oils with lower smoke points or strong flavors can burn quickly or impart an undesirable taste to your rings.
- Enhance the Flavor Profile: Don’t be afraid to experiment with seasonings! For an extra layer of savory depth, mix a teaspoon of smoked paprika into your beer batter. You can also try a pinch of cayenne pepper for a subtle kick or a touch of onion powder to enhance the onion flavor.
- Maintain Oil Temperature: As mentioned, this is critical. Fluctuations in oil temperature are the primary cause of soggy or burnt onion rings. Constantly monitor with your thermometer and adjust heat as needed.
- Don’t Overcrowd the Pot: Frying in small batches is essential. Overcrowding drops the oil temperature, leading to greasy, soft rings instead of crispy ones.
Quick Tip: Master the Oil Temperature
It’s absolutely imperative to use a frying thermometer to ensure that your oil is at the correct temperature, ideally 375°F (190°C). This is the single most important factor for achieving perfectly crispy, non-greasy onion rings. If the oil is too hot, the batter will burn before the onion cooks through, leaving you with a charred exterior and raw interior. Conversely, if the oil is too cold, the batter will absorb excess grease, resulting in a heavy, oily, and utterly unappetizing texture. Consistency is key!
Frequently Asked Questions (FAQs)
To prepare your onions for rings, first peel them completely. Then, slice them crosswise (from top to bottom) into uniform 1/2-inch thick slices. This thickness is ideal for ensuring the onion cooks through without becoming mushy, while the batter gets perfectly crispy. After slicing, gently separate the layers into individual rings. I personally prefer to use only the larger outer rings for frying, as they maintain a consistent size and cook evenly. The smaller inner rings tend to cook faster and can get lost in the batter, so I often reserve them for other dishes like salads or stir-fries.
The type of beer you choose can significantly impact the flavor of your onion rings. For a mild-flavored batter that truly allows the sweet onion to shine, a lighter-colored lager is an excellent choice. Lagers typically have a crisp, clean taste that won’t overpower. If you’re looking for a more complex and nuanced flavor profile in your batter, consider using a lighter-colored ale, such as a pale ale or a Belgian-style wheat ale. A Belgian-style wheat ale, which I often use, creates a wonderfully flavorful batter that fries up beautifully golden and adds a subtle, intriguing note to the rings. Avoid dark, heavy beers like stouts or porters, as their strong flavors and colors are not ideal for a light and crispy batter.
The key to achieving a perfectly adhered batter lies in a two-step coating process. After soaking your onions in buttermilk, it’s crucial to dredge them thoroughly in plain all-purpose flour before dipping them into the wet beer batter. The buttermilk soak provides a slightly tacky surface, and the flour then creates a dry, textured base. This flour coating acts as a bridge, giving the wet beer batter something substantial to cling to. Without this initial flour layer, the smooth surface of the onion would likely cause the batter to slide right off, resulting in an uneven or missing coating.
Yes, soaking your onions before making onion rings is highly recommended! For this recipe, I prefer soaking the onion rings in buttermilk for about an hour. This not only helps to significantly tone down the natural sharpness and pungency of the raw onion, making them milder and sweeter when fried, but the buttermilk also infuses them with a subtle, creamy tang that enhances the overall flavor. If you don’t have buttermilk on hand, you can easily make your own by combining 1 cup of regular milk with 1 tablespoon of lemon juice or white vinegar and letting it sit for 10 minutes until it slightly curdles. Another effective option for mellowing onions is to soak them in a bowl of ice water for 30 minutes to an hour; this achieves a similar effect by drawing out some of the sulfur compounds.
While this recipe is specifically designed for deep-frying to achieve the ultimate crispiness, you can adapt onion rings for an air fryer or oven for a lighter alternative. For air frying, preheat to 375°F (190°C), lightly spray the coated rings with cooking oil, and cook in a single layer for 10-15 minutes, flipping halfway, until golden and crispy. For oven baking, preheat to 425°F (220°C), arrange sprayed rings on a baking sheet, and bake for 15-25 minutes, flipping once, until golden. Keep in mind that the texture will be slightly different from deep-fried, but still delicious!
For the best results, it’s ideal to make the beer batter just before you plan to fry your onion rings. The carbonation in the beer, which is crucial for a light and airy batter, will diminish over time if the batter sits for too long. If you need to do some prep in advance, you can measure out your dry ingredients and keep them separate. You can also slice and soak your onions in buttermilk up to an hour or two before frying, keeping them refrigerated until ready to use.
FOLLOW ME
Unlock More Flavor: Creative Variations for Your Onion Rings
While this recipe yields exceptionally crispy and delicious onion rings, you can easily customize the flavors of your beer batter to suit your personal preferences. Get creative and transform your rings into a unique culinary experience:
- Spicy Kick: For those who love a bit of heat, infuse your batter with a dash of your favorite hot sauce, a pinch of cayenne pepper, or a teaspoon of vibrant chili seasoning. These spicy rings are fantastic with a cooling ranch or blue cheese dip.
- Italian Twist: Transport your taste buds to Italy by incorporating a tablespoon of Italian seasoning into the batter. Serve these aromatic rings with a side of warm marinara sauce for dipping, reminiscent of fried mozzarella.
- Southwestern Flair: Add a zesty and smoky element by mixing in some robust taco seasoning to your batter. These southwestern-inspired rings pair wonderfully with a side of salsa, guacamole, or a creamy chipotle aioli.
- Herbaceous Delight: Finely chop fresh herbs like rosemary, thyme, or chives and fold them into your batter for a fragrant and sophisticated touch.
- Cheesy Goodness: Mix a tablespoon or two of finely grated Parmesan cheese (or nutritional yeast for a dairy-free option) into the flour coating before dipping in batter for a savory, umami boost.
- Beyond Onions: Other Fried Favorites: This versatile beer batter isn’t just for onions! Expand your frying horizons and use it to create a variety of other crispy snacks. Consider frying up delightful treats like fried ravioli, tangy fried pickles, fresh fried zucchini, succulent fried calamari, crisp fried green beans, or savory fried mushrooms. The possibilities are endless!
Perfect Pairings: Serving Suggestions for Your Onion Rings
These golden, crispy onion rings are incredibly versatile and can elevate almost any meal. I highly recommend serving them alongside classic comfort foods for a truly satisfying experience. Imagine them piled high next to a gourmet burger, a hearty Cuban sandwich, or succulent slow cooker pulled pork sandwiches. They also make an excellent sidekick to family favorites like homemade chicken fingers or crispy popcorn shrimp, turning an ordinary meal into something special.
But a plate of onion rings isn’t complete without the perfect dipping sauce! Don’t forget to whip up one or two of these homemade condiments to go on the side:
- Classic Fry Sauce: A creamy, tangy blend perfect for any fried treat. Get the recipe here.
- Sweet and Savory Honey Mustard: A beloved dipping sauce that adds a touch of sweetness. Find the recipe.
- Cool and Creamy Homemade Ranch: The ultimate go-to dip for many, offering herby freshness. Learn how to make it.
- Tangy Homemade BBQ Sauce: A smoky, sweet, and tangy choice that complements the savory rings. Make your own.
- Bold Blue Cheese Dressing: For those who love a pungent, rich dipping experience. Recipe details.
- Zesty Sriracha Mayo: A modern favorite for a spicy, creamy kick.
- Garlic Aioli: A sophisticated and intensely flavorful garlic mayonnaise.
Once you try these incredible homemade rings, paired with your favorite burger and a selection of delicious dips, you’ll undoubtedly agree that they are truly better than anything you would typically get at a restaurant!
Discover More Fabulous Side Dish Options
Hasselback Potatoes Recipe
1 hr 15 mins
Baked Beans with Bacon
2 hrs 30 mins
Baked Potato Wedges
40 mins
Honey Roasted Carrots
35 mins
Roasted Green Beans
30 mins
Watch the Magic Happen: Onion Rings Video Tutorial
Seeing is believing! If you’re a visual learner or just want to ensure you’re getting every step right, check out this helpful video tutorial on how to make these incredible beer-battered onion rings.
Watch how to perfectly slice onions, prepare the beer batter, and deep-fry your way to the best homemade onion rings. This visual guide makes the process easy and enjoyable.
Loved This Recipe? Your Feedback Matters!
If you’ve enjoyed making and tasting these delicious homemade onion rings, please consider leaving a 5-star 🌟🌟🌟🌟🌟 rating in the recipe card below. Your feedback helps other home cooks discover and enjoy this fantastic recipe! Don’t forget to also share your thoughts and experiences in the comments section further down the page.
Homemade Beer-Battered Onion Rings Recipe
Pin
Save
Time
Ingredients
- 2 onions Vidalia, Maui or yellow
- 1 1/2 cups buttermilk
- 1 3/4 cups all purpose flour divided use
- 1 cup beer
- 1 3/4 teaspoons kosher salt
- 1/4 teaspoon black pepper
- 1/4 teaspoon garlic powder
- oil for frying
- 1 tablespoon fresh parsley chopped
Instructions
-
Peel the onions and trim off the ends. Cut the onions crosswise into 1/2 inch thick slices. Separate the slices to create rings. Remove the smallest rings and reserve for a different use.
-
Place the buttermilk in a large bowl. Add the onions and soak for one hour.
-
Heat 3 inches of oil in a deep pot to 375 degrees F (190°C).
-
Place 3/4 cup of flour in a shallow bowl.
-
In a medium bowl, mix together one cup of flour, beer, salt, pepper, and garlic powder until a smooth batter forms.
-
Remove each ring from the buttermilk, letting the excess drip off. Coat each ring thoroughly in the plain flour, then dip it into the beer batter, ensuring an even coating.
-
Carefully place 6-8 battered rings into the hot oil (do not overcrowd) and fry until golden brown, about 3-4 minutes. Drain the rings on paper towels.
-
Repeat the process with the remaining onion rings until all are cooked.
-
Sprinkle with fresh chopped parsley, then serve immediately for the best crispness.
Notes
- It’s imperative to use a frying thermometer to make sure that your oil is at the correct temperature (375°F / 190°C). If the oil is too hot, the rings can burn on the outside and remain raw inside. If the oil is too cold, the batter will absorb excess grease, resulting in a heavy and soggy texture. Consistent temperature is key for crispy results.
- Fried onion rings are always best when served immediately after being cooked to enjoy their peak crispness. However, if you have leftovers, they can be refrigerated in an airtight container for up to 2-3 days. To reheat and crisp them back up, place them in a single layer on a baking sheet and bake in an oven at 400°F (200°C) for 5-10 minutes, or in an air fryer for 3-5 minutes, until heated through and crispy.
- Always exercise caution when deep frying. Ensure your pot is on a stable surface, never leave hot oil unattended, and have a fire extinguisher rated for grease fires nearby.
Nutrition
Tweet
Pin