
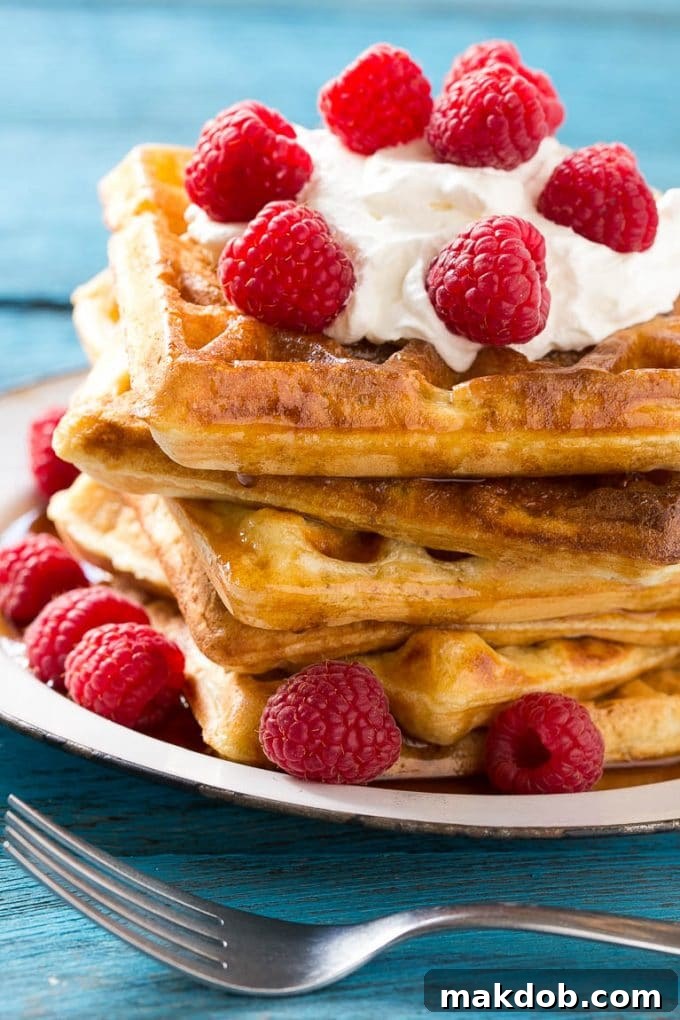
Ultimate Overnight Yeast Waffles: Perfectly Fluffy & Crispy for an Effortless Breakfast
Imagine waking up to the aroma of freshly cooked waffles, knowing that most of the work was done the night before. These **Overnight Yeast Waffles** aren’t just any waffles; they offer an unparalleled melt-in-your-mouth texture and an exceptional, deep flavor that sets them apart. Prepare the batter in advance and treat yourself to a truly decadent breakfast or brunch the very next morning!
If you’ve never experienced the magic of yeast waffles, you’re missing out on a culinary revelation! Unlike traditional waffles made with baking powder, yeast-leavened waffles undergo a slow fermentation process that develops incredible depth of flavor and a unique, light, yet substantial texture. It’s a special experience that is absolutely worth the minimal extra effort involved in preparing the batter ahead of time. These waffles are a guaranteed crowd-pleaser, perfect for leisurely weekend mornings, special occasions, or even a fun “breakfast for dinner” treat.
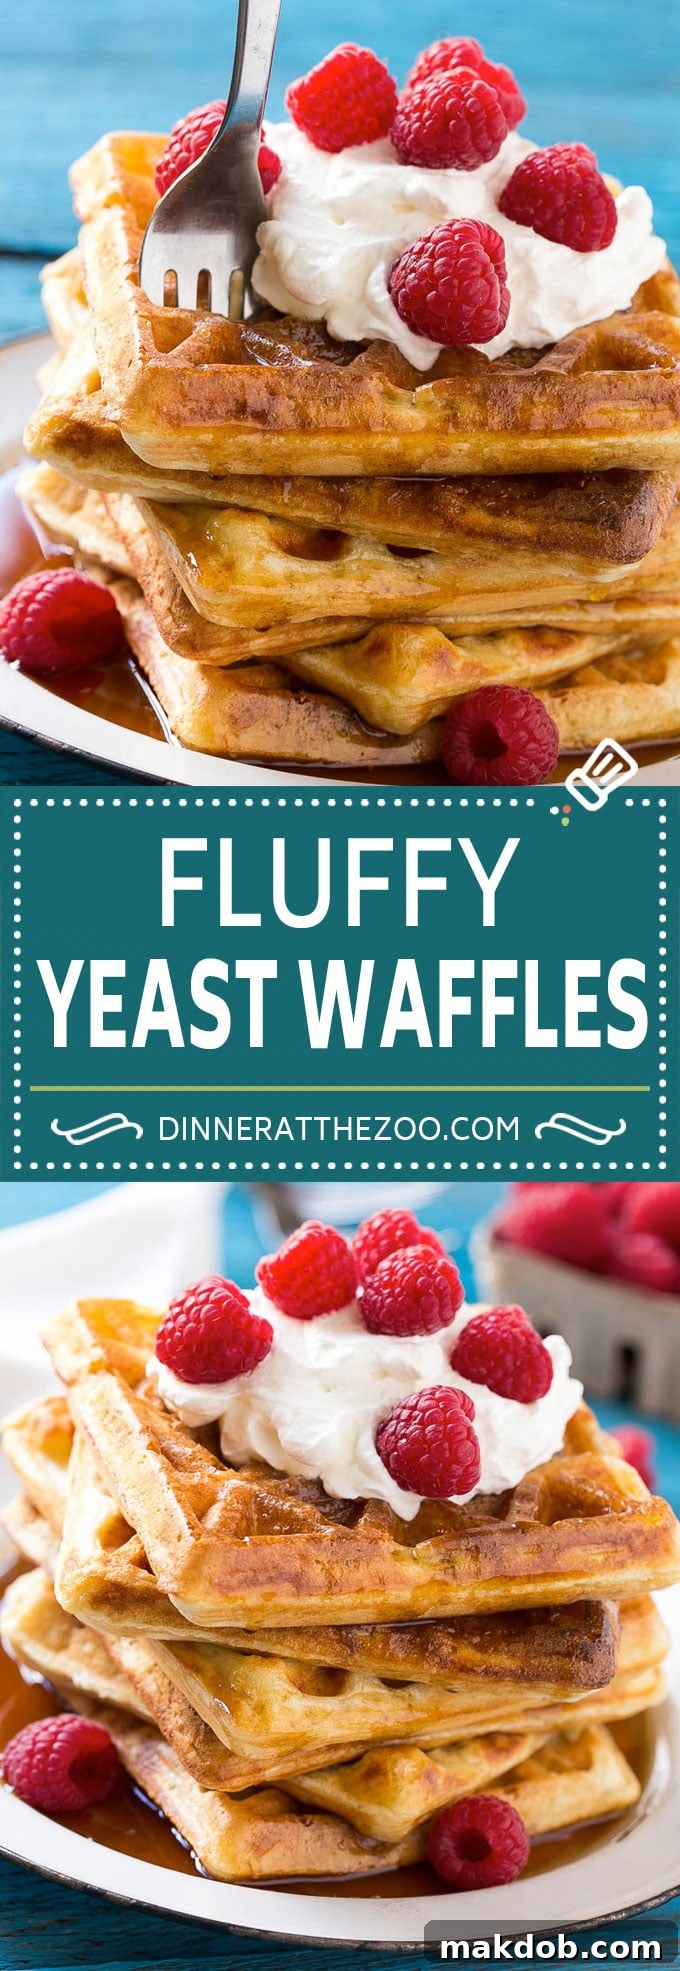

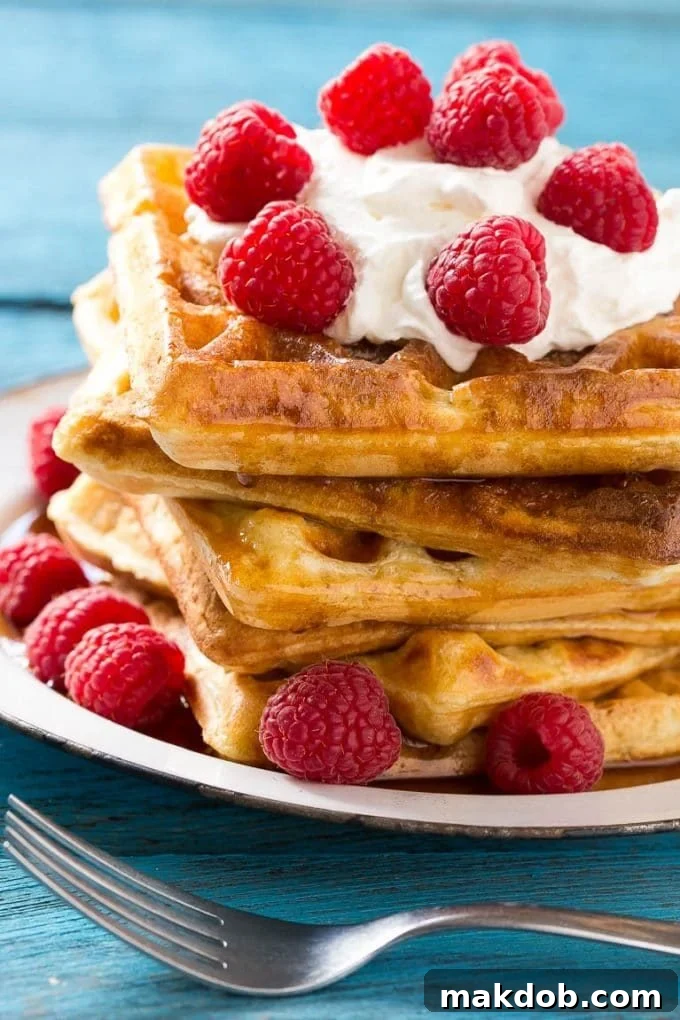
Why Overnight Yeast Waffles Are a Breakfast Game Changer
We all have those hectic days when meal planning feels like an impossible task. Whether it’s a busy weeknight, an unexpected delay, or simply forgetting to defrost dinner, the temptation to opt for takeout or a quick bowl of cereal for the kids is real. But what if there was a delightful, easy, and family-favorite alternative that required minimal effort on the day of? Enter the concept of “breakfast for dinner,” elevated by these incredible overnight yeast waffles.
My family absolutely adores breakfast for dinner. It’s a fun, comforting meal that rarely disappoints, and I almost always have the necessary ingredients on hand. While we enjoy classic pancakes and other waffle varieties like Lemon Sour Cream Waffles or a Red Velvet Puffed Pancake, these overnight yeast waffles stand out as a consistent household champion. They transform an ordinary meal into something special, without adding stress to an already packed schedule. The convenience of preparing the batter in advance means you can enjoy a truly gourmet breakfast experience, even on the busiest mornings, or surprise your family with a special dinner that feels indulgent yet requires little last-minute fuss.
The Secret to Unbeatable Flavor and Texture in Every Bite
The beauty of this recipe lies in its ingenious make-ahead design. By preparing the batter the night before and allowing it to slow-ferment in the refrigerator, you unlock a depth of flavor and a texture that baking powder waffles simply can’t achieve. Yeast, a living organism, works its magic over several hours, slowly breaking down starches and sugars in the batter. This extended fermentation process develops complex, slightly nutty, and tangy notes that are reminiscent of artisanal bread, giving the waffles a far more sophisticated taste profile than quick-rise alternatives.
Beyond flavor, the yeast’s activity creates an incredibly airy, yet substantial, interior structure. When cooked on a hot waffle iron, this unique batter yields an irresistibly crispy, golden-brown exterior that perfectly encases a tender, fluffy crumb. This delightful contrast in textures — crispy on the outside, soft on the inside — is the hallmark of a truly exceptional waffle, making these overnight yeast waffles an unforgettable treat.
This overnight method is also incredibly convenient. If you’re planning a leisurely breakfast or brunch, simply mix the batter before bed, let it rise slightly on the counter to kickstart the yeast, then tuck it into the fridge. The next morning, a quick stir and a few simple additions, and you’re ready to cook! For those who enjoy “breakfast for dinner,” you can whip up the batter in the morning, let it chill, and it will be perfectly primed for your evening meal. Just remember that initial hour of counter-top rising before it goes into the cold storage to ensure the yeast activates effectively and begins its important work.
Crafting Your Perfect Yeast Waffles: A Step-by-Step Guide
Making these yeast-leavened waffles is a straightforward process, but it does require a bit of foresight and patience. The minimal prep time the night before pays huge dividends in flavor, texture, and convenience. Here’s a closer look at how to create these spectacular waffles, ensuring a successful and delicious outcome.
The Night Before: Building the Batter for Optimal Flavor
You’ll want to use your largest mixing bowl for this recipe – perhaps even the bowl from your stand mixer. This is crucial because the yeast batter will undergo a significant rise as it rests, especially at room temperature and then slowly in the refrigerator overnight. A spacious bowl prevents any messy overflows and ensures ample room for the yeast to work its magic.
The star of this recipe is **active dry yeast**. This type of yeast needs a gentle awakening, which happens by dissolving it in warm water. The key here is “warm,” not hot. Water that’s too hot can kill the yeast, preventing it from activating and doing its job. Think of it like a cozy bath for the yeast – ideally, the water should be between 105-115°F (40-46°C). If you don’t have a thermometer, warm tap water that feels comfortable to the touch, like baby bath water, will do the trick. Once activated, you’ll see a light foam form on the surface after about 5 minutes, indicating your yeast is alive and ready.
Next, you’ll incorporate the melted butter and milk. Ensure these liquids are also at room temperature or slightly warm so as not to shock or inhibit the yeast. Then, gradually add the sugar, all-purpose flour, and kosher salt. The sugar acts as food for the yeast, helping it to thrive and produce those wonderful air pockets that lead to a fluffy waffle. Stir all the ingredients together until a smooth batter forms. It’s important not to overmix at this stage; a few small lumps are perfectly fine and often preferred, as overmixing can develop too much gluten, leading to tougher waffles.
After thoroughly mixing all the ingredients, cover your bowl tightly with plastic wrap. Let this batter sit out on your kitchen counter for about one hour. This initial hour at room temperature allows the yeast to become fully active and begin its fermentation process robustly before the cold of the refrigerator slows it down to a gentle overnight rise. This step is essential for developing the complex flavors and airy texture. After this hour, transfer the covered bowl to the fridge. It will comfortably rest there for 8-10 hours, or even up to 12-14 hours, slowly developing its signature flavor and texture, patiently waiting for its turn in the morning.
The Morning Of: Finishing Touches and Golden Perfection
The next day, your chilled batter will be beautifully risen and ready for its final additions. You might notice it has a pleasant, slightly tangy aroma – that’s the yeast hard at work! Gently stir in two beaten large eggs, baking soda, and vanilla extract. The baking soda provides an extra lift, complementing the yeast’s leavening power for ultimate fluffiness, while the eggs and vanilla enrich the flavor and texture even further. Don’t worry if the batter seems a bit thick; that’s perfectly normal and desirable for crispy waffles.
Now, it’s time to cook! Preheat your waffle iron according to the manufacturer’s instructions. A well-heated iron is absolutely essential for achieving that sought-after crispy exterior and preventing sticking. If your waffle iron isn’t non-stick, or if you’ve had issues with sticking in the past, lightly grease it with cooking spray or a brush of melted butter before pouring the first batch of batter. Pour approximately 1/2 cup of batter per waffle onto the hot iron (adjusting based on your specific waffle iron’s size and design), close the lid, and cook until golden brown and steam is no longer actively escaping. This usually takes about 3-5 minutes, depending on your iron’s wattage and your desired level of crispness. Resist the urge to open the iron too early, as this can interrupt the cooking process and result in less crispy waffles.
Serving Suggestions & Expert Tips for Waffle Success
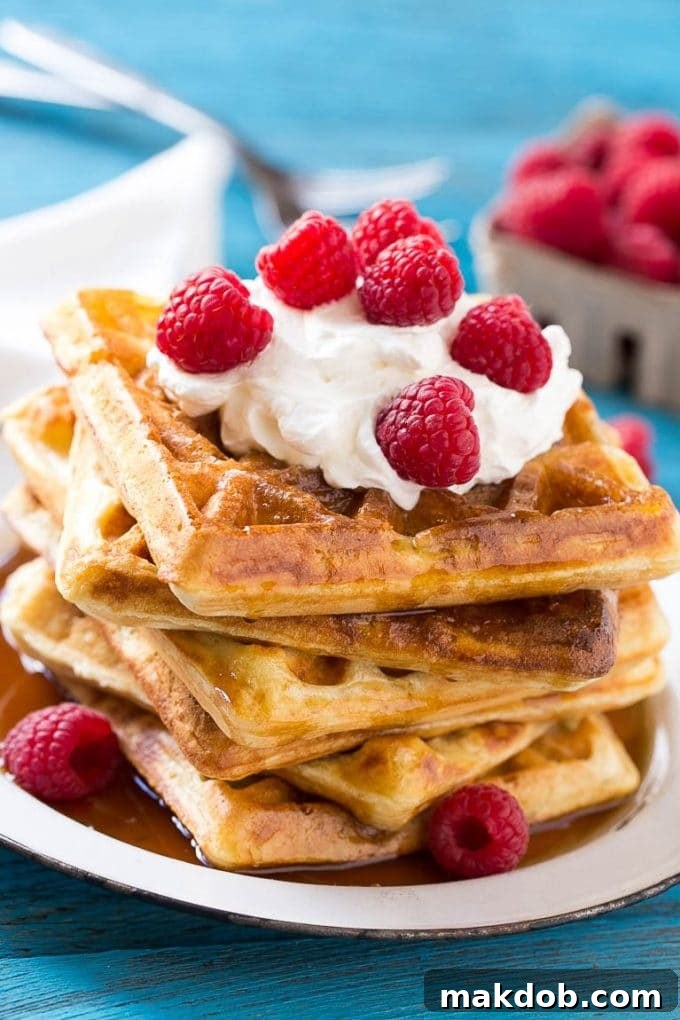
These yeast waffles are truly best enjoyed immediately, straight from the waffle iron. The crispy edges and warm, fluffy interior are at their absolute peak freshness. As they cool, the crispy exterior can soften slightly, so encourage your family to dig in right away for the ultimate experience! But don’t despair if you have leftovers; they reheat remarkably well in a toaster or toaster oven, regaining much of their original crispness and delightful texture. This makes them perfect for quick breakfasts throughout the week.
Perfect Toppings to Elevate Your Waffles
While delicious on their own, the right toppings can transform your overnight yeast waffles into an even more extraordinary meal:
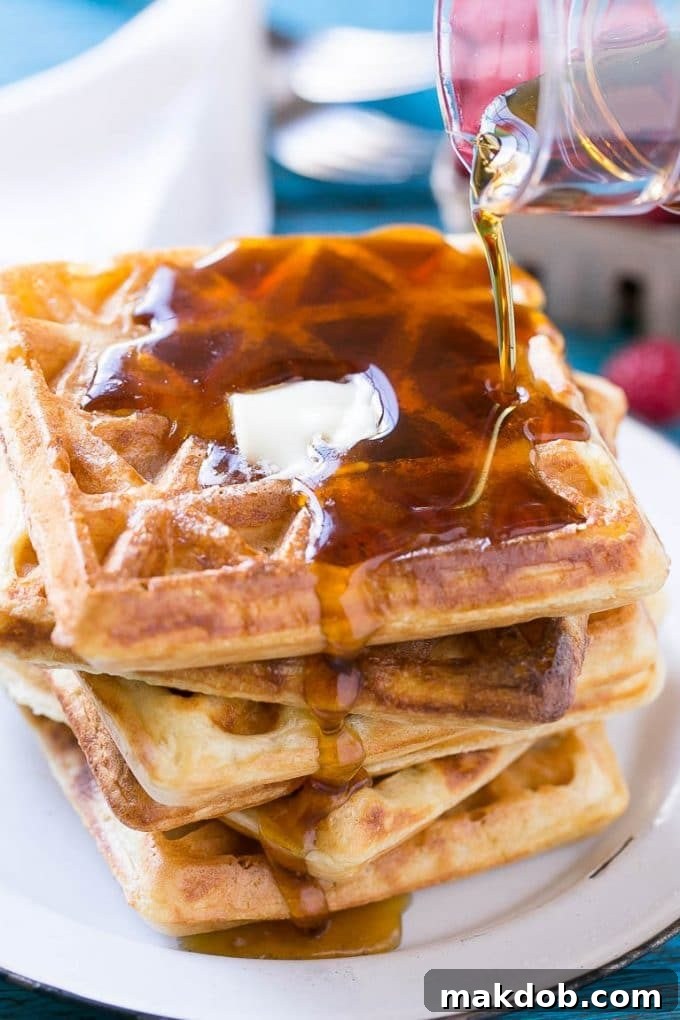
- Classic Maple Syrup & Melted Butter: A timeless combination that highlights the waffle’s rich, yeasty flavor. Use real maple syrup for the best results.
- Fresh Berries & Whipped Cream: A vibrant mix of strawberries, blueberries, raspberries, or sliced bananas adds a burst of freshness, natural sweetness, and beautiful color. A dollop of homemade whipped cream makes it truly luxurious.
- Fruit Compotes or Sauces: Warm, homemade fruit compotes (like apple cinnamon, cherry, or peach) or a quick berry sauce offer a comforting and flavorful touch.
- Chocolate Chips or Sauce: For a sweeter, more indulgent treat, sprinkle in chocolate chips during the last minute of cooking, or drizzle with chocolate sauce after plating.
- Nut Butters & Nuts: A dollop of creamy peanut butter, almond butter, or hazelnut spread, perhaps with a sprinkle of chopped pecans or walnuts, adds protein and a satisfying crunch.
- Savory Adventures: Don’t limit waffles to sweet! Try them with crispy fried chicken for a Southern classic, or a fried egg and bacon (or sausage) for a hearty, unconventional breakfast-for-dinner twist.
Pro Tips for Waffle Perfection Every Time
- Don’t Overmix the Batter: Once you add the flour, mix just until combined and no dry streaks remain. A few small lumps are perfectly acceptable; overmixing can overdevelop the gluten, leading to tougher, less tender waffles.
- Preheat Your Waffle Iron Thoroughly: A properly hot iron is the secret to achieving those desirable crispy edges and preventing the waffles from sticking. Allow your iron to reach its full temperature before adding any batter.
- Don’t Peek Too Early: Resist the temptation to lift the lid of your waffle iron before the cooking cycle is complete or before steam stops actively escaping. Opening the iron too soon can cause the waffles to deflate, resulting in a less fluffy texture.
- Grease if Necessary: Even non-stick waffle irons can sometimes benefit from a light greasing. If your waffles tend to stick, apply a thin layer of cooking oil or melted butter to the plates between batches.
- Keep Waffles Warm & Crispy: If you’re cooking for a crowd, keep finished waffles warm and prevent them from getting soggy by placing them in a single layer on a wire rack set on a baking sheet in a warm oven (around 200°F / 93°C) while you finish the rest of the batch.
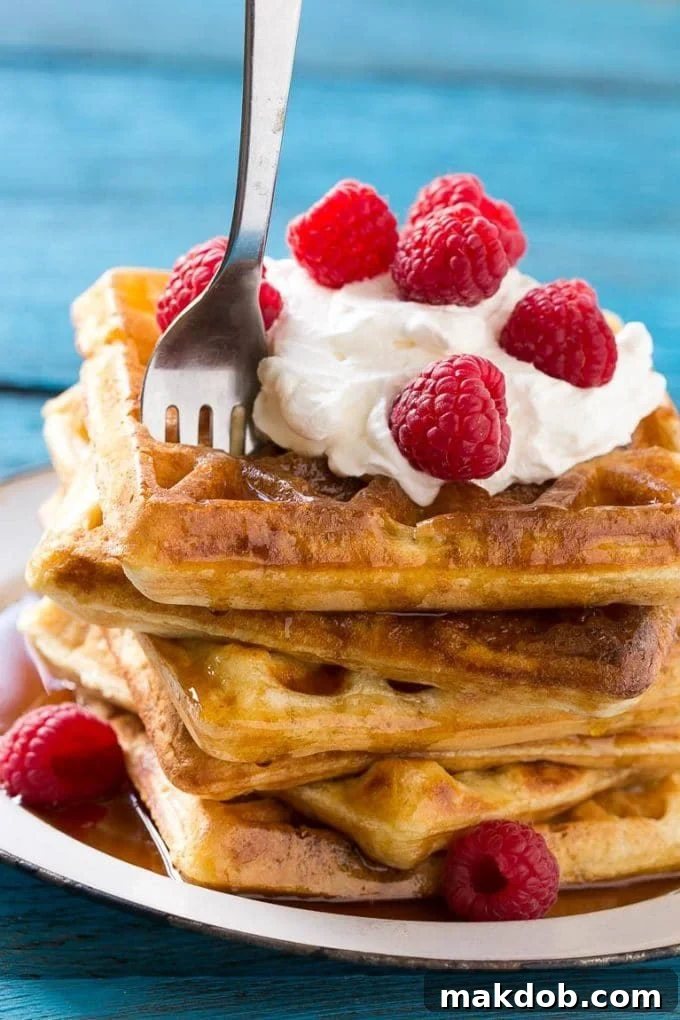
Whether served for a special breakfast or a fun dinner, these fluffy overnight yeast waffles are guaranteed to be a hit with your family and guests. Their unique texture, rich flavor, and the sheer convenience of the make-ahead batter make them truly unforgettable. Get ready to impress with minimal morning effort!
More Delightful Breakfast Recipes to Explore
If you’re looking for more ways to make your mornings delicious, check out these other fantastic breakfast ideas:
- Baked Oatmeal Cups
- Cream Cheese Danish
- Donut Bread Pudding
- Oatmeal Waffles
- Strawberry Waffles
Overnight Yeast Waffles Recipe
These overnight yeast waffles are celebrated for their melt-in-your-mouth texture and exceptional flavor, making them the perfect make-ahead breakfast. With just a little preparation the night before, you can enjoy a truly decadent homemade meal with minimal morning fuss.
Author: Sara Welch

Preparation Details
Prep Time: 15 minutes
Cook Time: 30 minutes
Total Time: 45 minutes (plus overnight chilling)
Course: Breakfast
Cuisine: American
Yields: Approximately 14 waffles
Ingredients
For the Night Before (Batter):
- 1/2 cup warm water (ideally 105-115°F / 40-46°C)
- 1 tablespoon active dry yeast
- 1/4 cup melted unsalted butter
- 2 cups milk (any percentage, room temperature is best)
- 2 tablespoons granulated sugar
- 3 cups all-purpose flour
- 1 teaspoon kosher salt
For the Next Day (Additions):
- 2 large eggs, lightly beaten
- 1/2 teaspoon baking soda
- 1 teaspoon vanilla extract
Instructions
- In a very large mixing bowl, combine the warm water and active dry yeast. Let it stand for 5-7 minutes, or until the mixture becomes visibly foamy. This confirms the yeast is active and alive.
- Add the melted butter and milk to the foamy yeast mixture. Stir gently until well combined.
- Gradually add the all-purpose flour, granulated sugar, and kosher salt. Stir with a spoon or whisk until a smooth batter forms. Be careful not to overmix; a few small lumps are acceptable.
- Cover the bowl tightly with plastic wrap and let the batter sit on your kitchen counter at room temperature for one hour. This allows the yeast to begin its primary fermentation.
- After one hour, transfer the covered bowl to the refrigerator and allow the batter to chill and rise overnight, or for a minimum of 8 hours and up to 14 hours.
- The next morning, remove the batter from the fridge. It will be thick and bubbly. Gently stir in the lightly beaten eggs, baking soda, and vanilla extract until all ingredients are well incorporated.
- Preheat your waffle iron according to its manufacturer’s instructions. Ensure it is fully heated before proceeding. Lightly grease the iron if necessary (depending on its non-stick coating).
- Pour approximately 1/2 cup of batter per waffle onto the hot iron (adjusting the quantity based on your specific waffle iron’s size). Close the lid and cook for about 3-5 minutes, or until the waffles are beautifully golden brown and steam largely stops escaping.
- Serve your delicious overnight yeast waffles immediately with your favorite toppings. Enjoy the crispy exterior and fluffy interior!
Recipe Notes for the Best Waffles
- Involve Little Helpers: This recipe is wonderful for cooking with children! Kids often love to assist with measuring ingredients and watching the yeast foam up. It’s a fun, educational activity that yields delicious rewards.
- Freezing Leftovers: Leftover waffles freeze beautifully for a quick future breakfast. Once cooled completely, place them in an airtight freezer bag or container. To reheat, thaw them in the microwave for a short period (about 30-60 seconds), then crisp them up in a toaster or toaster oven until golden and warm. They’ll be almost as good as fresh!
Approximate Nutrition Information (Per Serving)
- Calories: 165 kcal
- Carbohydrates: 24g
- Protein: 4g
- Fat: 5g
- Saturated Fat: 2g
- Cholesterol: 35mg
- Sodium: 259mg
- Potassium: 86mg
- Sugar: 3g
- Vitamin A: 190 IU
- Calcium: 48mg
- Iron: 1.4mg
Did you try this amazing overnight yeast waffle recipe? We’d love to see your delicious creations and hear about your experience! Tag @dinneratthezoo on Instagram and use the hashtag #dinneratthezoo to share your culinary success with our community!
Share the Waffle Love!
If you enjoyed this recipe and found it helpful, consider sharing it with your friends and family on social media. Spread the joy of perfect homemade waffles!
- Share on Facebook
- Tweet on Twitter
- Pin on Pinterest
For more delicious recipes, family meal ideas, and cooking inspiration, be sure to follow Dinner at the Zoo on Facebook, Twitter, Instagram, and Pinterest!