
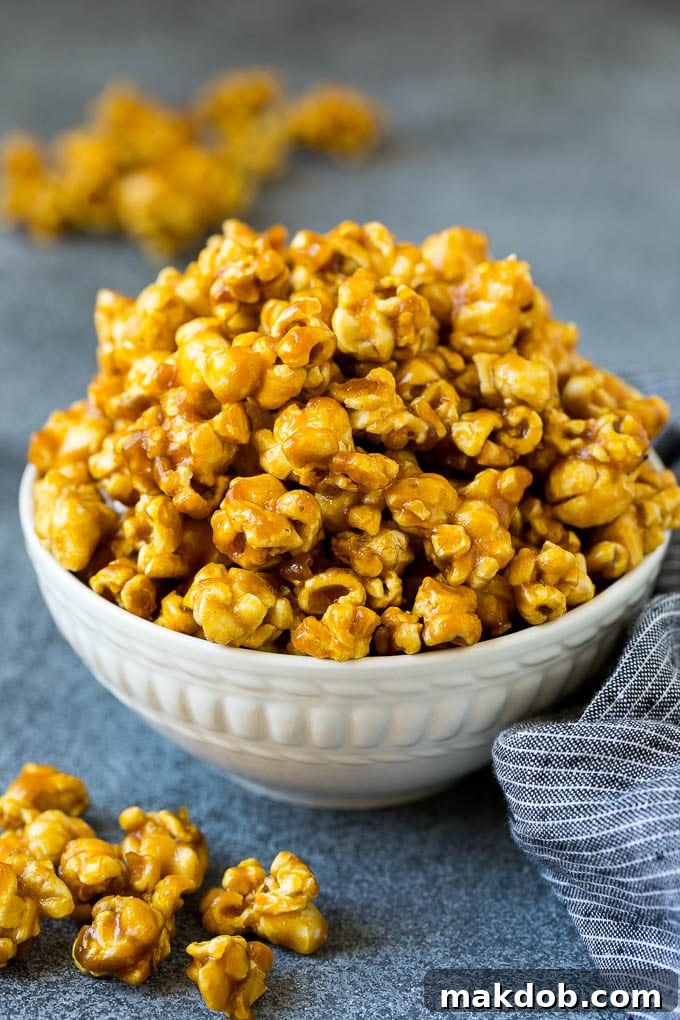
Homemade Caramel Popcorn: Your Ultimate Guide to Sweet & Salty Perfection
There’s something truly magical about homemade caramel popcorn. It’s that perfect blend of sweet, salty, and satisfyingly crunchy that makes it utterly irresistible. Forget store-bought versions; this recipe for homemade caramel popcorn takes freshly popped, lightly salted kernels and coats them in a rich, buttery caramel sauce, then bakes them to golden perfection. The result is an addictive treat that’s ideal for any occasion, whether you’re hosting a lively birthday bash, settling in for a cozy movie night, or preparing thoughtful, edible gifts for friends and family.
For any celebration, creating an assortment of delightful homemade snacks is always a hit. Alongside favorites like a hearty chex mix and classic chips and salsa, this glorious caramel popcorn consistently steals the show. Its harmonious balance of flavors and textures ensures everyone keeps coming back for more, making it a guaranteed crowd-pleaser.
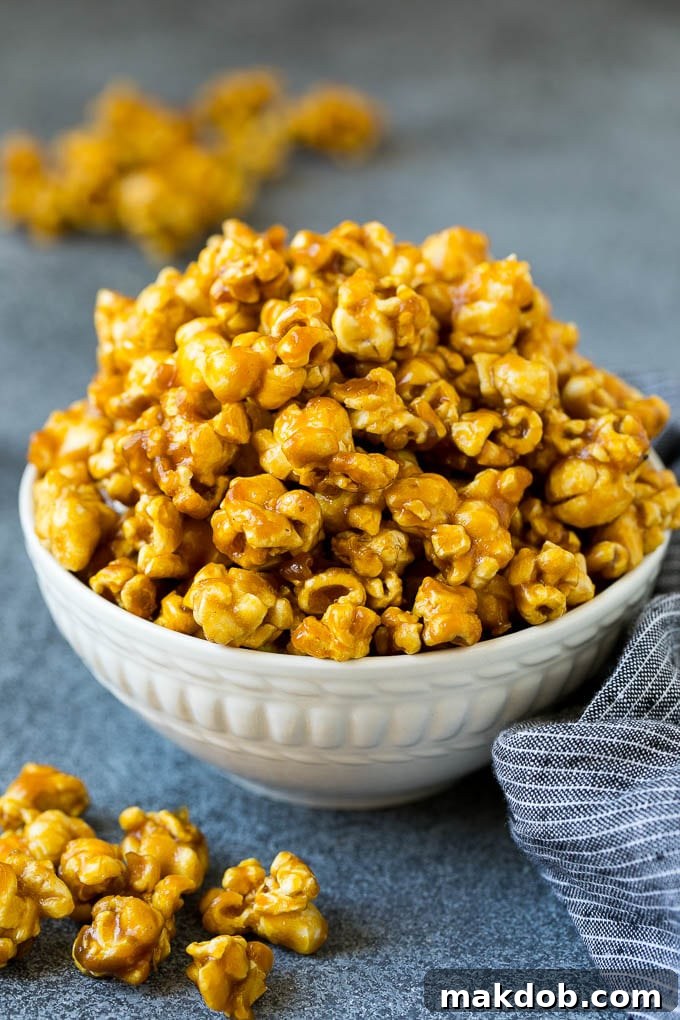
Why Homemade Caramel Popcorn Reigns Supreme
While convenience is tempting, nothing quite compares to the depth of flavor and satisfying texture of caramel popcorn made from scratch. When you make it yourself, you control the quality of every ingredient, ensuring a superior taste that’s free from artificial additives. The buttery richness, the precise level of saltiness, and that incredible crunch are all within your grasp. It’s not just a snack; it’s an experience. The process itself, while simple, fills your kitchen with the most enticing aroma, signaling that a truly special treat is on its way. This is the ultimate comfort food, a versatile dessert, and a fantastic option for holiday gifting or feeding a large group at a picnic or potluck. And the best part? It’s surprisingly easy to achieve gourmet results right in your own home.
The Art of Crafting Perfect Caramel Popcorn: A Step-by-Step Guide
Making caramel popcorn might seem intimidating, but with this straightforward recipe, you’ll find it to be a delightful culinary adventure. The process involves creating a luscious caramel sauce from scratch and then evenly coating your popcorn before a crucial baking step that sets the caramel and enhances the crunch. Here’s a detailed breakdown of how to achieve caramel popcorn perfection.
Key Ingredients for Irresistible Caramel Popcorn
The magic begins with simple, readily available ingredients. You’ll need:
- Salted Popcorn: While you can pop your own, using a large bag of pre-popped salted popcorn is a great time-saver. The salt is essential here, as it beautifully contrasts and cuts through the sweetness of the caramel, creating that addictive sweet and salty profile. If you only have unsalted popcorn, you might want to add a tiny pinch more salt to your caramel mixture.
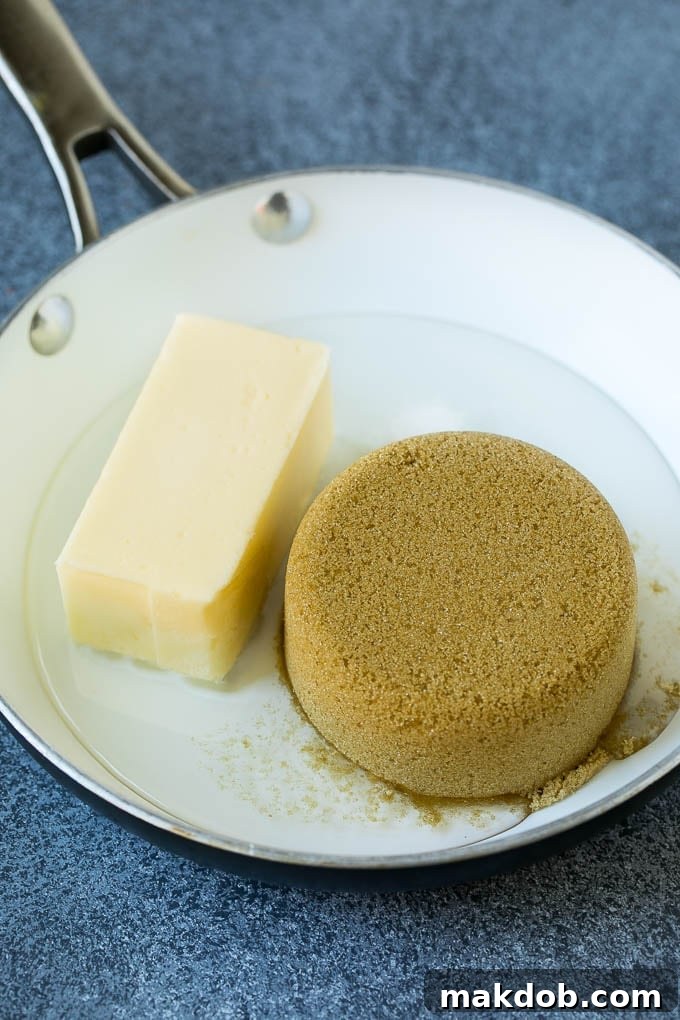
- Butter: Good quality butter is non-negotiable for a rich, flavorful caramel. It provides the smooth, luxurious base for your sauce.
- Brown Sugar: This provides the classic caramel flavor and deep, golden hue. Both light and dark brown sugar work well; dark brown sugar will yield a slightly richer, deeper molasses note.
- Light Corn Syrup: This often-misunderstood ingredient is vital for achieving the right caramel texture. It prevents the sugar from crystallizing, ensuring a smooth, pliable caramel that coats the popcorn beautifully without becoming brittle or grainy.
- Salt: Beyond what’s on the popcorn, a little extra salt in the caramel enhances all the flavors.
- Baking Soda: This is the secret ingredient that transforms your caramel. When added to the hot caramel, it reacts with the acid, creating tiny air bubbles that make the caramel softer and less dense, giving your popcorn a tender, airy crunch rather than a rock-hard coating.
- Vanilla Extract: A splash of vanilla at the end adds warmth and depth to the caramel flavor.
- Cooking Spray: Essential for preventing sticking on your baking sheets.
Popping the Perfect Popcorn Base
The foundation of great caramel corn is, naturally, great popcorn. For ease and consistency, many choose to buy a large bag of already popped, salted popcorn. This saves time and ensures a uniform base. However, if you prefer the freshly popped aroma and taste, you can absolutely pop your own kernels. Air-popped popcorn is ideal as it minimizes excess oil, allowing the caramel to adhere better. If using microwave popcorn, choose a plain or lightly salted variety and ensure it’s not overly buttery, as this can make the caramel soggy.
Mastering the Caramel Sauce
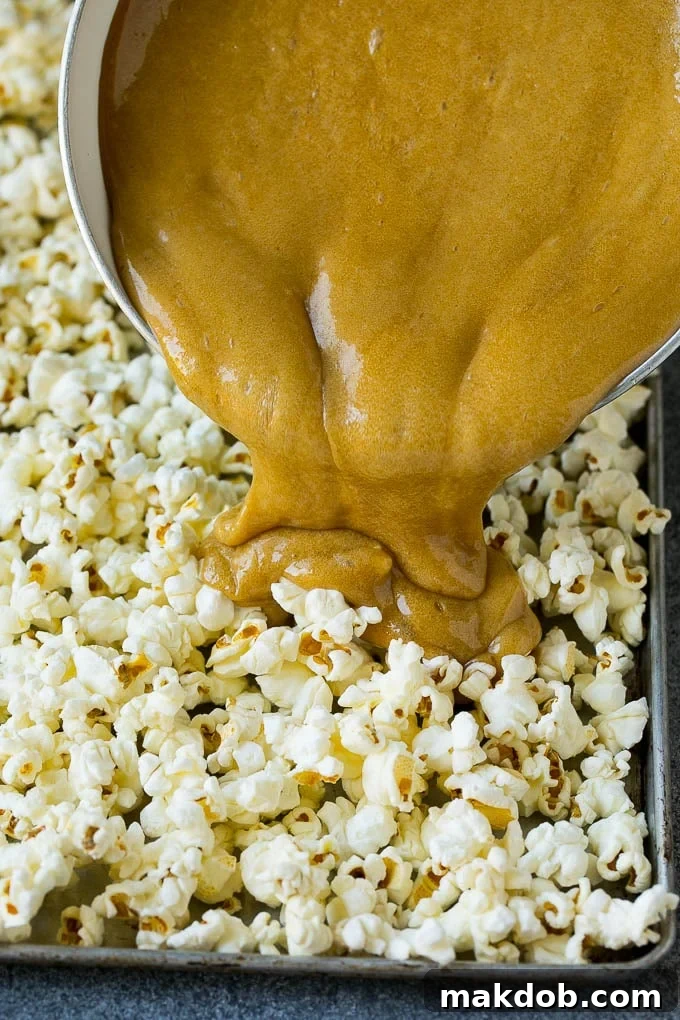
The caramel sauce is where the real transformation happens. In a sturdy saucepan, you’ll combine butter, brown sugar, and corn syrup. This mixture is then brought to a boil over medium-high heat, stirring continuously until the sugar fully dissolves. Once boiling, the key is to stop stirring and let it cook undisturbed for exactly four minutes. This precise timing allows the sugar to reach the perfect temperature for caramelization without burning. After four minutes, remove the pan from the heat and stir in the baking soda and vanilla extract. The baking soda will cause the caramel to foam and lighten in color—this is exactly what you want!
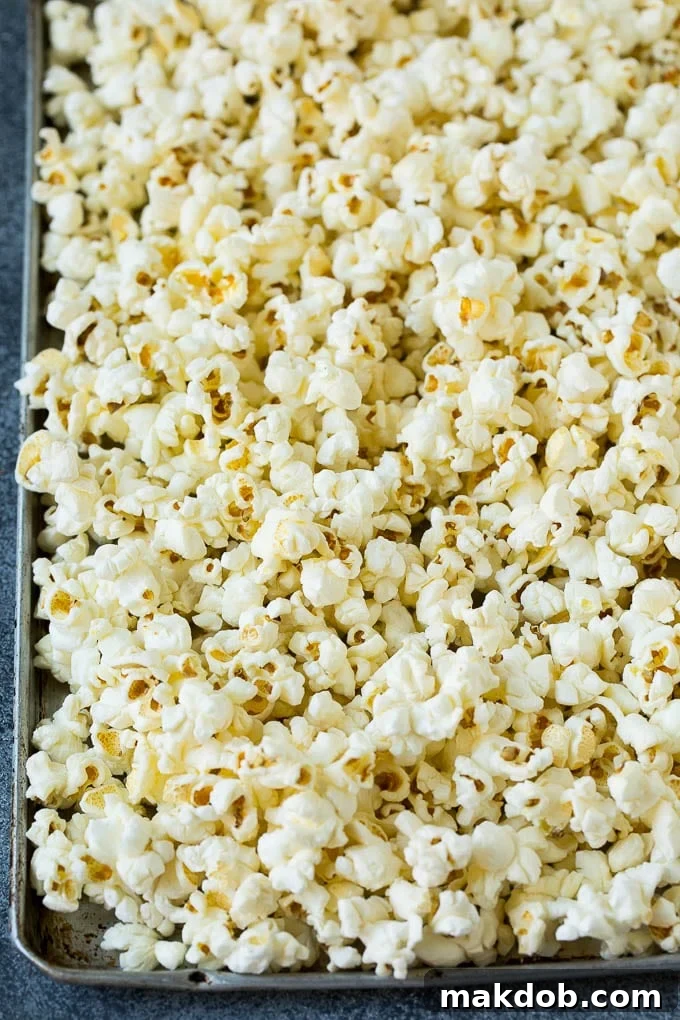
Immediately pour this bubbly caramel over your waiting popcorn in a large bowl. Work quickly to toss the popcorn, ensuring every kernel is evenly coated before the caramel begins to set. This step requires a bit of speed as caramel cools rapidly. Once coated, divide the caramel corn onto two prepared sheet pans.
Baking for that Signature Crunch
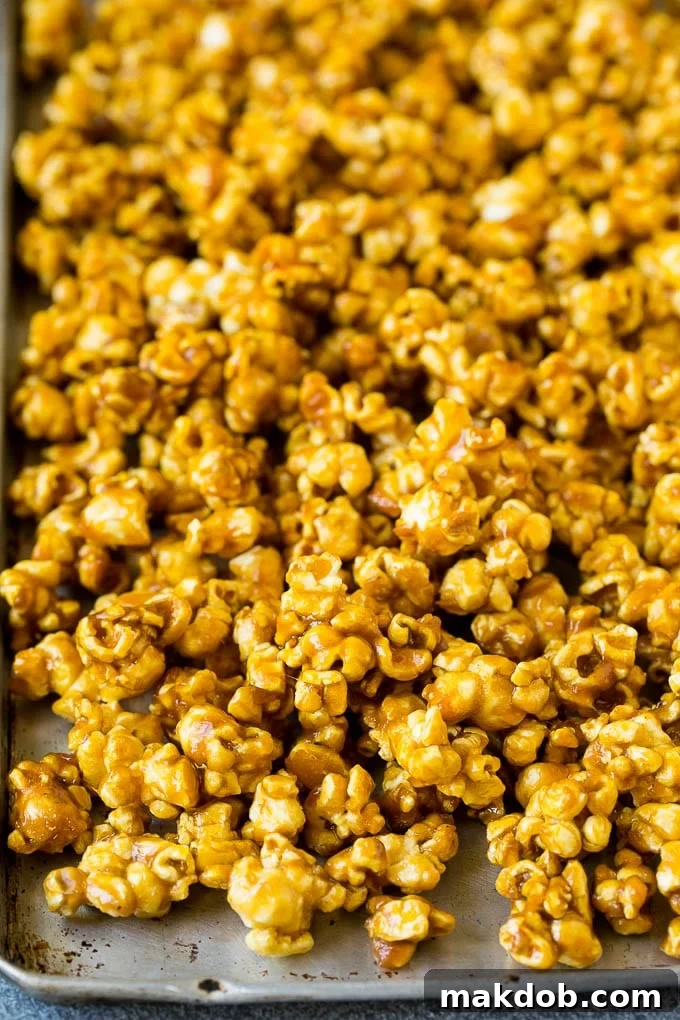
The final, crucial step is baking. The popcorn goes into a preheated oven at a low temperature for an hour. This baking process isn’t just to dry out the caramel; it gently toasts the popcorn, deepens the caramel flavor, and, most importantly, transforms the sticky coating into that wonderfully crisp and crunchy texture that defines perfect caramel corn. Every 15 minutes, you’ll want to stir the popcorn and rotate the pans in the oven to ensure even baking and prevent sticking. This methodical stirring guarantees beautifully separated, perfectly crisp pieces. Once baked, remove the popcorn, let it cool completely, then break it into bite-sized pieces, and prepare to enjoy the best caramel corn you’ve ever tasted!
Expert Tips & Tricks for Flawless Caramel Popcorn
Achieving truly exceptional caramel popcorn is easy with a few insider tips:
- Watch Your Caramel Closely: The sugar mixture can go from perfect to burnt in a blink. Keep a keen eye on the saucepan throughout the cooking process. Using a candy thermometer can provide extra assurance, aiming for approximately 250°F (121°C) for a soft-crack stage.
- Brown Sugar Choice: Feel free to use either dark or light brown sugar. Light brown sugar is common and works wonderfully, providing a classic caramel flavor. Dark brown sugar will lend a deeper, more molasses-rich taste, adding another layer of complexity.
- Salt is Key: Salted popcorn is recommended as the saltiness provides a delightful counterpoint to the sweet caramel, enhancing the overall flavor profile. If using unsalted popcorn, consider adding an extra 1/4 teaspoon of salt to your caramel sauce.
- Act Swiftly with the Caramel: Caramel sets quickly as it cools. Once you pour the hot caramel over the popcorn, work fast to toss and coat every kernel evenly. A large, sturdy spoon or spatula is helpful here. Don’t worry if some pieces stick together initially; they’ll break apart after baking.
- Even Baking is Essential: The regular stirring and rotating of the sheet pans during the baking process are critical. This ensures that the caramel corn bakes evenly, dries out perfectly, and develops that signature crisp texture without clumping.
- Cool Completely: Resist the urge to dive in immediately! The caramel corn needs to cool completely on the sheet pans before breaking it into pieces. This allows the caramel to fully harden and become crunchy.
Exciting Caramel Popcorn Variations to Explore
While this basic caramel corn recipe is fantastic on its own, it also serves as an excellent canvas for creative additions and flavor variations. Don’t hesitate to experiment and make it uniquely yours:
- Nutty Crunch: For an added layer of flavor and texture, incorporate your favorite nuts. Reduce the amount of popcorn slightly to 14 cups and add 1 cup of chopped peanuts, almonds, cashews, or pecans to the popcorn before drizzling the caramel. The nuts will get toasted during baking and coated in caramel, becoming incredibly delicious.
- Chocolate Drizzle Delight: Once the baked caramel corn has cooled completely, elevate it with a luxurious chocolate drizzle. Melt dark, milk, or white chocolate (or a combination!) and use a spoon or piping bag to create beautiful drizzles over the finished popcorn. Allow the chocolate to set before serving.
- Spiced Warmth: Introduce warm, aromatic spices to your caramel sauce for a different flavor profile. Try adding 1/2 teaspoon of ground cinnamon or a pre-made apple pie spice blend to the caramel sauce just before adding the baking soda and vanilla extract. This creates a wonderfully fragrant and cozy treat, perfect for autumn or holiday seasons.
- Salted Caramel Extra: For those who truly love the salty-sweet combination, consider sprinkling a pinch of flaky sea salt over the caramel corn immediately after removing it from the oven, before it fully cools. The larger salt crystals will provide bursts of briny flavor.
- Coconut Infusion: Add 1/2 cup of shredded coconut to the popcorn with the nuts for a tropical twist. Ensure it gets toasted lightly during baking.
Storage Solutions: Keeping Your Caramel Popcorn Fresh
The good news is that homemade caramel popcorn stores beautifully, allowing you to enjoy it for days or even prepare it in advance for events. For optimal freshness and crunch, store your caramel corn in an airtight container at room temperature. A large cookie jar, a plastic storage container with a tight-fitting lid, or even heavy-duty zip-top bags work well. When stored correctly, it will remain deliciously fresh and crunchy for up to one week. If it starts to lose a little crispness, a quick refresh in a 250°F (121°C) oven for 5-10 minutes can often bring back its crunch.
Serving Suggestions and Party Ideas
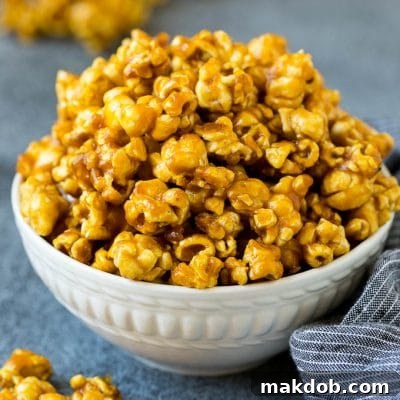
This caramel popcorn is incredibly versatile. For parties, pile it high in a large decorative bowl or package individual servings in small cellophane bags tied with ribbons for a charming party favor. During the holidays, it makes an excellent homemade gift; just be sure to let it cool completely before packaging. It’s also perfect for movie nights, school lunches, or simply as a delightful anytime snack. If you’re hosting a larger gathering, this recipe can easily be scaled up. Simply multiply the ingredients to double or triple the batch, adjusting baking times slightly if using more pans. No matter the occasion, this sweet and salty treat is sure to be a huge hit with everyone!
More Delightful Party Snacks
- Caprese Skewers
- Chocolate Fruit Dip
- Ham and Cheese Sliders
- Fruit Salsa with Cinnamon Chips
- Pizza Muffins
Caramel Popcorn Recipe
This homemade caramel popcorn is lightly salted popcorn tossed in a homemade caramel sauce, then baked to perfection. It’s truly the best caramel corn you’ll ever eat, and it’s perfect for parties and thoughtful gift giving!
- Prep Time:
- 5 minutes
- Cook Time:
- 1 hour 5 minutes
- Total Time:
- 1 hour 10 minutes
- Course:
- Snack
- Cuisine:
- American
- Serves:
- 20 servings
Ingredients
- 16 cups salted popcorn, popped
- 1 cup butter
- 2 cups brown sugar
- 1/2 cup light corn syrup
- 1/4 teaspoon salt
- 1/2 teaspoon baking soda
- 1 1/4 teaspoons vanilla extract
- Cooking spray
Instructions
- Preheat your oven to 250 degrees F (120 degrees C). Lightly coat two large sheet pans with cooking spray. Place the popped popcorn into a very large heatproof bowl.
- Cut the butter into 8 even slices and place them in a medium-sized heavy-bottomed saucepan. Set the saucepan over medium heat.
- Once the butter is melted, add the brown sugar, corn syrup, and 1/4 teaspoon salt to the pan.
- Increase the heat to medium-high and bring the mixture to a rolling boil, stirring continuously with a whisk or wooden spoon until all sugar crystals are dissolved.
- As soon as the mixture reaches a full boil, stop stirring and allow it to cook undisturbed for precisely 4 minutes. Maintain close watch to ensure it doesn’t burn.
- Remove the caramel from the heat. Carefully stir in the baking soda and vanilla extract. The mixture will immediately foam up and lighten in color; this is normal and desired.
- Immediately pour the hot caramel evenly over the popcorn in the large bowl. Working quickly, toss the popcorn thoroughly with a sturdy spoon or spatula to ensure every kernel is coated with the caramel mixture before it begins to harden.
- Divide the caramel-coated popcorn between the two prepared sheet pans, spreading it out into a single layer as much as possible. Place the pans in the preheated oven.
- Bake for 1 hour. During this time, every 15 minutes, remove the pans from the oven, stir the popcorn well, and rotate the pans (switching top to bottom racks if using multiple) to ensure even baking and a consistent crunch.
- After 1 hour, remove the caramel popcorn from the oven. Let it cool completely on the sheet pans before breaking it into smaller pieces. Serve and enjoy!
Nutrition Information (per serving)
Calories: 224kcal | Carbohydrates: 35g | Protein: 1g | Fat: 10g | Saturated Fat: 6g | Cholesterol: 24mg | Sodium: 150mg | Potassium: 61mg | Fiber: 1g | Sugar: 28g | Vitamin A: 300IU | Calcium: 23mg | Iron: 0.4mg
This post was originally published on May 6, 2016 and was updated on July 18, 2019 with new content.