
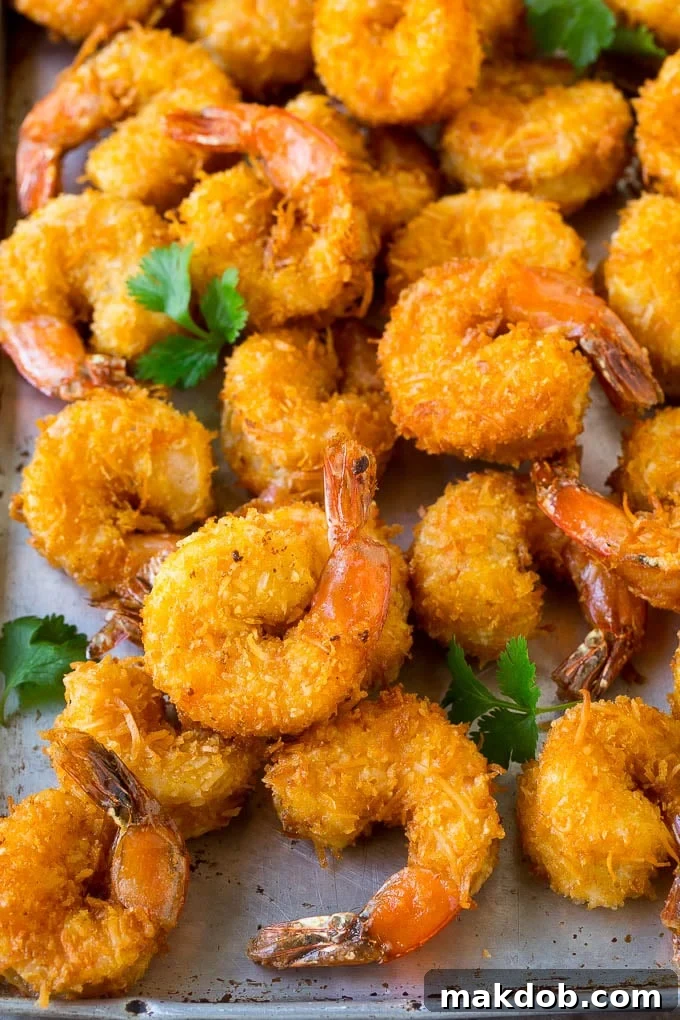
Homemade Coconut Shrimp: Your Guide to Crispy, Restaurant-Style Perfection
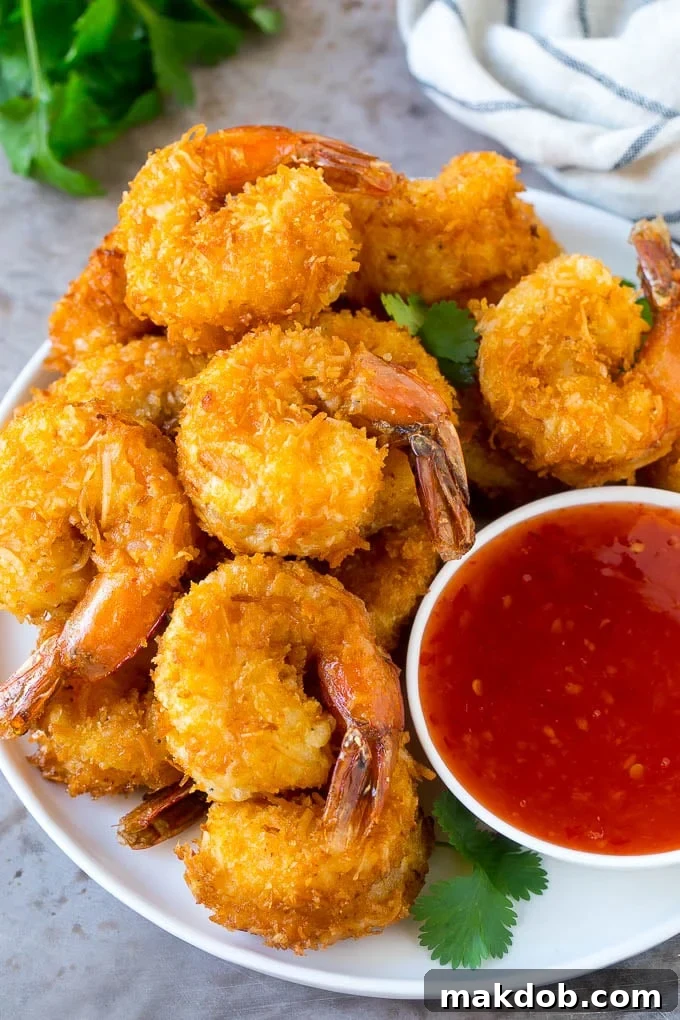
Experience the joy of making irresistibly delicious coconut shrimp right in your own kitchen! These jumbo shrimp are expertly coated in a sweet and savory blend, then deep-fried to achieve a golden-brown, crispy perfection that rivals any restaurant appetizer. Whether you’re planning an elegant starter or a satisfying main course, this recipe offers incredible flavor and impressive ease, making it a guaranteed hit for any occasion.
For those who love to recreate their favorite dining experiences at home, this coconut shrimp recipe is a must-try. Just like mastering garlic parmesan wings, crab rangoon, or light and fresh lettuce wraps, preparing succulent coconut shrimp from scratch allows for superior freshness and customizable taste. Forget bland, frozen alternatives – homemade is truly in a league of its own.
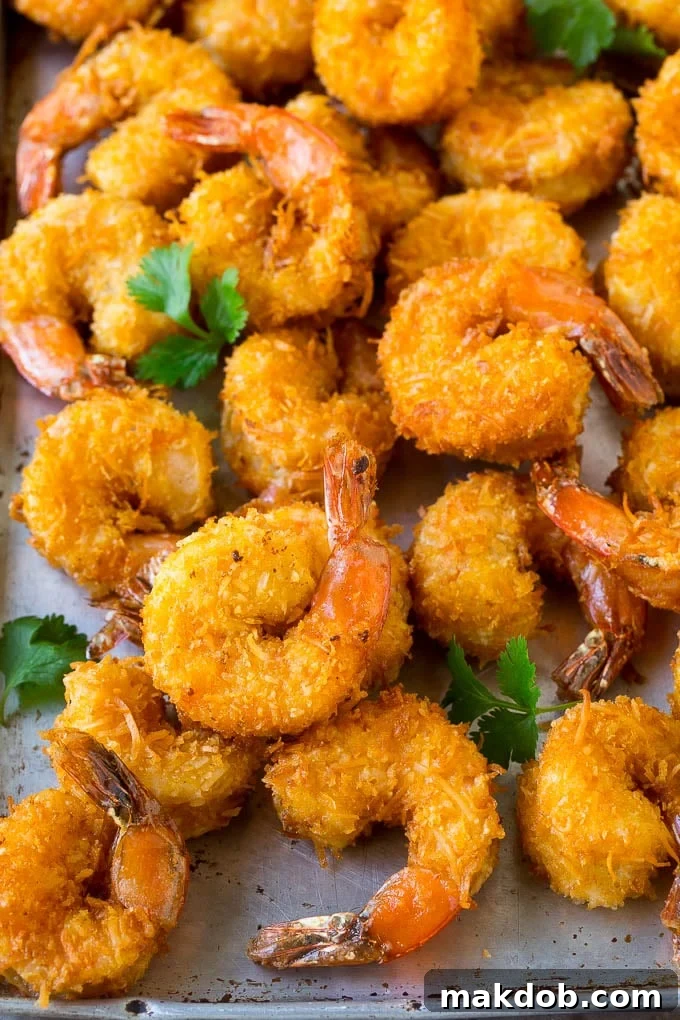
Coconut shrimp holds a special place as a beloved indulgence. The mere sight of it on a restaurant menu often triggers an immediate craving. The good news is, achieving that coveted crispy texture and rich flavor at home is remarkably straightforward. In fact, many find the homemade version to be even more flavorful and satisfying than what you’d typically find when dining out. This comprehensive guide will walk you through every step, from selecting the best shrimp to mastering the perfect fry, ensuring your homemade coconut shrimp are nothing short of spectacular.
Table of Contents
- Why Make Coconut Shrimp at Home?
- Essential Coconut Shrimp Ingredients
- Step-by-Step Guide to Making Coconut Shrimp
- Expert Tips for Flawless Coconut Shrimp
- Mastering Oil Temperature: A Quick Tip for Frying
- Frequently Asked Questions About Coconut Shrimp
- Alternative Cooking Methods
- Baked Coconut Shrimp (Oven Method)
- Air Fryer Coconut Shrimp (Crispy Results)
- Serving and Pairing Suggestions
- More Irresistible Shrimp Recipes
- Your Feedback Matters!
- Coconut Shrimp Recipe
Why Make Coconut Shrimp at Home?
Making coconut shrimp at home isn’t just about saving money; it’s about control and quality. You get to choose the freshest ingredients, customize the flavor profile, and enjoy the satisfaction of creating a beloved dish from scratch. You can control the amount of sweetness in the coconut, the crispiness of the breading, and the perfect doneness of the shrimp. Plus, it’s a fantastic way to impress guests or treat your family to a special meal without leaving your home.
Essential Coconut Shrimp Ingredients
Crafting these delightful bites requires a few key components. You’ll need plump, jumbo shrimp, all-purpose flour seasoned with salt and black pepper, beaten eggs for coating, a generous amount of finely shredded coconut, crispy panko breadcrumbs, and a suitable oil for frying. To complete the experience, a vibrant sweet chili sauce serves as the perfect dipping companion.
Step-by-Step Guide to Making Coconut Shrimp
The process of creating these delectable coconut shrimp is surprisingly simple, relying on a classic breading technique. Here’s how to do it:
- **Prepare Your Breading Stations:** Set up three shallow bowls. In the first, combine your all-purpose flour with salt and pepper, whisking them thoroughly. In the second, pour your beaten eggs. For the third bowl, mix the panko breadcrumbs with the shredded coconut until well combined. This assembly line approach makes the breading process efficient and mess-free.
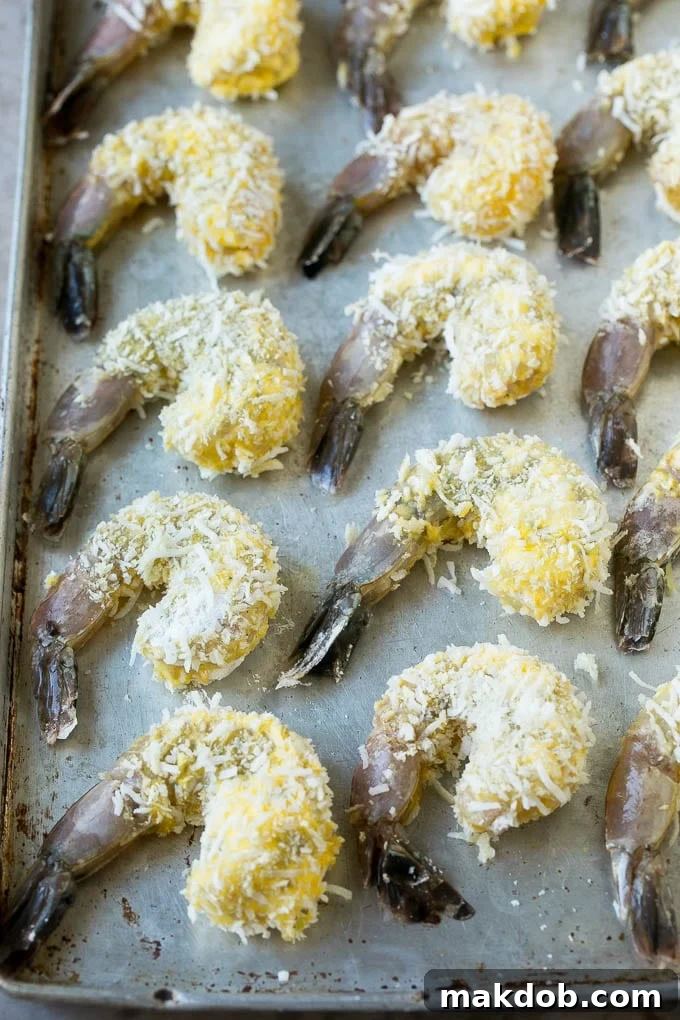
- **Breading the Shrimp:** Take each shrimp by the tail and dip it first into the seasoned flour, ensuring it’s lightly coated. Gently shake off any excess flour. Next, immerse the floured shrimp into the beaten egg, allowing any extra egg to drip away. Finally, dredge the shrimp thoroughly in the panko and coconut mixture, pressing gently to ensure an even and firm coating. Place each breaded shrimp onto a clean sheet pan, ready for frying. Repeat this process for all your shrimp.
- **Heat the Oil:** In a deep, heavy-bottomed pot or Dutch oven, pour a few inches of neutral-flavored oil (like peanut, vegetable, or canola). Heat the oil over medium-high heat until it reaches an optimal temperature of 350-375 degrees F. Using a kitchen thermometer is highly recommended to ensure accurate temperature control, which is key to perfectly crispy, non-greasy shrimp.
- **Fry in Batches:** Once the oil is at temperature, carefully add the breaded shrimp in small batches, typically 6-8 at a time, depending on the size of your pot. Avoid overcrowding the pot, as this will lower the oil temperature and result in soggy shrimp. Fry for 3-4 minutes, or until the shrimp turn a beautiful golden brown and are cooked through.
- **Drain and Serve:** Using a slotted spoon or spider, transfer the golden-brown shrimp to a plate lined with paper towels to drain any excess oil. Repeat the frying process with the remaining shrimp. Serve your crispy coconut shrimp immediately, accompanied by a side of sweet chili sauce for dipping. Enjoy the irresistible combination of sweet, savory, and perfectly crunchy!
Expert Tips for Flawless Coconut Shrimp
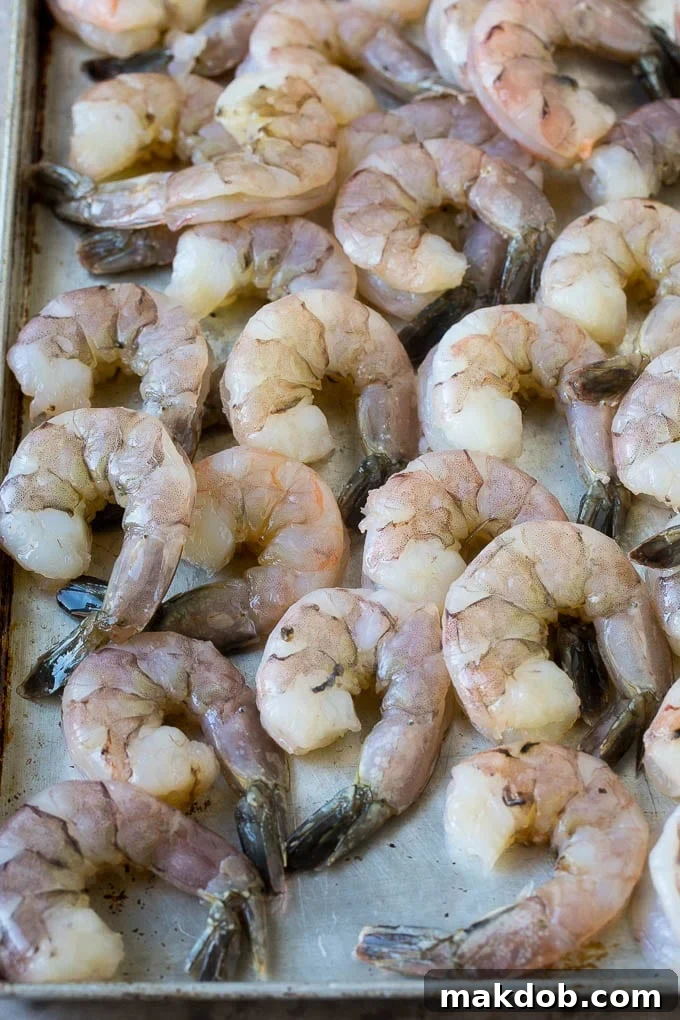
- **Shrimp Size Matters:** For the best results and a truly satisfying bite, opt for the largest shrimp you can find and afford. Jumbo shrimp, typically categorized as 16/20 count per pound, are ideal for this recipe, offering a substantial and juicy interior to complement the crispy coating.
- **Panko Power:** This recipe specifically calls for panko breadcrumbs, a type of Japanese breadcrumb renowned for its light, airy, and extra-crispy texture. Panko absorbs less oil than standard breadcrumbs, ensuring your coconut shrimp are light and crunchy, not greasy. You can find panko in the international aisle of most major grocery stores.
- **Coconut Choice:** You have the flexibility to use either sweetened or unsweetened shredded coconut flakes. Sweetened coconut will lend a more pronounced tropical flavor and a hint of sweetness to the coating, which many find complements the shrimp beautifully. If you prefer a less sweet profile, unsweetened coconut works perfectly fine and allows the savory notes to shine through more.
- **Don’t Overcrowd the Pot:** When frying, always work in small batches. Overcrowding the pot significantly drops the oil’s temperature, leading to shrimp that absorb too much oil and turn out soggy rather than crispy. Give each shrimp enough space to cook evenly and achieve that perfect golden hue.
- **Let Excess Egg Drip:** Before transferring the shrimp from the egg wash to the coconut-breadcrumb mixture, gently tap it against the side of the bowl to remove any excess egg. Too much egg can make the breading clumpy and prevent it from adhering evenly.
- **Neutral Oil is Key:** Choose a neutral-flavored oil with a high smoke point for deep frying. Excellent options include peanut oil, vegetable oil, or canola oil. These oils won’t impart unwanted flavors to your shrimp and can withstand the high temperatures required for frying without burning.
Mastering Oil Temperature: A Quick Tip for Frying
The secret to perfectly fried coconut shrimp lies in precise oil temperature. Always use a thermometer to ensure your oil is consistently between 350 and 375 degrees F. If the oil is too hot, the coating will burn rapidly before the shrimp cooks through. Conversely, if the oil is too cold, the breading will absorb excessive oil, resulting in a greasy, heavy product. Maintaining the correct temperature ensures a crisp, golden exterior and a tender, juicy interior every time.
Frequently Asked Questions About Coconut Shrimp
To prepare shrimp, begin by peeling off the shell, starting from the underside where the legs are attached. For coconut shrimp, it’s best to leave the tail segment on, as it provides a convenient handle for eating. After peeling, you’ll need to devein the shrimp. Make a shallow cut along the back of each shrimp with a small paring knife and carefully remove the dark, string-like vein. If you’ve opted for pre-peeled and deveined shrimp, you can skip these steps entirely and proceed directly to breading.
Coconut shrimp typically consists of fresh shrimp coated in a three-part breading system: first, a light dusting of seasoned flour, followed by an egg wash, and finally, a generous layer of shredded coconut mixed with crispy breadcrumbs (preferably panko). These breaded shrimp are then deep-fried until golden and crunchy, resulting in a delightful blend of sweet and savory flavors.
Coconut shrimp is incredibly versatile, shining as both an appetizer and a main course. As a starter, it’s fantastic with a variety of dipping sauces. While sweet chili sauce is a classic pairing, feel free to get creative with pineapple salsa, a tangy mango chutney, apricot preserves, or even a homemade sweet and sour sauce. For a refreshing side, consider a crisp red cabbage slaw. If serving as a main dish, coconut shrimp pairs beautifully with sides like fluffy cilantro lime rice, savory spam fried rice, healthy Buddha’s Delight, sushi rice, or even crispy homemade french fries. The tropical sweetness of the shrimp means it complements a wide range of Asian-inspired or fresh, light accompaniments.
No, the tail of the shrimp is typically not eaten. It’s left on primarily for aesthetic presentation and, more practically, to provide a convenient handle for picking up and enjoying the shrimp without getting your fingers messy. Once you’ve savored the delicious, crispy body of the shrimp, the tail can simply be discarded.
While coconut shrimp is best enjoyed immediately after frying for maximum crispiness, you can prepare the shrimp by peeling, deveining, and breading them a few hours in advance. Store the breaded shrimp on a sheet pan covered with plastic wrap in the refrigerator until ready to fry. Frying just before serving is crucial for optimal texture. Cooked leftovers, however, can be stored in an airtight container in the refrigerator for up to 2 days and reheated following the instructions below.
Soggy coconut shrimp can typically be attributed to two main factors: incorrect oil temperature or overcrowding the frying pot. If your oil is too cold, the breading will absorb oil rather than crisp up. If too many shrimp are added to the pot at once, the oil’s temperature drops significantly, leading to the same problem. Always ensure your oil is at the correct temperature (350-375°F) and fry in small batches to maintain consistent heat.
FOLLOW ME
Alternative Cooking Methods
Baked Coconut Shrimp (Oven Method)
For a lighter alternative, you can certainly bake your coconut shrimp instead of deep frying. While the texture won’t be quite as deeply crispy or browned as the fried version, it will still be incredibly delicious and satisfying. To bake, arrange your evenly breaded shrimp in a single layer on a greased baking sheet. For best results, lightly coat the shrimp with cooking spray on all sides. Bake in a preheated oven at 425 degrees F for approximately 10-15 minutes, or until the shrimp are cooked through and the coating is golden. Keep a close eye on them to prevent burning.
Air Fryer Coconut Shrimp (Crispy Results)
The air fryer offers another fantastic method for achieving a wonderfully crispy texture with less oil. After breading the shrimp according to the recipe instructions, place them in a single layer in your air fryer basket. You will likely need to cook them in multiple batches to avoid overcrowding. Air fry at 400 degrees F for 6-8 minutes, making sure to flip the shrimp halfway through the cooking process. This ensures even crisping on all sides, delivering a healthier yet equally satisfying coconut shrimp experience.
Serving and Pairing Suggestions
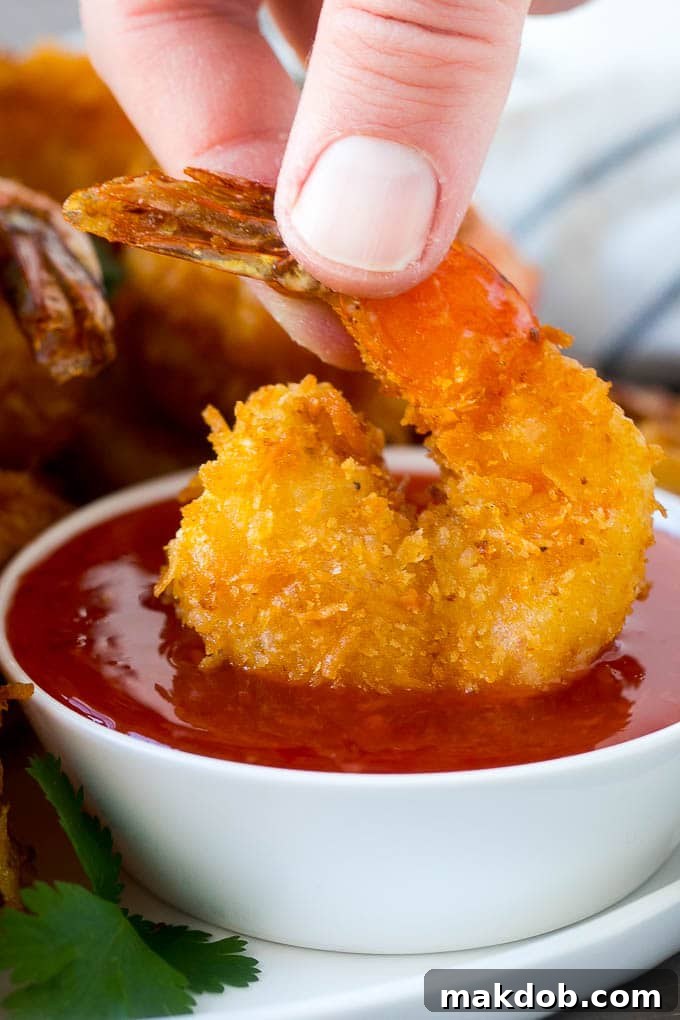
Coconut shrimp is incredibly versatile. Serve it as a dazzling appetizer for parties, brunches, or game day gatherings. The crispy, sweet-savory bites are perfect for mingling. As a main course, pair it with simple sides like steamed jasmine rice, a light green salad, or roasted vegetables for a balanced and flavorful meal. Don’t forget the dipping sauce – while Thai sweet chili is a classic, feel free to experiment with pineapple salsa, mango chutney, or even a spicy sriracha mayo to customize your experience. Once you master this recipe, you’ll find countless ways to enjoy these delectable shrimp!
Once you’ve tasted the exquisite flavor and perfect crunch of these homemade coconut shrimp, you may find yourself saying goodbye to ordering them out for good! Whether you’re presenting them as a generous appetizer or as a delightful main course served over a bed of fluffy rice, these shrimp are destined to be a memorable and much-loved addition to your culinary repertoire.
More Irresistible Shrimp Recipes
Shrimp Ceviche
🕒 35 mins
Mexican Shrimp Cocktail (Coctel de Camarones)
🕒 21 mins
Shrimp Alfredo
🕒 30 mins
Jerk Shrimp Kabobs
🕒 15 mins
Shrimp Fajitas
🕒 25 mins
Your Feedback Matters!
Enjoyed this recipe? Please consider leaving a 5-star 🌟🌟🌟🌟🌟rating in the recipe card below and a thoughtful review in the comments section further down the page. Your feedback helps other home cooks discover and enjoy these fantastic dishes!
Coconut Shrimp
Pin Recipe
Sara Welch
These coconut shrimp are jumbo shrimp rolled in a sweet and savory coating, then deep fried to golden brown perfection. A restaurant style appetizer or main course that’s super easy to make at home.
20 minutes
10 minutes
30 minutes
Appetizer
American
6
Ingredients
- 2 pounds jumbo shrimp (deveined and peeled, leave tails on)
- 1/2 cup all-purpose flour
- 3/4 teaspoon salt
- 1/2 teaspoon pepper
- 3 eggs (beaten)
- 1 1/2 cups finely shredded coconut (sweetened variety recommended)
- 1 cup panko breadcrumbs
- Oil for frying (e.g., peanut, vegetable, or canola)
- 3/4 cup sweet chili sauce (for dipping)
- Cilantro for garnish (optional)
Instructions
- Place the flour in a medium-sized bowl along with the salt and pepper. Stir or whisk to combine thoroughly.
- In a second bowl, add the beaten eggs. In a third separate bowl, combine the shredded coconut and panko breadcrumbs, mixing them well.
- Prepare each shrimp by first dipping it into the seasoned flour, shaking off any excess. Next, dip it into the beaten egg, allowing extra egg to drip off. Finally, roll the shrimp thoroughly in the coconut-breadcrumb mixture, pressing gently to ensure an even and firm coating. Place each breaded shrimp on a clean sheet pan. Repeat until all shrimp are breaded.
- Heat 3 inches of neutral oil in a deep, large pot or Dutch oven to 350-375 degrees F. Use a kitchen thermometer to monitor the temperature.
- Carefully add the breaded shrimp to the hot oil, frying in small batches (around 6-8 shrimp at a time) to avoid overcrowding. Cook for 3-4 minutes, or until the shrimp are golden brown and cooked through.
- Using a slotted spoon, transfer the fried shrimp to a plate lined with paper towels to drain excess oil. Continue this process with the remaining shrimp until all are cooked.
- Arrange the hot, crispy shrimp on a serving plate. Serve immediately with sweet chili sauce for dipping. Garnish with fresh cilantro leaves if desired.
Notes
- Always use a thermometer to ensure your oil is between 350 and 375 degrees F. Oil that is too hot will burn the coating, while oil that is too cold will result in greasy shrimp.
- For the most satisfying results, purchase the largest shrimp you can find, ideally jumbo shrimp (16/20 count per pound).
- For a crispier coating when baking or air frying, lightly spray the breaded shrimp with cooking spray before cooking.
- Leftover coconut shrimp can be stored in an airtight container in the refrigerator for up to 2 days. Reheat in the oven at 425 degrees F for 5-7 minutes, or until crispy, to restore their crunch.
Nutrition
Calories: 326kcal
|
Carbohydrates: 31g
|
Protein: 36g
|
Fat: 14g
|
Saturated Fat: 1g
|
Cholesterol: 462mg
|
Sodium: 688mg
|
Potassium: 182mg
|
Sugar: 15g
|
Vitamin A: 120IU
|
Vitamin C: 6.2mg
|
Calcium: 250mg
|
Iron: 4.6mg
Did you make this recipe?
Tag @dinneratthezoo on Instagram and hashtag it #dinneratthezoo