
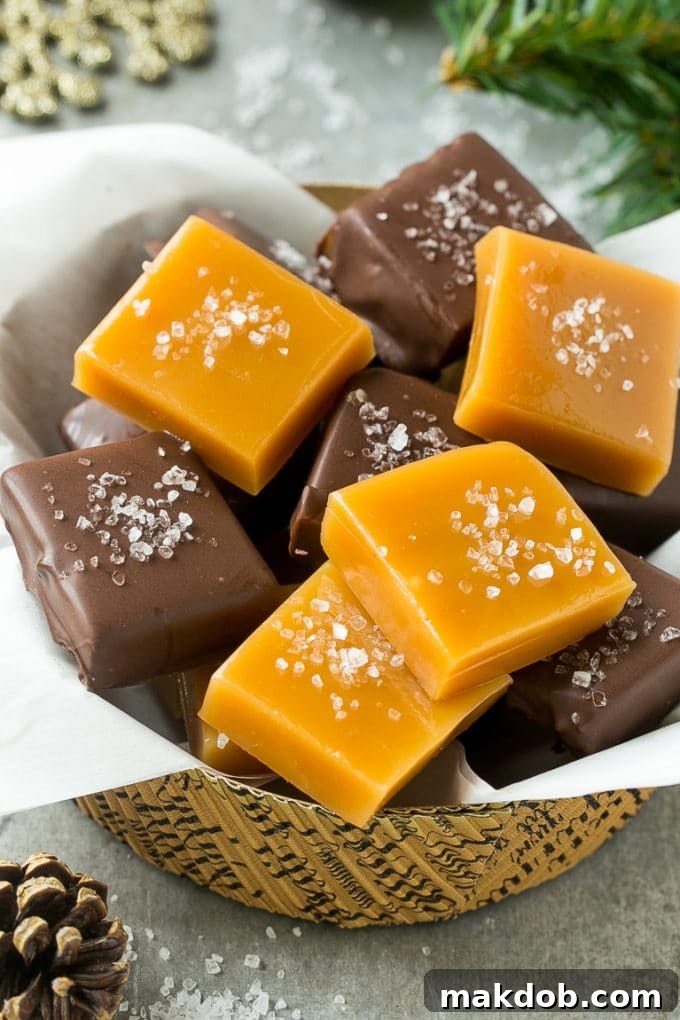
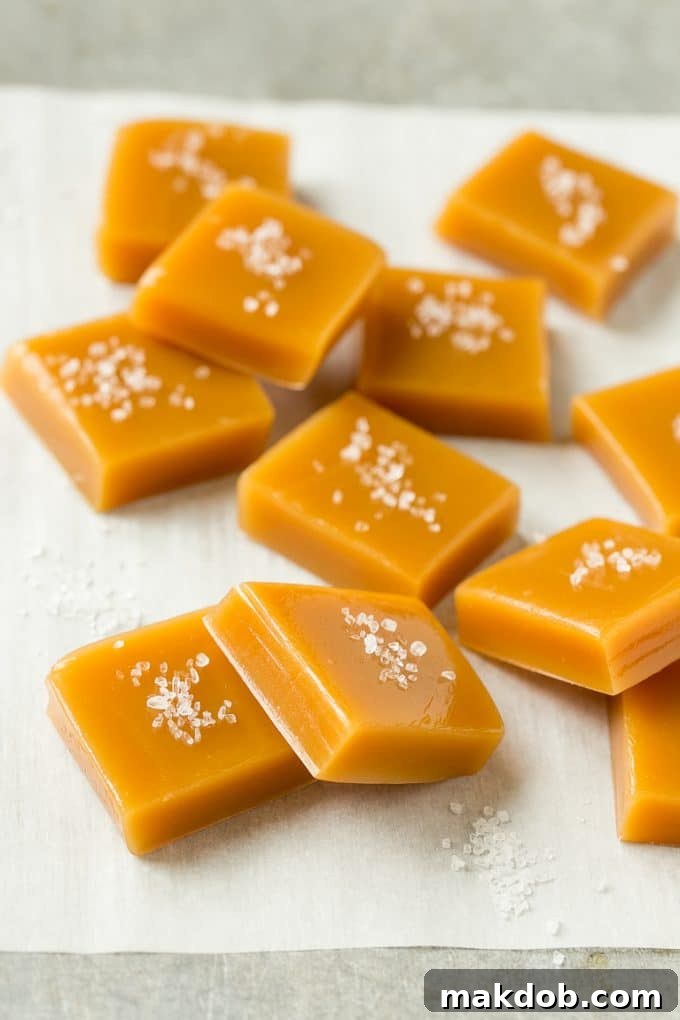
Unleash your inner confectioner with this incredibly simple recipe for **microwave caramels**. In mere minutes, you can create a truly impressive treat that rivals those from gourmet candy shops. Elevate these golden delights further by dipping them in rich chocolate and finishing with a generous sprinkle of coarse sea salt for a special holiday dessert or an unforgettable homemade gift.
There’s an undeniable charm and warmth in presenting a homemade gift during the festive season. Beyond store-bought trinkets, a lovingly crafted edible treat carries a personal touch that truly resonates. I often find myself in the kitchen around the holidays, whipping up batches of delightful Christmas recipes to share with cherished family and friends. Favorites include festive rum balls, classic chocolate covered pretzels, decadent s’mores fudge, and elegant chocolate covered cherries. These homemade confections not only taste incredible but also embody the spirit of giving.
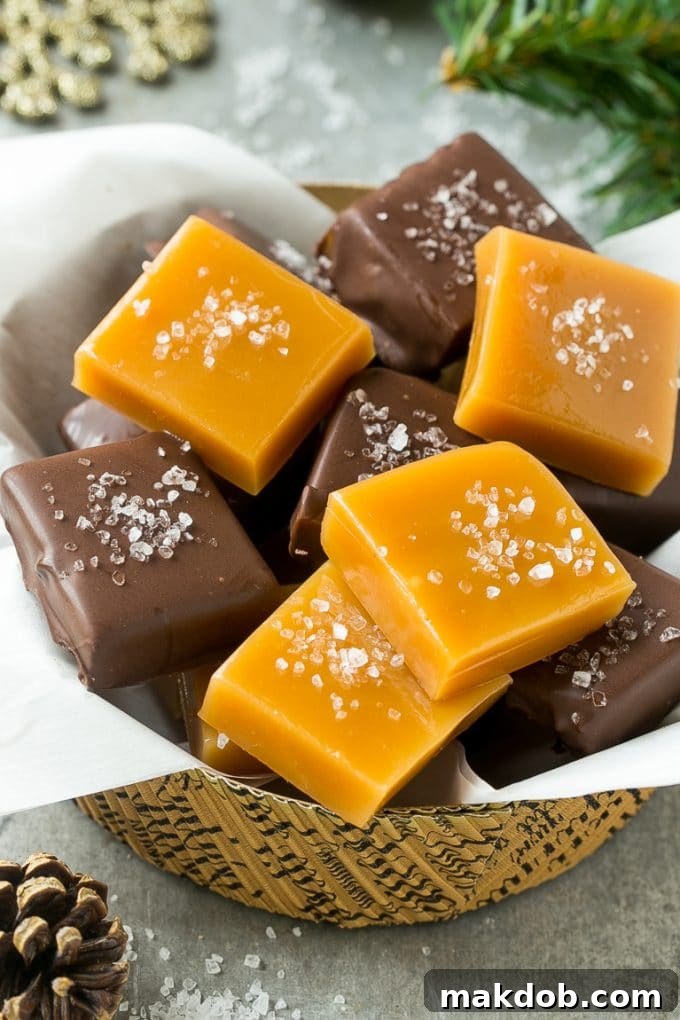
Today, I am absolutely thrilled to unveil the secret to creating the most delectable sea salt microwave caramels you’ve ever tasted! This recipe is a game-changer for anyone who loves the rich, buttery chew of caramel but dreads the complexity of traditional candy making. Forget about fussy candy thermometers or specialized equipment; with just a handful of everyday ingredients and the magic of your microwave, you can conjure up beautifully glossy, perfectly textured caramels in a mere matter of minutes. They look so professional, your guests will think you’ve made a special trip to a high-end candy boutique!
Table of Contents
- The Allure of Microwave Caramels: Why This Method Reigns Supreme
- Essential Ingredients for Perfect Microwave Caramels
- Step-by-Step Guide: How to Make Irresistible Microwave Caramels
- Mastering Your Caramel: Expert Tips and Tricks for Success
- Common Questions About Homemade Caramels (FAQs)
- Creative Flavor and Topping Variations to Explore
- Serving and Storage Suggestions
- More Delightful Holiday Candy Recipes
- Microwave Caramels with Sea Salt Recipe
The Allure of Microwave Caramels: Why This Method Reigns Supreme
When it comes to homemade candy, many recipes involve tedious stirring, constant temperature monitoring, and the potential for crystallization – a real headache for even experienced bakers. This microwave caramel recipe completely sidesteps those traditional challenges, offering a fool-proof path to success. The microwave provides a consistent, gentle heat that allows the sugars to melt and caramelize beautifully without burning, and the continuous stirring ensures a smooth, luscious texture. This method is not just about speed; it’s about simplicity and reliability, making gourmet-quality caramels accessible to everyone, regardless of their candy-making experience. Imagine the satisfaction of presenting a batch of these rich, chewy treats, knowing you created them with minimal fuss and maximum flavor! It’s the perfect solution for last-minute gifts, sudden sweet cravings, or adding a touch of elegance to your dessert spread without hours of effort.
Essential Ingredients for Perfect Microwave Caramels
The beauty of this recipe lies in its simplicity, utilizing common pantry staples to create an extraordinary confection. Here’s what you’ll need:
- **Butter**: The foundation of rich, buttery caramel. You can use either salted or unsalted butter; both work wonderfully, though unsalted gives you more control over the final saltiness.
- **Brown Sugar**: Adds a deeper, more complex molasses flavor compared to granulated sugar, contributing to the caramel’s signature depth.
- **Granulated Sugar**: Provides the necessary sweetness and helps achieve the perfect caramel consistency when combined with brown sugar.
- **Light Corn Syrup**: A crucial ingredient that prevents crystallization, ensuring your caramels remain wonderfully smooth and chewy, never grainy. It also adds a lovely gloss.
- **Sweetened Condensed Milk**: Contributes to the creamy texture and rich, milky flavor that makes these caramels so irresistible. It’s already sweetened, adding to the overall sugar content and caramelization process.
- **Vanilla Extract**: A touch of vanilla rounds out the flavors, enhancing the sweetness and warmth of the caramel. Add it at the end for the best aroma.
- **Coarse Sea Salt**: This is what truly transforms a good caramel into a great one. The larger crystals provide bursts of salty flavor that perfectly balance the sweetness, creating a sophisticated taste profile.
If you’re planning to indulge in **chocolate-dipped caramels**, you’ll also need a cup of high-quality semisweet chocolate chips or dark chocolate candy melts for a smooth, easy coating. These extra ingredients will take your caramels from delightful to truly decadent.
Step-by-Step Guide: How to Make Irresistible Microwave Caramels
Crafting these gourmet caramels is surprisingly straightforward. Follow these steps for perfect results every time:
- **Prepare Your Workspace**: Begin by gathering all your ingredients and equipment. Select a generously sized, microwave-safe bowl – this is crucial, as the caramel mixture will bubble up quite a bit during cooking. Line an 8 or 9-inch loaf pan with parchment paper, ensuring there’s an overhang on the sides to easily lift the cooled caramel later. Lightly coat the parchment paper with cooking spray to prevent sticking.
- **Combine Ingredients**: In your large microwave-safe bowl, combine the melted butter, both brown and granulated sugars, light corn syrup, and sweetened condensed milk. Stir these ingredients thoroughly until they are well combined and the mixture is smooth. Add the vanilla extract at this stage.
- **Microwave and Stir**: Place the bowl in the microwave and cook on high power. The total cook time will be between 6-7 minutes, but the key to success is to stir the mixture *every 2 minutes*. Each time you pause, remove the bowl from the microwave and stir vigorously with a heat-proof spatula or spoon. This thorough stirring is essential to prevent scorching, ensure even cooking, and achieve that desired smooth, shiny caramel texture. Pay close attention to the bottom and sides of the bowl.
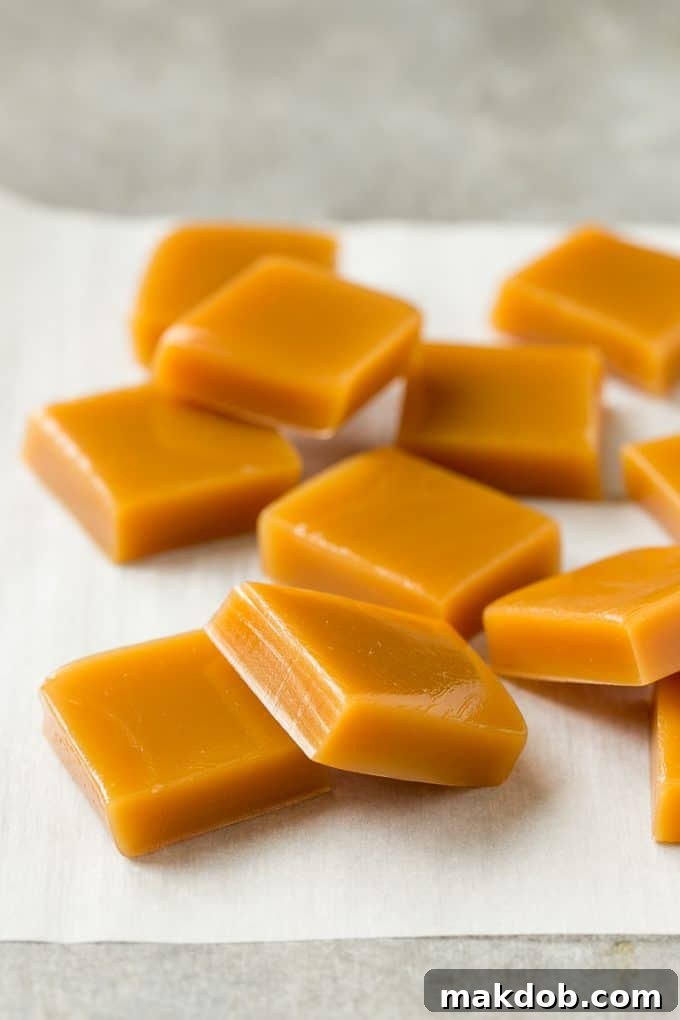
- **Assess Doneness**: After 6 minutes, your caramel will be softer, yielding a melt-in-your-mouth chew, ideal for wrapping. Cooking for 7 minutes will result in a firmer caramel that holds its shape beautifully and is perfect for dipping. Choose your desired consistency.
- **Pour and Salt**: Carefully pour the hot caramel mixture into your prepared parchment-lined loaf pan. If you’re serving the caramels plain, now is the time to generously sprinkle the coarse sea salt over the top while the caramel is still warm and pliable, ensuring the salt adheres beautifully. If you plan to dip them in chocolate, skip the salt for now; it will be added after the chocolate coating.
- **Chill and Cut**: Transfer the pan to the refrigerator and allow the caramel to chill for at least 30 minutes, or until it is very firm. The firmer the caramel, the cleaner your cuts will be. Once solid, use the parchment paper overhang to lift the entire slab of caramel from the pan. Place it on a cutting board and, using a sharp, lightly oiled knife, cut the caramel into 1.5-inch squares.
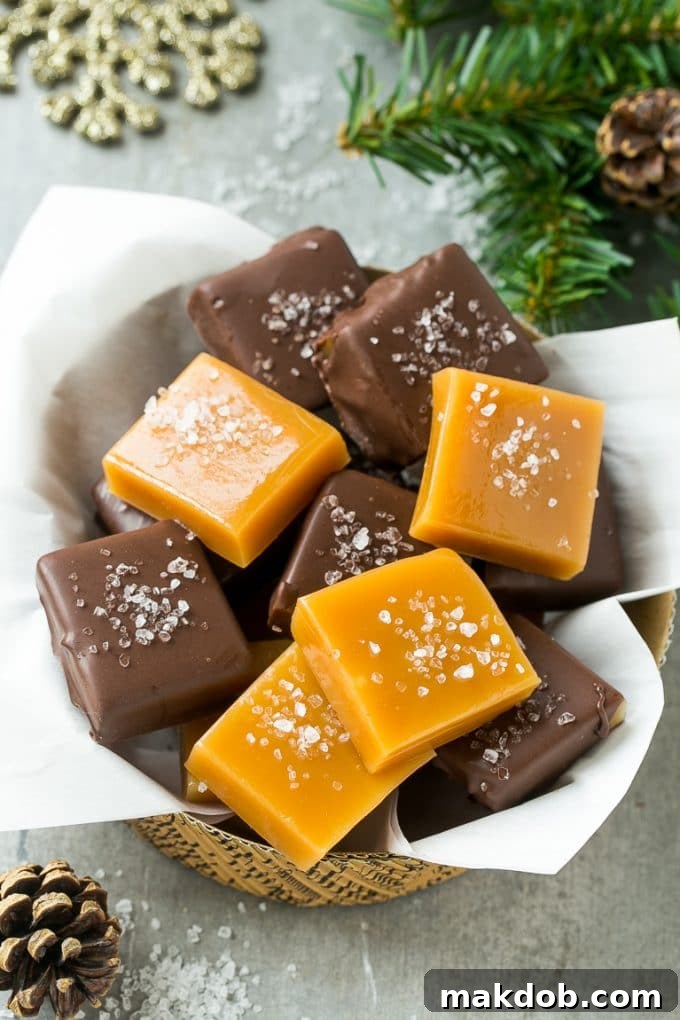
- **Optional Chocolate Dip**: If desired, melt your semisweet chocolate chips or dark candy melts according to package directions (usually in the microwave in short bursts, stirring frequently). Dip each caramel square into the melted chocolate, allowing any excess to drip off. Immediately sprinkle fresh coarse sea salt over the chocolate before it sets. Place the dipped caramels on a sheet of parchment paper to cool and allow the chocolate to harden completely before serving.
Mastering Your Caramel: Expert Tips and Tricks for Success
Even with an “easy” recipe, a few insider tips can make all the difference, ensuring your microwave caramels are absolutely perfect:
- **Choose the Right Bowl**: Always use a microwave-safe bowl that is significantly larger than you think you’ll need. The caramel mixture bubbles up vigorously as it cooks, and an oversized bowl will prevent messy boil-overs, saving you cleanup time and precious caramel.
- **Stir, Stir, Stir!**: This cannot be stressed enough. Stirring every 2 minutes is crucial. It ensures that the heat is evenly distributed, all the sugars dissolve completely, and the caramel doesn’t burn on the bottom or sides. Consistent stirring is the secret to a silky-smooth, glossy caramel, free from any grainy texture.
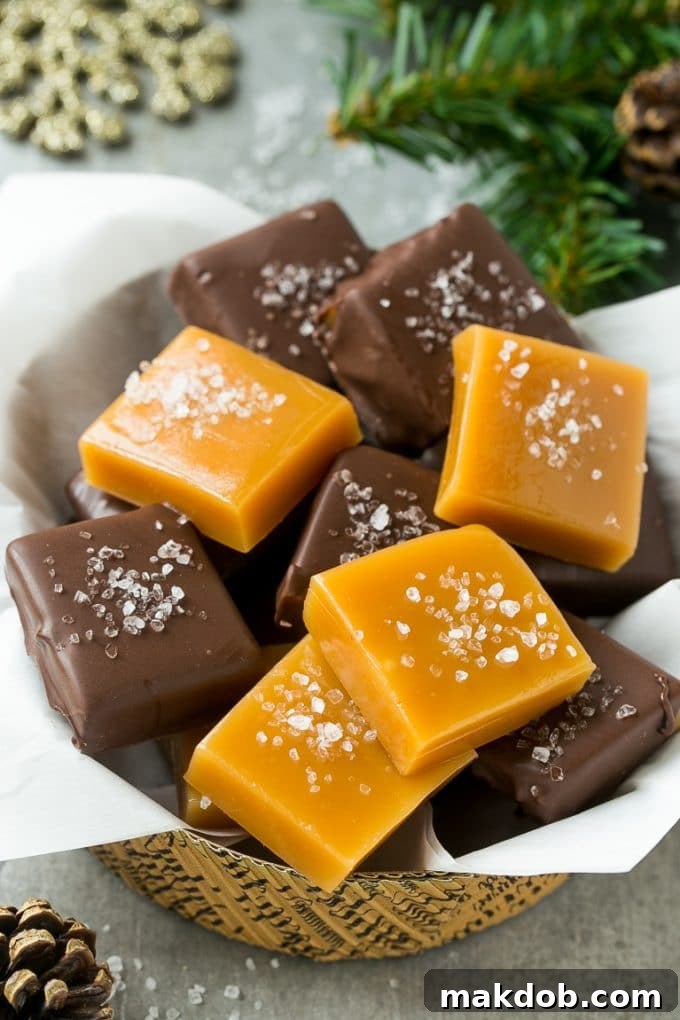
- **Cook Time for Texture**: Remember, 6 minutes yields a softer, more pliable caramel, perfect for traditional wrapping in wax paper. A 7-minute cook time, as pictured in many of my examples, results in a firmer, chewier caramel that holds its shape better, especially when dipped in chocolate. Experiment to find your preferred chewiness!
- **Mix and Match**: Don’t feel constrained to just one type. I often prepare half of my caramels plain and the other half dipped in chocolate. This provides a lovely variety and ensures there’s an option to please every palate.
- **Butter Choice**: Whether you opt for unsalted or salted butter, the recipe works beautifully. If using salted butter, you might consider slightly reducing the final sea salt sprinkle, but for a true “salted caramel” experience, the full amount is usually perfect.
Quick Tip for Salting
For optimal adherence, sprinkle the **coarse sea salt** over the freshly poured caramels immediately after they’ve been transferred to the pan. This allows the salt crystals to nestle into the warm, soft caramel before it begins to set.
Common Questions About Homemade Caramels (FAQs)
Melted caramel typically takes about 30 minutes to harden sufficiently in the refrigerator. However, for the cleanest and easiest cutting, I highly recommend leaving your microwave caramels in the fridge for at least 1 hour, or even longer, until they are very firm. This extra chill time prevents sticking and ensures crisp, perfect squares.
While both are sweet, creamy confections, there’s a distinct difference. Caramel is traditionally made by boiling sugar and water (or other liquids like cream, butter, and corn syrup) to a specific temperature, resulting in various forms from chewy candies to sauces. Dulce de leche, meaning “candy of milk” in Spanish, is primarily made by slowly simmering milk and sugar together until it thickens and caramelizes. This long, slow process gives dulce de leche a softer, more spreadable consistency and a rich, milky flavor profile, often used as a spread or filling.
The texture of your caramels is directly related to the cooking time. If your caramels are too hard, they were likely cooked for too long or at too high a microwave setting. If they are too soft and don’t firm up, they probably needed a minute or two more in the microwave. Adjusting your microwave power level or cook time by 30-60 second increments can help you find the perfect balance for your appliance and desired consistency.
While it’s tempting to double a recipe, especially one as delicious as this, microwave recipes can be tricky with scaling. The cooking dynamics in a microwave change significantly with larger volumes. For best results, I recommend making multiple single batches rather than attempting to double or triple the recipe in one go. This ensures consistent heating and prevents uneven cooking.
CONNECT WITH ME
Creative Flavor and Topping Variations to Explore
This base recipe for microwave caramels is absolutely divine on its own, but its versatility makes it a fantastic canvas for culinary creativity. Don’t hesitate to experiment with these simple customizations to tailor the caramels to your personal taste or the occasion.
- **Caramel Infusions**: Before pouring the finished caramel mixture into the pan, consider stirring in some delightful flavorings. A teaspoon of almond extract can add a sophisticated nutty note. For a festive touch, incorporate holiday spices like a pinch of cinnamon, nutmeg, or even a dash of pumpkin pie spice. Crushed pecans or walnuts can also be folded in for an added textural dimension and nutty flavor.
- **Chocolate Choices**: While semisweet chocolate is a classic pairing, feel free to use other types of chocolate for dipping. Creamy milk chocolate will yield a sweeter treat, while rich dark chocolate offers a more intense cocoa experience. White chocolate can create a beautiful visual contrast and a distinct flavor. If a full dip is too much, a simple drizzle of melted chocolate over the cooled caramels provides an elegant finish.
- **Alternative Toppings**: Beyond the beloved sea salt, a world of topping possibilities awaits!
- **Nutty Crunch**: Minced roasted almonds, peanuts, or pistachios add a satisfying crunch and nutty flavor.
- **Coconut Delight**: Finely shredded toasted coconut flakes can transport your caramels to a tropical paradise.
- **Sweet Sprinkles**: For a truly festive and colorful touch, especially during holidays, a sprinkle of fun, edible sprinkles is always a hit.
- **Cocoa Nib Bitterness**: For those who appreciate a hint of bitterness to balance sweetness, crushed cocoa nibs offer a sophisticated textural and flavor contrast.
- **Spice Dusting**: A light dusting of powdered sugar mixed with a touch of cinnamon or cardamom can create a wonderfully aromatic experience.
Serving and Storage Suggestions
These homemade microwave caramels are not just a treat for the taste buds; they’re also incredibly versatile for serving and gifting.
- **Elegant Presentation**: For gifting, wrap individual caramels in small squares of wax paper or parchment paper, twisting the ends like old-fashioned candies. Arrange them beautifully in a decorative box, tin, or cellophane bag tied with a festive ribbon.
- **Dessert Platter Star**: On a dessert table, arrange a mix of plain and chocolate-dipped caramels on a platter, perhaps with a few extra flakes of sea salt scattered around for visual appeal.
- **Pairing Perfection**: Serve these caramels alongside a warm cup of coffee, a rich espresso, or a glass of milk for a comforting treat. They can also be chopped and sprinkled over ice cream or used as a topping for cakes and brownies.
- **Storage**: Store your homemade caramels in an airtight container at room temperature for up to 1-2 weeks. If you prefer a firmer caramel or live in a warm climate, storing them in the refrigerator can extend their freshness and firmness for up to 3-4 weeks. If they are chocolate-dipped, refrigeration is usually recommended to prevent the chocolate from melting or becoming sticky. Always allow refrigerated caramels to come to room temperature for a few minutes before serving to enjoy their optimal chewiness.
These homemade microwave caramels truly make the perfect holiday gift, delivering a personal touch and exceptional flavor. They’re also a fun and incredibly festive addition to any dessert table, guaranteed to impress and delight everyone who tries them.
More Delightful Holiday Candy Recipes
Rocky Road Fudge
Total Time: 12 mins
Peppermint Patties Recipe
Total Time: 11 mins
Crock Pot Candy
Total Time: 1 hr 35 mins
Candy Cane Hearts
Total Time: 16 mins
Buckeye Balls (Peanut Butter Balls)
Total Time: 1 hr 2 mins
Love This Recipe?
If you enjoyed making these delightful caramels, please consider sharing your feedback!
Microwave Caramels with Sea Salt
Pin on Pinterest
Sara Welch
2 minutes
7 minutes
9 minutes
Dessert
American
16 caramels
Ingredients
- 1/4 cup butter, melted
- 1/2 cup packed brown sugar
- 1/2 cup granulated sugar
- 1/2 cup light corn syrup
- 1/2 cup sweetened condensed milk
- 1/2 teaspoon vanilla extract
- 1 teaspoon coarse sea salt
- Optional: 1 cup of semisweet chocolate chips or dark candy melts, melted
- Cooking spray
Instructions
-
Place the butter, brown sugar, granulated sugar, corn syrup, condensed milk and vanilla in a large microwave safe bowl.
-
Line an 8 or 9 inch loaf pan with parchment paper and coat the pan with cooking spray.
-
Place the bowl in the microwave. Cook for 6-7 minutes, stirring thoroughly every 2 minutes. A 6 minute cook time will produce a softer caramel; 7 minutes will produce a firmer caramel.
-
Pour the caramel into the prepared pan. Sprinkle the coarse sea salt over the caramel. If you’re planning to coat the caramels in chocolate, do not add the salt until later after the caramels have been dipped.
-
Let the caramel cool in the fridge for at least 30 minutes or until firm. Carefully remove the slab of caramel from the pan and cut into 1 1/2 inch squares.
-
If desired, dip the caramels in melted chocolate. If you dip the caramels in chocolate, sprinkle the sea salt over the top before the chocolate has set. Let the chocolate set, then serve and enjoy.
Notes
- Be sure to use an oversized bowl, as the caramel mixture will bubble vigorously in the microwave and you don’t want it to spill over.
- You’ll need to stir the mixture every 2 minutes during the cooking process. It’s important to stir thoroughly so that the caramels will end up smooth and shiny.
Nutrition
Carbohydrates: 26g |
Protein: 1g |
Fat: 4g |
Saturated Fat: 2g |
Cholesterol: 11mg |
Sodium: 328mg |
Sugar: 26g
Did you make this recipe?
Tag @dinneratthezoo on Instagram and hashtag it #dinneratthezoo