
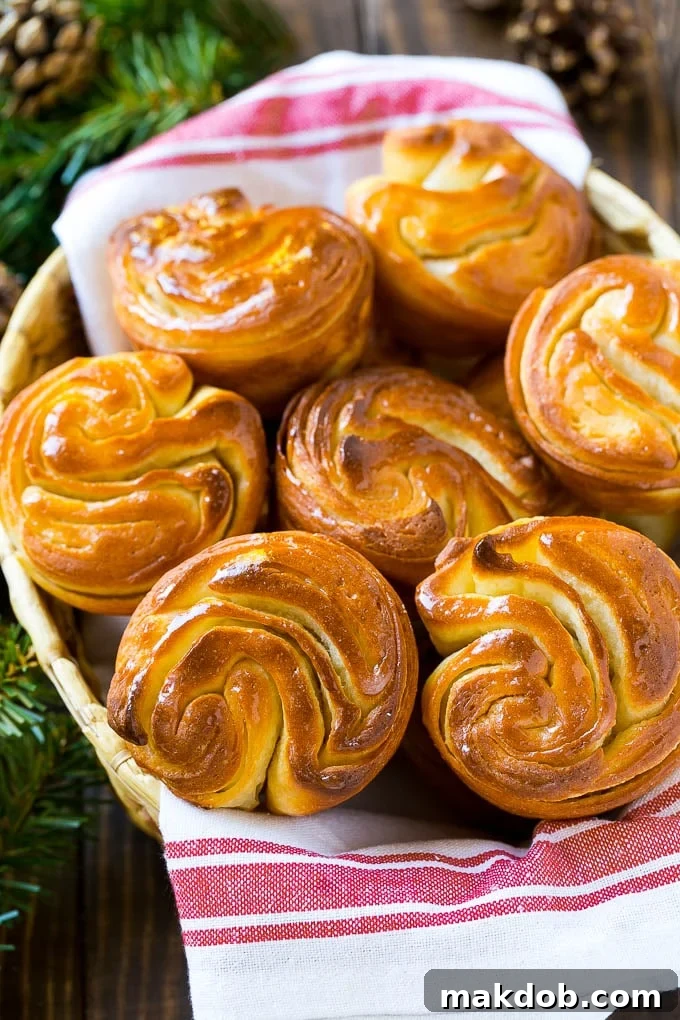


These butterflake rolls are truly a revelation in homemade baking! Renowned for their incredible lightness, delicate flakiness, and irresistibly fluffy texture, they stand out as the ultimate dinner roll. Far from just a side dish, these easy-to-make rolls have earned a cherished spot as a staple at our holiday table every year, becoming a beloved family tradition that everyone eagerly anticipates. Once you experience their melt-in-your-mouth goodness, you’ll understand why.
While many might assume the succulent turkey is the undisputed star of the Thanksgiving feast, in our home, the real MVP is always a fresh batch of these extraordinary butterflake rolls. The mere mention of them generates excitement, and year after year, they vanish from the serving basket with remarkable speed. There are never any leftovers to be found, a testament to their undeniable appeal and deliciousness that even the most elaborate holiday dishes struggle to compete with.
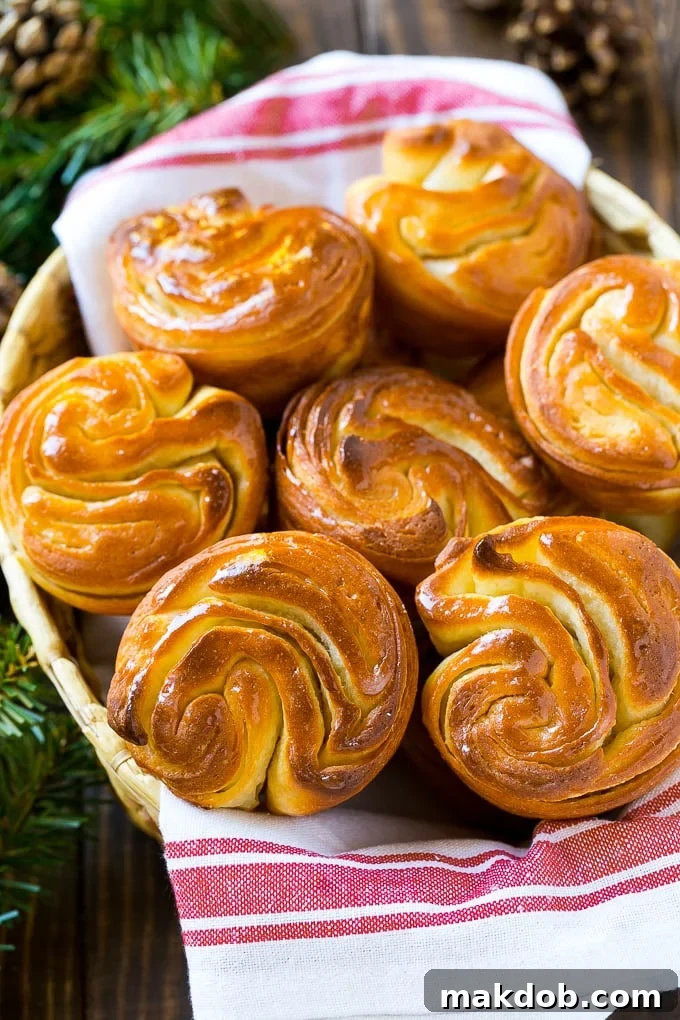
Every Thanksgiving, the baking of these butterflake rolls is a non-negotiable ritual. I invariably find myself preparing multiple batches, primarily because my brother alone is known to devour at least half a dozen by himself – and that’s not an exaggeration! They aren’t just a holiday treat; they are, without a doubt, the very best rolls you’ll ever taste. Their beautiful, layered appearance is matched only by their incredible flavor. In fact, their simplicity and delightful outcome mean you don’t need to save them for special occasions; they are perfect for elevating any weeknight meal into something truly special.
What Makes Butterflake Rolls So Irresistible?
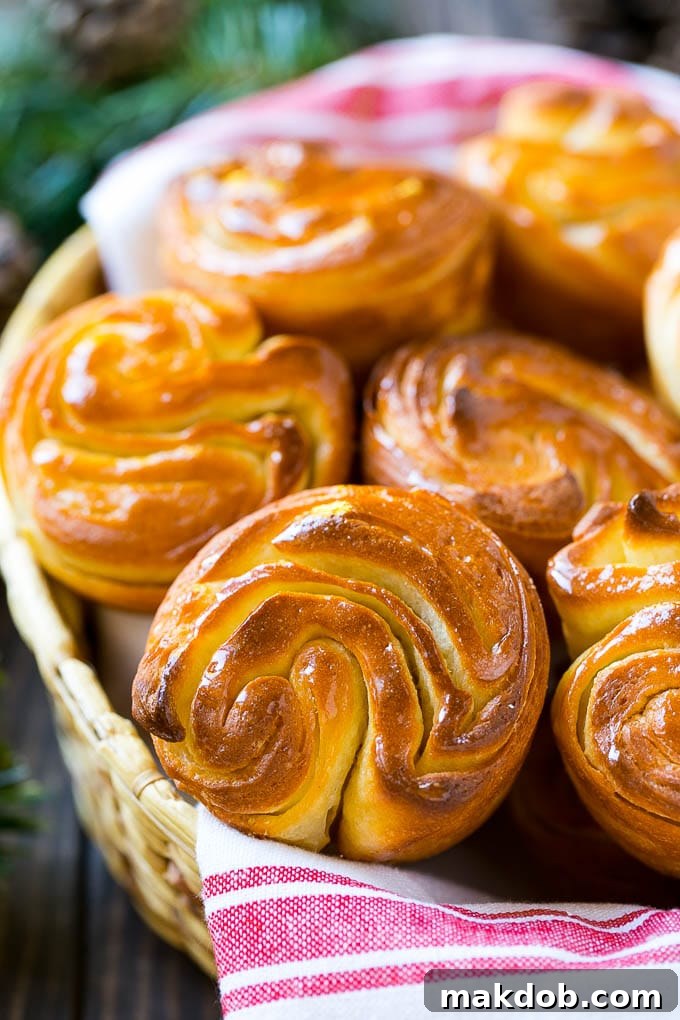
The secret to the unparalleled lightness and flakiness of these butterflake rolls lies in their unique preparation method. Unlike standard dinner rolls, these boast numerous delicate layers, much like a croissant, but with the soft, yielding texture of a classic homemade bread roll. Each bite reveals pockets of buttery goodness, making them incredibly moist and tender. This distinctive texture and rich flavor profile elevate them far beyond typical bread, ensuring they are a memorable addition to any meal, whether it’s a grand holiday gathering or a simple family dinner.
The Art of the Flake: Demystifying the Folding Process
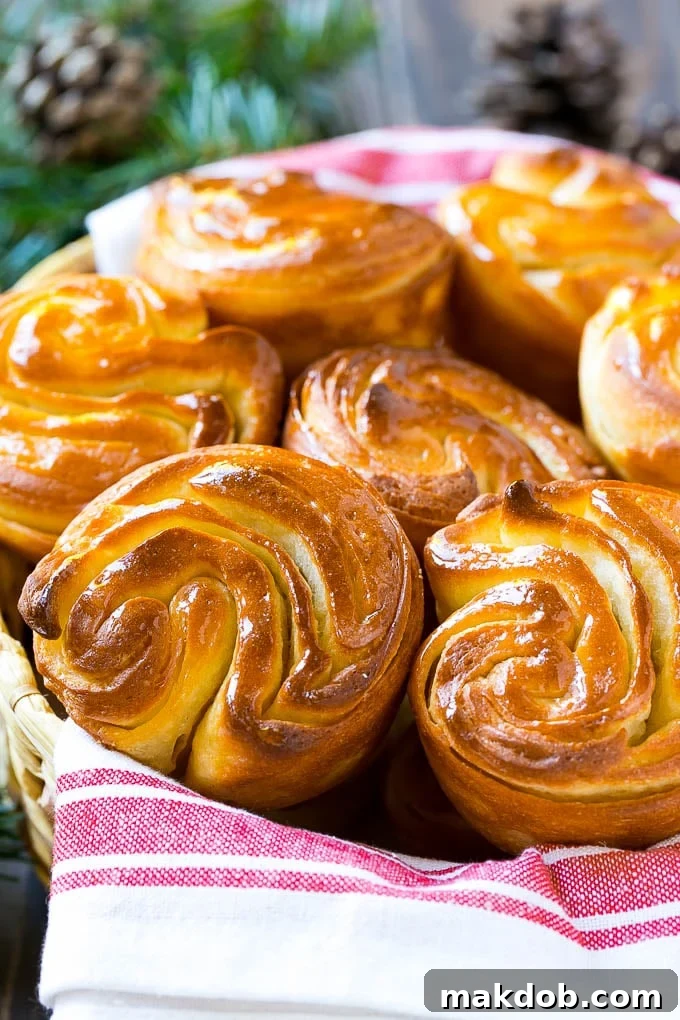
Creating these exquisite butterflake rolls begins with a basic yeast dough, combining familiar ingredients like flour, yeast, salt, and milk. However, the true magic unfolds during the folding process, a technique that gives these rolls their signature “snowflake” layers and incredible texture. It’s a method surprisingly simple to master, even for novice bakers. The dough is first rolled into a thin rectangle, generously brushed with softened butter, then folded into thirds. This process is repeated two more times, each fold creating new layers of butter and dough, which ultimately expand in the oven to produce those delectable, flaky strata. The result is a visually stunning roll that is as enjoyable to look at as it is to eat.
Many home bakers might feel intimidated by laminated doughs, imagining complex techniques found in professional bakeries. However, this butterflake roll recipe simplifies the lamination process, making it accessible and enjoyable. While baking generally benefits from precise measurements, the rolling and folding steps for these rolls offer a bit more flexibility. Don’t worry if your rectangle isn’t perfectly symmetrical or if the butter isn’t spread with absolute precision. The beauty of this recipe is its forgiving nature; even slightly imperfect folds will yield beautiful, delicious, and wonderfully flaky rolls. The key is to embrace the process and trust that the warmth of your oven will do the rest, transforming simple ingredients into a masterpiece.
Why Choose Homemade Dinner Rolls?
Opting for homemade dinner rolls over store-bought alternatives offers numerous advantages that truly enhance your dining experience. The most immediate benefit is the unparalleled freshness; nothing compares to the aroma of freshly baked bread wafting through your home, a scent that instantly makes a house feel like a home. Beyond the inviting fragrance, homemade rolls allow for complete control over ingredients, meaning you can choose high-quality butter, fresh yeast, and premium flour, avoiding artificial preservatives and unpronounceable additives often found in commercially produced goods. This control not only contributes to a healthier option but also ensures a superior taste and texture that simply cannot be replicated by pre-packaged varieties. The act of baking itself is also incredibly rewarding, offering a sense of accomplishment and the joy of sharing something made with love and care. These butterflake rolls, in particular, embody all these benefits, providing a wholesome, delicious, and incredibly satisfying bread experience.
Tips for Baking Perfect Butterflake Rolls
Achieving perfectly light, fluffy, and flaky butterflake rolls is simpler than you might imagine with a few key tips:
- Yeast Activation: Always ensure your warm milk is between 105-115°F (40-46°C) to properly activate the yeast. Too hot, and it kills the yeast; too cold, and it won’t activate. You’ll know it’s working when a foamy layer forms on top after a few minutes.
- Flour Measurement: For accurate results, always spoon your flour into the measuring cup and level it off with a straight edge rather than scooping directly from the bag. This prevents compacting the flour and adding too much, which can lead to dense rolls.
- Butter Consistency: The butter used for layering should be softened to room temperature, but not melted. It needs to be pliable enough to spread easily without tearing the dough, but firm enough to create distinct layers when folded.
- Kneading: Whether by hand or with a stand mixer, knead the dough until it’s smooth and elastic. This develops the gluten, which is essential for the rolls’ structure and chewiness. A well-kneaded dough will spring back when gently poked.
- Rising Environment: A warm, draft-free place is ideal for the dough to rise. If your kitchen is cool, you can place the covered bowl in a slightly warm (but not hot) oven that has been turned off, or near a warm sunny window.
- Don’t Overcrowd: When placing the slices into muffin cups, ensure they have enough space to rise and expand without merging excessively. This helps them maintain their individual “flake” structure.
- Cooling: Allow the rolls to cool for at least 5 minutes on a wire rack after baking. This allows them to set properly and prevents them from becoming soggy.
Make Ahead and Storage
These butterflake rolls are fantastic for entertaining because a significant portion of the preparation can be done in advance. After the final shaping and placing them into the muffin cups, instead of letting them rise at room temperature, you can cover them tightly with plastic wrap and place them in the refrigerator for up to 4 hours. This slow, cold rise develops more flavor and makes them incredibly convenient. About an hour before you plan to serve, remove them from the fridge to allow them to finish rising at room temperature until doubled in size, then bake as directed. This strategy is a game-changer for holiday meal prep!
Leftover rolls, should you be so lucky, can be stored in an airtight container at room temperature for up to 2-3 days, or frozen for longer storage. To reheat, simply warm them in a preheated oven at 300°F (150°C) for about 5-10 minutes, or until soft and warm throughout. A quick brush with melted butter before reheating can also help restore their fresh-baked flavor and moisture.
Beyond the Holiday Table: Versatile Serving Suggestions
While butterflake rolls are an absolute triumph on your holiday table, their versatility extends far beyond Thanksgiving or Christmas. They are truly the ultimate dinner roll, perfectly suited for any meal. You can, of course, serve them simply plain, allowing their inherent buttery flavor and tender texture to shine. However, they also welcome a variety of accompaniments. A dollop of creamy butter melting into their warm layers is always a classic choice. Pair them with your favorite homemade jams or fruit preserves for a delightful breakfast or brunch addition. They are also fantastic alongside hearty stews, chili, or any dish that benefits from a bread for dipping up delicious sauces. Consider them for sandwiches for a light lunch, or even as a base for mini sliders. My four-year-old affectionately calls them “bread cupcakes,” and it’s truly a fitting description for these delightful individual servings of goodness. It simply wouldn’t be a holiday at my house without these rolls, and I sincerely hope you’ll incorporate them into your own family’s traditions this year!
More Thanksgiving recipes to inspire your feast:
- Green Bean Bundles
- Sweet Potato Casserole
- Loaded Mashed Potato Casserole
- Slow Cooker Glazed Carrots
- Pecan Pie Bars
Butterflake Rolls
Pin

Time
Ingredients
- 3 tablespoons sugar
- 1 packet of active dry yeast (equivalent to 2 1/4 teaspoons)
- 1 cup warm milk (no warmer than 110 degrees F / 43 degrees C)
- 3 cups all-purpose flour + additional for dusting work surface
- 1 1/4 teaspoons kosher salt
- 4 tablespoons butter, softened
- Cooking spray
- Butter and jam for serving (optional)
Instructions
-
Dissolve the sugar and yeast in the warm milk in a large bowl; let stand for 3 minutes until foamy.
-
Lightly spoon the flour into measuring cups, then add the flour and salt to the bowl with the yeast mixture. Stir until a cohesive dough forms.
-
Using a stand mixer fitted with a dough hook, or your hands, knead the dough for 5 minutes until it is smooth and elastic. Cover the dough with plastic wrap and let it rest for 10 minutes.
-
On a lightly floured surface, roll the dough into an 11 x 9-inch rectangle. Gently spread the softened butter evenly over the dough. Working with a long side, fold the bottom third of the dough up. Then, fold the top third of the dough over the first fold to form an 11 x 3-inch rectangle. Place the folded dough on a baking sheet lined with parchment paper or a silpat. Cover with plastic wrap and place in the freezer for 10 minutes.
-
Remove the dough from the freezer and uncover it.
-
Roll the dough (still on the baking sheet, adding a little more flour if needed) back into an 11 x 9-inch rectangle. Again, working with a long side, fold up the bottom third of the dough. Fold the top third of the dough over the first fold to form an 11 x 3-inch rectangle. Cover with plastic wrap and place in the freezer for an additional 10 minutes.
-
Remove the dough from the freezer and remove the plastic wrap. Roll the dough (still on the baking sheet) into an 11 x 8-inch rectangle.
-
Beginning with a long side, carefully roll up the dough in a jelly-roll style; pinch the bottom seam firmly to seal. Cut the rolled dough into 12 equal slices. Place the slices, cut sides up, into muffin cups that have been coated with cooking spray. Lightly coat the tops of the dough with cooking spray. Cover and let rise in a warm place for an hour, or until doubled in size. Alternatively, at this stage, you can place the covered dough in the fridge for up to 4 hours. If using the fridge method, take the dough out at least one hour before you plan to bake to allow it to finish rising on the counter until doubled in size. Once the dough has doubled, proceed to the baking directions.
-
Preheat oven to 375°F (190°C).
-
Bake the rolls at 375°F (190°C) for 20 minutes, or until golden brown and cooked through. Remove from the muffin pan, and cool for 5 minutes on a wire rack. Serve the rolls warm with butter and jam if desired.
Notes
Nutrition
This recipe was originally published on November 8, 2015 and was updated on November 13, 2017 with new photos, and further revised and expanded in [Current Year] for enhanced clarity and SEO.